目錄
一聯合halcon:
二 c# 原生
一聯合halcon:
===============環境配置==================
下載安裝pylon軟件
下載安裝halcon
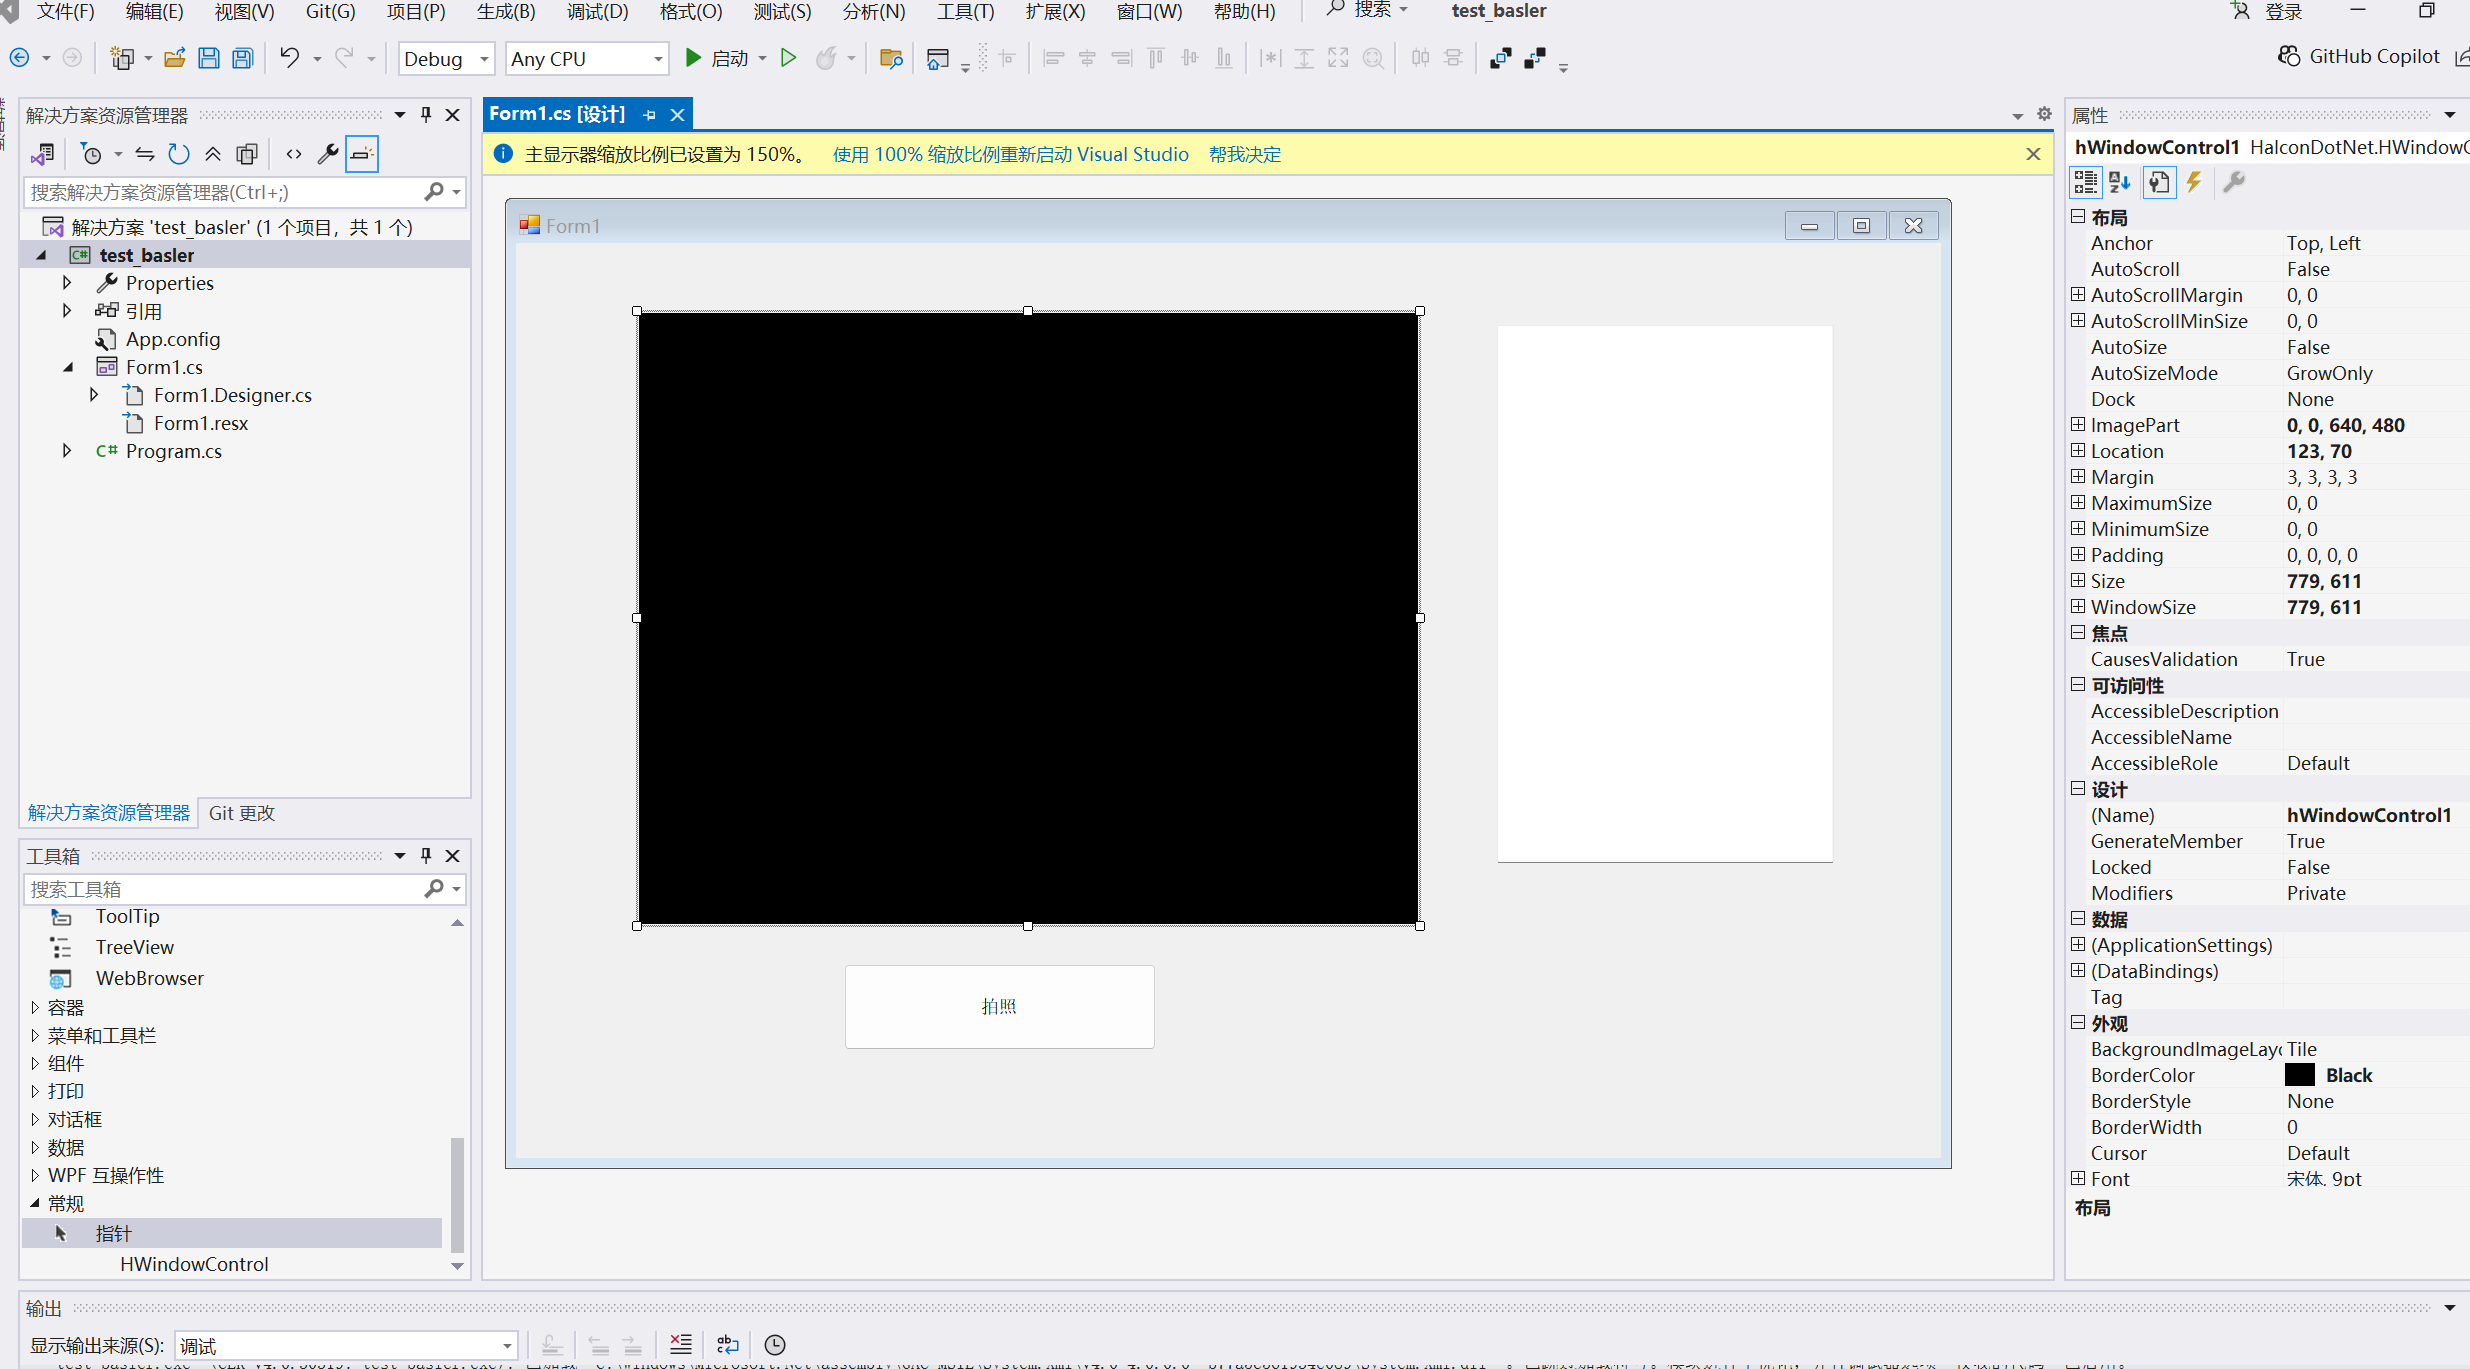
創建 winform項目 test_basler
添加引用
![]()
打開pylon可以連接相機
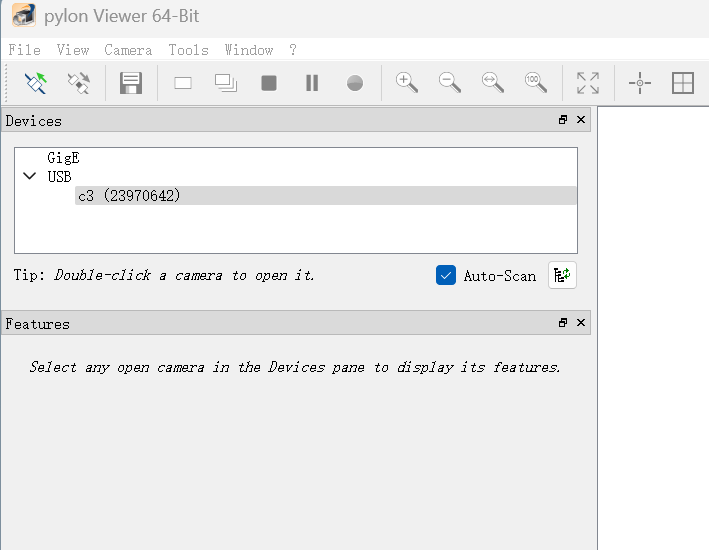
可以看到我的相機id為23970642
=============================
(
c#聯合halcon的基礎教程(案例:亮度計算、角度計算和缺陷檢測)(含halcon代碼)_halcon.dll,halcondotnet.dll 下載-CSDN博客
)
c#添加幾個控件(button、 textbox 和hwindowcontrol)
basler使用
allCameras = CameraFinder.Enumerate();//獲取所有相機設備
camera = new Camera(id);//指定的序列號
camera.Open();//打開相機
使用
? ? ? ? ? ? ? ? ? ? ? ? ? ? image.GenImage1("byte", grabResult.Width, grabResult.Height, p);
抓圖。
完整代碼如下:
using System;
using System.Collections.Generic;
using System.ComponentModel;
using System.Data;
using System.Drawing;
using System.Linq;
using System.Runtime.InteropServices;
using System.Text;
using System.Threading.Tasks;
using System.Windows.Forms;
using Basler.Pylon;
using HalconDotNet;namespace test_basler
{public partial class Form1 : Form{List<ICameraInfo> allCameras = null;HImage image = null;Camera camera = null;public Form1(){InitializeComponent();string str_connectcamera = connectCamera("23970642");textBox1.AppendText(str_connectcamera + "\r\n");}public string connectCamera(string id){allCameras = CameraFinder.Enumerate();//獲取所有相機設備for (int i = 0; i < allCameras.Count; i++){try{textBox1.AppendText("已搜索相機:");textBox1.AppendText(allCameras[i][CameraInfoKey.SerialNumber]+"\r\n");if (allCameras[i][CameraInfoKey.SerialNumber] == id){//如果當前相機信息中序列號是指定的序列號,則實例化相機類camera = new Camera(allCameras[i]);camera.Open();//打開相機return "成功連接相機";}continue;}catch{return "未找到";}}return "未找到";}private Boolean IsMonoData(IGrabResult iGrabResult)//判斷圖像是否為黑白格式{switch (iGrabResult.PixelTypeValue){case PixelType.Mono1packed:case PixelType.Mono2packed:case PixelType.Mono4packed:case PixelType.Mono8:case PixelType.Mono8signed:case PixelType.Mono10:case PixelType.Mono10p:case PixelType.Mono10packed:case PixelType.Mono12:case PixelType.Mono12p:case PixelType.Mono12packed:case PixelType.Mono16:return true;default:return false;}}private void OneShot(){try{// 配置參數camera.Parameters[PLCamera.PixelFormat].TrySetValue(PLCamera.PixelFormat.Mono8);camera.Parameters[PLCamera.AcquisitionMode].SetValue(PLCamera.AcquisitionMode.SingleFrame);camera.StreamGrabber.Start();// 檢索結果IGrabResult grabResult = camera.StreamGrabber.RetrieveResult(4000, TimeoutHandling.ThrowException);image = new HImage();using (grabResult){if (grabResult.GrabSucceeded){if (IsMonoData(grabResult)){byte[] buffer = grabResult.PixelData as byte[];IntPtr p = Marshal.UnsafeAddrOfPinnedArrayElement(buffer, 0);image.GenImage1("byte", grabResult.Width, grabResult.Height, p);}else{if (grabResult.PixelTypeValue != PixelType.RGB8packed){byte[] buffer_rgb = new byte[grabResult.Width * grabResult.Height * 3];Basler.Pylon.PixelDataConverter convert = new PixelDataConverter();convert.OutputPixelFormat = PixelType.RGB8packed;convert.Convert(buffer_rgb, grabResult);IntPtr p = Marshal.UnsafeAddrOfPinnedArrayElement(buffer_rgb, 0);image.GenImageInterleaved(p, "rgb", grabResult.Width, grabResult.Height, 0, "byte", grabResult.Width, grabResult.Height, 0, 0, -1, 0);}}}else{textBox1.AppendText("抓取圖像失敗: " + grabResult.ErrorDescription + "\r\n");}}}catch (Exception ex){textBox1.AppendText("拍照過程中發生錯誤: " + ex.Message + "\r\n");}finally{// 確保流抓取器停止if (camera != null && camera.StreamGrabber.IsGrabbing){camera.StreamGrabber.Stop();}}}private void show_img(HObject Image){// 檢查圖像對象是否有效if (Image == null || !Image.IsInitialized()){MessageBox.Show("圖像對象無效或未初始化");return;}// 獲取窗口句柄HWindow hwnd = hWindowControl1.HalconWindow;// 清除窗口內容hwnd.ClearWindow();try{// 獲取圖片大小HTuple width, height;HOperatorSet.GetImageSize(Image, out width, out height);// 設置窗口顯示部分為整個圖像HOperatorSet.SetPart(hwnd, 0, 0, height - 1, width - 1);// 將圖片投射到窗體上HOperatorSet.DispObj(Image, hwnd);}catch (HalconException ex){MessageBox.Show($"處理圖像時發生錯誤: {ex.Message}");}}private void button1_Click(object sender, EventArgs e){OneShot();show_img(image);}}
}
namespace test_basler
{partial class Form1{/// <summary>/// 必需的設計器變量。/// </summary>private System.ComponentModel.IContainer components = null;/// <summary>/// 清理所有正在使用的資源。/// </summary>/// <param name="disposing">如果應釋放托管資源,為 true;否則為 false。</param>protected override void Dispose(bool disposing){if (disposing && (components != null)){components.Dispose();}base.Dispose(disposing);}#region Windows 窗體設計器生成的代碼/// <summary>/// 設計器支持所需的方法 - 不要修改/// 使用代碼編輯器修改此方法的內容。/// </summary>private void InitializeComponent(){this.button1 = new System.Windows.Forms.Button();this.textBox1 = new System.Windows.Forms.TextBox();this.hWindowControl1 = new HalconDotNet.HWindowControl();this.SuspendLayout();// // button1// this.button1.Location = new System.Drawing.Point(328, 721);this.button1.Name = "button1";this.button1.Size = new System.Drawing.Size(312, 86);this.button1.TabIndex = 1;this.button1.Text = "拍照";this.button1.UseVisualStyleBackColor = true;this.button1.Click += new System.EventHandler(this.button1_Click);// // textBox1// this.textBox1.Location = new System.Drawing.Point(981, 82);this.textBox1.Multiline = true;this.textBox1.Name = "textBox1";this.textBox1.Size = new System.Drawing.Size(337, 538);this.textBox1.TabIndex = 2;// // hWindowControl1// this.hWindowControl1.BackColor = System.Drawing.Color.Black;this.hWindowControl1.BorderColor = System.Drawing.Color.Black;this.hWindowControl1.ImagePart = new System.Drawing.Rectangle(0, 0, 640, 480);this.hWindowControl1.Location = new System.Drawing.Point(123, 70);this.hWindowControl1.Name = "hWindowControl1";this.hWindowControl1.Size = new System.Drawing.Size(779, 611);this.hWindowControl1.TabIndex = 3;this.hWindowControl1.WindowSize = new System.Drawing.Size(779, 611);// // Form1// this.AutoScaleDimensions = new System.Drawing.SizeF(9F, 18F);this.AutoScaleMode = System.Windows.Forms.AutoScaleMode.Font;this.ClientSize = new System.Drawing.Size(1425, 915);this.Controls.Add(this.hWindowControl1);this.Controls.Add(this.textBox1);this.Controls.Add(this.button1);this.Name = "Form1";this.Text = "Form1";this.ResumeLayout(false);this.PerformLayout();}#endregionprivate System.Windows.Forms.Button button1;private System.Windows.Forms.TextBox textBox1;private HalconDotNet.HWindowControl hWindowControl1;}
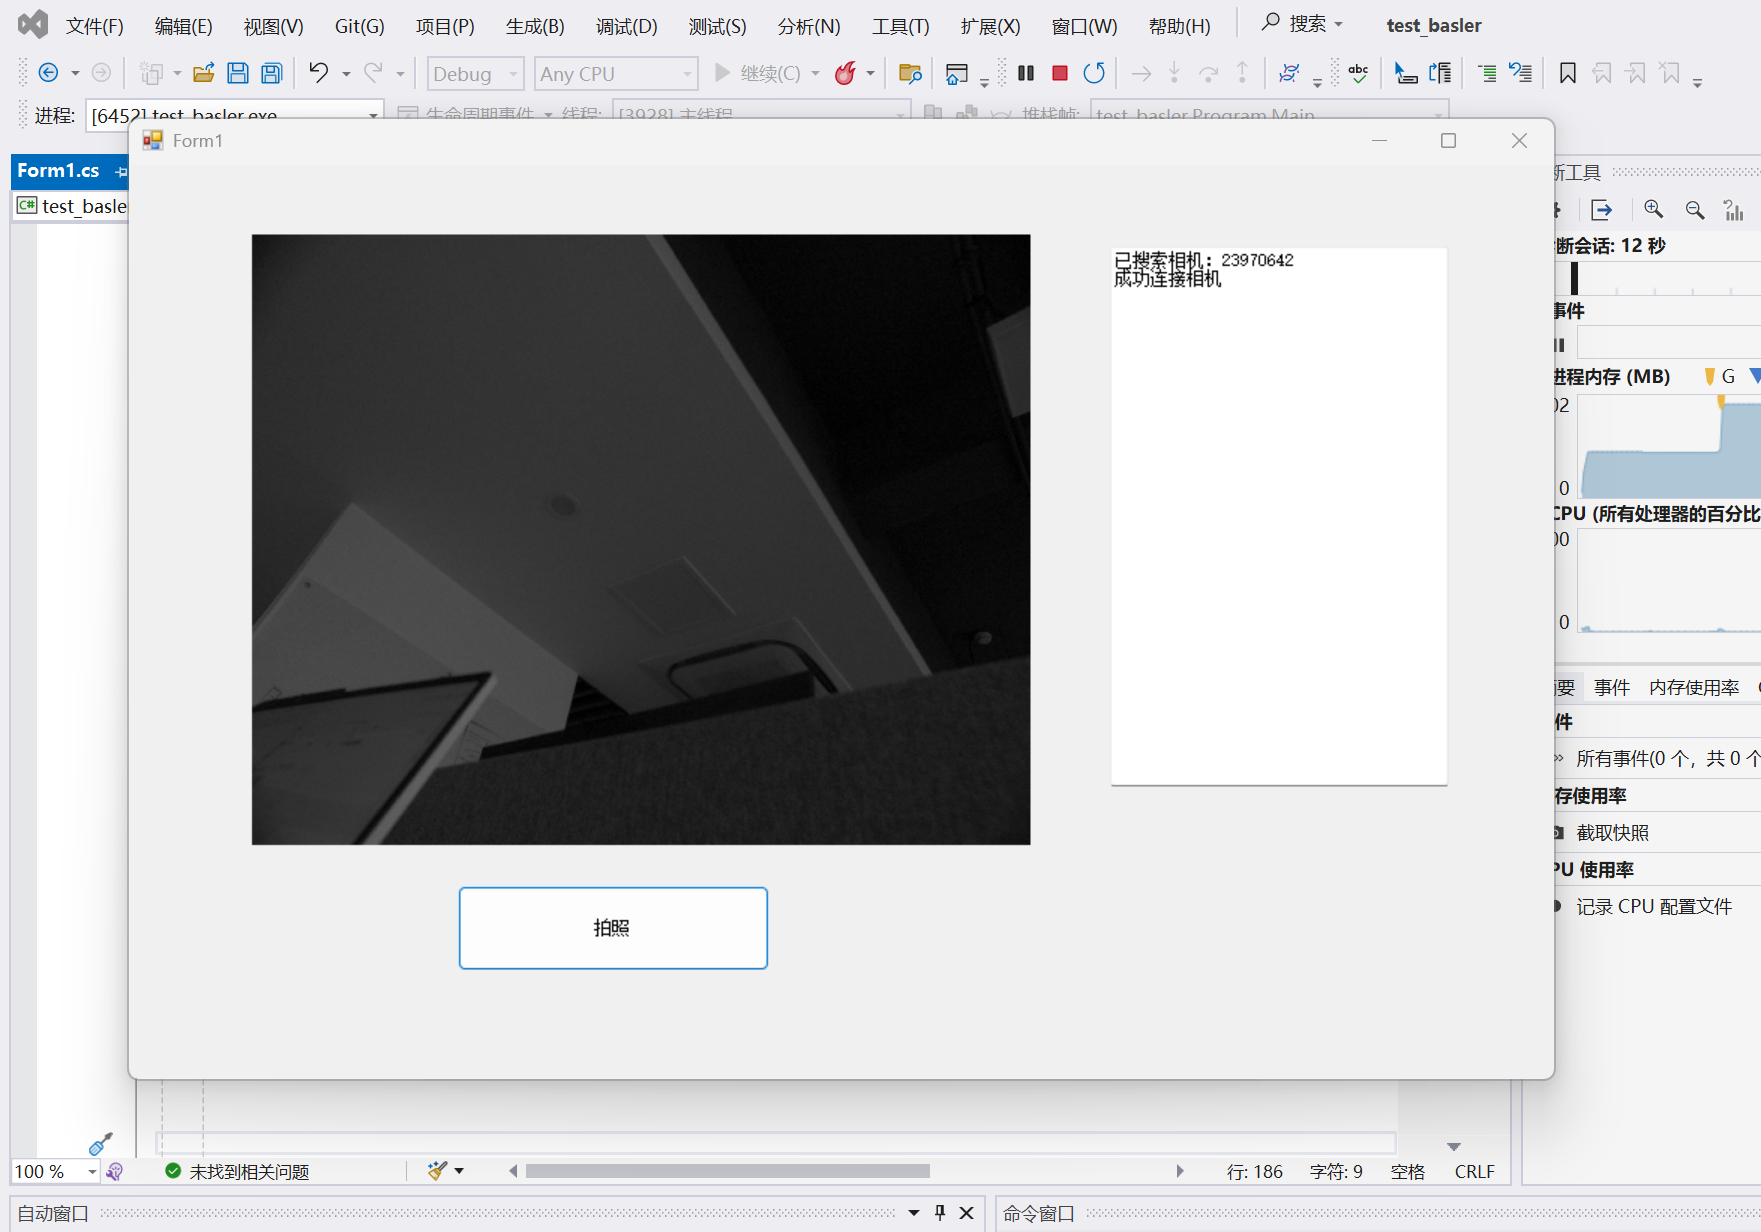
}運行后:
二 c# 原生
用picturebox 來顯示圖像。
Basler Pylon SDK用于控制相機,提供相機發現、連接、參數設置和圖像抓取的功能。
圖像數據以字節數組形式獲取,根據像素格式(如Mono8)處理為灰度圖像。
Bitmap的創建需要正確設置調色板(灰度)和像素格式(Format8bppIndexed)。
鎖定位圖進行直接內存操作(LockBits),將數據從原始字節數組復制到位圖的緩沖區,考慮步幅(每行字節數可能不等于寬度乘以每像素字節數,需要填充)。
代碼如下:
using System;
using System.Collections.Generic;
using System.ComponentModel;
using System.Data;
using System.Drawing;
using System.Drawing.Imaging;
using System.Linq;
using System.Runtime.InteropServices;
using System.Text;
using System.Threading.Tasks;
using System.Windows.Forms;
using Basler.Pylon;namespace test_basler
{public partial class Form1 : Form{List<ICameraInfo> allCameras = null;Camera camera = null;public Form1(){InitializeComponent();string str_connectcamera = connectCamera("23970642");textBox1.AppendText(str_connectcamera + "\r\n");}public string connectCamera(string id){allCameras = CameraFinder.Enumerate();//獲取所有相機設備for (int i = 0; i < allCameras.Count; i++){try{textBox1.AppendText("已搜索相機:");textBox1.AppendText(allCameras[i][CameraInfoKey.SerialNumber]+"\r\n");if (allCameras[i][CameraInfoKey.SerialNumber] == id){//如果當前相機信息中序列號是指定的序列號,則實例化相機類camera = new Camera(allCameras[i]);camera.Open();//打開相機return "成功連接相機";}continue;}catch{return "未找到";}}return "未找到";}private Boolean IsMonoData(IGrabResult iGrabResult)//判斷圖像是否為黑白格式{switch (iGrabResult.PixelTypeValue){case PixelType.Mono1packed:case PixelType.Mono2packed:case PixelType.Mono4packed:case PixelType.Mono8:case PixelType.Mono8signed:case PixelType.Mono10:case PixelType.Mono10p:case PixelType.Mono10packed:case PixelType.Mono12:case PixelType.Mono12p:case PixelType.Mono12packed:case PixelType.Mono16:return true;default:return false;}}public Bitmap OneShot(){try{// 配置參數camera.Parameters[PLCamera.PixelFormat].TrySetValue(PLCamera.PixelFormat.Mono8);camera.Parameters[PLCamera.AcquisitionMode].SetValue(PLCamera.AcquisitionMode.SingleFrame);camera.StreamGrabber.Start();// 抓取圖像IGrabResult grabResult = camera.StreamGrabber.RetrieveResult(4000, TimeoutHandling.ThrowException);if (!grabResult.GrabSucceeded)throw new Exception($"抓圖失敗: {grabResult.ErrorDescription}");// 直接處理原始字節數據byte[] pixelData = grabResult.PixelData as byte[];if (pixelData == null)throw new InvalidOperationException("無像素數據");// 創建Bitmap(無需Halcon)return CreateBitmapFromPixelData(pixelData, grabResult.Width, grabResult.Height, grabResult.PixelTypeValue);}catch (Exception ex){textBox1.AppendText($"拍照錯誤: {ex.Message}\r\n");return null;}finally{if (camera?.StreamGrabber.IsGrabbing == true)camera.StreamGrabber.Stop();}}private void show_img(){}private Bitmap CreateBitmapFromPixelData(byte[] data, int width, int height, PixelType pixelType){Bitmap bmp = new Bitmap(width, height, PixelFormat.Format8bppIndexed);// 設置灰度調色板ColorPalette palette = bmp.Palette;for (int i = 0; i < 256; i++)palette.Entries[i] = Color.FromArgb(i, i, i);bmp.Palette = palette;// 鎖定位圖進行直接內存操作BitmapData bmpData = bmp.LockBits(new Rectangle(0, 0, width, height),ImageLockMode.WriteOnly,bmp.PixelFormat);// 復制像素數據(支持多種像素格式)int stride = bmpData.Stride;int bufferSize = stride * height;byte[] buffer = new byte[bufferSize];// 填充空白區域(當實際數據寬度與Bitmap步幅不一致時)int bytesPerPixel = 1; // 灰度圖int srcStride = width * bytesPerPixel;for (int y = 0; y < height; y++){int srcOffset = y * srcStride;int dstOffset = y * stride;Buffer.BlockCopy(data, srcOffset, buffer, dstOffset, srcStride);}// 復制到BitmapMarshal.Copy(buffer, 0, bmpData.Scan0, bufferSize);bmp.UnlockBits(bmpData);return bmp;}private void button1_Click(object sender, EventArgs e){Bitmap image = OneShot();if (image != null){// 使用PictureBox顯示pictureBox1.Image = image;pictureBox1.SizeMode = PictureBoxSizeMode.Zoom; // 自動縮放}}}
}
流程:
初始化窗體時自動連接相機。
用戶點擊按鈕時觸發圖像采集。
配置相機參數,啟動采集,抓取圖像。
處理圖像數據,創建Bitmap,顯示在UI上。
CameraFinder.Enumerate():枚舉所有連接的相機。
Camera.Open():打開相機連接。
設置相機參數(如PixelFormat、AcquisitionMode)。
StreamGrabber.Start()和Stop():控制圖像采集。
RetrieveResult:獲取抓取結果。
CreateBitmapFromPixelData:將原始字節數據轉換為Bitmap,處理步幅(stride)和像素格式。
使用PictureBox顯示圖像。


)

)


)
)


