初次接觸 Angular 實際項目時,發現里邊有很多不同后綴的文件,雖然沒深入研究過,但根據其他編程語言的經驗猜測這應該是通過后綴名來區分文件的作用。后來有時間研究了一下具體的細節和不同點,就有了今天這篇文章,這些知識雖然基礎但屬于必知必會的內容,希望有需要的看官可以認真讀下去。
一、普通 .ts 文件
- 普通的 .ts 文件是 TypeScript 源文件,主要用于編寫程序的邏輯和功能,這些文件會被編譯成JavaScript 文件,并在運行時執行
- 包含實現代碼:普通的 .ts 文件通常包含類、函數、變量的定義和實現邏輯
- 會被編譯:在構建或編譯項目時,.ts 文件會被 TypeScript 編譯器轉換成 .js 文件
- 使用場景:組件、服務、模塊、指令等功能性代碼文件
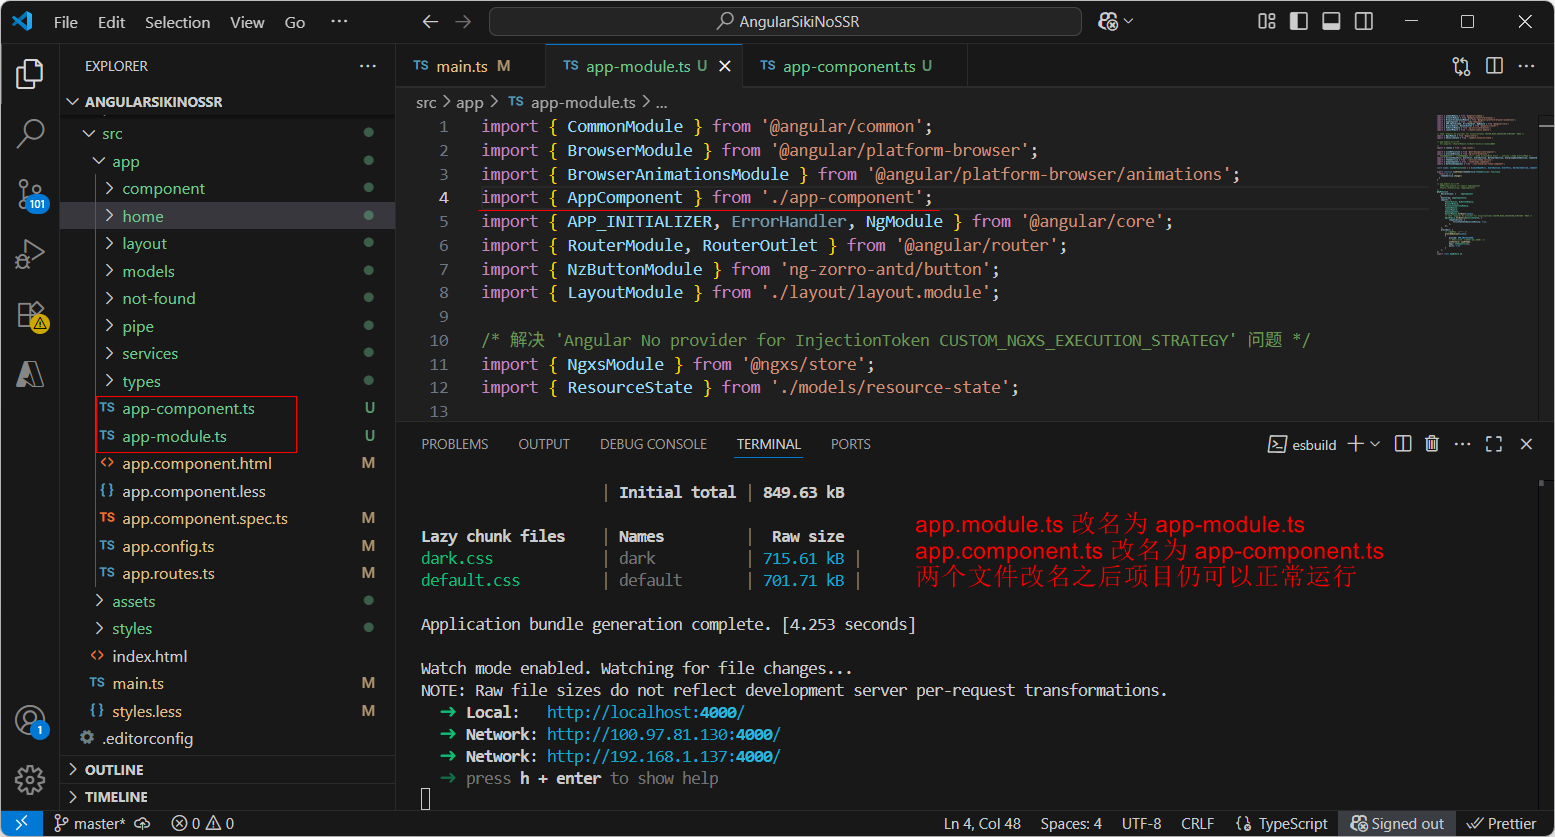
- 這里把 .component.ts、.module.ts 都作為普通 .ts,app.component.ts 改名為 app-component.ts、app.module.ts 改名為?
app-module.ts 后項目仍可以正常運行(我們一般不改它們的后綴名)
// app.component.ts
import { Component } from '@angular/core';@Component({selector: 'app-root',template: `<h1>Hello Angular!</h1>`,
})
export class AppComponent {title: string = 'Angular App';constructor() {console.log('AppComponent initialized');}
}
二、.d.ts 文件
- .d.ts 文件是 TypeScript 的類型聲明文件,用于提供類型定義信息,注意不包括具體的實現
- 它為 TypeScript 編譯器提供類型檢查和代碼補全的支持,主要用于定義模塊、庫、全局變量或接口的類型
- 僅包含類型聲明:.d.ts 文件只包含類型信息,沒有實現邏輯
- 不會被編譯:TypeScript 編譯器會直接使用 .d.ts 文件中的類型信息進行類型檢查,但不會將他們編譯成 JavaScript 文件
- 使用場景:定義全局變量或接口;
為沒有類型定義的第三方庫提供類型支持;
為模塊或庫的外部用戶提供類型支持; - 通俗點理解?.d.ts 文件中存放需要用 declare 聲明的類型,global.d.ts 改成?globald.ts 編譯會失敗
//以下是 global.d.ts 文件的內容
declare global {interface Window {myCustomProperty: string;}
}//注意:TypeScript 聲明文件必須包含至少一個 export 或 import,否則它會被視為一個全局腳本文件,而不是模塊。
export {};
@Component({selector: 'app-resource',standalone: true,imports: [ CommonModule ],templateUrl: './resource.component.html',styleUrls: ['./resource.component.less']
})
export class ResourceComponent implements OnInit {constructor() { // 使用擴展的字段window.myCustomProperty = 'Hello, window.myCustomProperty!';console.log(window.myCustomProperty);}
}
三、.state.ts
- .state.ts 文件并不是 TypeScript 本身的標準文件類型,而是通常作為項目中的一種約定,用于定義和管理狀態(state)相關的代碼
- 它通常用于描述應用程序的狀態模型,或者與狀態管理工具(如NgRx、Akita、Redux等)配合
- 包含狀態定義和邏輯:.state.ts 文件可能包含狀態模型、初始狀態、狀態操作和選擇器等
- 會被編譯:與普通的 .ts 文件一樣,.state.ts 文件也會被編譯為 JavaScript 文件
- 使用場景:通常用于 Angular 項目中的狀態管理模塊,幫助管理局部或全局狀態
- 既然是非標準文件類型,那么?resource.actions.ts 改名為?resource-actions.ts、resource.model.ts 改名為 resource-model.ts、resource.state.ts 改名為 resource-state.ts 后項目仍可以正常運行(我們一般不改它們的后綴名)
- 下面的代碼是一個前后端完整的 ResourceState 實例,包括:定義ResourceState、@Selector()、@Action(xxx),以及使用ResourceState 和調用 @Action(xxx)
//resource.model.ts 文件的內容
export interface Resource {id: number,name: string
}export interface ResourceStateModel {resources: Resource[];selectedResourceId: number | null;
}
//resource.actions.ts 文件的內容
import { Resource } from "./resource.model";export class AddResource {static readonly type = '[Resource] Add Resource'; //動作類型constructor(public payload: Resource) {} //傳遞完整的資源數據
}export class SelectResource {static readonly type = '[Resource] Select Resource'; //動作類型constructor(public payload: number) {} //傳遞選中資源的Id
}
//resource.state.ts 文件的內容
import { Injectable } from '@angular/core';
import { State, Action, StateContext, Selector, NgxsAfterBootstrap } from '@ngxs/store';
import { Resource, ResourceStateModel } from './resource.model';
import { AddResource, SelectResource } from './resource.actions';@State<ResourceStateModel>({name: 'resource', //狀態的名稱,用于標識defaults: {resources: [{id: 1,name: 'name01'},{id: 2,name: 'name02'}], //初始資源列表為空,若ngxsAfterBootstrap()中對resources重新賦值則此處的初始化數據無效,若ngxsAfterBootstrap()中沒對resources重新賦值則此處的初始化數據有效selectedResourceId: 1  //初始沒有選中的資源}
})@Injectable({providedIn: 'root'
})
export class ResourceState implements NgxsAfterBootstrap{//定義選擇器,用于從狀態中派生數據//選擇所有資源@Selector()static getAllResources(state: ResourceStateModel): Resource[] {return state.resources;}//選擇當前選中的資源@Selector()static getSelectedResource(state: ResourceStateModel): Resource | undefined {return state.resources.find(resource => resource.id === state.selectedResourceId);}//定義動作處理器,用于更新狀態,@Action(AddResource)與第二個參數必須是同類型//動作:添加資源@Action(AddResource)addResource(ctx: StateContext<ResourceStateModel>, action: AddResource): void {console.log(`In addResource, action as below:`)console.log(action)const state = ctx.getState();/*...是擴展運算符或剩余參數,擴展運算符用于將數組或對象的元素展開為單獨的值,通常用于合并數組、克隆對象等操作。示例 1:展開數組const array1 = [1, 2, 3];const array2 = [4, 5, 6];const combinedArray = [...array1, ...array2];console.log(combinedArray); // 輸出:[1, 2, 3, 4, 5, 6]示例 2:展開對象const obj1 = { name: 'Alice', age: 25 };const obj2 = { location: 'New York' };const combinedObj = { ...obj1, ...obj2 };console.log(combinedObj); // 輸出:{ name: 'Alice', age: 25, location: 'New York' }*///這兩行的效果一樣,展開之后又組裝成對象console.log(state)console.log({...state})console.log(state.resources)console.log(...state.resources)console.log({...state.resources})const newResources = [...state.resources, action.payload];ctx.setState({...state,resources: newResources});}//動作:選擇資源@Action(SelectResource)selectResource(ctx: StateContext<ResourceStateModel>, action: SelectResource): void {console.log(`In selectResource, action as below:`)console.log(action)const state = ctx.getState();ctx.setState({...state,selectedResourceId: action.payload});}public ngxsAfterBootstrap(ctx: StateContext<ResourceStateModel>): void {console.log('check bootstrap')//ctx.patchState({resources: [{id: 1, name: "test",}]})}
}
<!-- resource.component.html 文件的內容 -->
<ul><!-- @State支持@Selector()讀取狀態值、@Action()更新狀態值,這些功能普通Service也能實現@State最核心的Angular 提供的 AsyncPipe 是管理 Observable 最簡單和推薦的方式。它會自動訂閱和取消訂閱,無需手動管理。如果手動對普通Service實現訂閱和取消訂閱還是比較復雜的--><li *ngFor="let resource of resources$ | async" (click)="onSelectResource(resource.id)">{{resource.name}}<span *ngIf="(selectedResource$ | async)?.id === resource.id">(selected)</span></li>
</ul>
<button (click)="addResource()">Add Resource</button>
//resource.component.ts 文件的內容
import { Component, inject, OnInit } from '@angular/core';
import { CommonModule } from '@angular/common';
import { AddResource, SelectResource } from '../../models/resource.actions';
import { Resource } from '../../models/resource.model';
import { Observable } from 'rxjs';
import { ResourceState } from '../../models/resource.state';
import { Store } from '@ngxs/store';@Component({selector: 'app-resource',standalone: true,imports: [ CommonModule ],templateUrl: './resource.component.html',styleUrls: ['./resource.component.less']
})
export class ResourceComponent implements OnInit {//使用 @Select 裝飾器獲取狀態的選擇器值public readonly resources$: Observable<Resource[]> = inject(Store).select(ResourceState.getAllResources);public readonly selectedResource$: Observable<Resource | undefined>= inject(Store).select(ResourceState.getSelectedResource);constructor(private store: Store) { }ngOnInit() {}ngAfterViewInit(): void {//Called after ngAfterContentInit when the component's view has been initialized. Applies to components only.//Add 'implements AfterViewInit' to the class.}addResource(): void {const newResource: Resource = {id: Math.floor(Math.random() * 1000), //隨機生成Idname: `Resource ${Math.floor(Math.random() * 100)}`};//觸發 AddResource 動作,找到resource.state.ts中的@Action(AddResource),向狀態中添加新資源this.store.dispatch(new AddResource(newResource));}onSelectResource(resourceId: number): void {//觸發 SelectResource 動作,找到resource.state.ts中的@Action(SelectResource)更新選中的資源Idthis.store.dispatch(new SelectResource(resourceId));}
}
四、總結
討論了這么多,文章中列舉出的這些不同后綴名的文件,只有 .d.ts 文件的后綴名不能改,其他后綴名改完之后項目仍然能正常運行,但是 Angular 的這一設定跟 .Net 中的 Controller 類似,約定大于配置,所有的開發者都按照相同的規則進行開發,這樣當你讀其他人的代碼時就能快速入手,確實對大家都是好事。
OK,如果各位看官覺得本文對你有所幫助,請點贊、收藏、評論支持一下,我將感激不盡。

)


)


 869. 重新排序得到 2 的冪 (哈希表+枚舉))


