摘要
本文深入探討了 Spring 框架中 InitializingBean 接口的原理與實戰應用,該接口是 Spring 提供的一個生命周期接口,用于在 Bean 屬性注入完成后執行初始化邏輯。文章詳細介紹了接口定義、作用、典型使用場景,并與其他相關概念如 @PostConstruct 和 DisposableBean 進行了對比。
1. InitializingBean原理與實戰
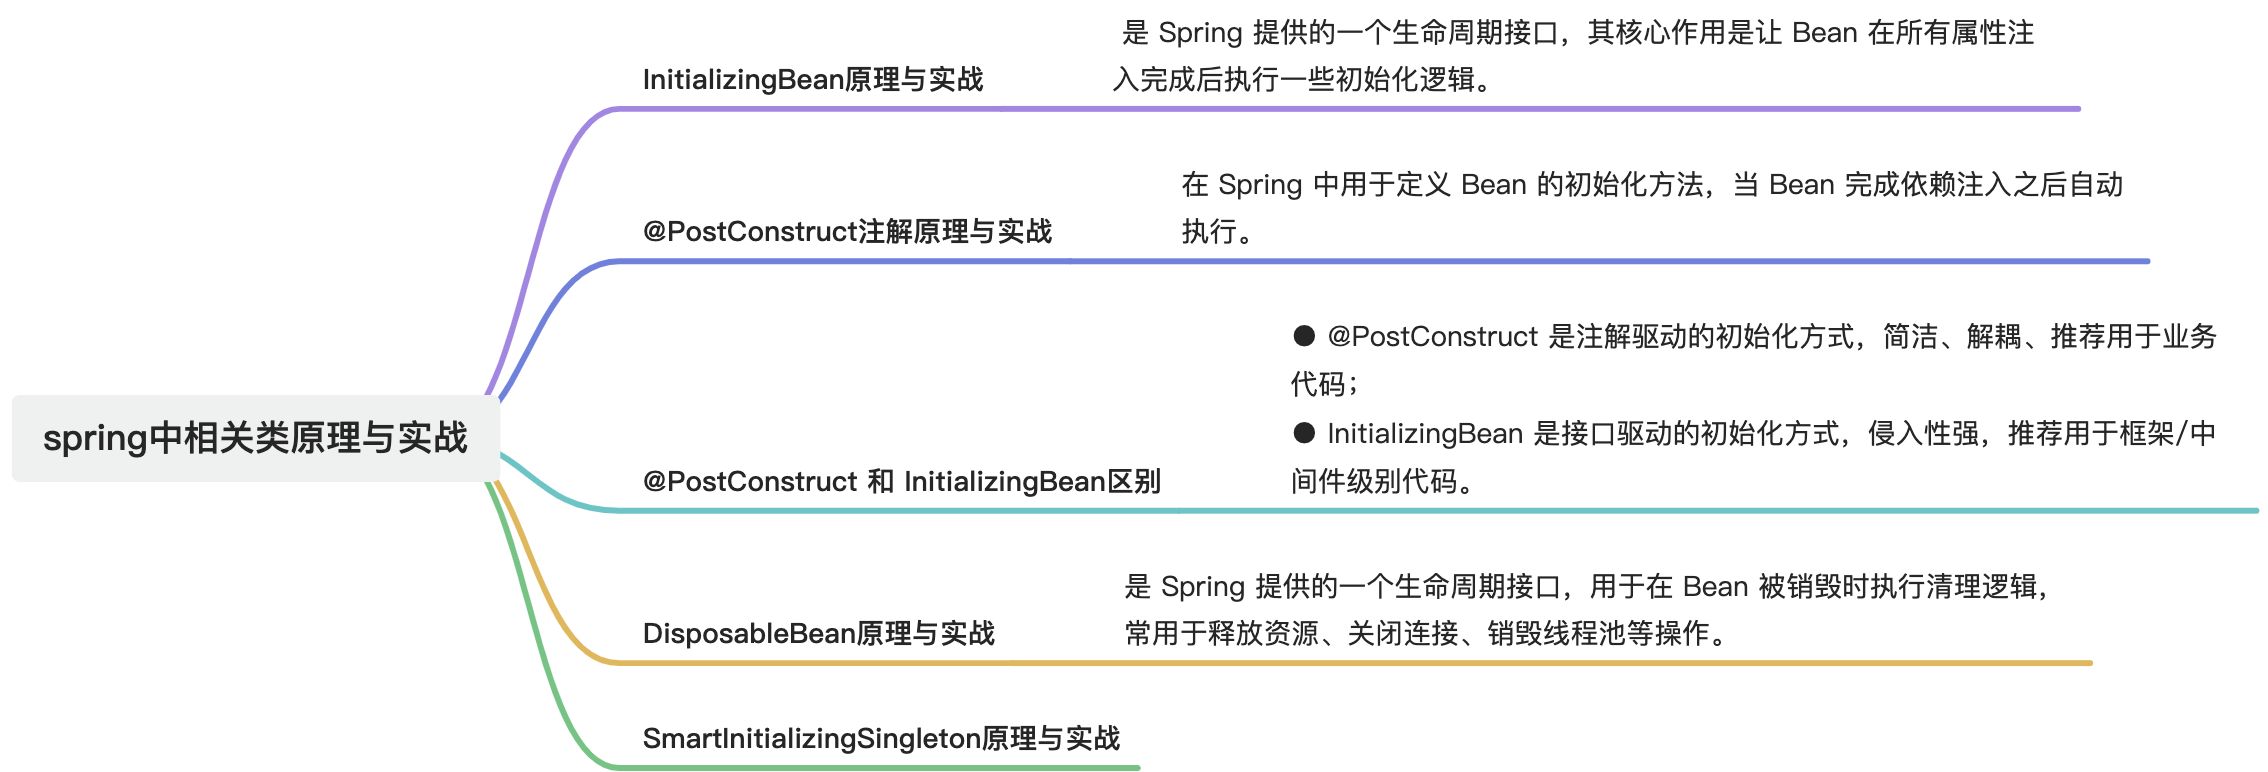
InitializingBean 是 Spring 提供的一個生命周期接口,其核心作用是讓 Bean 在所有屬性注入完成后執行一些初始化邏輯。
1.1. 🧩 接口定義
public interface InitializingBean {void afterPropertiesSet() throws Exception;
}
如果你的類實現了這個接口,Spring 會在完成依賴注入后自動調用 afterPropertiesSet() 方法。
1.2. ? InitializingBean作用
| 功能 | 說明 |
| 生命周期鉤子 | 在 Bean 初始化(注入屬性)后執行自定義邏輯 |
| 替代 | 是一種“接口驅動”的初始化方式 |
| 適用于框架開發 | 明確初始化點,便于統一管理 |
1.3. ? 典型使用場景(實戰)
1.3.1. 初始化資源、連接等
@Component
public class RedisClient implements InitializingBean {private JedisPool jedisPool;@Value("${redis.host}")private String host;@Value("${redis.port}")private int port;@Overridepublic void afterPropertiesSet() throws Exception {jedisPool = new JedisPool(host, port);System.out.println("Redis 連接池初始化完成");}public Jedis getConnection() {return jedisPool.getResource();}
}
📌 實戰說明:配置注入完成后,通過 afterPropertiesSet() 初始化 Redis 連接池。
1.3.2. 校驗依賴是否注入完整
@Component
public class SomeService implements InitializingBean {@Autowiredprivate SomeDependency dependency;@Overridepublic void afterPropertiesSet() {if (dependency == null) {throw new IllegalStateException("SomeDependency 沒有被注入!");}}
}
1.3.3. 在框架中設置靜態訪問點(如 XXL-Job 中)
@Override
public void afterPropertiesSet() throws Exception {adminConfig = this; // 設置靜態訪問入口xxlJobScheduler = new XxlJobScheduler();xxlJobScheduler.init(); // 初始化調度器
}
📌 實戰說明:用于啟動調度器、加載配置等初始化邏輯,適合中間件開發。
1.4. ? InitializingBean總結
InitializingBean提供了一種 標準化的 Bean 初始化入口。- 推薦用于:底層框架、組件、工具類初始化中,如連接池、調度器、配置校驗。
- 對于業務邏輯,更推薦用
@PostConstruct注解,簡潔易讀。
2. @PostConstruct注解原理與實戰
@PostConstruct 是 Java 提供的標準注解(來自 javax.annotation 或 jakarta.annotation),在 Spring 中用于定義 Bean 的初始化方法,當 Bean 完成依賴注入之后自動執行。
2.1. ? @PostConstruct 是什么?
@PostConstruct
public void init() {// 初始化邏輯
}- 當 Spring 完成對 Bean 的創建與依賴注入后,會自動調用標注了
@PostConstruct的方法。 - 方法 只能有一個、無參數、返回值為 void。
2.2. ? @PostConstruct與Spring生命周期的關系
Spring 創建一個 Bean 的完整流程如下:
構造函數 -> 依賴注入 -> @PostConstruct -> InitializingBean.afterPropertiesSet() -> Bean 初始化完成因此,@PostConstruct 執行在 Bean 初始化的早期階段,非常適合做以下操作:
| 用途 | 說明 |
| 資源初始化 | 建立連接池、定時器、緩存等 |
| 參數檢查 | 校驗注入的配置是否符合要求 |
| 注冊操作 | 向注冊中心、事件總線等注冊自己 |
| 靜態賦值 | 注入靜態成員變量或構造輔助工具 |
2.3. ? 實戰使用示例
2.3.1. 緩存初始化
@Component
public class DictCache {private final DictService dictService;private Map<String, String> dictCache = new HashMap<>();public DictCache(DictService dictService) {this.dictService = dictService;}@PostConstructpublic void loadCache() {dictCache = dictService.loadAllDict();System.out.println("字典緩存加載完畢!");}public String get(String key) {return dictCache.get(key);}
}
2.3.2. 參數校驗或默認值設置
@Component
public class SmsSender {@Value("${sms.gateway.url}")private String gatewayUrl;@PostConstructpublic void validate() {if (gatewayUrl == null || gatewayUrl.isEmpty()) {throw new IllegalArgumentException("短信網關地址不能為空!");}}
}
2.3.3. 設置靜態工具類
@Component
public class SpringContextUtil {@Autowiredprivate ApplicationContext applicationContext;public static ApplicationContext context;@PostConstructpublic void init() {SpringContextUtil.context = this.applicationContext;}public static <T> T getBean(Class<T> clazz) {return context.getBean(clazz);}
}
2.4. ? @PostConstruct與InitializingBean 的對比
| 特性 |
|
|
| 來源 | Java 標準注解 | Spring 接口 |
| 侵入性 | 低(無需實現接口) | 高(必須實現接口) |
| 可讀性 | 更清晰、簡潔 | 稍顯繁瑣 |
| 推薦 | ? 推薦 | ? 一般不推薦用于業務代碼 |
| 場景 | 普通業務初始化 | 框架、組件級初始化 |
3. @PostConstruct 和 InitializingBean區別?
在 緩存初始化 場景中,@PostConstruct 和 InitializingBean 都能完成初始化邏輯,但兩者有以下核心區別:
@PostConstruct是注解驅動的初始化方式,簡潔、解耦、推薦用于業務代碼;InitializingBean是接口驅動的初始化方式,侵入性強,推薦用于框架/中間件級別代碼。
3.1. ? 功能與使用上的對比
| 對比項 |
|
|
| 本質 | Java 標準注解(JSR-250) | Spring 生命周期接口 |
| 編碼方式 | 在方法上加注解 | 實現接口、重寫方法 |
| 方法名 | 任意(如 | 固定: |
| 方法個數 | 可以多個類中各定義一個 | 一個類只能有一個 |
| 侵入性 | ? 低:無須繼承或實現接口 | ? 高:必須實現接口 |
| 可讀性 | ? 強:一看注解就知道是初始化 | ? 差:容易被忽視 |
| 可測試性 | ? 好(不會影響類結構) | ? 接口實現影響結構 |
| 場景適用 | 業務代碼、工具類、緩存加載 | 框架設計、底層組件、可復用模塊 |
| 推薦程度 | ? 更推薦使用 | ?? 更適合框架代碼 |
3.2. ? 實際緩存初始化場景對比
3.2.1. 用@PostConstruct 初始化緩存
@Component
public class DictCache {@Autowiredprivate DictService dictService;private Map<String, String> cache = new HashMap<>();@PostConstructpublic void initCache() {cache = dictService.loadAllDict();}
}
? 優點:
- 簡潔明了
- 不影響類結構
- 易于測試和維護
3.2.2. 用InitializingBean 初始化緩存
@Component
public class DictCache implements InitializingBean {@Autowiredprivate DictService dictService;private Map<String, String> cache = new HashMap<>();@Overridepublic void afterPropertiesSet() throws Exception {cache = dictService.loadAllDict();}
}
?? 缺點:
- 需要實現接口,影響類設計
- 方法名固定,不夠語義化
- 可讀性差:不能一眼看出這是初始化方法
3.3. ? 實際開發推薦
| 場景 | 推薦方式 |
| 普通業務初始化(如緩存、參數) | ? |
| 框架開發 / 高通用組件(如連接池、調度器) | ? |
| 初始化邏輯中涉及多個階段、多個順序 | ?都不推薦,建議用 |
4. DisposableBean原理與實戰
DisposableBean 是 Spring 提供的一個生命周期接口,用于在 Bean 被銷毀時執行清理邏輯,常用于釋放資源、關閉連接、銷毀線程池等操作。DisposableBean 接口的 destroy() 方法會在 Spring 容器銷毀該 Bean 之前被調用,用于完成資源釋放或清理工作。
4.1. 🧩 接口定義
public interface DisposableBean {void destroy() throws Exception;
}
Spring 會在 容器關閉前 調用實現類的 destroy() 方法。
4.2. ? 釋放線程池
@Component
public class TaskManager implements DisposableBean {private ExecutorService threadPool = Executors.newFixedThreadPool(10);public void submit(Runnable task) {threadPool.submit(task);}@Overridepublic void destroy() throws Exception {System.out.println("正在關閉線程池...");threadPool.shutdown();}
}
📝 當 Spring 容器關閉時,destroy() 方法被自動調用,安全關閉線程池。
4.3. ? 關閉數據庫連接或 Redis 客戶端
java復制編輯
@Component
public class RedisClientWrapper implements DisposableBean {private JedisPool jedisPool = new JedisPool("localhost");public Jedis getClient() {return jedisPool.getResource();}@Overridepublic void destroy() throws Exception {System.out.println("關閉 Redis 連接池");jedisPool.close();}
}
4.4. ? 結合 InitializingBean
有時你會在一個類中同時使用初始化和銷毀邏輯:
@Component
public class MyService implements InitializingBean, DisposableBean {@Overridepublic void afterPropertiesSet() throws Exception {System.out.println("初始化資源");}@Overridepublic void destroy() throws Exception {System.out.println("清理資源");}
}
4.5. 🛠? 替代方案:@PreDestroy
Spring 也支持使用 @PreDestroy 注解實現銷毀邏輯:
@PreDestroy
public void cleanup() {System.out.println("釋放資源 @PreDestroy");
}
4.5.1. 🔍 區別總結:
| 對比項 |
|
|
| 來源 | Spring 接口 | Java 標準注解(JSR-250) |
| 入侵性 | 高(實現接口) | 低(注解) |
| 推薦程度 | ? 較低 | ? 更推薦 |
| 方法限制 | 固定 | 方法名可自定義 |
| 結構清晰 | ? 不利于多繼承 | ? 解耦、靈活 |
4.6. ? 總結
| 項目 | 說明 |
| 接口名 |
|
| 方法 |
|
| 調用時機 | Bean 被銷毀前(如容器關閉) |
| 常見用途 | 釋放線程池、關閉連接池、清理緩存等 |
| 推薦替代 | 使用 |
| 使用場景 | 資源管理類、任務調度類、連接池等生命周期敏感組件 |
如果你在業務中需要在 Spring 應用關閉時清理資源,推薦使用 @PreDestroy;如果你正在寫一個框架、組件,或者需要精確控制 Bean 生命周期,則可以使用 DisposableBean。
5. SmartInitializingSingleton原理與實戰
SmartInitializingSingleton 是 Spring 框架中的一個 高級擴展接口,用于在 所有單例 Bean 完全初始化完成后 執行某段邏輯。它常用于 組件啟動邏輯的延遲執行,比如像 XXL-JOB 的執行器、緩存預熱、動態注冊。
5.1. SmartInitializingSingleton 是什么?
public interface SmartInitializingSingleton {void afterSingletonsInstantiated();
}- Spring 會在所有單例
Bean實例化并依賴注入完成后(即 Spring 容器即將就緒時)調用這個接口的實現。 - 和
InitializingBean.afterPropertiesSet()不同,它只調用一次,且是在所有單例準備完畢后調用。
5.2. 與InitializingBean區別?
| 項目 |
|
|
| 調用時機 | 單個 Bean 初始化后 | 所有單例 Bean 初始化后 |
| 觸發方式 | 每個 Bean 單獨觸發 | 容器完成所有初始化后統一觸發 |
| 應用場景 | Bean 自己初始化邏輯 | 全局依賴邏輯(如依賴其他 Bean 已完成) |
| 替代方式 |
| 無注解替代方式(需接口或 |
| 實現目標 | Bean 自己初始化 | 等待所有 Bean 初始化再統一處理 |
5.3. 實戰場景和原理解析
5.3.1. 🌟 場景一:自動注冊任務(如 XXL-JOB)
@Component
public class XxlJobSpringExecutor extends XxlJobExecutor
implements SmartInitializingSingleton {@Overridepublic void afterSingletonsInstantiated() {initJobHandlerMethodRepository(applicationContext); // 掃描 @XxlJobsuper.start(); // 啟動注冊}
}
📌 原因:只有當所有 Bean 都加載完,才能掃描所有 Bean 中的方法。
5.3.2. 🌟 場景二:事件總線初始化(如 Guava EventBus)
@Component
public class EventBusRegister implements SmartInitializingSingleton {@Autowiredprivate ApplicationContext applicationContext;@Overridepublic void afterSingletonsInstantiated() {// 注冊所有 @EventListener 的 BeanapplicationContext.getBeansWithAnnotation(MyEventListener.class).forEach((name, bean) -> EventBusFactory.getBus().register(bean));}
}
5.3.3. 🌟 場景三:注冊中心上報(如 Dubbo、Nacos)
@Component
public class ServiceRegistry implements SmartInitializingSingleton {@Autowiredprivate ServiceMetaInfo localService;@Overridepublic void afterSingletonsInstantiated() {// 等所有 Bean 初始化完后統一注冊服務信息registryCenter.register(localService);}
}
5.4. 源碼調用順序
Spring 在 DefaultListableBeanFactory.preInstantiateSingletons() 方法中:
if (bean instanceof SmartInitializingSingleton) {((SmartInitializingSingleton) bean).afterSingletonsInstantiated();
}
該方法會在所有單例 Bean 初始化完成后,逐個調用實現了 SmartInitializingSingleton 的類的回調方法。
5.5. ? 總結對比
| 項目 | InitializingBean | SmartInitializingSingleton |
| 接口方法 |
|
|
| 調用時機 | Bean 實例化 + 屬性注入后 | 所有單例實例化完成后 |
| 調用頻率 | 每個 Bean 調一次 | 所有單例后只調一次(全局) |
| 適用場景 | Bean 自己的初始化 | 需要獲取所有 Bean 后統一處理 |
| 替代注解 |
| 無明確替代,最末生命周期回調 |
5.6. ? 實戰建議
| 需求 | 建議實現 |
| 初始化當前 Bean 用 |
|
| 需要等待所有單例準備好后統一處理(如注冊、掃描) |
|
如果你在項目中需要:
- 自動發現所有某類 Bean(如任務、監聽器、規則處理器)
- 注冊第三方服務(Nacos、Dubbo、Job)
- 需要確保 Spring 容器啟動完成再初始化邏輯
推薦用 SmartInitializingSingleton,這是一種更穩妥的方式。
)
: INMP441采集音頻并實時播放)


)


)


)
