目錄
創建uni-app項目
基礎架構
安裝 uni-ui 組件庫
安裝sass依賴
easycom配置組件自動導入
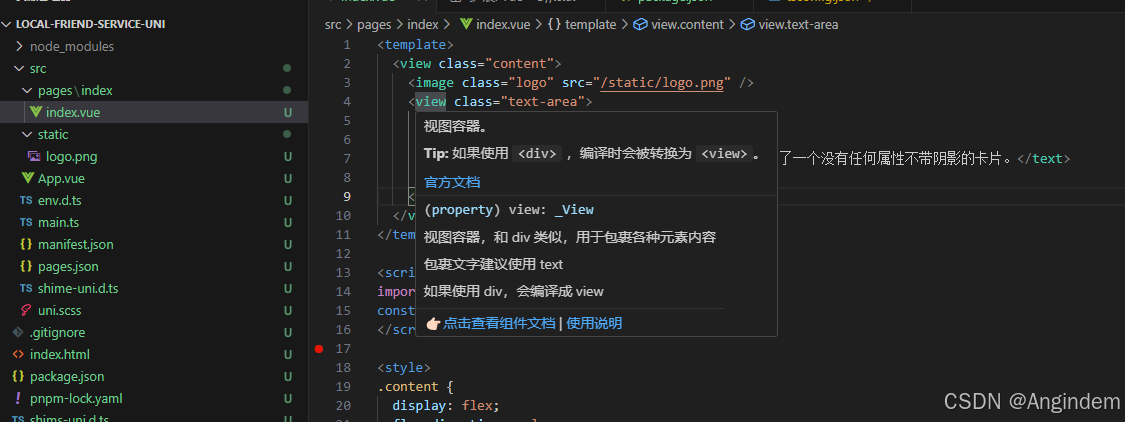
配置view等標簽高亮聲明
配置uni-ui組件類型聲明
解決 標簽 錯誤
關于tsconfig.json中提示報錯
關于非原生標簽錯誤(看運氣)
安裝 uview-plus 組件庫
?編輯
Pinia 配置
pinia 依賴安裝
測試
pinia 持久化配置
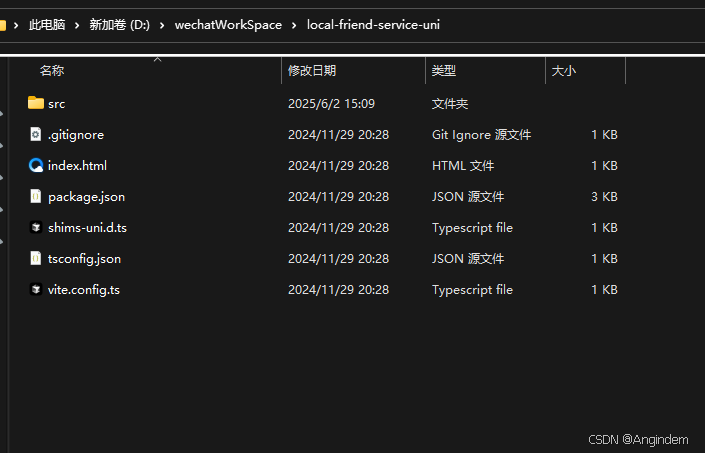
創建uni-app項目
npx degit dcloudio/uni-preset-vue#vite-ts new-project-namenew-project-name:這里更改一下為自己的項目名稱
基礎架構
安裝 uni-ui 組件庫
官網:uni-app官網
通過官網說明文檔相對應的搭建
pnpm i @dcloudio/uni-ui安裝sass依賴
pnpm i sass@1.63.2 -D
pnpm i sass-loader@10.4.1 -Deasycom配置組件自動導入
// pages.json
{// uniapp 配置文件"easycom": {"autoscan": true,// 以正則方式自定義組件匹配規則"custom": {// uni-ui 規則如下配置"^uni-(.*)": "@dcloudio/uni-ui/lib/uni-$1/uni-$1.vue",// 以serive開頭的組件,在 components 文件夾中查找引入(需要重啟服務器)//"^serive(.*)": "@/components/serive/serive$1.vue"}},// 其他內容pages:[// ...]
}
配置view等標簽高亮聲明
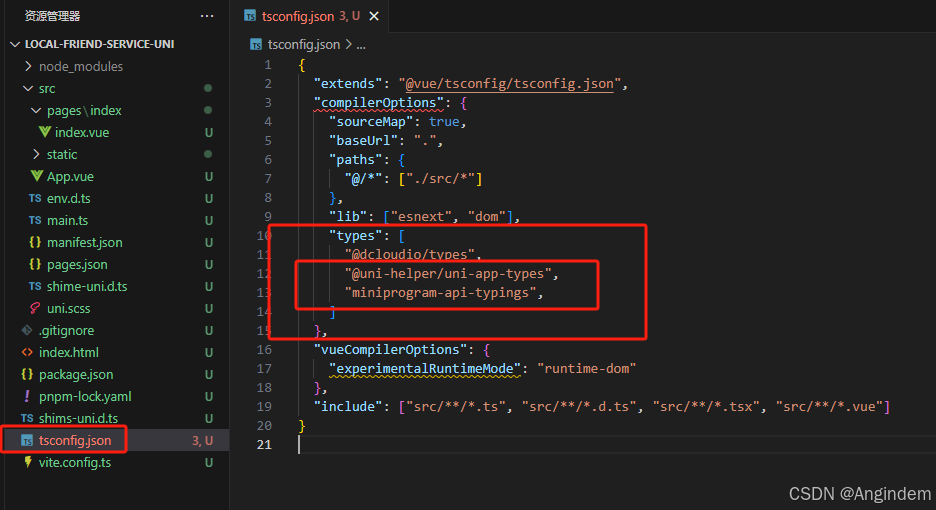
pnpm i -D miniprogram-api-typings @uni-helper/uni-app-types安裝成功后復制對應的依賴包名放置在 tsconfig.json中的type字段
同時加上?vueCompilerOptions 配置
"vueCompilerOptions": {"experimentalRuntimeMode": "runtime-uni-app"},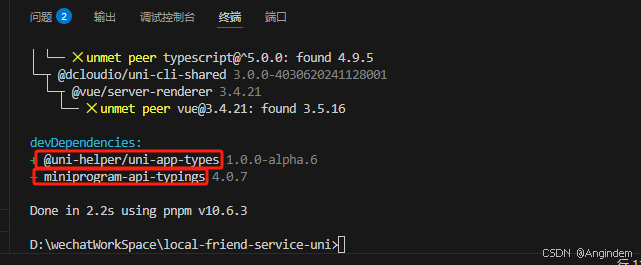
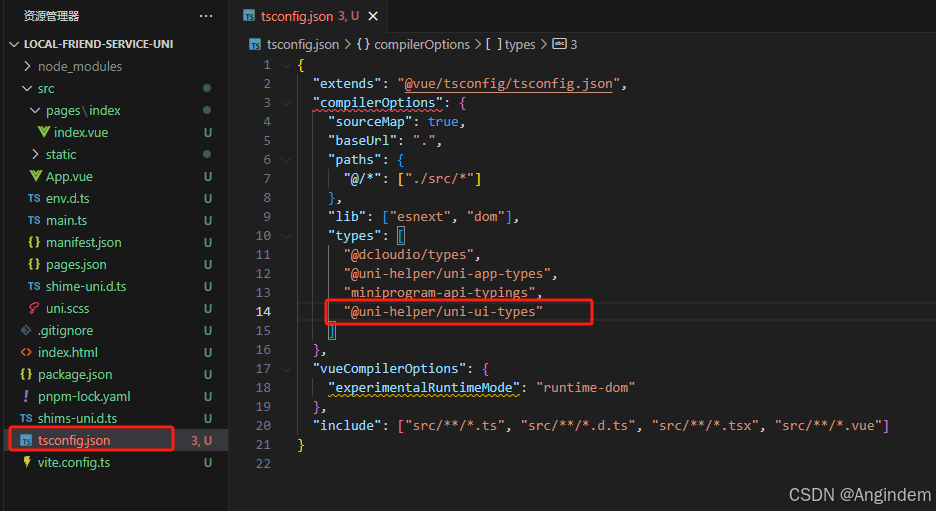
配置uni-ui組件類型聲明
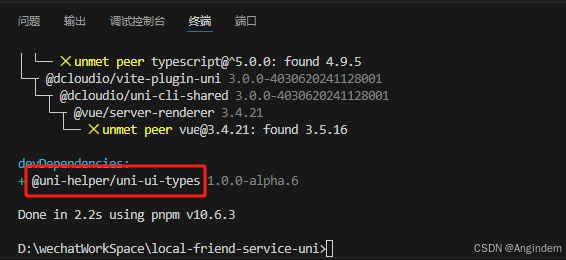
組件聲明類型依賴官網(注意:如果緩慢需要魔法):@uni-helper/uni-ui-types - npm
pnpm i -D @uni-helper/uni-ui-types安裝成功后復制對應的依賴包名放置在 tsconfig.json中的type字段
解決 標簽 錯誤
關于tsconfig.json中提示報錯
選項“importsNotUsedAsValues”已刪除。請從配置中刪除它。請改用“verbatimModuleSyntax”
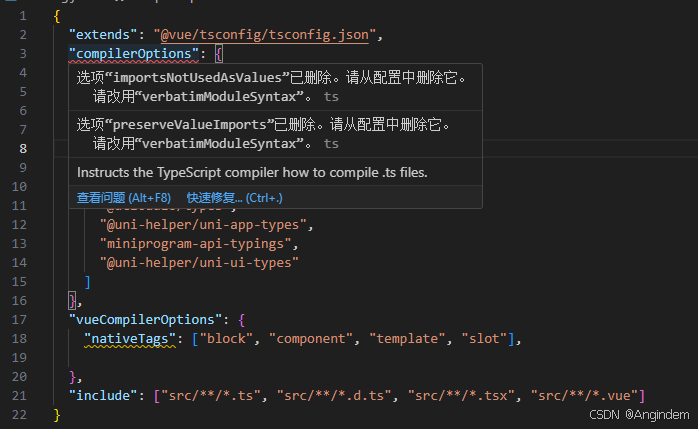
主要是我們使用的tsconfig版本太低了
步驟1:
更新@vue/tsconfig版本,在package.json文件中找到@vue/tsconfig,把版本號改為0.7.0
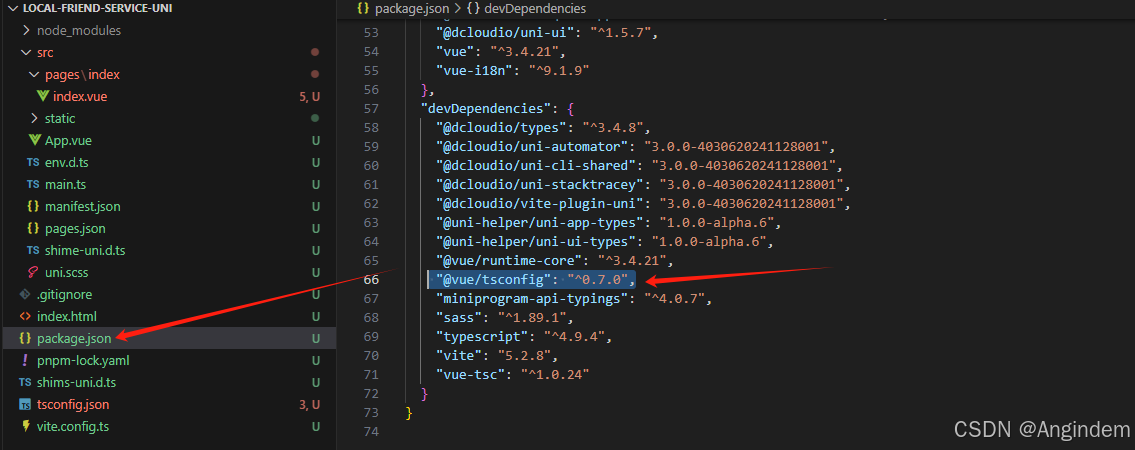
"@vue/tsconfig": "^0.7.0",隨后運行pnpm 更新依賴
pnpm install最后更改 tsconfig 地址?
"extends": "@vue/tsconfig/tsconfig.dom.json",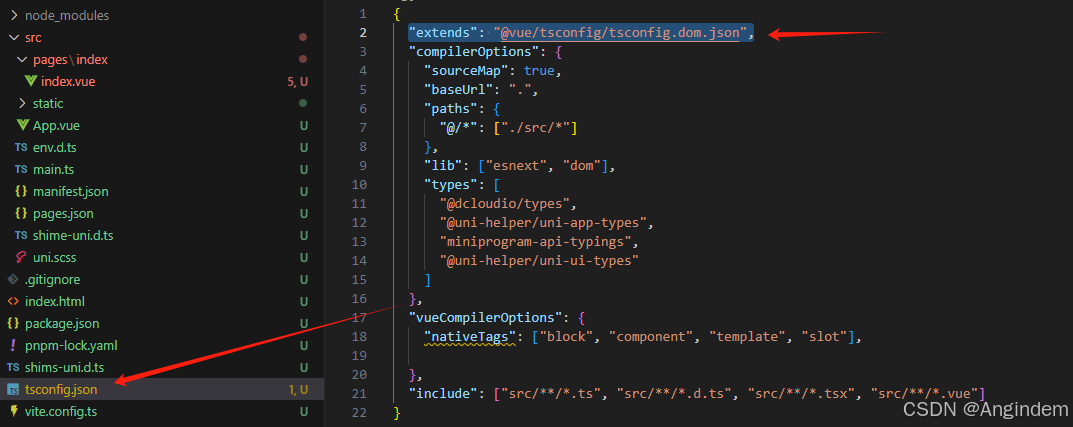
這樣就不報錯了
關于非原生標簽錯誤(看運氣)
當我們發現正常標簽報錯
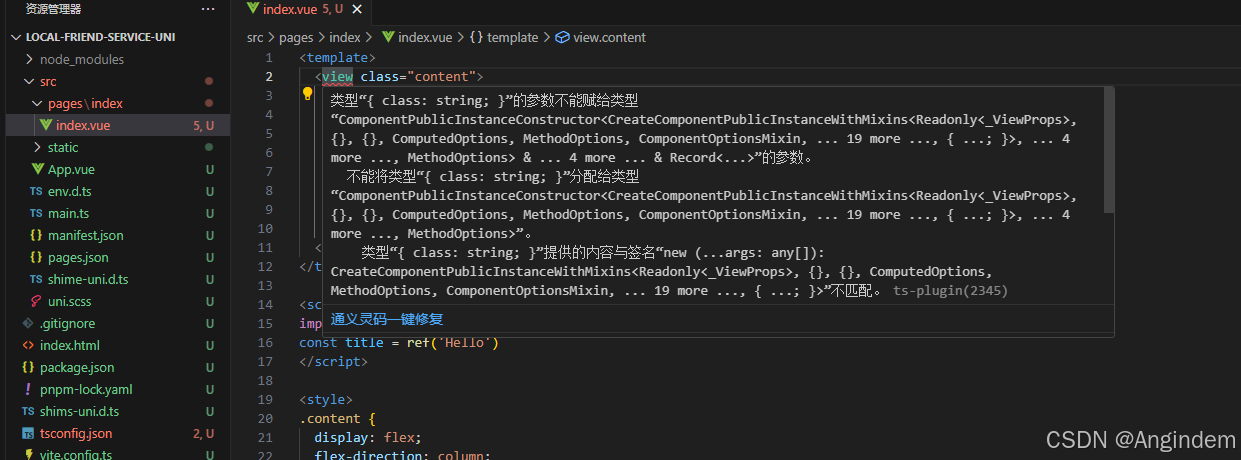
更改我們的 tsconfig.json,參考一下我下面的配置
{"extends": "@vue/tsconfig/tsconfig.dom.json","compilerOptions": {"sourceMap": true,"baseUrl": ".","paths": {"@/*": ["./src/*"]},"lib": ["esnext", "dom"],// 類型聲明文件"types": ["@uni-helper/uni-ui-types",   // uni-ui 組件類型"@dcloudio/types", // uni-app API 類型"miniprogram-api-typings", // 原生微信小程序類型"@uni-helper/uni-app-types" // uni-app 組件類型]},// vue 編譯器類型,校驗標簽類型"vueCompilerOptions": {//新增加的配置 experimentalRuntimeMode 已廢棄,現調整為 nativeTags,請升級 Volar 插件至最新版本"nativeTags": ["block", "component", "template", "slot"],// experimentalRuntimeMode 已廢棄,請升級 Vue - Official 插件至最新版本"plugins": ["@uni-helper/uni-app-types/volar-plugin"]},"include": ["src/**/*.ts", "src/**/*.d.ts", "src/**/*.tsx", "src/**/*.vue"]
}
如果還是爆紅,多次嘗試重啟?Vue - Official 插件,以及重啟vscode,我就是這樣不明不白的改好了。
安裝 uview-plus 組件庫
執行命令安裝 uview 依賴
pnpm install uview-plus掛載使用
import uviewPlus from 'uview-plus'app.use(uviewPlus);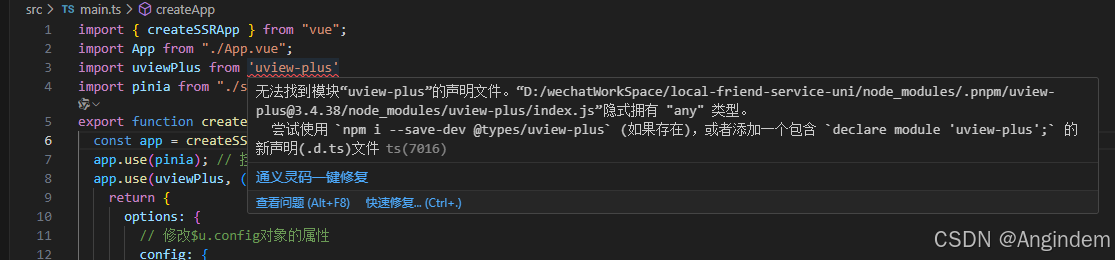
由于uview-plus 不是原生組件,所以我們要自定義聲明類型,這樣就不會爆紅波浪線了
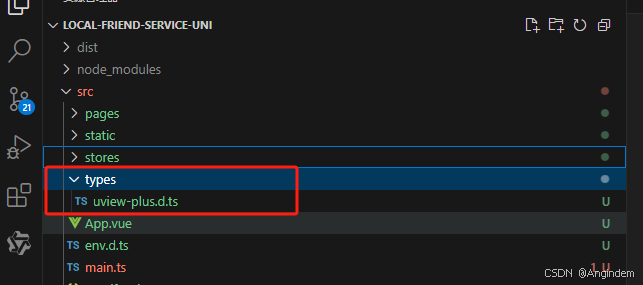
uview-plus.d.ts
// src/types/uview-plus.d.ts
declare module 'uview-plus' {import { Plugin } from 'vue';const install: Plugin;export default install;
}
全局樣式配置
 /* src\uni.scss */
@import  'uview-plus/theme.scss';
// src\App.vue
<style lang="scss">/* 注意要寫在第一行,同時給style標簽加入lang="scss"屬性 */@import "uview-plus/index.scss";
</style>自動導入
// pages.json
{"easycom": {"autoscan": true,// 注意一定要放在custom里,否則無效,https://ask.dcloud.net.cn/question/131175"custom": {"^u--(.*)": "@/uni_modules/uview-plus/components/u-$1/u-$1.vue","^up-(.*)": "@/uni_modules/uview-plus/components/u-$1/u-$1.vue","^u-([^-].*)": "@/uni_modules/uview-plus/components/u-$1/u-$1.vue"}},// 此為本身已有的內容"pages": [// ......]
}
Pinia 配置
Pinia官網(注意:如果緩慢需要魔法):Pinia | The intuitive store for Vue.js
pinia 依賴安裝
執行命令安裝 Pinia 依賴
pnpm install pinia分包創建目錄
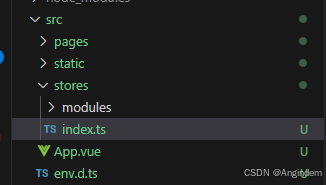
index.ts配置pinia
import { createPinia } from "pinia";
const pinia = createPinia();    // 創建 Pinia 實例
// 默認導出,給 main.ts 使用
export default pinia;
// 模塊統一導出
export * from "./modules/counter";
main.ts 使用 pinia
import { createSSRApp } from "vue";
import App from "./App.vue";
import pinia from "./stores";
export function createApp() {const app = createSSRApp(App);app.use(pinia); // 掛載piniareturn {app,};
}
測試
counter.ts
import { defineStore } from "pinia";
import { computed, ref } from "vue";
export const useCounterStore = defineStore("counter", () => {// 聲明 數據類型const count = ref(0);// 定義 計數器方法const increment = () => {count.value++;}// 聲明基于數據派生的計算屬性const double = computed(() => {return count.value * 2;})// 返回 計數器數據、方法、計算屬性return {count,double,increment,}},
);
Test.vue
<script lang="ts" setup>
import { useCounterStore } from '@/stores';
import { storeToRefs } from 'pinia';
const counter = useCounterStore();const { count } = storeToRefs(counter);
const {double} = storeToRefs(counter)
const {increment} =  counter</script><template><div class="Test"><uni-card><text>計數:{{ count }}</text><br><text>雙倍:{{ double }}</text></uni-card><up-button @tap="increment">+</up-button></div>
</template><style lang="scss" scoped></style>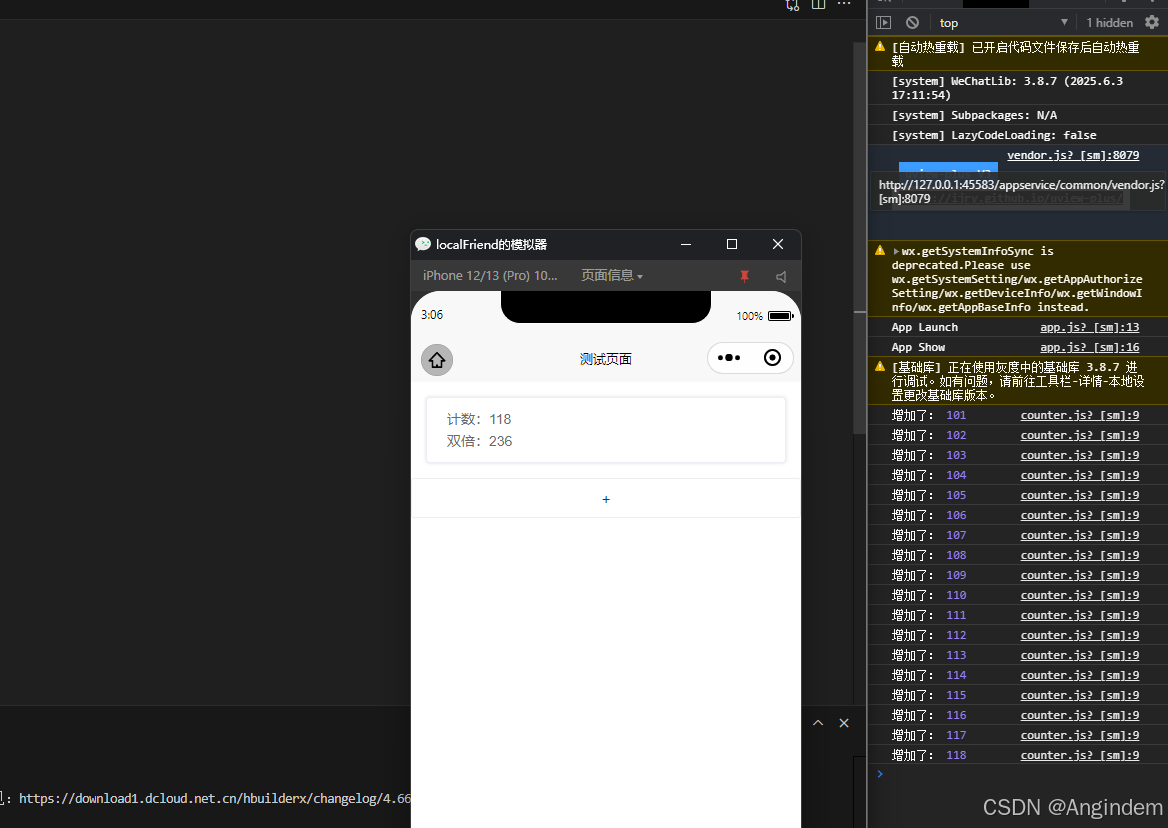
pinia 持久化配置
執行命令安裝 pinia-plugin-persistedstate?依賴
pnpm i pinia-plugin-persistedstate?index.ts配置持久化
import { createPinia } from "pinia";
import piniaPluginPersistedstate from "pinia-plugin-persistedstate";
const pinia = createPinia();    // 創建 Pinia 實例pinia.use(piniaPluginPersistedstate);   // 使用 pinia-plugin-persistedstate 持久化配置// 默認導出,給 main.ts 使用
export default pinia;// 模塊統一導出
export * from "./modules/counter";
配置持久化 counter.ts
import { defineStore} from "pinia";
import { computed, ref } from "vue";export const useCounterStore = defineStore("counter", () => {// 聲明 數據類型const count = ref(100);// 定義 計數器方法const increment = () => {count.value++;console.log('增加了:',count.value);}// 聲明基于數據派生的計算屬性const double = computed(() => {return count.value * 2;})// 返回 計數器數據、方法、計算屬性return {count,double,increment,}
},// 配置項 {// 網頁端的 持久化配置// persist: true// 移動端的 持久化配置// persist: {//     storage: localStorage,//     key: 'count',// }// 小程序的 持久化配置, 同時兼容大部分瀏覽器H5persist: {storage: {getItem(key) {return uni.getStorageSync(key);},setItem(key, value) {return uni.setStorageSync(key, value);},}}}
);
報錯?X [ERROR] Could not resolve "destr"
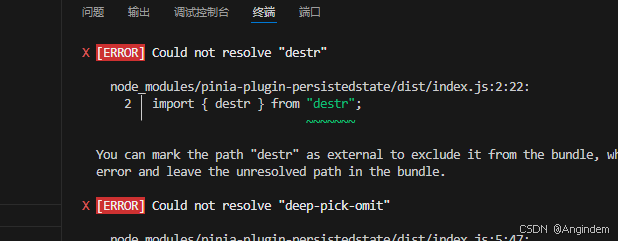
解決方法:
降低 持久化依賴的版本
"pinia-plugin-persistedstate": "^3.2.3",
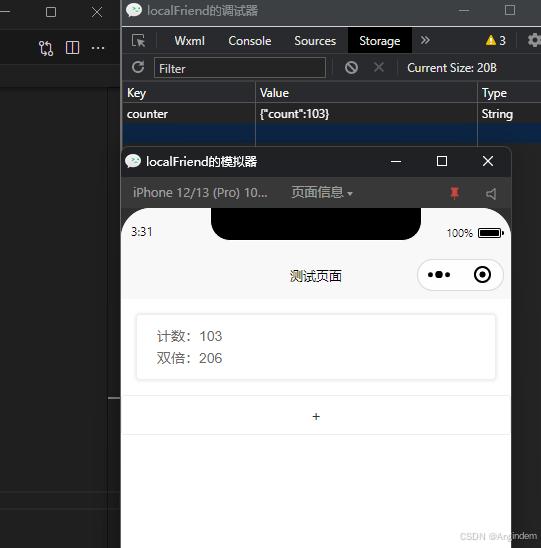
測試效果,成功持久化存儲到本地
請求配置
添加攔截器
// src/utils/http.tsimport { useUserStore } from "@/stores/modules/user"
// 基礎的請求地址
const baseUrl = "http://localhost:3000"
// 攔截器配置
const httpInterceptor = {// 攔截前觸發invoke(options: UniApp.RequestOptions) {// 1、非 http 開頭需拼接地址if (!options.url.startsWith('http')) {options.url = baseUrl + options.url}// 2、請求超時,如果沒有配置則默認 60soptions.timeout = options.timeout || 10000// 3、添加小程序端請求頭標識options.header = options.header || {...options.header,  // 如果請求設置方法前配置了 header 則保留之前配置過的'source-client': 'uniapp'}// 4、添加 token 請求標識const userStore = useUserStore();// 這里 ?. 表示 可選鏈操作符,如果 userStore.userInfo 為空,則 token 為 undefinedconst token = userStore.userInfo?.token;if  (token) {options.header['Authorization'] = 'Bearer ' + token;}}
}
// 添加攔截器,這里共用一份攔截器
uni.addInterceptor('request', httpInterceptor)
uni.addInterceptor('uploadFile', httpInterceptor)
添加封裝請求函數
// src/utils/http.ts// .....  接著添加// 2.3 指定響應數據結構
interface Data<T>{code: number,msg: string,result: T
}
// 2.2 添加類型,支持泛型
const http = <T>(options: UniApp.RequestOptions) => {// 返回 Promise 對象return new Promise<Data<T>>((resolve, reject) => {uni.request({...options,// 2、請求成功success: (res) => {// 2.1 提取核心數據 res.data// 類型斷言指定數據類型resolve(res.data as Data<T>)},fail: (err: UniApp.GeneralCallbackResult) => {reject(err)}})})
}
添加響應攔截
// src/utils/http.ts// .....  接著添加// 2.2 添加類型,支持泛型
const http = <T>(options: UniApp.RequestOptions) => {// 返回 Promise 對象return new Promise<Data<T>>((resolve, reject) => {uni.request({...options,// 2、請求成功success: (res) => {// 2.1 提取核心數據 res.data// 狀態碼 2xx,axios 就是這樣設計的if (res.statusCode >= 200 && res.statusCode < 300) {// 類型斷言指定數據類型resolve(res.data as Data<T>)} else if (res.statusCode === 401) {// 401 錯誤 -> 清理用戶信息,跳轉登錄頁const userStore = useUserStore();userStore.clearUserInfo();uni.navigateTo({        // 跳轉登錄頁url: '/pages/login/login'});reject(res);} else {// 其他錯誤 --> 根據后端錯誤信息輕提示uni.showToast({title: (res.data as Data<T>).msg || '請求錯誤',icon: 'none'});reject(res);}},// 響應失敗fail: (err: UniApp.GeneralCallbackResult) => {uni.showToast({title:'網絡請求錯誤,請嘗試切換網絡',icon: 'none'});reject(err)}})})
}
--------------------------------- 持續更新中---------------------------------


的EKF,一維濾波,用于解決觀測噪聲的異常|附完整代碼,訂閱專欄后可直接查看)


)


(附詳細解題思路))
)


![[BIOS]VSCode zx-6000 編譯問題](http://pic.xiahunao.cn/[BIOS]VSCode zx-6000 編譯問題)

