本實例主要講解內容
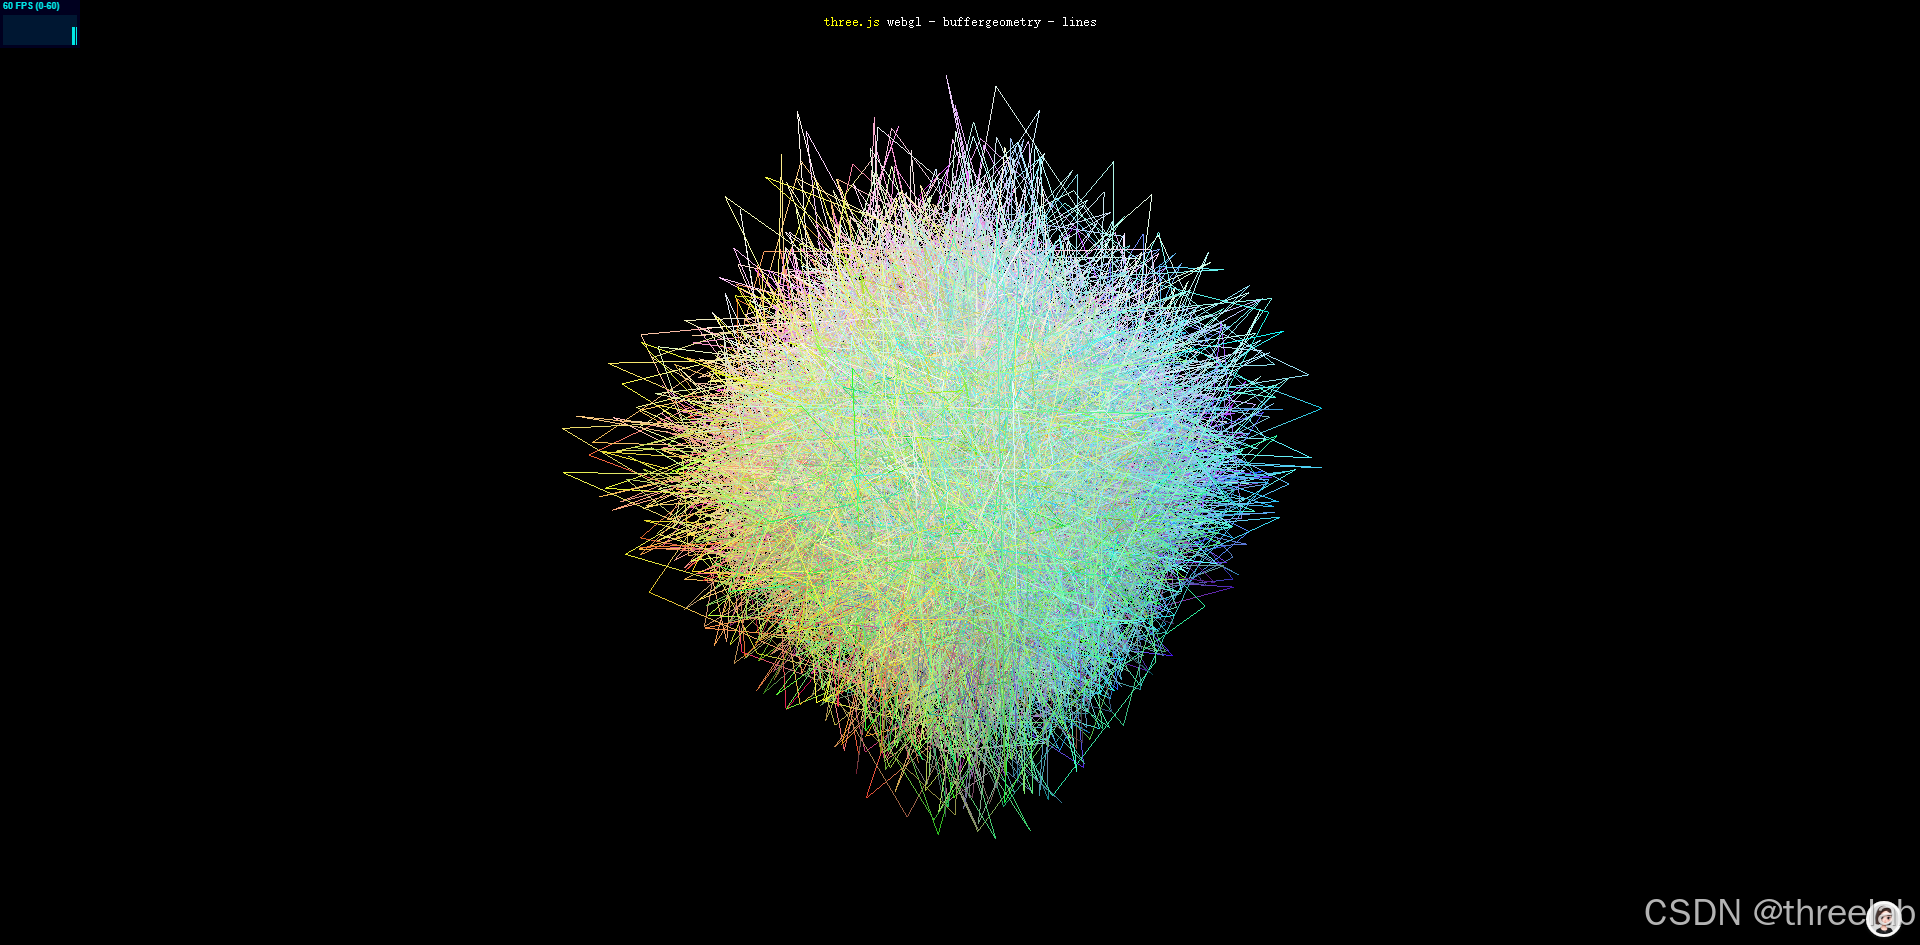
這個Three.js示例展示了如何使用BufferGeometry創建大量線段,并通過**變形目標(Morph Targets)**實現動態變形效果。通過隨機生成的點云數據,結合頂點顏色和變形動畫,創建出一個視覺效果豐富的3D線條場景。
核心技術包括:
- BufferGeometry的高效使用
- 頂點顏色的應用
- 變形目標動畫技術
- 動態場景性能優化
完整代碼注釋
<!DOCTYPE html>
<html lang="en"><head><title>three.js webgl - buffergeometry - lines</title><meta charset="utf-8"><meta name="viewport" content="width=device-width, user-scalable=no, minimum-scale=1.0, maximum-scale=1.0"><link type="text/css" rel="stylesheet" href="main.css"></head><body><div id="container"></div><div id="info"><a href="https://threejs.org" target="_blank" rel="noopener">three.js</a> webgl - buffergeometry - lines</div><script type="importmap">{"imports": {"three": "../build/three.module.js","three/addons/": "./jsm/"}}</script><script type="module">import * as THREE from 'three';import { Timer } from 'three/addons/misc/Timer.js';import Stats from 'three/addons/libs/stats.module.js';let container, stats, timer;let camera, scene, renderer;let line;// 線段數量const segments = 10000;// 范圍半徑const r = 800;// 動畫時間變量let t = 0;init();function init() {container = document.getElementById( 'container' );// 初始化相機camera = new THREE.PerspectiveCamera( 27, window.innerWidth / window.innerHeight, 1, 4000 );camera.position.z = 2750;// 初始化場景scene = new THREE.Scene();// 初始化計時器timer = new Timer();timer.connect( document );// 創建幾何體和材質const geometry = new THREE.BufferGeometry();// 使用頂點顏色的線材質const material = new THREE.LineBasicMaterial( { vertexColors: true } );// 存儲位置和顏色數據const positions = [];const colors = [];// 生成隨機點云數據for ( let i = 0; i < segments; i ++ ) {// 隨機位置const x = Math.random() * r - r / 2;const y = Math.random() * r - r / 2;const z = Math.random() * r - r / 2;// 添加位置數據positions.push( x, y, z );// 添加顏色數據(基于位置歸一化)colors.push( ( x / r ) + 0.5 );colors.push( ( y / r ) + 0.5 );colors.push( ( z / r ) + 0.5 );}// 設置幾何體屬性geometry.setAttribute( 'position', new THREE.Float32BufferAttribute( positions, 3 ) );geometry.setAttribute( 'color', new THREE.Float32BufferAttribute( colors, 3 ) );// 生成變形目標generateMorphTargets( geometry );// 計算邊界球體,用于視錐體剔除geometry.computeBoundingSphere();// 創建線條對象line = new THREE.Line( geometry, material );scene.add( line );// 初始化渲染器renderer = new THREE.WebGLRenderer();renderer.setPixelRatio( window.devicePixelRatio );renderer.setSize( window.innerWidth, window.innerHeight );renderer.setAnimationLoop( animate );container.appendChild( renderer.domElement );// 添加性能統計stats = new Stats();container.appendChild( stats.dom );// 窗口大小變化事件監聽window.addEventListener( 'resize', onWindowResize );}// 窗口大小變化處理函數function onWindowResize() {camera.aspect = window.innerWidth / window.innerHeight;camera.updateProjectionMatrix();renderer.setSize( window.innerWidth, window.innerHeight );}// 動畫循環function animate() {// 更新計時器timer.update();// 獲取時間增量和總時間const delta = timer.getDelta();const time = timer.getElapsed();// 旋轉整個線條對象line.rotation.x = time * 0.25;line.rotation.y = time * 0.5;// 更新變形目標影響因子t += delta * 0.5;line.morphTargetInfluences[ 0 ] = Math.abs( Math.sin( t ) );// 渲染場景renderer.render( scene, camera );// 更新性能統計stats.update();}// 生成變形目標function generateMorphTargets( geometry ) {// 存儲變形目標的位置數據const data = [];// 生成隨機目標位置for ( let i = 0; i < segments; i ++ ) {const x = Math.random() * r - r / 2;const y = Math.random() * r - r / 2;const z = Math.random() * r - r / 2;data.push( x, y, z );}// 創建變形目標屬性const morphTarget = new THREE.Float32BufferAttribute( data, 3 );morphTarget.name = 'target1';// 設置幾何體的變形目標geometry.morphAttributes.position = [ morphTarget ];}</script></body>
</html>
BufferGeometry與變形目標技術解析
BufferGeometry的優勢
BufferGeometry是Three.js中最高效的幾何體表示方式,相比普通Geometry,它有以下優勢:
- 內存效率高:以連續數組形式存儲頂點數據,更接近GPU原生格式
- 渲染速度快:減少CPU-GPU數據傳輸開銷
- 支持大規模場景:能夠處理數百萬個頂點
- 靈活的數據組織:可以自定義頂點屬性
在本示例中,我們使用BufferGeometry存儲頂點位置和顏色數據:
const geometry = new THREE.BufferGeometry();// 創建位置和顏色數據數組
const positions = [];
const colors = [];// 填充數據...// 設置幾何體屬性
geometry.setAttribute( 'position', new THREE.Float32BufferAttribute( positions, 3 ) );
geometry.setAttribute( 'color', new THREE.Float32BufferAttribute( colors, 3 ) );
變形目標動畫
變形目標(Morph Targets)是一種基于頂點的動畫技術,通過在不同頂點位置之間插值實現平滑變形效果。主要步驟包括:
- 定義基礎幾何體:原始頂點位置
- 定義變形目標:一個或多個目標頂點位置
- 控制影響因子:通過影響因子控制變形程度(0.0-1.0)
在本示例中,我們實現了一個變形目標:
// 生成變形目標數據
function generateMorphTargets( geometry ) {const data = [];// 生成隨機目標位置...// 創建變形目標屬性const morphTarget = new THREE.Float32BufferAttribute( data, 3 );morphTarget.name = 'target1';// 設置幾何體的變形目標geometry.morphAttributes.position = [ morphTarget ];
}// 在動畫循環中控制變形程度
line.morphTargetInfluences[ 0 ] = Math.abs( Math.sin( t ) );
頂點顏色應用
頂點顏色允許為每個頂點指定不同的顏色,GPU會自動在頂點之間進行插值,產生平滑的漸變效果。使用頂點顏色的步驟:
- 材質設置:在材質中啟用vertexColors
- 提供顏色數據:為每個頂點提供RGB顏色值
在本示例中:
// 創建啟用頂點顏色的材質
const material = new THREE.LineBasicMaterial( { vertexColors: true } );// 為每個頂點生成顏色數據(基于位置)
colors.push( ( x / r ) + 0.5 );
colors.push( ( y / r ) + 0.5 );
colors.push( ( z / r ) + 0.5 );// 設置幾何體的顏色屬性
geometry.setAttribute( 'color', new THREE.Float32BufferAttribute( colors, 3 ) );
性能優化與應用場景
對于大規模線條渲染的性能優化建議:
- 使用BufferGeometry:相比普通Geometry,性能提升顯著
- 合并幾何體:如果可能,將多個線條合并為一個
- 合理使用變形目標:每個變形目標都會增加內存使用
- 控制頂點數量:過多頂點會導致性能下降
- 視錐體剔除:確保幾何體有正確的邊界球體
這種技術適合以下場景:
- 數據可視化(點云、網絡圖等)
- 粒子系統
- 動態線條藝術
- 模擬流體、煙霧等效果
通過結合BufferGeometry、頂點顏色和變形目標,我們可以創建出視覺效果豐富且性能高效的動態線條場景。
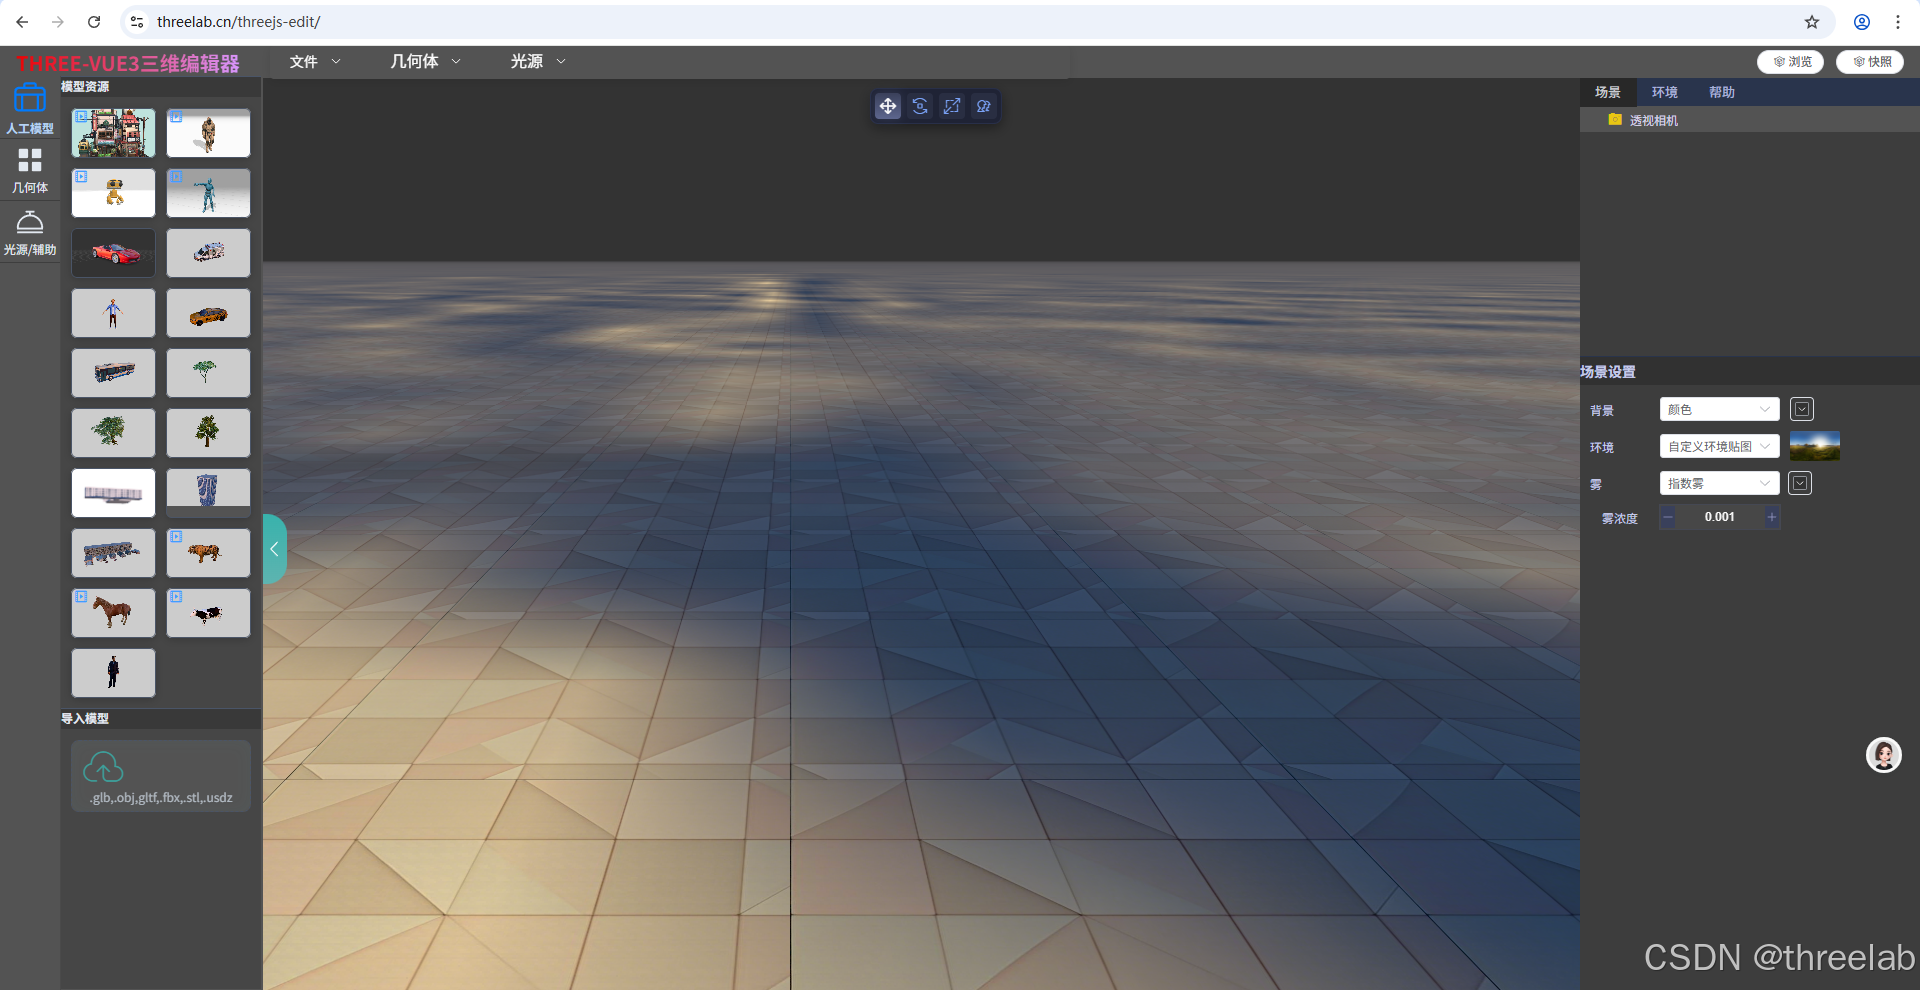
交流學習: Three.js 場景編輯器 (Vue3 + TypeScript
實現)
https://threelab.cn/threejs-edit/


 源代碼?如何解析 Tcc 源代碼?)


)


 和 P2P(點對點網絡) 的詳細對比)


篇一:閱讀與注釋QAction,其是窗體菜單欄與工具欄里的菜單項,先給出屬性測試,再給出成員函數測試,最后給出信號函數的學習于舉例測試)


