preview
目的是在Windows上構建一個和Linux類似的Terminal,讓Windows煉丹和Linux一樣舒適,同是讓Terminal取代Xshell完成遠程鏈接。
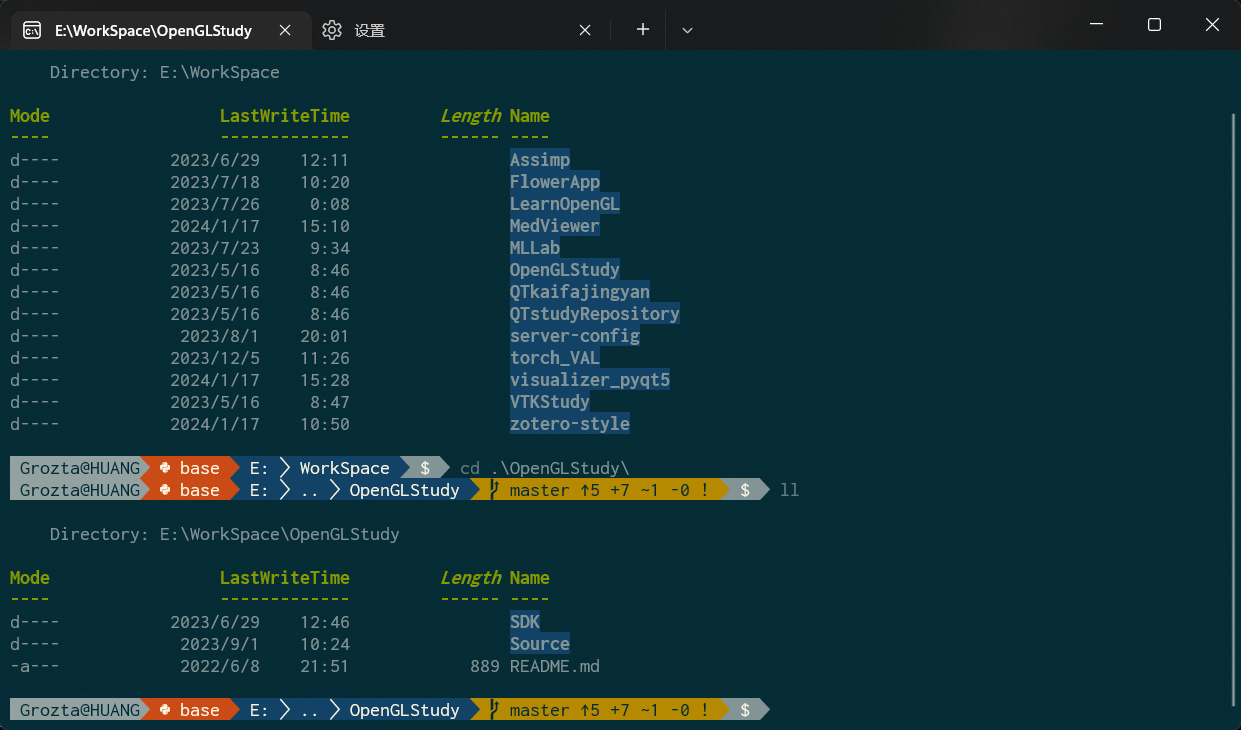
預覽如下圖
在Linux下我們使用zsh和oh-my-zsh結合,Windows下我們使用powershell7和oh-my-posh結合。
前提是機器已經安裝了ssh、sshd、conda、git
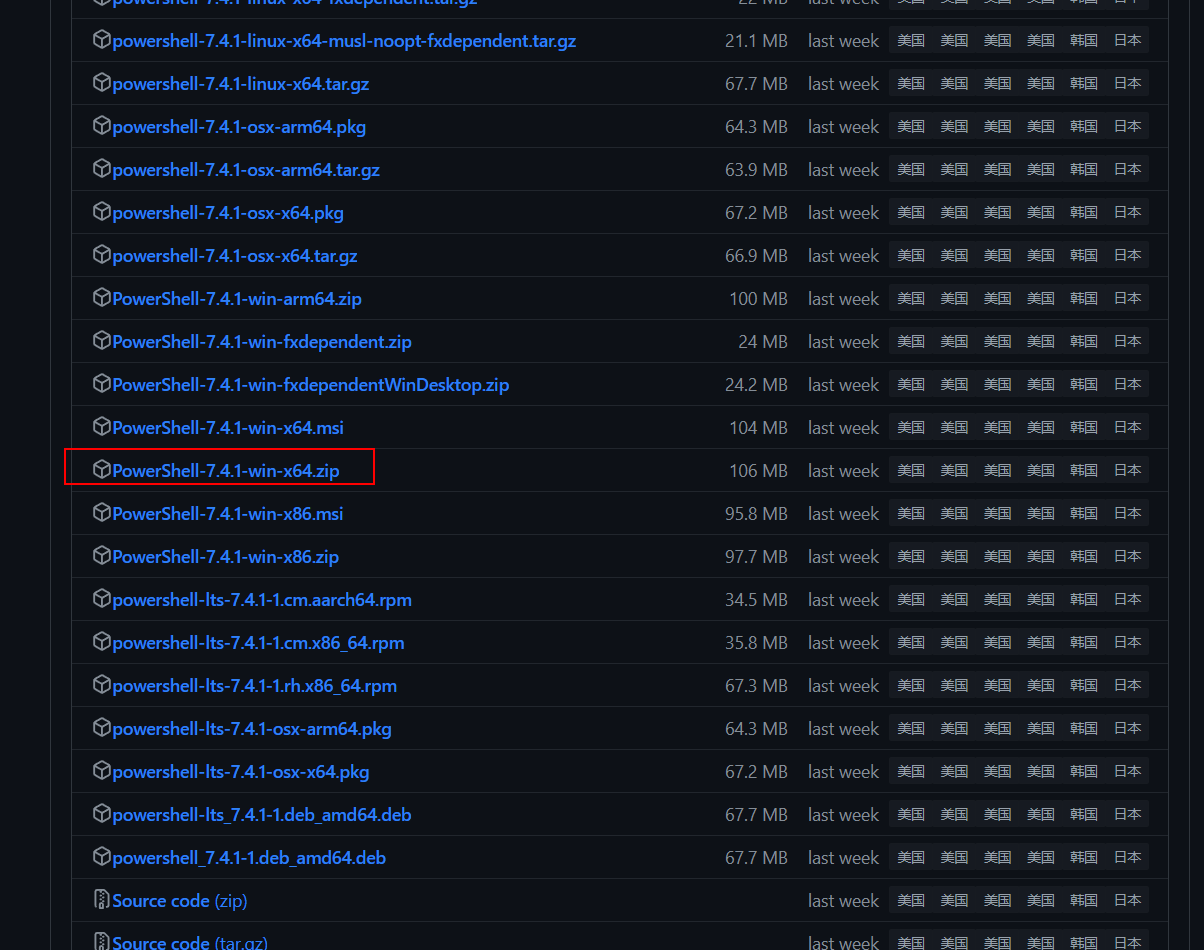
獲取powershell7
從這里https://github.com/PowerShell/PowerShell/releases下載綠色版(避免重裝系統消失),放置到D:\Program Files\PowerShell-7.4.1-win-x64目錄下,并這個文件夾里面創建一個 Profile.ps1文件。pwsh啟動會先執行這個文件。這里講解了pwsh啟動時,執行profile的順序。
設置環境變量
HOME=D:\Program Files\PowerShell-7.4.1-win-x64\
# 將這些env加入path
參考命令
$PROFILE | Select-Object * # 查看PROFILE的位置
Test-Path -Path $PROFILE.AllUsersAllHosts # 測試腳本存在
Set-ExecutionPolicy -ExecutionPolicy RemoteSigned -Scope CurrentUser # 解除嚴格模式
set-ExecutionPolicy RemoteSigned # 解除嚴格模式Install-Module -Name PowerShellGet -Force # 安裝get模塊
Get-InstalledModule # 獲取已經安裝的模塊
安裝oh-my-posh
Install-Module posh-git -Scope CurrentUser # posh-git
Install-Module oh-my-posh -Scope CurrentUser -RequiredVersion 2.0.496 # oh-my-posh
Install-Module ZLocation -Scope CurrentUser # ZLocation (opens new window)和 autojump 差不多效果。快速 cd 到歷史去過的目錄。
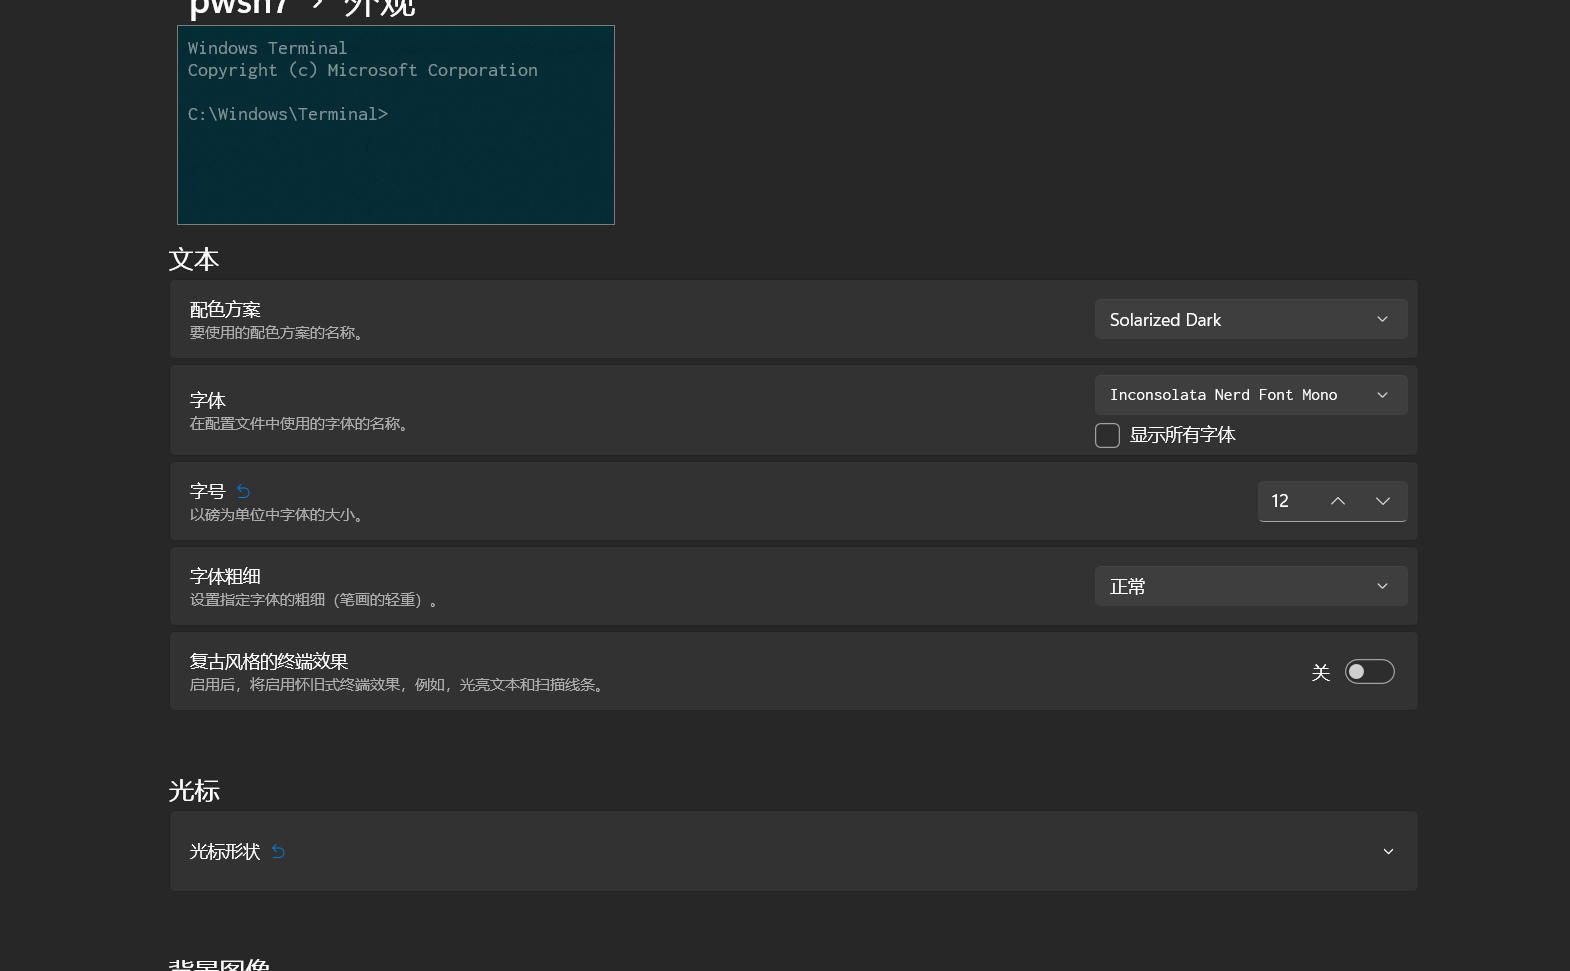
安裝字體
oh-my-posh font install # 需要管理員權限的終端)
這里是把字體安裝在操作系統中,如果發現Terminal中字體還是不正確,原因是Terminal中的字體沒有調整
編輯profile
這里類似于Linux上的.zshrc的文件。
Linux上的zsh和這里的powershell7一樣,都是shell程序。所以這里的$PROFILE就是在shell啟動時前運行的腳本配置文件
# sudo命令
function _sudo {$ss = "$args ; pause"Start-Process wt -Verb runAs -ArgumentList $ss
}Function _su {
Start-Process -verb runas "wt"
}# setup alias 設置命令的別名
set-alias -name sudo -value _sudo
Set-Alias ll ls
Set-Alias su _su
Set-Alias vi "D:\Program Files\vim\vim91\vim.exe"
Set-Alias vim "D:\Program Files\vim\vim91\vim.exe"#oh-my-posh init
Import-Module posh-git # 引入 posh-git
Import-Module oh-my-posh # 引入 oh-my-poshSet-Theme PowerlinePlus # 設置主題為 Paradox, Emodipt, Honukai ,PowerlinePlus ,qwerty ,Sorin ,Zash
Set-PSReadLineOption -PredictionSource History # 設置預測文本來源為歷史記錄
Set-PSReadlineKeyHandler -Key Tab -Function Complete # 設置 Tab 鍵補全
Set-PSReadLineKeyHandler -Key "Ctrl+d" -Function MenuComplete # 設置 Ctrl+d 為菜單補全和 Intellisense
Set-PSReadLineKeyHandler -Key "Ctrl+z" -Function Undo # 設置 Ctrl+z 為撤銷
Set-PSReadLineKeyHandler -Key UpArrow -Function HistorySearchBackward # 設置向上鍵為后向搜索歷史記錄
Set-PSReadLineKeyHandler -Key DownArrow -Function HistorySearchForward # 設置向下鍵為前向搜索歷史紀錄
激活conda
設置conda環境變量
# 此環境變量要放入到path中
conda3=D:\ProgramData\Anaconda3\Scripts;D:\ProgramData\Anaconda3\Library\bin;D:\ProgramData\Anaconda3
設置conda的默認啟動腳本
$global:profiles = "$PSHOME\Profile.ps1"
#region conda initialize
# !! Contents within this block are managed by 'conda init' !!
(& "D:\ProgramData\Anaconda3\Scripts\conda.exe" "shell.powershell" "hook") | Out-String | Invoke-Expression
#endregion
Terminal中運行powershell7

最終預覽
Terminal中進行ssh快捷登錄,從而代替Xshell
思路
想要在Terminal中實現ssh快捷鏈接,就是需要再pwsh中引導ssh工作,也就是說只要把啟動命令中加入ssh登錄語句就可以實現在Terminal中進行ssh,從而代替Xshell
ssh grozta@192.168.199.128 就是我們通常使用的ssh登錄語句
在conda的啟動快捷方式中,它的啟動命令是
pwsh.exe -ExecutionPolicy ByPass -NoExit -Command "&'D:\code\miniconda\shell\condabin\conda-hook'"
所以我們想要快速啟動ssh進行遠程鏈接,只需要把-Command 后的參數替換成ssh登錄語句就可以了
方法
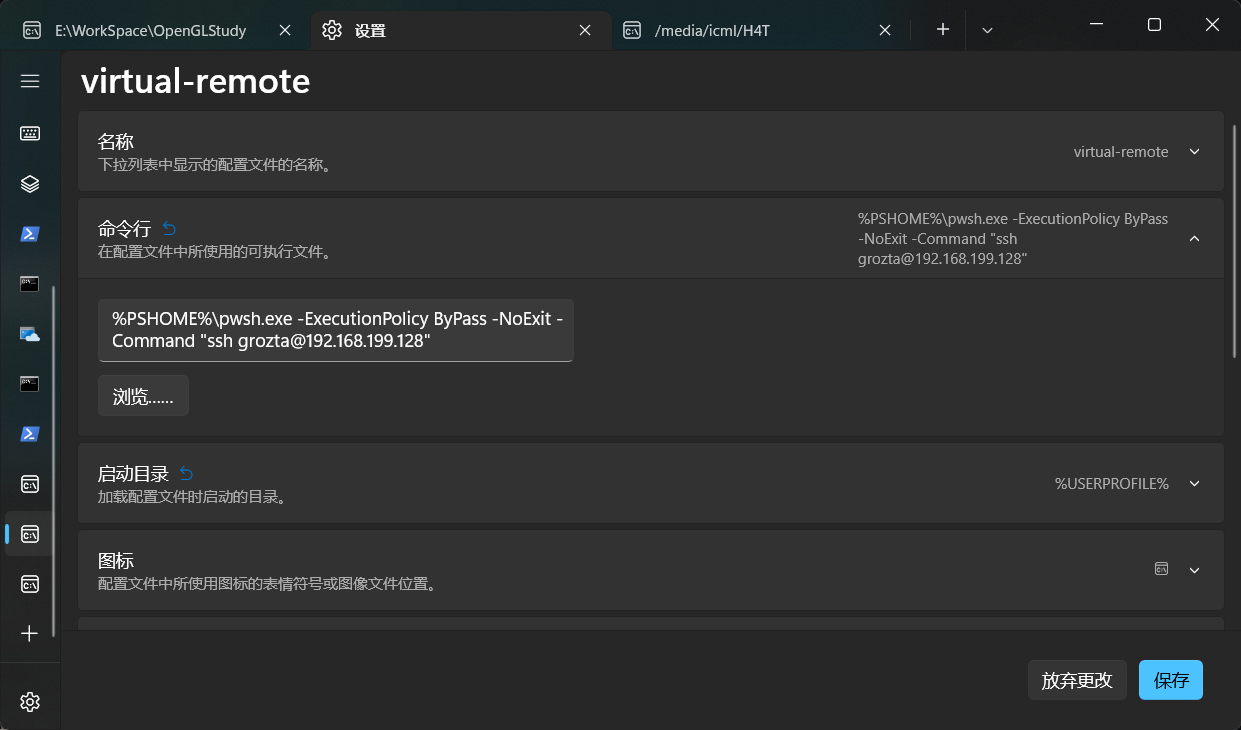
因此我們只需要新建一個配置文件,要從前面的我們pwsh配置中復制一份,命令行修改為
%PSHOME%\pwsh.exe -ExecutionPolicy ByPass -NoExit -Command "ssh grozta@192.168.199.128"
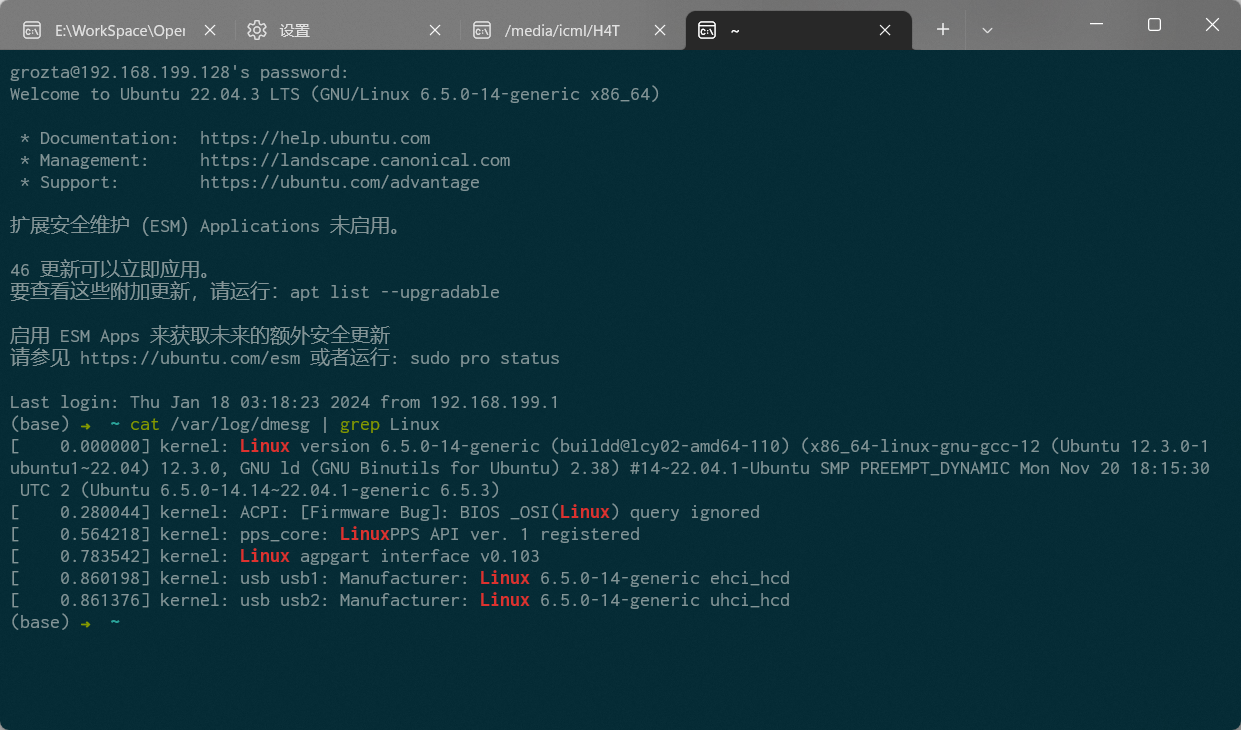
預覽
然后我們開啟新的標簽,輸入密碼
參考
打造好用的PowerShell媲美oh-my-zsh | Exploring
給 PowerShell 帶來 zsh 的體驗
Nerd Fonts - Iconic font aggregator, glyphs/icons collection, & fonts patcher 單獨的字體下載給Terminal
Windows Terminal 終端個性化設置指南_windows terminal配色-CSDN博客

)

)


![反序列化逃逸 [安洵杯 2019]easy_serialize_php1](http://pic.xiahunao.cn/反序列化逃逸 [安洵杯 2019]easy_serialize_php1)


)
。Javaee項目,springboot vue前后端分離項目。)


