yolov9 tensorRT C++ 部署
??本示例中,包含完整的代碼、模型、測試圖片、測試結果。
??完整的代碼、模型、測試圖片、測試結果【github參考鏈接】
??TensorRT版本:TensorRT-7.1.3.4
導出onnx模型
??導出適配本實例的onnx模型參考【yolov9 瑞芯微芯片rknn部署、地平線芯片Horizon部署、TensorRT部署】。
編譯
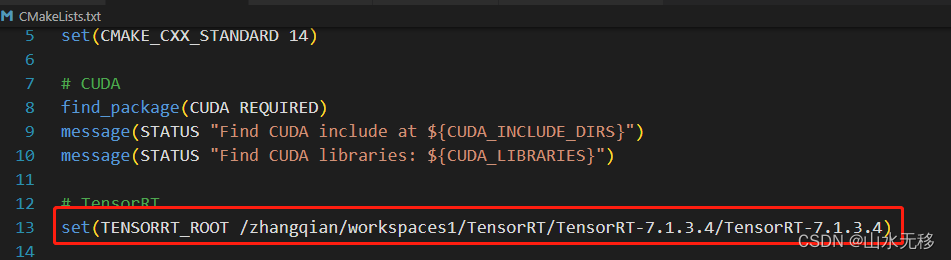
修改 CMakeLists.txt 對應的TensorRT位置
cd yolov9_tensorRT_Cplusplus
mkdir build
cd build
cmake ..
make
運行
# 運行時如果.trt模型存在則直接加載,若不存會自動先將onnx轉換成 trt 模型,并存在給定的位置,然后運行推理。
cd build
./yolo_trt
測試效果
onnx 測試效果

tensorRT 測試效果

替換模型說明
1)按照本實例給的導出onnx方式導出對應的onnx;導出的onnx模型建議simplify后再轉trt模型。
2)注意修改后處理相關 postprocess.hpp 中相關的參數(類別、輸入分辨率等)。
修改相關的路徑
std::string OnnxFile = "/zhangqian/workspaces1/TensorRT/yolov9_tensorRT_Cplusplus/models/yolov8n_ZQ.onnx";std::string SaveTrtFilePath = "/zhangqian/workspaces1/TensorRT/yolov9_tensorRT_Cplusplus/models/yolov8n_ZQ.trt";cv::Mat SrcImage = cv::imread("/zhangqian/workspaces1/TensorRT/yolov9_tensorRT_Cplusplus/images/test.jpg");int img_width = SrcImage.cols;int img_height = SrcImage.rows;CNN YOLO(OnnxFile, SaveTrtFilePath, 1, 3, 640, 640, 7); // 1, 3, 640, 640, 7 前四個為模型輸入的NCWH, 7為模型輸出葉子節點的個數+1,(本示例中的onnx模型輸出有6個葉子節點,再+1=7)YOLO.ModelInit();YOLO.Inference(SrcImage);for (int i = 0; i < YOLO.DetectiontRects_.size(); i += 6){int classId = int(YOLO.DetectiontRects_[i + 0]);float conf = YOLO.DetectiontRects_[i + 1];int xmin = int(YOLO.DetectiontRects_[i + 2] * float(img_width) + 0.5);int ymin = int(YOLO.DetectiontRects_[i + 3] * float(img_height) + 0.5);int xmax = int(YOLO.DetectiontRects_[i + 4] * float(img_width) + 0.5);int ymax = int(YOLO.DetectiontRects_[i + 5] * float(img_height) + 0.5);char text1[256];sprintf(text1, "%d:%.2f", classId, conf);rectangle(SrcImage, cv::Point(xmin, ymin), cv::Point(xmax, ymax), cv::Scalar(255, 0, 0), 2);putText(SrcImage, text1, cv::Point(xmin, ymin + 15), cv::FONT_HERSHEY_SIMPLEX, 0.7, cv::Scalar(0, 0, 255), 2);}imwrite("/zhangqian/workspaces1/TensorRT/yolov9_tensorRT_Cplusplus/images/result.jpg", SrcImage);printf("== obj: %d \n", int(float(YOLO.DetectiontRects_.size()) / 6.0));特別說明
本示例只是用來測試流程,模型效果并不保證,且代碼整理的布局合理性沒有做過多的考慮。


)


: Flutter的版本管理終極指南)


