文章目錄
- 1. yum-server的搭建方式
- 2. nginx搭建yum-server倉庫
- 2.1. 安裝配置nginx
- 2.2 配置yum-server的rpm
- 2.3. 同步yum源相關包
- 2.3.1 rsync同步源
- 3.3.1 reposync同步源
- 2.4. 配置客戶端訪問yum配置
- 2.5. 驗證測試
- 3. http服務搭建yum-server倉庫
- 3.1. 安裝配置http
- 3.2 配置yum-server的rpm
- 3.3. 同步yum源相關包
- 3.4. 配置客戶端訪問yum配置
- 3.5. 驗證測試
- 4. 疑問和思考
- 4.1 配置多個yum-server倉庫節點,該如何操作?
- 4.2 如何從公有云同步yum-server的rpm?
- 4.2.1 rsync同步源
- 4.2.2 reposync同步源
- 5. 參考文檔
探討在linux環境下的搭建yum-server倉庫,特別是使用nginx搭建yum-server提供yum服務。
1. yum-server的搭建方式
yum-server通常使用如下2種方式進行搭建,提供遠程yum-server倉庫服務
- 使用nginx搭建yum源
- 使用普通的http服務,搭建yum源
2. nginx搭建yum-server倉庫
2.1. 安裝配置nginx
ngx的安裝本文不做介紹,可以網上獲取,可以參考 LINUX安裝nginx詳細步驟
2.2 配置yum-server的rpm
nginx的配置如下
- nginx.conf配置
cat nginx.conf
user  nobody;
worker_processes  8;pid         log/nginx.pid;events {use epoll;worker_connections  100000;
}
worker_rlimit_nofile 100000;http {include       mime.types;default_type  application/octet-stream;server_tokens off;check_shm_size 100m;server_names_hash_bucket_size 128;client_header_buffer_size 32k;large_client_header_buffers 4 32k;client_max_body_size 8m;sendfile          on;tcp_nopush        on;tcp_nodelay       on;keepalive_timeout  0;fastcgi_connect_timeout 30;fastcgi_send_timeout 30;fastcgi_read_timeout 30;fastcgi_buffer_size 64k;fastcgi_buffers 4 64k;fastcgi_busy_buffers_size 128k;fastcgi_temp_file_write_size 128k;gzip              on;gzip_min_length   1k;gzip_buffers      4 16k;gzip_http_version 1.0;gzip_comp_level   2;gzip_types        text/plain application/x-javascript text/css application/xml text/javascript;gzip_vary         on;charset      utf-8;#代理公網源緩存配置proxy_cache_path /data1/cache/nginx levels=1:2 keys_zone=my_cache:500m;access_log   on;log_not_found off;error_page   400 403 405 408 /40x.html ;error_page   500 502 503 504 /50x.html ;#INCLUDE_APPinclude yum.conf.d/yum.nginx.conf;
}
- yum.nginx.conf
server {listen 80;server_name  mirrors.xxx.com;error_log /data/log/tnginx_1_0_0-1.0/error.log;access_log /data/log/tnginx_1_0_0-1.0/yum-access.log;charset utf-8;proxy_set_header Host $host;proxy_set_header X-Real-IP $remote_addr;proxy_set_header REMOTE-HOST $remote_addr;proxy_set_header X-Forwarded-For $proxy_add_x_forwarded_for;client_max_body_size 512m;client_body_buffer_size 256k;proxy_connect_timeout 30;proxy_send_timeout 30;proxy_read_timeout 60;proxy_buffer_size 256k;proxy_buffers 4 256k;proxy_busy_buffers_size 256k;proxy_temp_file_write_size 256k;proxy_next_upstream error timeout invalid_header http_500 http_503 http_404;proxy_max_temp_file_size 128m;location / {root /data1/yum_data;autoindex on;}
}
定義/data1/yum_data位yum源的相關目錄

2.3. 同步yum源相關包
可以從公有云進行同步,比如阿里云、騰訊云、清華等。
不同的廠商支持的同步協議不同,通常是用rsync和reposync兩種類型,需要根據不同的協議選擇對應的方式進行同步
- 如果支持支持rsync, 就用常規的rsync方案同步.
- 如果軟件源不支持rsync, rpm的包可以用reposync工具同步
本次實例只 同步和拷貝epel的其中一個包,放到/var/www/html/ 目錄
返回同步yum源相關包
2.3.1 rsync同步源
- 內部環境源
# 同步內部源
rsync -avzP epel/7/x86_64 xx.xx.xx.xx:/var/www/html/epel/7/

- 公有云源,支持rsync協議
中科大yum源:
rsync://mirrors.ustc.edu.cn/centos/7/os
# 同步公有云的源,中科大
rsync -avz rsync://rsync.mirrors.ustc.edu.cn/epel/7
3.3.1 reposync同步源
- 下載repo
- 騰訊云
wget -O /etc/yum.repos.d/CentOS-Base.repo http://mirrors.cloud.tencent.com/repo/centos7_base.repo
wget -O /etc/yum.repos.d/epel.repo http://mirrors.cloud.tencent.com/repo/epel-7.repo
- 阿里云
wget -O /etc/yum.repos.d/CentOS-Base.repo https://mirrors.aliyun.com/repo/Centos-7.repo
wget -O /etc/yum.repos.d/epel.repo http://mirrors.aliyun.com/repo/epel-7.repo
- 同步源
 #reposync將根據剛下載的repo下載rpm包到指定文件夾/var/www/html/
reposync -r base /var/www/html/
reposync -r updates /var/www/html/
reposync -r epel /var/www/html/
2.4. 配置客戶端訪問yum配置
cat /etc/yum.repos.d/epel.repo
[epel]
name=Extra Packages for Enterprise Linux 7 - $basearch
failovermethod=priority
gpgcheck=0
enabled=1
baseurl=http://mirrors.xxx.com/epel/7/$basearch/
2.5. 驗證測試
# 清理緩存
yum clean all
#緩存本地yum源中的軟件包信息
yum makecache# 查看所有可用的yum源yum repolist all# 查看yum可以安裝的組件
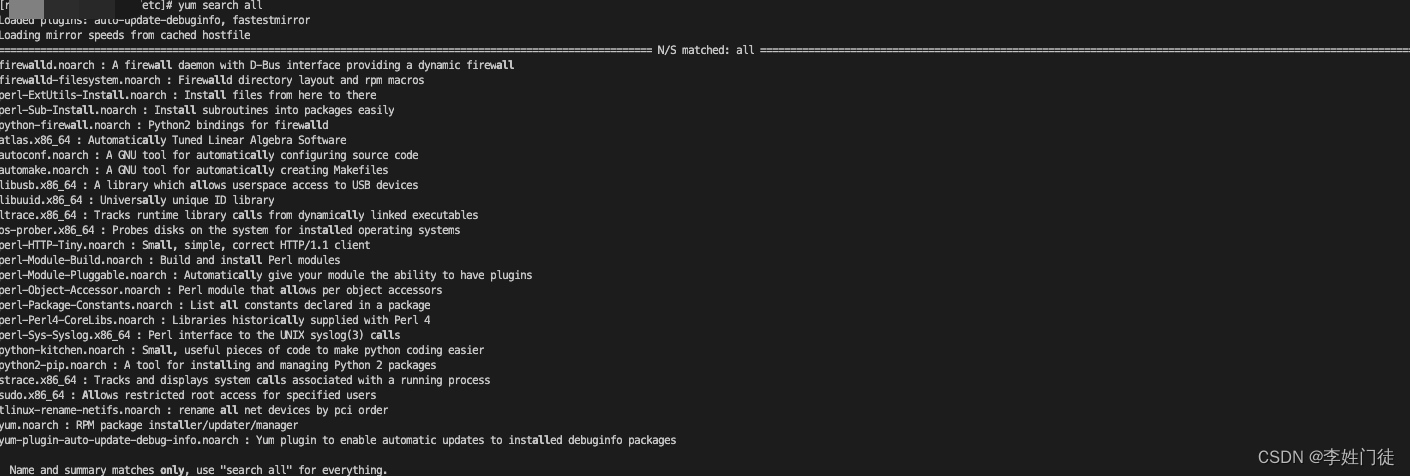
yum search all
yum list |grep epel# 測試yum安裝
yum install -y httpd
# 測試yum安裝
yum install -y zabbix
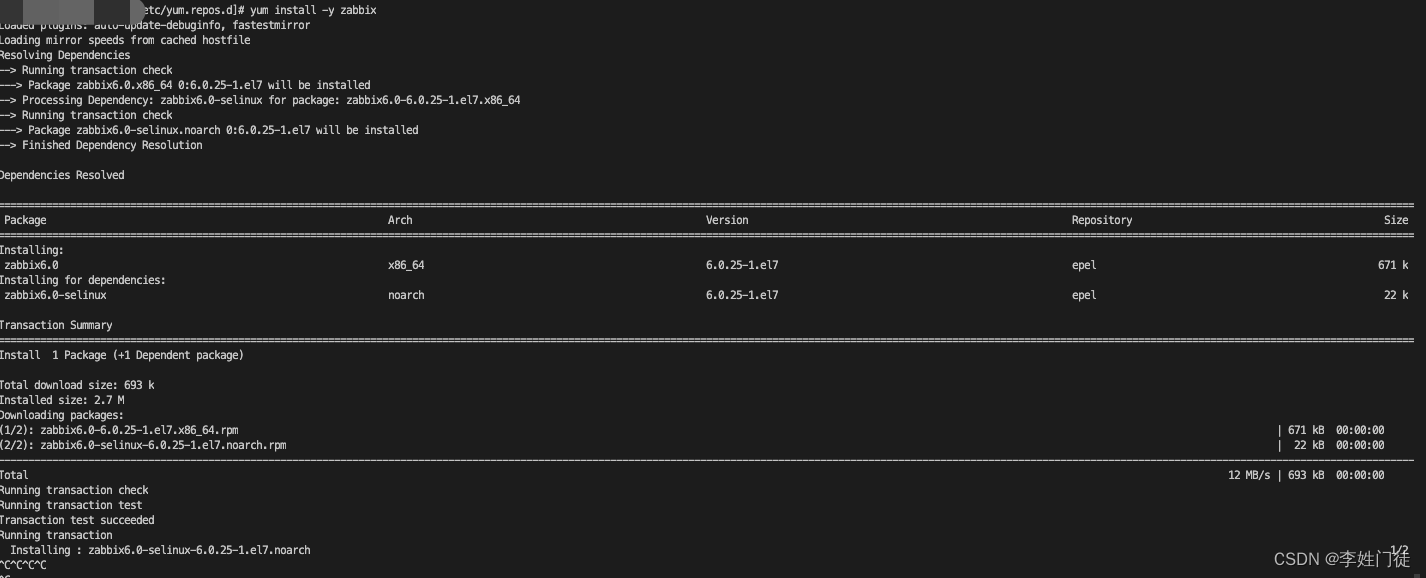
說明已經能夠正常安裝
3. http服務搭建yum-server倉庫
3.1. 安裝配置http
# 安裝httpd
yum install -y httpd# 啟動httpd服務
systemctl start httpd# 檢查80端口是否正常啟動
netstat -ntlp|grep 80
3.2 配置yum-server的rpm
通過cat /etc/httpd/conf/httpd.conf服務默認的目錄是DocumentRoot “/var/www/html”,
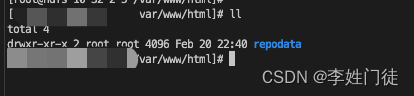
cd /var/www/html# 安裝createrepo
yum install -y createrepo# 初始化庫
createrepo -pdo /var/www/html/ /var/www/html/ # 產看yum庫,會創建目錄repodata
ll
3.3. 同步yum源相關包
參考同步yum源相關包
3.4. 配置客戶端訪問yum配置
# 配置客戶端訪問yum配置
vim /etc/yum.repos.d/epel.repo
[epel]
name=Server
baseurl=http://xx.xx.xx.xx
#是否將該倉庫做為軟件包提供源
enabled=1
#是否進行gpg校驗
gpgcheck=0
3.5. 驗證測試
# 清理緩存
yum clean all
#緩存本地yum源中的軟件包信息
yum makecache# 查看所有可用的yum源yum repolist all# 查看yum可以安裝的組件
yum search all
yum list |grep epel# 測試yum安裝
yum install -y httpd
# 測試yum安裝
yum install -y zabbix
說明已經能夠正常安裝
4. 疑問和思考
4.1 配置多個yum-server倉庫節點,該如何操作?
不同yum節點配置rsync同步相關的配置即可
# 同步內部源
rsync -avzP epel/7/x86_64 xx.xx.xx.xx:/var/www/html/epel/7/
4.2 如何從公有云同步yum-server的rpm?
參考同步yum源相關包, 更多操作方法可以進一步擴展,參考相關公有云的官網
4.2.1 rsync同步源
- 公有云源,支持rsync協議
中科大yum源:
rsync://mirrors.ustc.edu.cn/centos/7/os
# 同步公有云的源,中科大
rsync -avz rsync://rsync.mirrors.ustc.edu.cn/epel/7
4.2.2 reposync同步源
- 騰訊云
wget -O /etc/yum.repos.d/CentOS-Base.repo http://mirrors.cloud.tencent.com/repo/centos7_base.repo
wget -O /etc/yum.repos.d/epel.repo http://mirrors.cloud.tencent.com/repo/epel-7.repo
- 阿里云
wget -O /etc/yum.repos.d/CentOS-Base.repo https://mirrors.aliyun.com/repo/Centos-7.repo
wget -O /etc/yum.repos.d/epel.repo http://mirrors.aliyun.com/repo/epel-7.repo
 #reposync將根據剛下載的repo下載rpm包到指定文件夾/var/www/html/
reposync -r base /var/www/html/
reposync -r updates /var/www/html/
reposync -r epel /var/www/html/
5. 參考文檔
- CentOS 7搭建本地yum源和局域網yum源
- 搭建自己的yum倉庫
可行性分析)


----------Apache相關配置與優化)
)

可行性分析)


)
