1 說明:
=====
1.1 Pyface庫由大名鼎鼎的enthought出品。
1.2 介紹:
1.2.1 英文:
traits-capable windowing framework.
The pyface project contains a toolkit-independent GUI abstraction layer,
which is used to support the "visualization" features of the Traits package.
Thus, you can write code in terms of the Traits API (views, items, editors, etc.),
and let pyface and your selected toolkit,
and back-end take care of the details of displaying them.
1.2.2 中文:
具有Traits特質的窗口框架。
pyface項目包含一個獨立于工具包的GUI抽象層,
用于支持Traits包的“可視化”功能。
因此,您可以根據Traits API(視圖,項目,編輯器等)編寫代碼,
并讓pyface和您選擇的工具包,
和后端負責顯示它們的細節。

2 準備:
=====
2.1 官網:
https://github.com/enthought/pyfacehttps://pypi.org/project/pyface/#教程https://docs.enthought.com/pyface/https://docs.enthought.com/pyface/api/pyface.html2.2 依靠:
The following GUI backends are supported:選擇一個即可
wxPython #本機未安裝
PyQt #本機安裝pyqt5
PySide #本機安裝pyside2
2.3 安裝:
pip install pyface3 Hello world:
===========
3.1 效果圖:
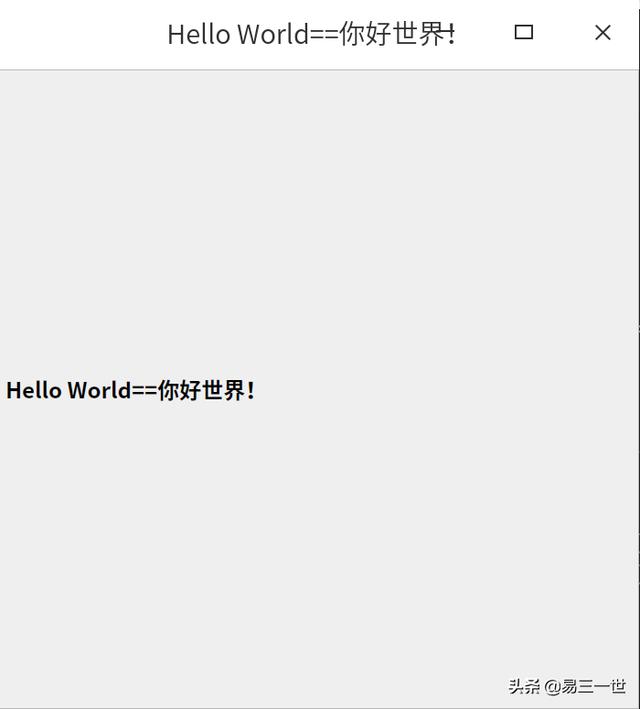
3.2 代碼:注釋中有4種方法,基本對建議窗口設置的熟悉和入門了。
'''#方法一from pyface.api import ApplicationWindow, GUI, HeadingTextclass MainWindow(ApplicationWindow): #窗口標題名,默認窗口大小設置 title = "Hello World==你好世界!" #默認 #定義 def _create_contents(self, parent): #窗口標簽顯示text文本 self._label = HeadingText(parent, text="Hello World==你好世界!") return self._label.controldef main(): gui = GUI() window = MainWindow() window.open() gui.start_event_loop()if __name__ == "__main__": main()''''''#方法二from pyface.api import ApplicationWindow, GUI, HeadingTextclass MainWindow(ApplicationWindow): #窗口標題名 title = "Hello World==你好世界!" #注意沒有逗號 size = (700, 700) #窗口大小設置,與size與title沒有逗號隔開 #定義 def _create_contents(self, parent): #窗口標簽顯示text文本 self._label = HeadingText(parent, text="Hello World==你好世界!") return self._label.controlgui = GUI()window = MainWindow()window.open()gui.start_event_loop()''''''#方法三from pyface.api import ApplicationWindow, GUI, HeadingTextclass MainWindow(ApplicationWindow): #窗口標題名 title = "Hello World==你好世界!" #注意沒有逗號 size = (700, 700) #窗口大小設置,與size與title沒有逗號隔開 #定義 def _create_contents(self, parent): #窗口標簽顯示text文本 self._label = HeadingText(parent, text="Hello World==你好世界!") return self._label.controlif __name__ == "__main__": gui = GUI() window = MainWindow() window.open() gui.start_event_loop()'''#方法四from pyface.api import ApplicationWindow, GUI, HeadingTextclass MainWindow(ApplicationWindow): #窗口標題名 #title = "Hello World==你好世界!" #注意沒有逗號 #size = (700, 700) #窗口大小設置,與size與title沒有逗號隔開 #定義 def _create_contents(self, parent): #窗口標簽顯示text文本 self._label = HeadingText(parent, text="Hello World==你好世界!") return self._label.controlif __name__ == "__main__": gui = GUI() #window = MainWindow() window = MainWindow(size = (700, 700) ,title = "Hello World==你好世界!" ) window.open() gui.start_event_loop()4 pythonshell:
==========
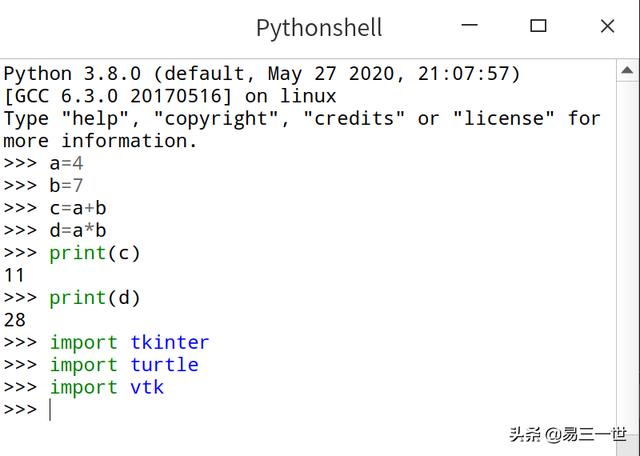
4.1 簡易pythonshell:
4.1.1 代碼:
from pyface.api import ApplicationWindow, GUI, PythonShellclass MainWindow(ApplicationWindow): #窗口大小和標題名 size = (800, 800) title = "Pythonshell" def _create_contents(self, parent): self._shell = PythonShell(parent) #調用pythonsheel return self._shell.controlif __name__ == "__main__": gui = GUI() window = MainWindow() window.open() gui.start_event_loop()4.1.2 效果圖:
4.2 高級pythonshell:
4.2.1 特點:帶有功能菜單、圖標、網址外聯的。
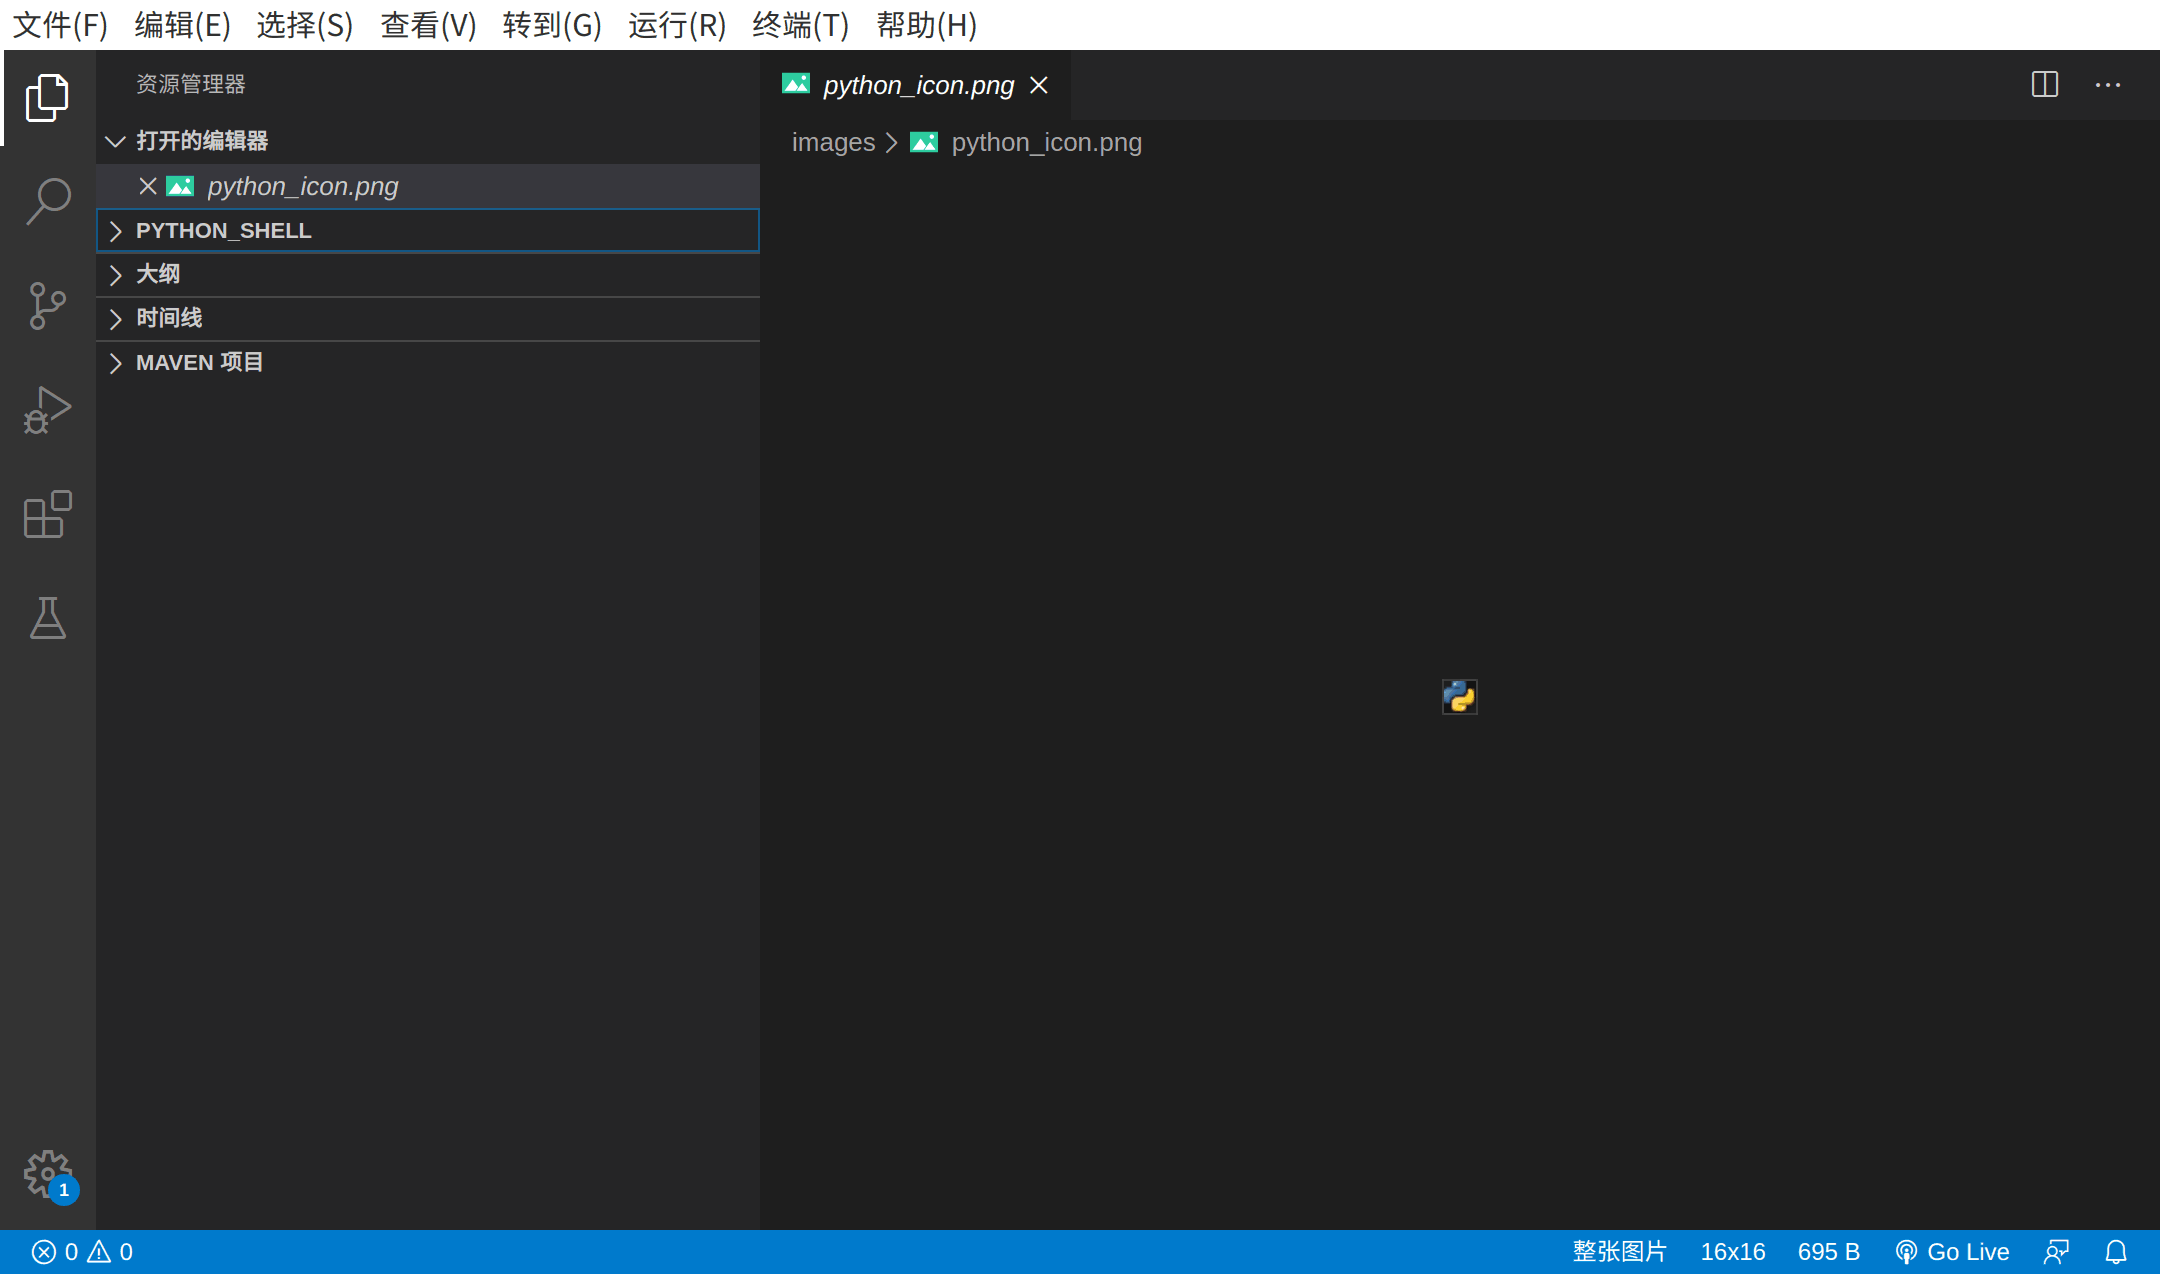
4.2.2 文件結構展示:
4.2.3 代碼省略,看看效果圖:

4.2.4 注意上面還運行了一個外部腳本:matplotlib-tk-pie.py
5 progress:
========
5.1 帶進度條的主窗口。
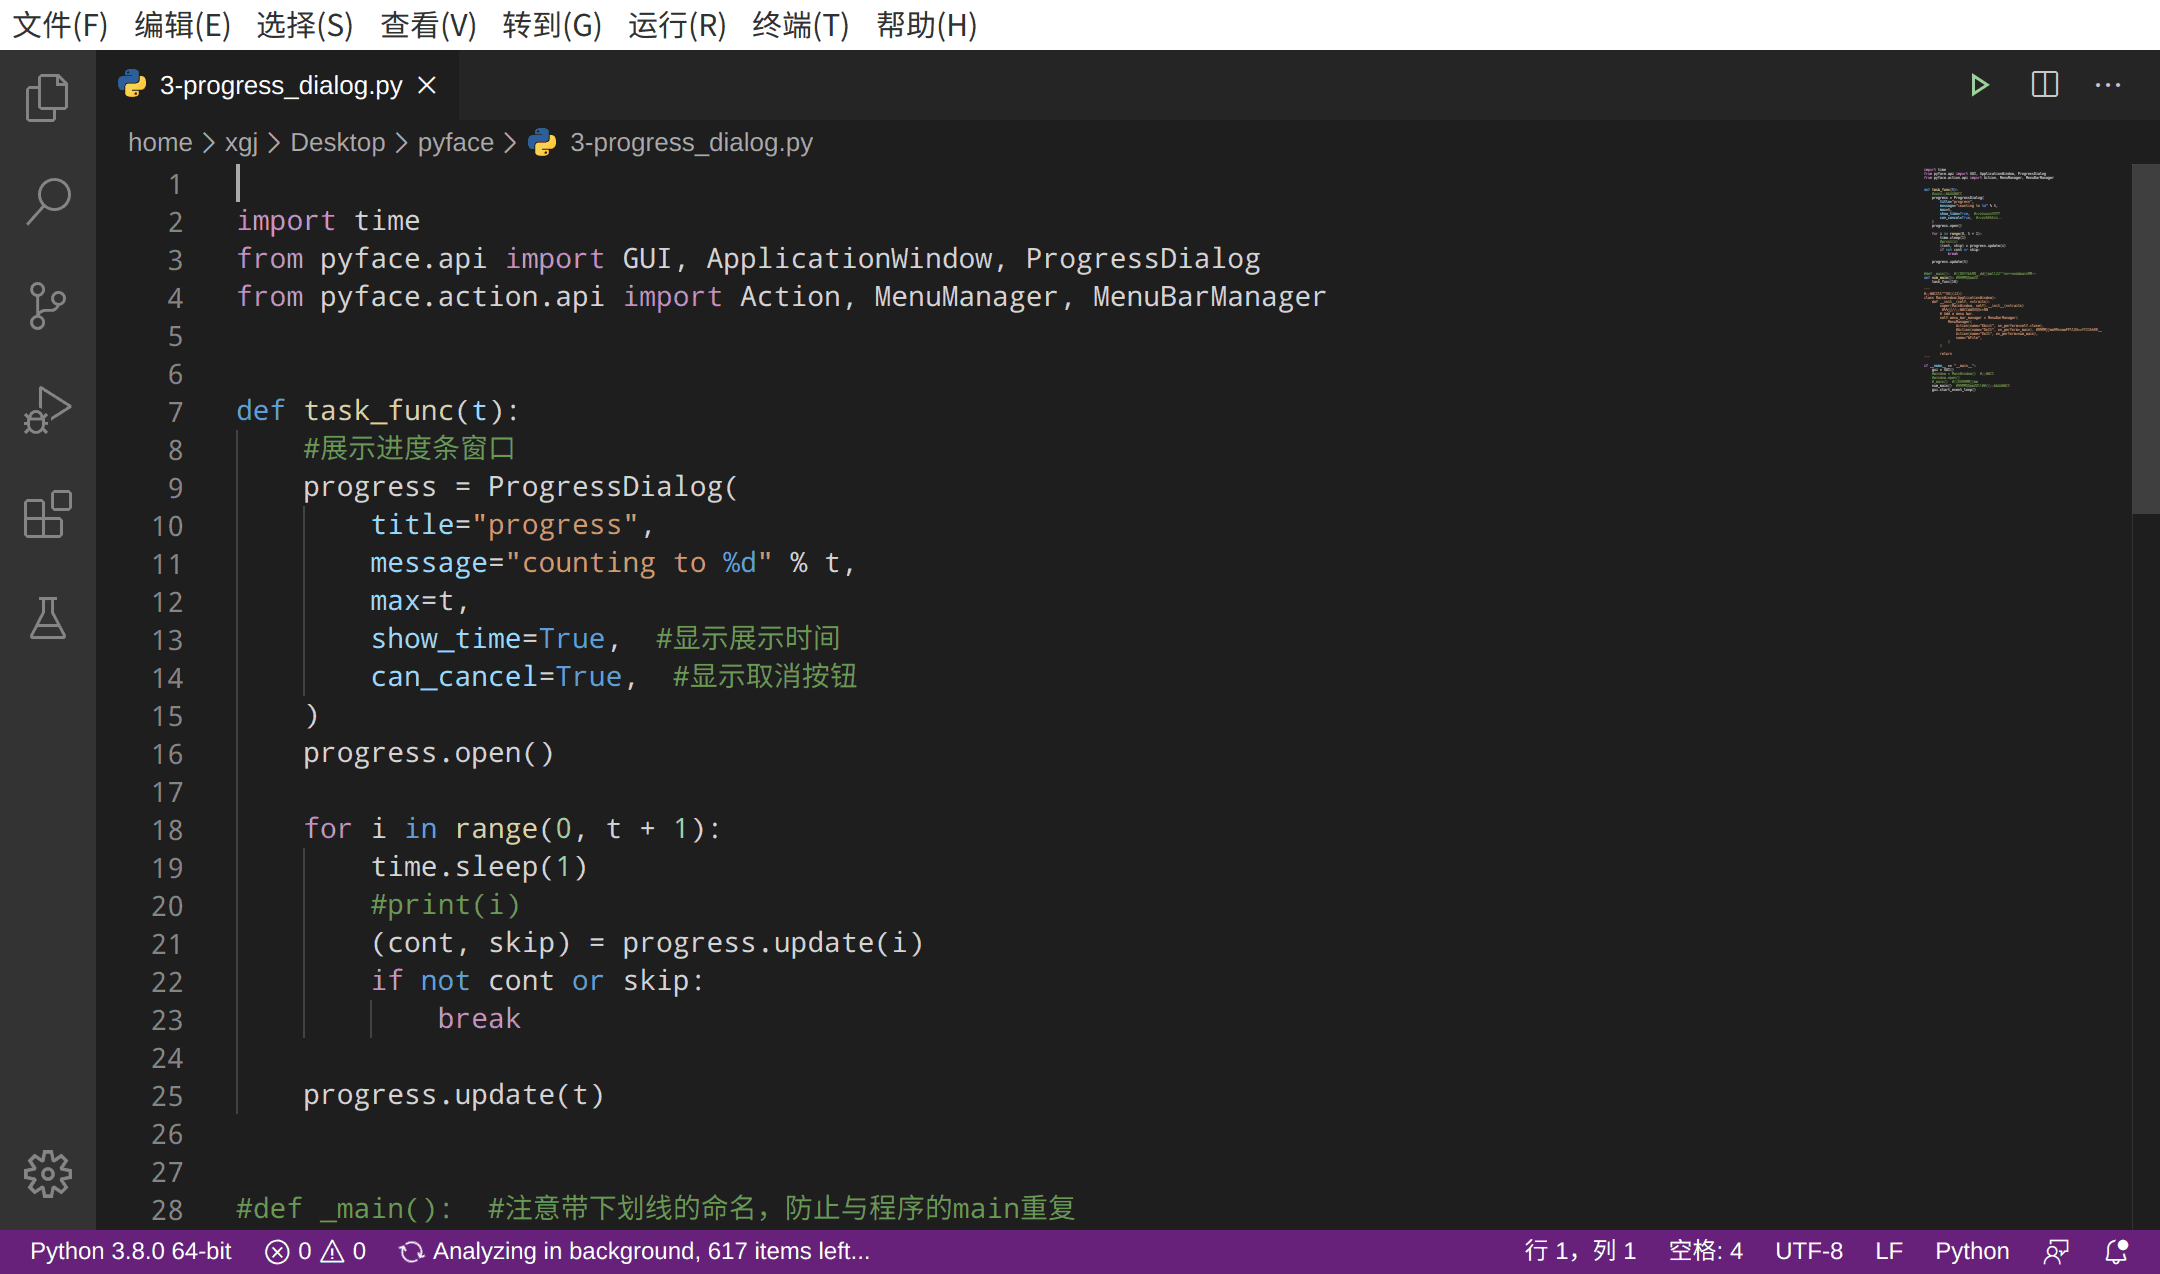
5.2 代碼:
import timefrom pyface.api import GUI, ApplicationWindow, ProgressDialogfrom pyface.action.api import Action, MenuManager, MenuBarManagerdef task_func(t): #展示進度條窗口 progress = ProgressDialog( , message="counting to %d" % t, max=t, show_time=True, #顯示展示時間 can_cancel=True, #顯示取消按鈕 ) progress.open() for i in range(0, t + 1): time.sleep(1) #print(i) (cont, skip) = progress.update(i) if not cont or skip: break progress.update(t)#def _main(): #注意帶下劃線的命名,防止與程序的main重復def num_main(): #這種就不會 task_func(10)'''#主窗口,暫時注釋掉class MainWindow(ApplicationWindow): def __init__(self, **traits): super(MainWindow, self).__init__(**traits) #以上是主窗口的默認設置 # Add a menu bar. self.menu_bar_manager = MenuBarManager( MenuManager( Action(name="E&xit", on_perform=self.close), #Action(name="DoIt", on_perform=_main), #這種命名容易混淆,還好帶有下劃線 Action(name="DoIt", on_perform=num_main), name="&File", ) ) return'''if __name__ == "__main__": gui = GUI() #window = MainWindow() #主窗口 #window.open() #_main() #注意這種命名 num_main() #這種就不會,調用進度條窗口 gui.start_event_loop()5.3 操作和效果圖:
6 彈出框學習:
==========
6.1 代碼:
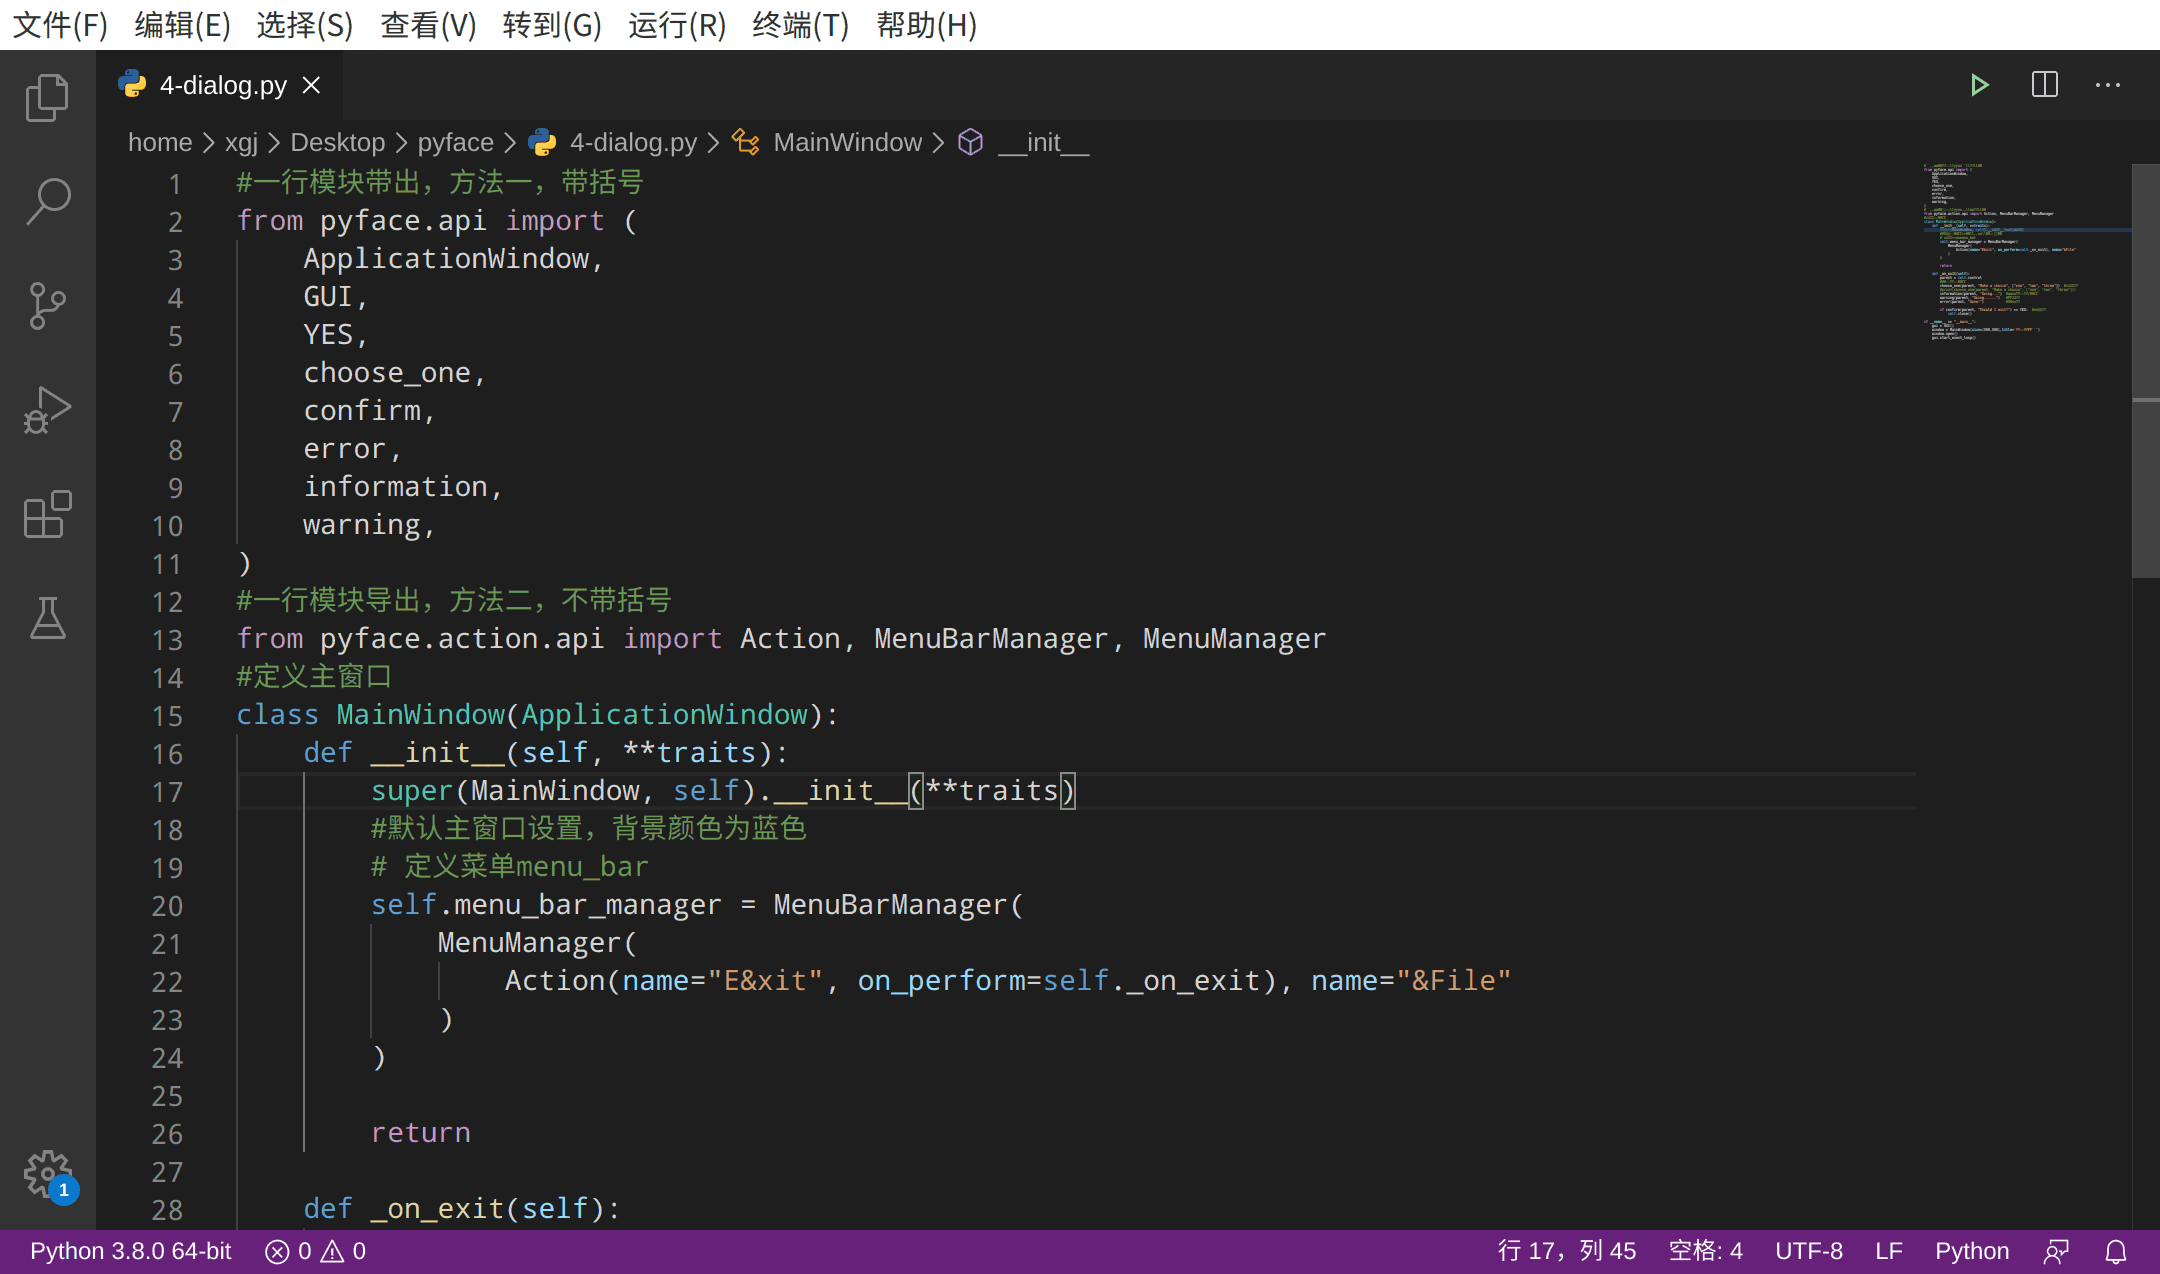
#一行模塊帶出,方法一,帶括號from pyface.api import ( ApplicationWindow, GUI, YES, choose_one, confirm, error, information, warning,)#一行模塊導出,方法二,不帶括號from pyface.action.api import Action, MenuBarManager, MenuManager#定義主窗口class MainWindow(ApplicationWindow): def __init__(self, **traits): super(MainWindow, self).__init__(**traits) #默認主窗口設置,背景顏色為藍色 # 定義菜單menu_bar self.menu_bar_manager = MenuBarManager( MenuManager( Action(name="E&xit", on_perform=self._on_exit), name="&File" ) ) return def _on_exit(self): parent = self.control #調出彈出窗口 choose_one(parent, "Make a choice", ["one", "two", "three"]) #選擇框 #print(choose_one(parent, "Make a choice", ["one", "two", "three"])) information(parent, "Going...") #信息彈出框/窗口 warning(parent, "Going......") #警告框 error(parent, "Gone!") #錯誤框 if confirm(parent, "Should I exit?") == YES: #確認框 self.close()if __name__ == "__main__": gui = GUI() window = MainWindow(size=(800,800),) window.open() gui.start_event_loop()6.2 效果圖:
7 本機默認pyface的窗口GUI是pyqt5

===自己整理并分享出來===
喜歡的人,請點贊、轉發、關注、評論和收藏。


運算符)


 理解Python的函數傳參機制)
)


)
---xml、ini、excel、日志等配置)
