這里寫目錄標題
- (一)原始圖像
- (二)最鄰近插值實現
- (三)python實現
- 1. 安裝庫
- 2. python程序編寫
- 3. 效果
- 4. 工程文件
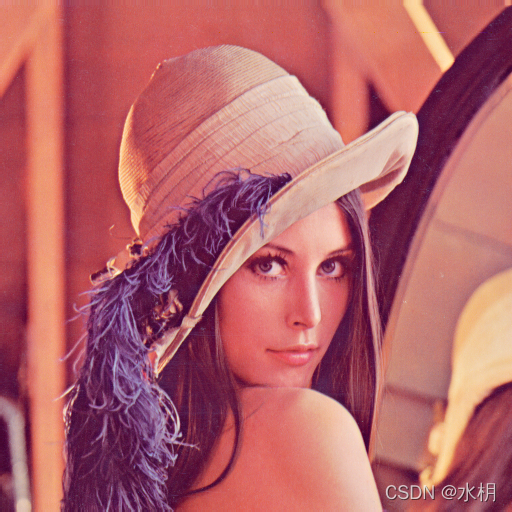
(一)原始圖像
(二)最鄰近插值實現
一般情況下我們對圖像縮放的時候會進行上采樣或下采樣,上采樣常采用插值來實現,本文章使用最鄰近插值來實現圖像放大
(三)python實現
python安裝可以參考:python安裝
1. 安裝庫
首先我們需要安裝用到的庫,按住win+r輸入cmd打開dos窗口,輸入下面的命令
pip install opencv-python
pip install numpy
2. python程序編寫
import cv2 # cv2 即opencv的庫
import numpy as np #給numpy起別名np,該庫Numerical Python是python的數學函數庫def function(img):height, width,channels = img.shape #將圖像的長寬通道信息賦值給對應變量print("heigh=%s width=%s chanel=%s"%(height,width,channels))emptyImage=np.zeros((800,800,channels),np.uint8)print(emptyImage)sh = 800/heightsw = 800/widthfor i in range(800):for j in range(800):x=int(i/sh) #找出目標圖像對應原圖像最近的點y=int(j/sw)emptyImage[i,j] = img[x,y]return emptyImageimg=cv2.imread("lenna.png") #從當前目錄加載圖像
zoom=function(img)
print(zoom) #打印圖像矩陣信息
print("---------------------------")
print(zoom.shape) #打印圖像信息
print("---------------------------")
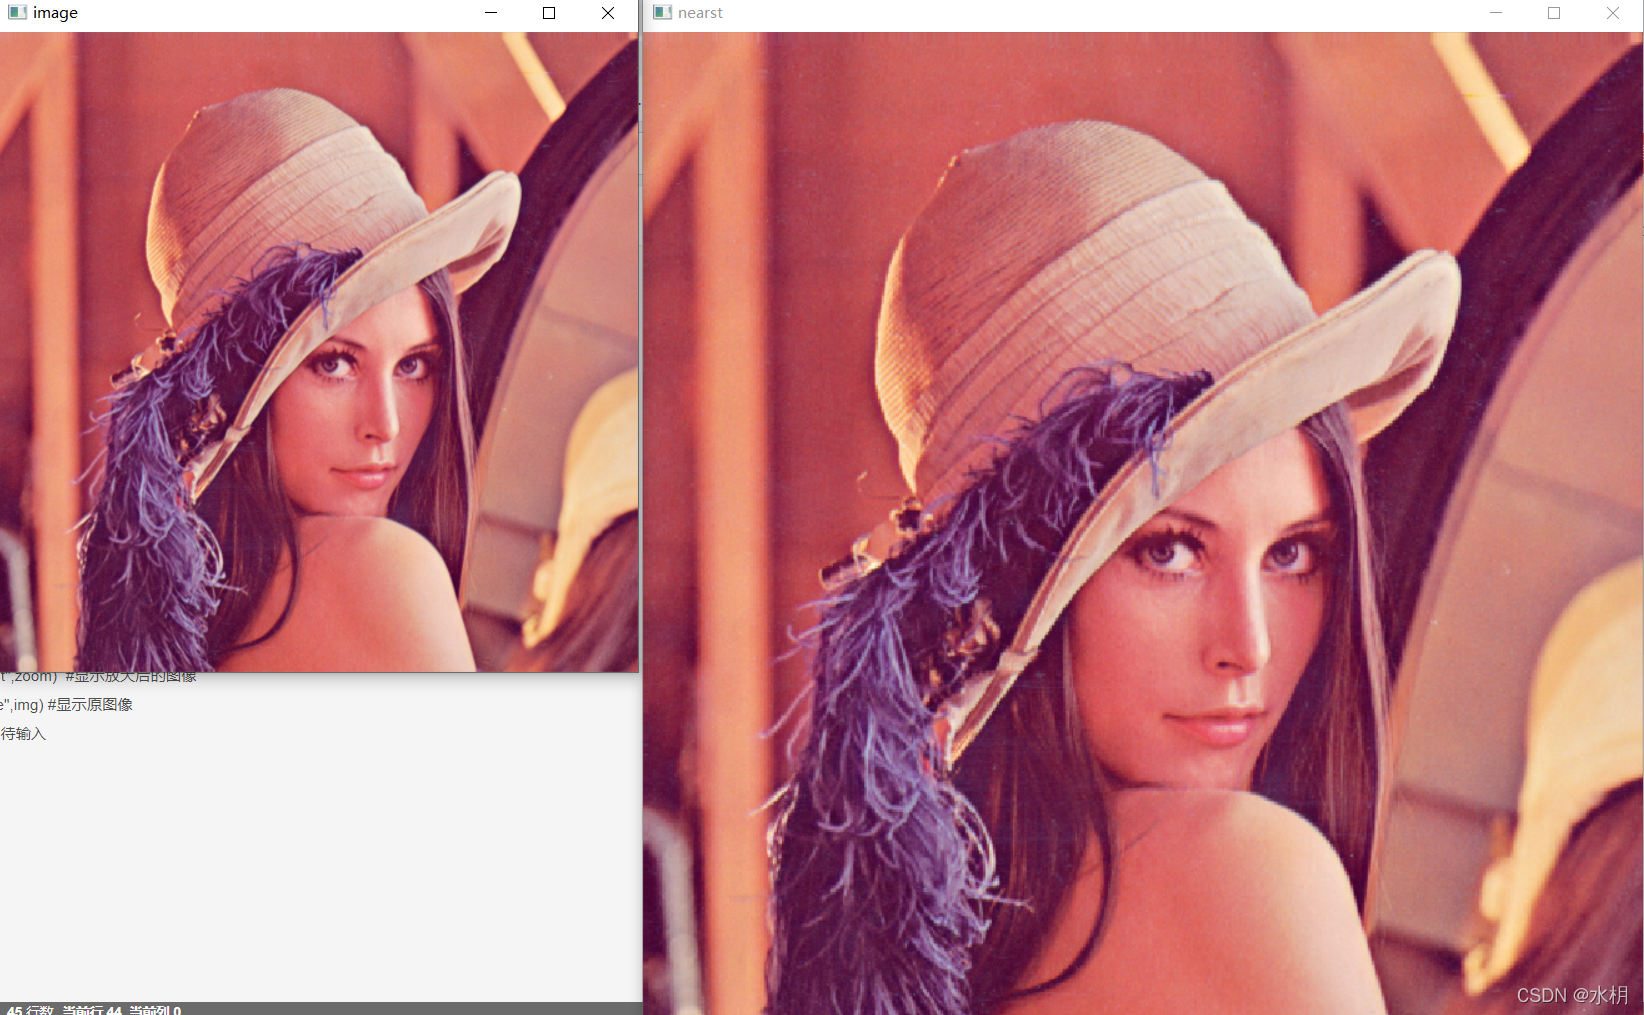
cv2.imshow("nearst",zoom) #顯示放大后的圖像
cv2.imshow("image",img) #顯示原圖像
cv2.waitKey(0) #等待輸入
3. 效果
打印信息:
========== RESTART: E:\ProgramDemo\AI\opencv\nearest_interpolation.py ==========
heigh=512 width=512 chanel=3
[[[0 0 0][0 0 0][0 0 0]...[0 0 0][0 0 0][0 0 0]][[0 0 0][0 0 0][0 0 0]...[0 0 0][0 0 0][0 0 0]][[0 0 0][0 0 0][0 0 0]...[0 0 0][0 0 0][0 0 0]]...[[0 0 0][0 0 0][0 0 0]...[0 0 0][0 0 0][0 0 0]][[0 0 0][0 0 0][0 0 0]...[0 0 0][0 0 0][0 0 0]][[0 0 0][0 0 0][0 0 0]...[0 0 0][0 0 0][0 0 0]]]
[[[125 137 226][125 137 226][125 137 226]...[110 130 221][110 130 221][ 90  99 200]][[125 137 226][125 137 226][125 137 226]...[110 130 221][110 130 221][ 90  99 200]][[125 137 226][125 137 226][125 137 226]...[110 130 221][110 130 221][ 90  99 200]]...[[ 57  22  82][ 57  22  82][ 57  22  82]...[ 81  71 181][ 81  71 181][ 81  74 185]][[ 57  22  82][ 57  22  82][ 57  22  82]...[ 81  71 181][ 81  71 181][ 81  74 185]][[ 57  22  82][ 57  22  82][ 57  22  82]...[ 81  71 181][ 81  71 181][ 81  74 185]]]
---------------------------
(800, 800, 3)
---------------------------
4. 工程文件
線性插值函數
雙線性插值python實現)

圖像轉灰度圖Python實現)


)


)

)


)


