一、pytorch3d是什么?
PyTorch3D的目標是幫助加速深度學習和3D交叉點的研究。3D數據比2D圖像更復雜,在從事Mesh R-CNN和C3DPO等項目時,我們遇到了一些挑戰,包括3D數據表示、批處理和速度。我們開發了許多有用的算子和抽象,用于3D深度學習,并希望與社區分享,以推動這一領域的新研究。
在PyTorch3D中,我們包含了高效的3D操作符、異構批處理功能和模塊化可微渲染API,為該領域的研究人員提供了急需的工具包,以實現復雜3D輸入的前沿研究。
來自:https://pytorch3d.org/docs/why_pytorch3d
二、安裝步驟
1.添加anaconda源(最最最最最關鍵!!)
以清華源 ubuntu18.04為例,其他平臺安裝方法可以借鑒:
# 在終端執行以下代碼
conda config --add channels https://mirrors.tuna.tsinghua.edu.cn/anaconda/pkgs/free/
conda config --add channels https://mirrors.tuna.tsinghua.edu.cn/anaconda/pkgs/main/
# 以上兩條是Anaconda官方庫的鏡像
conda config --add channels https://mirrors.tuna.tsinghua.edu.cn/anaconda/cloud/conda-forge/
# 以上是Anaconda第三方庫 Conda Forge的鏡像
# for linux
conda config --add channels https://mirrors.tuna.tsinghua.edu.cn/anaconda/cloud/pytorch/
# for legacy win-64
conda config --add channels https://mirrors.tuna.tsinghua.edu.cn/anaconda/cloud/peterjc123/
#以上兩條是Pytorch的Anaconda第三方鏡像
conda config --add channels https://mirrors.tuna.tsinghua.edu.cn/anaconda/cloud/pytorch3d/
conda config --set show_channel_urls yes
1
2
3
4
5
6
7
8
9
10
11
12
13
14
15
16
添加完成后可以使用conda info命令查看是否添加成功
!!!添加pytorch源和pytorch3d源是最關鍵的步驟!!!
2.創建環境
以python3.8為例,這個看實際需求。
conda create -n pytorch3d python=3.8
conda activate pytorch3d
1
2
3.安裝pytorch和pytorch3d
截止本文的編寫時間,當前最版本pytorch3d為0.6.2,最高支持pytorch1.11.0,所以最好不要安裝pytorch 1.12.0 以上版本;以pytorch 1.10.1版本為例,對了我的nvcc -v cuda版本是11.3,安裝pytorch需要適配:
# 首先安裝pytorch
conda install pytorch==1.10.1 torchvision==0.11.2 torchaudio==0.10.1 cudatoolkit=11.3
# 使用官方網站提供的命令安裝,參考:https://pytorch.org/get-started/previous-versions/
# 但是尤其注意以因為已經更換過conda源了,所以不需要添加-c pytorch -c conda-forge,否則默認從官方源添加
# 這一步需要等待一段時間,但清華源速度總比官方源強多了
# 其次安裝必要庫
conda install -c fvcore -c iopath -c conda-forge fvcore iopath
# 安裝pytorch3d,只需要一條命令
conda install pytorch3d
1
2
3
4
5
6
7
8
9
10
11
12
那么就是激動人心的時刻了:
總結
完結撒花,希望后續在使用pytorch3d的過程中能夠出一些好的教程,期待自己可以~
————————————————
版權聲明:本文為CSDN博主「LuH1124」的原創文章,遵循CC 4.0 BY-SA版權協議,轉載請附上原文出處鏈接及本聲明。
原文鏈接:https://blog.csdn.net/weixin_43357695/article/details/126063091
這上面是linux的吧
我先下載github上的
然后解壓
發布版本 0.7.4 ·FacebookResearch/PyTorch3D ·GitHub
Releases · facebookresearch/pytorch3d (github.com)
8月4日嘗試
conda install pytorch3d -c pytorch3d
conda install -c pytorch3d pytorch3d
https://data.pyg.org/whl/
這是torch的文件吧
pytorch3d
8.7日嘗試成功
安裝前置
conda install -c fvcore -c iopath -c conda-forge fvcore iopath
conda install jupyter
pip install scikit-image matplotlib imageio plotly opencv-python
pip install black usort flake8 flake8-bugbear flake8-comprehensions
Welcome to PyTorch3D’s documentation! — PyTorch3D documentation
官方文檔
Release CUB 1.15.0 · NVIDIA/cub · GitHub
下載cub
Windows下Pytorch3d的安裝方法_木清風居士的博客-CSDN博客
參考鏈接
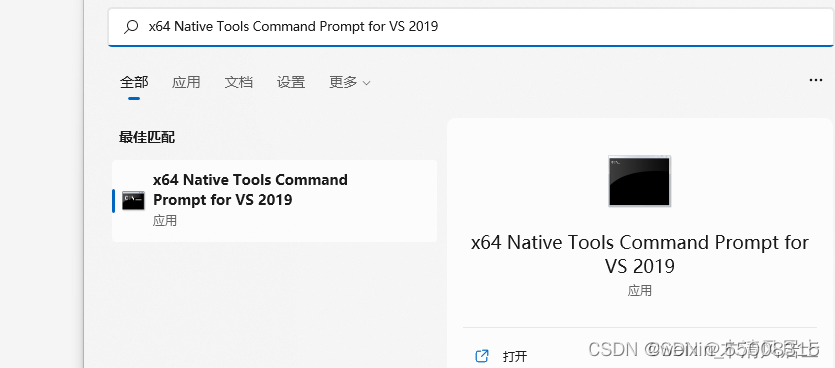
打開
x64 Native Tools Command Prompt for VS 2019
然后cd到pytorch3d目錄
激活conda activate pytorch3d
10.24 cv方向3DMM必備環境——Windows10/11下pytorch3d[完美安裝版]_啥都會一點的老程,自在地鏡強者的博客-CSDN博客
參考這篇
安裝約需要五分鐘,等吧,中間提示pillow沒有安裝
然后先安裝conda install zlib
然后安裝pillow,安裝成功了。
總結:
1.安裝cuda11.6然后安裝torch版本為3.9的1.12的。然后安裝cub,1.15.0版本的,在環境變量加上

?安裝好后,參考版本

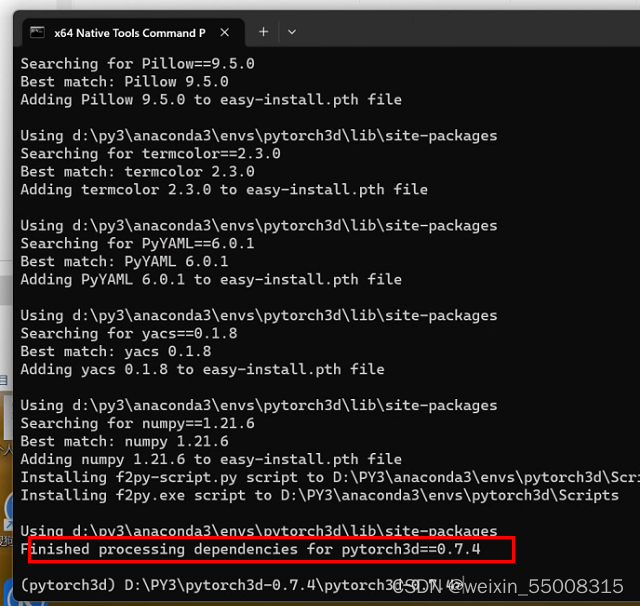
?下載pytorch3d的版本,我安裝的0.7.4
安裝VS 2019后,打開如下圖所示的"x64 Native Tools Command Prompt for VS 2019"終端,然后cd到pytorch3d解壓后的目錄路徑里:
激活對應的環境conda activate pytorch3d
?打開cd到pytorch3d的位置,輸入這兩句
set DISTUTILS_USE_SDK=1
set PYTORCH3D_NO_NINJA=1
然后python setup.py install
然后報錯?
修改 pytorch3d里setup.py文件的源碼:將extra_compile_args = {“cxx”: [“-std=c++14”]} 修改為: extra_compile_args = {“cxx”: []};
安裝報錯,修改setup.py里的文件

?安裝報錯修改cuda的文件。打開你的cuda目錄下:\include\thrust\system\cuda\config的代碼,在74行加入提示的語句,如下修改:
修改增加第74行
?
Releases · facebookresearch/pytorch3d · GitHub
成功了,記錄于此2023.08.07
有個報錯,提示找不到文件,猜測是cuda沒有安裝對


)


)

圖像增強opencv實現)


 : TCP多線程一個server對應多個client)