1.什么是監聽器
監聽器就是監聽某個對象的狀態變化的組件。
事件源:被監聽的對象 ----- 三個域對象 request session servletContext
監聽器:監聽事件源對象 事件源對象的狀態的變化都會觸發監聽器 ---- 6+2
注冊監聽器:將監聽器與事件源進行綁定
響應行為:監聽器監聽到事件源的狀態變化時 所涉及的功能代碼 ---- 程序員編寫代 碼
| ServletContext域 | HttpSession域 | ServletRequest域 | |
|---|---|---|---|
| 域對象內的創建與銷毀 | ServletContextListener | HttpSessionListener | ServletRequestListener |
| 域對象內的屬性的變化 | ServletContextAttributeListener | HttpSessionAttributeListener | ServletRequestAttributeListener |
ServletContextListener監聽器的主要作用
a、初始化的工作:初始化對象 初始化數據 ---- 加載數據庫驅動  連接池的初始化
b、加載一些初始化的配置文件 --- spring的配置文件
c、任務調度----定時器----Timer/TimerTask
實現步驟:
1,編寫一個監聽器類去實現監聽器接口
例如創建一個類,類名為:MyServletContextListener
2,覆蓋監聽器的方法(說白了去實現一下ServletContextListener這個接口,并且實現該接口未實現的方法就行)
public class ServletContextListener implements ServletContextListener{//監聽context域對象的創建public void contextInitialized(ServletContextEvent sce) {System.out.println("context創建了...");}//監聽context域對象的銷毀public void contextDestroyed(ServletContextEvent sce) {System.out.println("context銷毀了...");}}
3,需要在web.xml中進行配置—注冊
把該方法的全包名給配置一下即可
<listener><listener-class>beyond.create.MyServletContextListener</listener-class>
</listener>
ServletContextListener
銀行計息:
package beyond.create;import java.text.ParseException;
import java.text.SimpleDateFormat;
import java.util.Date;
import java.util.Timer;
import java.util.TimerTask;import javax.servlet.ServletContext;
import javax.servlet.ServletContextEvent;
import javax.servlet.ServletContextListener;public class MyServletContextListener implements ServletContextListener {//實現監聽器接口ServletContext域的創建和銷毀//監聽context域對象的創建public void contextInitialized(ServletContextEvent sce) {//服務器啟動的時候執行該方法System.out.println("context創建了...");//通過sce可以獲得的被監聽的對象//ServletContext servletContext = sce.getServletContext();//就是被監聽的對象---ServletContext//ServletContext source = (ServletContext)sce.getSource();//getSource就是被監聽的對象  是通用方法//開啟一計息任務調度---每天晚上12點計息一次Timer timer = new Timer();//task:任務   firstTime:第一次執行時間  period:間隔執行時間//timer.schedule(task, firstTime, period);/*timer.schedule(new TimerTask() {//TimerTask為一個接口,可以通過匿名內部類進行newpublic void run() {System.out.println("銀行計息了...");}}, new Date(), 5000);*///具體實現銀行計息如下://修改成銀行真實計息業務//1.起始時間:定義成晚上12點//2.間隔時間:24小時SimpleDateFormat format = new SimpleDateFormat("yyyy-MM-dd hh:mm:ss");String currentTime = "2019-04-29 00:00:00";Date parse = null;try {parse = format.parse(currentTime);//解析字符串} catch (ParseException e) {e.printStackTrace();}timer.schedule(new TimerTask() {@Overridepublic void run() {System.out.println("銀行計息了...");}}, parse, 24*60*60*1000);//一天計息一次}//監聽context域對象的銷毀public void contextDestroyed(ServletContextEvent sce) {System.out.println("context銷毀了...");}}
HttpSessionListener
創建與ServletContextListener一樣,
繼承接口,實現方法,web.xml進行配置
ServletRequestListener也一樣
2,監聽三大域對象的屬性變化
1)域對象的通用方法:
setAttribute(name,value)
—觸發添加屬性的監聽器的方法
—觸發修改屬性的監聽器的方法
getAttribute(name)
removeAttribute(name) - - - 觸發刪除屬性的監聽器的方法
3,對象感知監聽器(與session中的綁定的對象相關的監聽器)
(1)即將要被綁定到session中的對象有幾種狀態
綁定狀態:就一個對象被放到session域中
解綁狀態:就是這個對象從session域中移除了
鈍化狀態:是將session內存中的對象持久化(序列化)到磁盤
活化狀態:就是將磁盤上的對象再次恢復到session內存中
綁定與解綁
首先,HttpSessionBindingListener該監聽器是綁定在對象上的,并且不需要配置web.xml,跟上面綁定監聽器一樣,繼承接口,實現接口未實現的方法
package beyond.domain;import javax.servlet.http.HttpSessionBindingEvent;
import javax.servlet.http.HttpSessionBindingListener;public class Person implements HttpSessionBindingListener{//該監聽器是綁到對象身上的,不需要配置web.xmlprivate String id;private String name;public String getId() {return id;}public void setId(String id) {this.id = id;}public String getName() {return name;}public void setName(String name) {this.name = name;}@Overridepublic void valueBound(HttpSessionBindingEvent event) {//綁定的方法System.out.println("Person被綁定了");}@Overridepublic void valueUnbound(HttpSessionBindingEvent event) {//解綁的方法System.out.println("Person被解綁了");}
}
package beyond.domain;import java.io.IOException;
import javax.servlet.ServletException;
import javax.servlet.http.HttpServlet;
import javax.servlet.http.HttpServletRequest;
import javax.servlet.http.HttpServletResponse;
import javax.servlet.http.HttpSession;public class TestPersonBindingServlet extends HttpServlet {public void doGet(HttpServletRequest request, HttpServletResponse response) throws ServletException, IOException {HttpSession session = request.getSession();//先獲得session//將person對象綁定到session中Person p = new Person();p.setId("100");p.setName("beyond");session.setAttribute("person", p);//將p對象(name為person)放到session域當中,被綁定//將person對象從session中解綁session.removeAttribute("person");//跟著name來的}public void doPost(HttpServletRequest request, HttpServletResponse response) throws ServletException, IOException {doGet(request, response);}
}
鈍化與活化
鈍化與活化的監聽器HttpSessionActivationListener
鈍化:是將session內存中的對象持久化(序列化)到磁盤
活化:就是將磁盤上的對象再次恢復到session內存中
當用戶很多的時候,就需要用鈍化和活化進行優化
與session有關的對象感知監聽器一樣,該監聽器需要綁定在實體上,繼承該監聽器(HttpSessionActivationListener),這里特別注意要實現接口Serializable
public class Customer implements HttpSessionActivationListener,Serializable
例如:創建一個實體Customer,需要繼承HttpSessionActivationListener這個監聽器,并且實現該接口Serializable
package beyond.domain;import java.io.Serializable;import javax.servlet.http.HttpSessionActivationListener;
import javax.servlet.http.HttpSessionEvent;public class Customer implements HttpSessionActivationListener,Serializable{//實現這個接口private String id;private String name;public String getId() {return id;}public void setId(String id) {this.id = id;}public String getName() {return name;}public void setName(String name) {this.name = name;}@Override//服務器正常關閉時鈍化public void sessionWillPassivate(HttpSessionEvent se) {//鈍化---把session存到磁盤System.out.println("customer被鈍化了");}@Override//服務器再次啟動時活化public void sessionDidActivate(HttpSessionEvent se) {//活化---把磁盤恢復到session內存區域中System.out.println("customer被活化了");}}
鈍化代碼:
package beyond.domain;import java.io.IOException;
import javax.servlet.ServletException;
import javax.servlet.http.HttpServlet;
import javax.servlet.http.HttpServletRequest;
import javax.servlet.http.HttpServletResponse;
import javax.servlet.http.HttpSession;public class TestCustomerActiveServlet extends HttpServlet {public void doGet(HttpServletRequest request, HttpServletResponse response) throws ServletException, IOException {HttpSession session = request.getSession();//獲得session對象Customer customer = new Customer();customer.setId("1014");customer.setName("wsq");session.setAttribute("customer", customer);//將customer放到session當中System.out.println("customer被放到session域中了");//鈍化,已存到本地磁盤中去了}public void doPost(HttpServletRequest request, HttpServletResponse response) throws ServletException, IOException {doGet(request, response);}
}
活化代碼:
package beyond.domain;import java.io.IOException;
import javax.servlet.ServletException;
import javax.servlet.http.HttpServlet;
import javax.servlet.http.HttpServletRequest;
import javax.servlet.http.HttpServletResponse;
import javax.servlet.http.HttpSession;public class TestCustomerActiveServlet2 extends HttpServlet {public void doGet(HttpServletRequest request, HttpServletResponse response) throws ServletException, IOException {//從session域當中獲得customerHttpSession session = request.getSession();//先獲得sessionCustomer customer = (Customer) session.getAttribute("customer");//強轉System.out.println(customer.getName());//活化后輸出customer里面的customer對象的Name值}public void doPost(HttpServletRequest request, HttpServletResponse response) throws ServletException, IOException {doGet(request, response);}
}
這里需要注意一下:可以通過配置文件 指定對象鈍化時間—對象多長時間不適用被鈍化
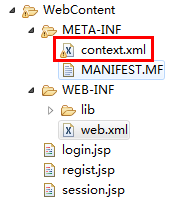
context.xml代碼如下:
<?xml version="1.0" encoding="UTF-8"?>
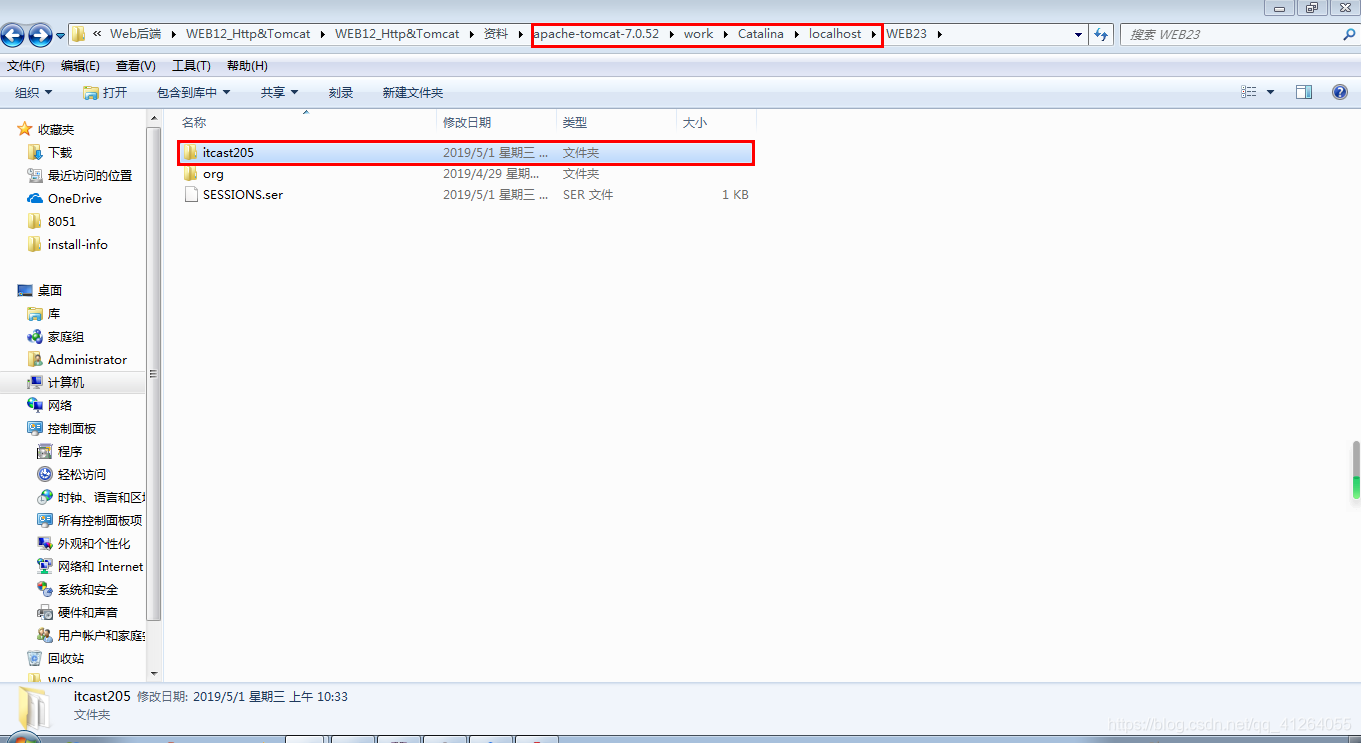
<Context><!-- maxIdleSwap:session中的對象多長時間不使用就鈍化 --><!-- directory:鈍化后的對象的文件寫到磁盤的哪個目錄下 配置鈍化的對象文件在 work/catalina/localhost/鈍化文件 --><Manager className="org.apache.catalina.session.PersistentManager" maxIdleSwap="1"> <!-- 1分鐘不用session被鈍化到磁盤中 --><Store className="org.apache.catalina.session.FileStore" directory="itcast205" /> <!-- 將鈍化后的session存放當itcast205該目錄下,目錄可以自定義 --></Manager>
</Context>
當再次運行Servlet的時候,鈍化后的session會存到相關指定文件夾下


函數與示例)


—— 實現自定義業務類...)

方法)


方法)
