一、重定向
1.1 修改 Main.vue
<template><div><el-container><el-aside width="200px"><el-menu :default-openeds="['1']"><el-submenu index="1"><template slot="title"><i class="el-icon-caret-right"></i>用戶管理</template><el-menu-item-group><el-menu-item index="1-1"><!--name 傳組件名,params 傳遞參數,v-bind 進行對象綁定--><router-link v-bind:to="{name:'Profile222',params:{id:1}}">個人信息</router-link></el-menu-item><el-menu-item index="1-2"><router-link to="/user/list">用戶列表</router-link></el-menu-item><!--用于測試重定向--><el-menu-item index="1-3"><router-link to="/goHome">回到首頁</router-link></el-menu-item></el-menu-item-group></el-submenu><el-submenu index="2"><template slot="title"><i class="el-icon-caret-right"></i>內容管理</template><el-menu-item-group><el-menu-item index="2-1">分類管理</el-menu-item><el-menu-item index="2-2">內容列表</el-menu-item></el-menu-item-group></el-submenu></el-menu></el-aside><el-container><el-header style="text-align: right; font-size: 12px"><el-dropdown><i class="el-icon-setting" style="margin-right: 15px"></i><el-dropdown-menu slot="dropdown"><el-dropdown-item>個人信息</el-dropdown-item><el-dropdown-item>退出登錄</el-dropdown-item></el-dropdown-menu></el-dropdown></el-header><el-main><router-view/></el-main></el-container></el-container></div>
</template><script>
export default {name: "Main"
}
</script><style  scoped lang="scss">
.el-header {background-color: yellow;color: blue;line-height: 60px;
}.el-aside {color: #333;
}
</style>
1.2 修改 router 路由
????????修改 router 文件夾下的 index.js,內容如下所示:
import Vue from 'vue'
import Router from 'vue-router'
import Main from '../views/Main'
import Login from '../views/Login'
import List from '../views/user/List'
import Profile from '../views/user/Profile'Vue.use(Router);export default new Router({routes:[{path:'/main',component:Main,// 配置嵌套路由children:[{path:'/user/list',component:List},{// 使用:id 進行參數接收path:'/user/profile/:id',name:'Profile222',component:Profile,props:true},{// 配置重定向信息path:'/goHome',redirect:'/main'}]},{path:'/Login',component:Login}]
})
1.3 測試
???啟動工程,如下所示:
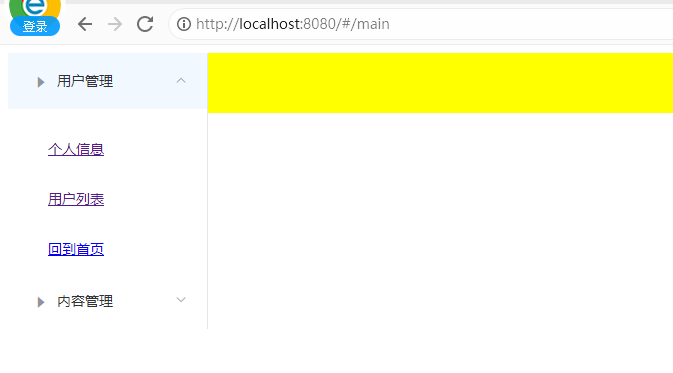
?????????在地址欄的后綴輸入?main ,顯示的內容如下所示,先點擊個人信息,再點擊回到首頁,就可以發現地址欄發生了跳轉。
二、顯示當前登錄的用戶姓名
2.1 修改 Login.vue
<template><div><el-form ref="loginForm" :model="form" :rules="rules" label-width="8px" class="login-box"><h3 class="login-title">歡迎登錄</h3><el-form-item label="賬號" prop="username"><el-input type="text" placeholder="請輸入賬號" v-model="form.username"/></el-form-item><el-form-item label="密碼" prop="password"><el-input type="password" placeholder="請輸入密碼" v-model="form.password"/></el-form-item><el-form-item><el-button type="primary"v-on:click="onSubmit('loginForm')">登錄</el-button></el-form-item></el-form><el-dialog title="溫馨提示":visible.sync="dialogVisible"width="30%":before-close="handleClose"><span>請輸入賬號和密碼</span><span slot="footer" class="dialog-footer"><el-button type="primary"@click="dialogVisible = false">確 定</el-button></span></el-dialog></div>
</template><script>
export default {name: "Login",data(){return {form:{username:'',password:''},rules:{username:[{required: true,message:'賬號不可為空',trigger:'blur'}],password:[{required: true,message:'密碼不可為空',trigger:'blur'}]},// 對話框的顯示和隱藏dialogVisible:false}},methods:{onSubmit(formName){// 為表單綁定驗證功能this.$refs[formName].validate((valid) => {if(valid){// 傳遞當前用戶輸入的用戶名參數this.$router.push("/main/"+this.form.username);}else{this.dialogVisible =true;return false;}});}}
}
</script><style lang="scss" scoped>
.login-box {border: 1px solid #DCDFE6;width: 350px;margin: 180px auto;padding: 35px 35px 15px 35px;border-radius: 5px;-webkit-border-radius: 5px;-moz-border-radius: 5px;box-shadow: 0 0 25px #909399;
}
.login-title{text-align: center;margin:0 auto 40px auto;color:#303133;
}
</style>
2.2 修改 router 路由
????????修改 router 文件夾下的 index.js,內容如下所示:
import Vue from 'vue'
import Router from 'vue-router'
import Main from '../views/Main'
import Login from '../views/Login'
import List from '../views/user/List'
import Profile from '../views/user/Profile'Vue.use(Router);export default new Router({routes:[{// 接收 login 傳過來的參數path:'/main/:name',component:Main,// 允許接收參數props:true,// 配置嵌套路由children:[{path:'/user/list',component:List},{// 使用:id 進行參數接收path:'/user/profile/:id',name:'Profile222',component:Profile,props:true},{// 配置重定向信息path:'/goHome',redirect:'/main'}]},{path:'/Login',component:Login}]
})
2.3 修改 Main.vue
<template><div><el-container><el-aside width="200px"><el-menu :default-openeds="['1']"><el-submenu index="1"><template slot="title"><i class="el-icon-caret-right"></i>用戶管理</template><el-menu-item-group><el-menu-item index="1-1"><!--name 傳組件名,params 傳遞參數,v-bind 進行對象綁定--><router-link v-bind:to="{name:'Profile222',params:{id:1}}">個人信息</router-link></el-menu-item><el-menu-item index="1-2"><router-link to="/user/list">用戶列表</router-link></el-menu-item><!--用于測試重定向--><el-menu-item index="1-3"><router-link to="/goHome">回到首頁</router-link></el-menu-item></el-menu-item-group></el-submenu><el-submenu index="2"><template slot="title"><i class="el-icon-caret-right"></i>內容管理</template><el-menu-item-group><el-menu-item index="2-1">分類管理</el-menu-item><el-menu-item index="2-2">內容列表</el-menu-item></el-menu-item-group></el-submenu></el-menu></el-aside><el-container><el-header style="text-align: right; font-size: 12px"><el-dropdown><i class="el-icon-setting" style="margin-right: 15px"></i><el-dropdown-menu slot="dropdown"><el-dropdown-item>個人信息</el-dropdown-item><el-dropdown-item>退出登錄</el-dropdown-item></el-dropdown-menu></el-dropdown><!--顯示當前的用戶信息--><span>{{name}}</span></el-header><el-main><router-view/></el-main></el-container></el-container></div>
</template><script>
export default {// 接收 name 參數props:['name'],name: "Main"
}
</script><style  scoped lang="scss">
.el-header {background-color: yellow;color: blue;line-height: 60px;
}.el-aside {color: #333;
}
</style>
2.4?測試
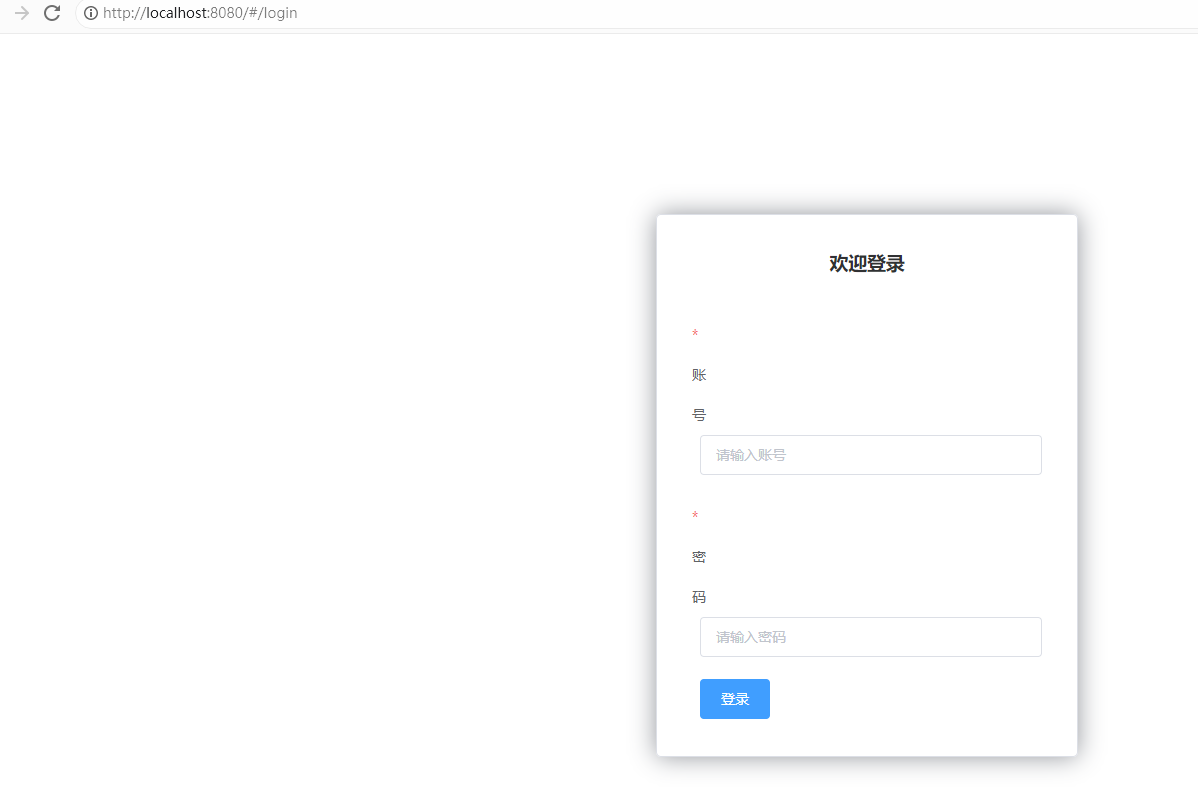
????????啟動工程,網址后綴輸入 login,并隨便登錄,如下所示:

三、路由模式與404
3.1 路由模式
路由默認分為兩種,默認的是 hash
????????1、hash:路徑帶 # 符號,如:http://localhost/#/login
????????2、history:路徑不帶 # 符號,如:http://localhost/login
????????修改路由配置,代碼如下:
export default new Router({mode:'history',routes:[]
});
3.2 配置 404
????????如果用戶訪問的路徑不存在怎么辦?給他返回一個 404 即可,新建一個 NotFound.vue 的試圖組件,內容如下所示:
<template><div>頁面不存在,請重試!</div>
</template><script>
export default {name: "NotFound"
}
</script><style scoped></style>
????????配置路由信息 index.js 如下:
import Vue from 'vue'
import Router from 'vue-router'
import Main from '../views/Main'
import Login from '../views/Login'
import List from '../views/user/List'
import Profile from '../views/user/Profile'
// 導入組件
import NotFound from '../views/user/NotFound'Vue.use(Router);export default new Router({routes:[{path:'/main/:name',component:Main,props:true,// 配置嵌套路由children:[{path:'/user/list',component:List},{// 使用:id 進行參數接收path:'/user/profile/:id',name:'Profile222',component:Profile,props:true},{// 配置重定向信息path:'/goHome',redirect:'/main'}]},{path:'/Login',component:Login},// 做配置{path:'*',component:NotFound}]
})
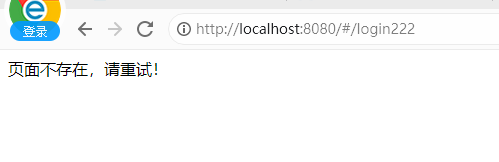
????????測試:
?四、路由鉤子與異步請求
4.1 路由鉤子
????????beforeRouteEnter:在進入路由前執行
????????beforeRouteLeave:在進入路由后執行
export default {name: "Profile",// 進入路由前執行// 過濾器,從哪來,到哪去,下一步是什么beforeRouteEnter:(to,from,next)=>{console.log("進入路由之前");next();},// 進入路由后執行beforeRouteLeave:(to,from,next)=>{console.log("進入路由之后");next();},
}
4.1.1 參數說明
????????to:路由將要跳轉的路徑信息
????????from:路徑跳轉前的路徑信息
????????next:路由的控制參數
????????????????next() :跳入下一個頁面
????????????????next('/path') :改變路由的跳轉方向,使其跳到另一個路由
????????????????next(false) :返回原來的頁面
????????????????next(vm=>{}) :僅在 beforeRouterEnter 中可用,vm是組件實例
4.2?在鉤子函數中使用異步請求
4.2.1 安裝 Axios
# cnpm 安裝失敗了就用 npm 安裝,我也安裝了好幾次才啟動成功了
cnpm install axios -snpm install axios -s
4.2.2 在 main.js 中引用 Axios
import axios from 'axios'
import VueAxios from 'vue-axios'Vue.use(VueAxios,axios);
4.2.3 創建測試數據
????????在 static 目錄下創建 mock 文件夾,并創建 data.json,內容如下所示:
{"name": "狂神說Java","url": "https://blog.kuangstudy.com","page": 1,"isNonProfit": true,"address": {"street": "含光門","city": "陜西西安","country": "中國"},"links": [{"name": "bilibili","url": "https://space,bilibili.com/95256449"},{"name": "狂伸說iava","ur1": "https://blog.kuangstudy.com"},{"name": "百度","url": "https://www.baidu.com/"}]
}
4.2.4 修改 Profile.vue
<template><!--所有的元素必須不能在根節點下,必須被div 包裹--><div><h1>個人信息</h1>
<!-- {{$route.params.id}}-->{{id}}</div></template><script>
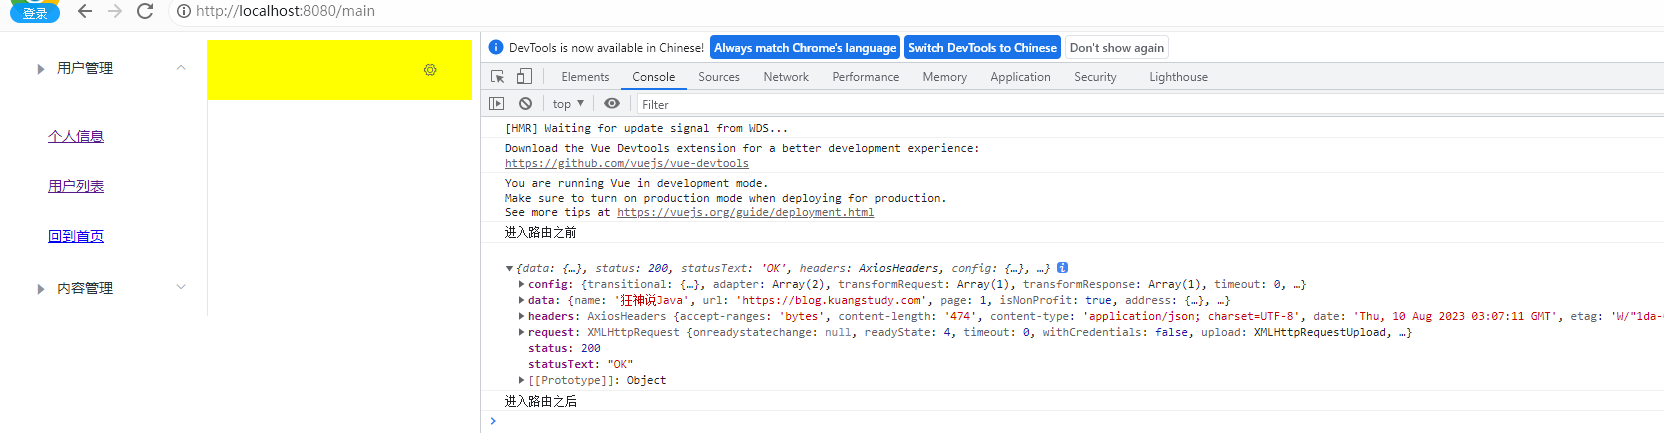
export default {props: ['id'],name: "Profile",beforeRouteEnter:(to,from,next)=>{console.log("進入路由之前");next(vm =>{vm.getData();});},// 進入路由后執行beforeRouteLeave:(to,from,next)=>{console.log("進入路由之后");next();},methods:{getData:function(){this.axios({method:'get',url:'http://localhost:8080/static/mock/data.json',}).then(function (response){console.log(response)})}}
}
</script>
4.2.5 測試
?


)


)

)


創建型設計模式:4、原型模式(Prototype Pattern))


