2019獨角獸企業重金招聘Python工程師標準>>> 
CentOS中升級mariadb為10.1GA版本。
1、如果有,停止服務
systemctl stop mariadb2、卸載原來的數據庫服務
yum -y remove mari*3、刪除數據庫文件
rm -rf /var/lib/mysql/*4.創建/etc/yum.repos.d/MariaDB.repo文件
[mariadb]
name = MariaDB
baseurl = http://yum.mariadb.org/10.1/centos7-amd64/
gpgkey=https://yum.mariadb.org/RPM-GPG-KEY-MariaDB
gpgcheck=1
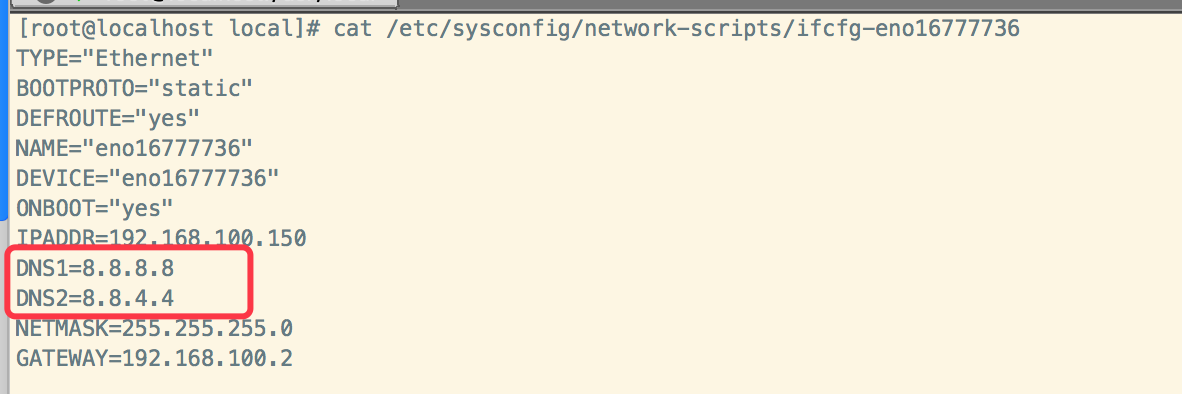
配置系統網絡:
yum clean all
yum makecache
5、安裝MariaDB
yum -y install mariadb mariadb-server6、啟動MariaDB
systemctl start mariadb7、設置開機啟動
systemctl enable mariadb8、接下來進行MariaDB的相關簡單配置
mysql_secure_installation首先是設置密碼,會提示先輸入密碼
Enter current password for root (enter for none):? ? {回車}
Set root password? [Y/n]? ? {是否設置root用戶密碼,輸入y并回車或直接回車}
New password: {設置root用戶的新密碼}
Re-enter new password:{確認密碼}
Remove anonymous users? [Y/n] {是否刪除匿名用戶,回車}
Disallow root login remotely? [Y/n] {是否禁止root遠程登錄, 輸入n回車}
Remove test database and access to it? [Y/n] {是否刪除test數據庫}
Reload privilege tables now? [Y/n] {是否重新加載權限表}
9、配置MariaDB的字符集
vi /etc/my.cnf
在[mysqld]標簽下添加
init_connect='SET collation_connection = utf8_unicode_ci'
init_connect='SET NAMES utf8'
character-set-server=utf8
collation-server=utf8_unicode_ci
skip-character-set-client-handshake
vi /etc/my.cnf.d/client.cnf
在[client]中添加
default-character-set=utf8vi /etc/my.cnf.d/mysql-clients.cnf
在[mysql]中添加
default-character-set=utf810、全部配置完成,重啟mariadb
systemctl restart mariadb
11、登錄mariadb
mysql -u root -p輸入剛才設置的密碼進行登錄
12、驗證設置的字符集
show variables like "%character%";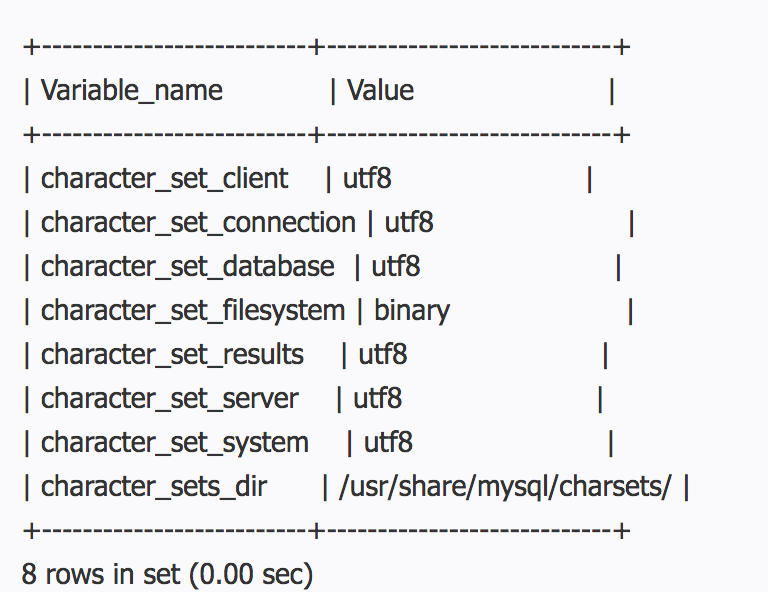
show variables like "%collation%";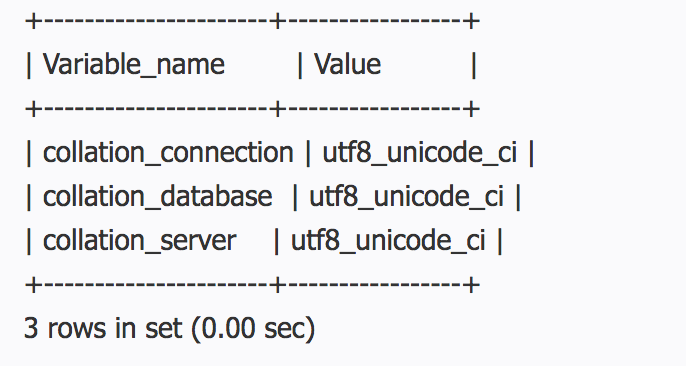
字符集配置完畢
13、添加用戶,設置權限
創建用戶命令
mysql>create user username@localhost identified by 'password';
直接創建用戶并授權的命令
mysql>grant all on *.* to username@localhost identified by 'password';
這里我們執行下面這條授權即可
授予外網登陸權限 第一個root?代表用戶名第二個root?代表該用戶名對應的密碼
mysql>grant all privileges on *.* to root@'%' identified by 'root';
授予權限并且可以授權
mysql>grant all privileges on *.* to username@'hostname' identified by 'password' with grant option;
簡單的用戶和權限配置基本就這樣了。
其中只授予部分權限把?其中?all?privileges或者all改為select,insert,update,delete,create,drop,index,alter,grant,references,reload,shutdown,process,file其中一部分。
?
?


)


報Cannot read property 'multiple' of undefined)
