重點 (Top highlight)
Shadows are everywhere in modern UI Designs. They are one of the most essential part of the UI elements right behind the fill, stroke, and cornder radius. 😉
現代UI設計中到處都有陰影。 它們是UI元素中最重要的部分之一,緊隨填充,筆觸和Cornder半徑之后。 😉
Completely flat design is no longer a significant trend. With this short tutorial, you will learn how to create stunning shadows for your cards, buttons, or whatever UI control you want.
完全扁平化的設計已不再是一個重要趨勢。 通過這個簡短的教程, 您將學習如何為卡片,按鈕或所需的任何UI控件創建驚人的陰影 。
So, grab the mug of your favorite coffee, and let me show you 6 easy steps for impressive shadows!
因此,拿起您最喜歡的咖啡的杯子,讓我向您展示6個簡單的步驟即可獲得令人印象深刻的陰影!
1.不要使用陰影默認值 (1. Do not use shadow defaults)
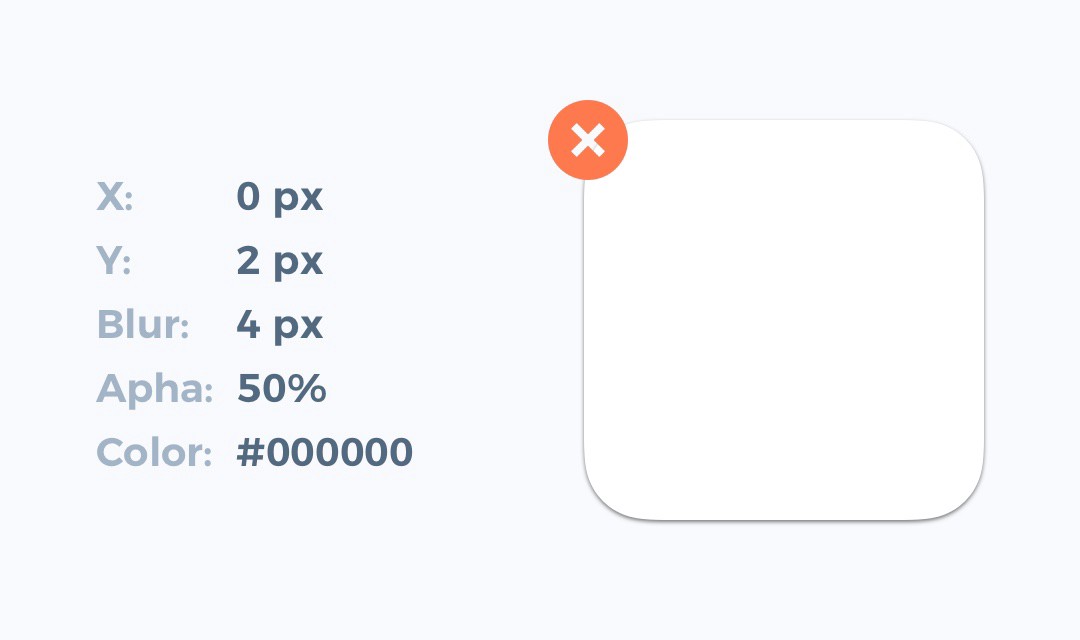
It does not matter if you use Sketch, Figma, or Adobe XD. All default shadow presents from design tools are awful. Do not use them! If you want to make them look clean and modern, you always have to modify their appearance.
使用Sketch,Figma或Adobe XD都沒有關系。 設計工具提供的所有默認陰影效果都很糟糕。 不要使用它們! 如果要使它們看起來干凈現代,則必須始終修改其外觀。
2.使陰影看起來柔和 (2. Make Shadows Look Soft)
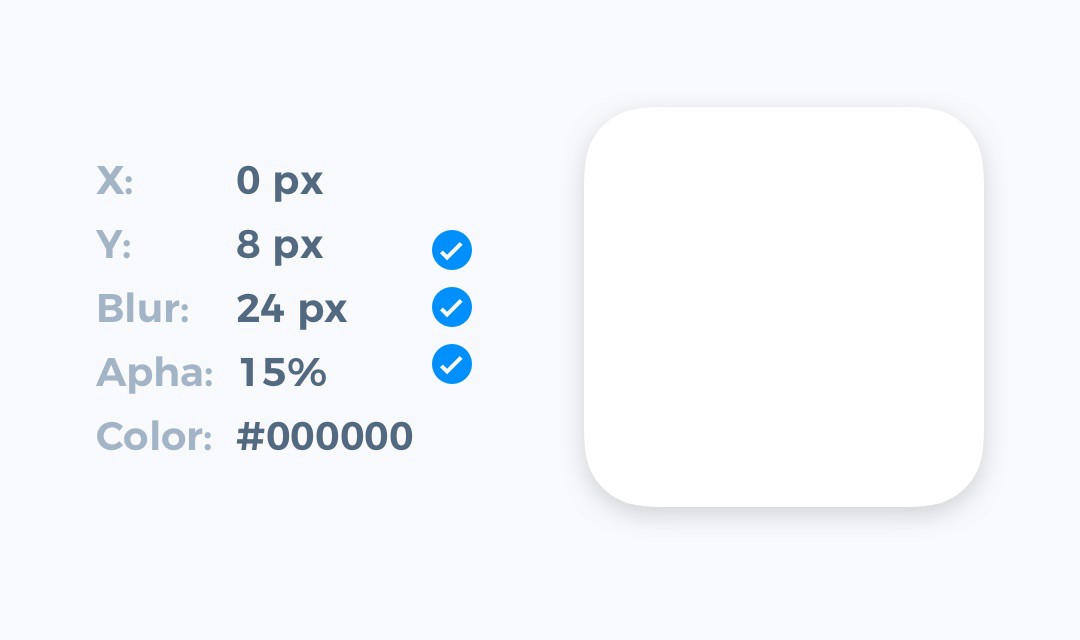
Most of the nice shadows are the soft ones. To enhance their look — lower opacity (10–30%) and set the higher level of blur (16px-40px). Now look at your shadow — this setup instantly improved its appearance.
大多數漂亮的陰影是柔和的陰影。 要增強外觀-降低不透明度(10–30%),并設置更高的模糊度(16px-40px)。 現在查看您的陰影-此設置可立即改善其外觀。
3.考慮將陰影創建為帶有模糊的圖層 (3. Consider Creating Shadows As a Layer with Blur)
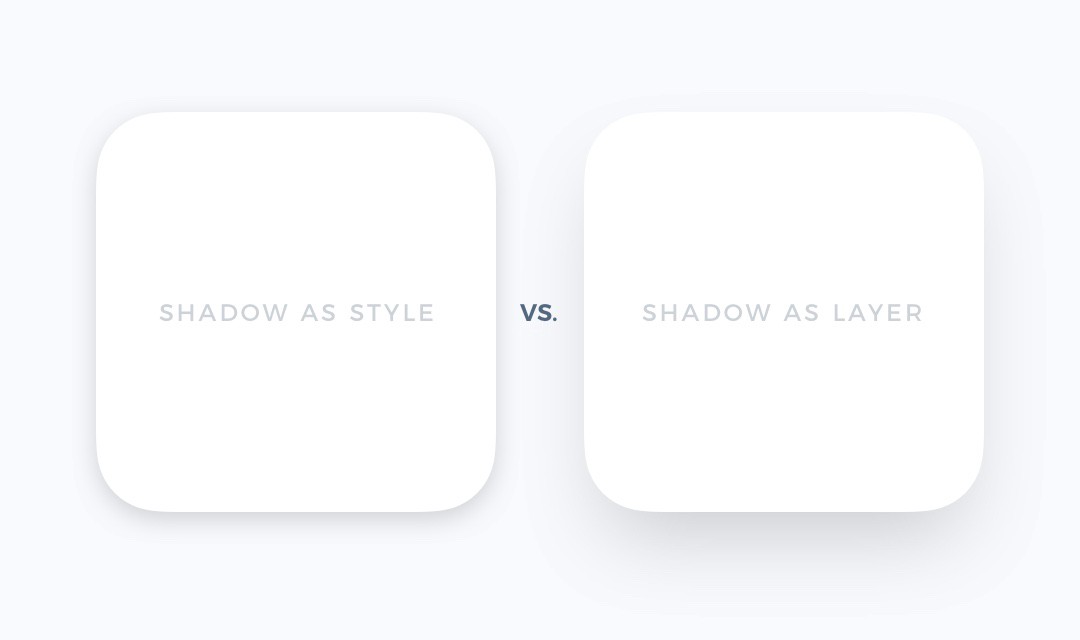
Standard shadow style is easier to implement, but if you would like to stand out, try to make a separate layer with a blur as a shadow. Thanks to this technique, you will gain more control over the shadow position and its size.
標準陰影樣式更易于實現,但是如果您想脫穎而出,請嘗試使用模糊作為陰影來制作單獨的圖層。 借助此技術,您將可以更好地控制陰影位置及其大小。
I know… developers may hate this technique, but you may help them with this site! 😎
我知道……開發人員可能討厭這種技術,但是您可以在此站點上為他們提供幫助 ! 😎
4.使陰影顏色更自然 (4. Make shadow color more natural)
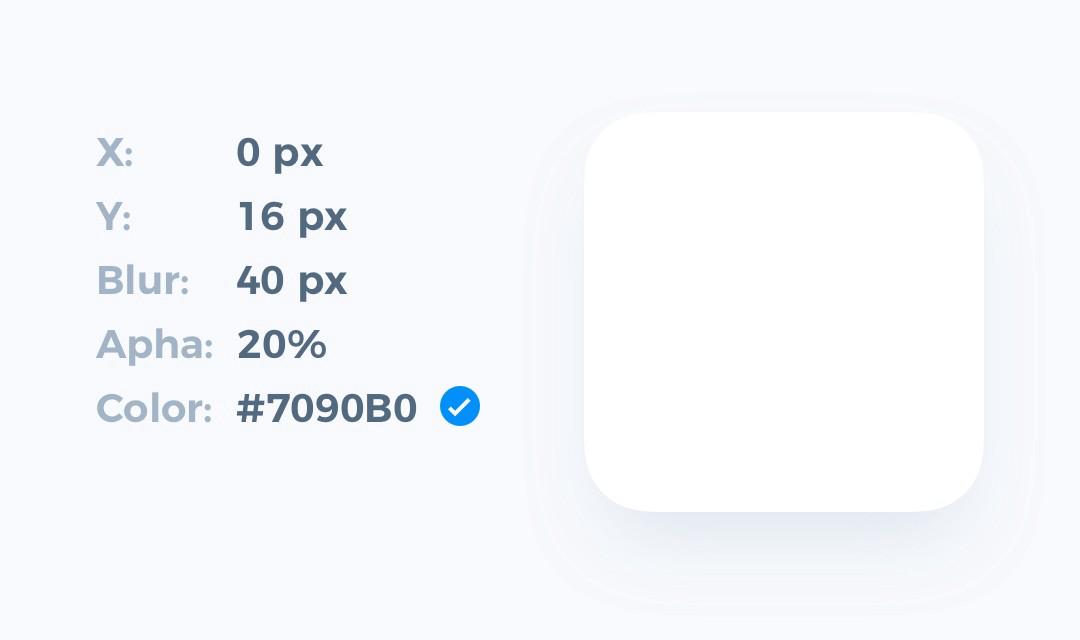
100% pure grey never looks good (except pure black-white theme). Look, the real-world shadows always got a subtle color. Add the tone of your UIs neutral color to the shadow, and it will look much better.
100%純灰色永遠看起來都不錯(純黑白主題除外)。 看,真實世界的陰影總是帶有微妙的顏色。 將您的UI中性色調添加到陰影中,它將看起來更好。
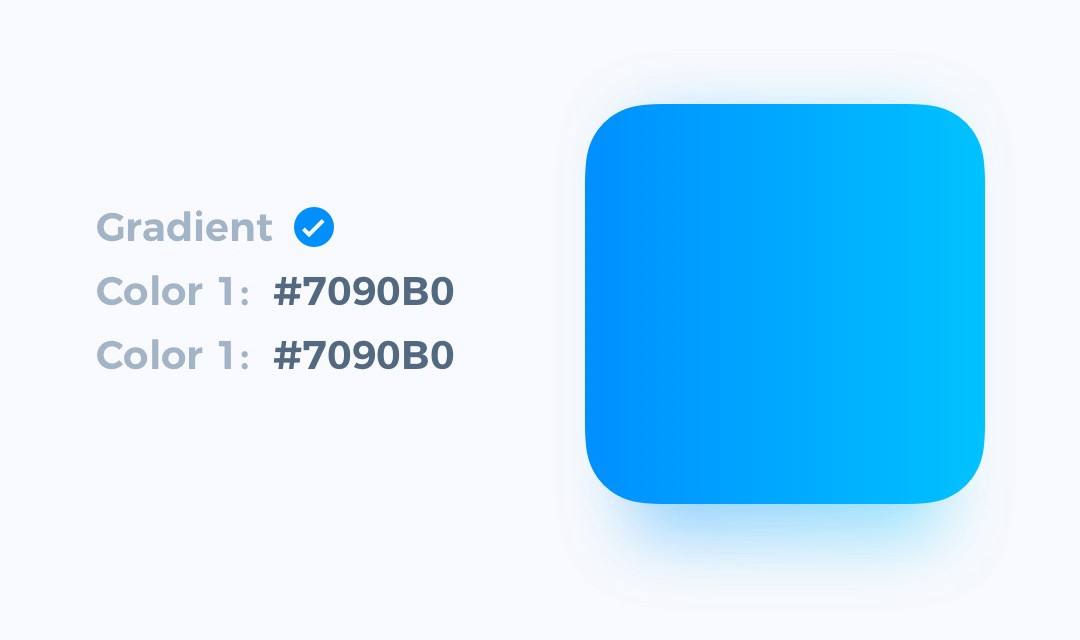
5.使材料顏色為陰影 (5. Make Material Colors As Shadow)
Look at some materials from the real-world, especially semi-transparent ones. Their shadows inherit the color of the object. You may use these tones to create the illustration of that type of material. It will look fresh!
看一下真實世界中的一些材料,尤其是半透明的材料。 它們的陰影繼承了對象的顏色。 您可以使用這些色調創建該類型材料的圖示。 看起來很新鮮!
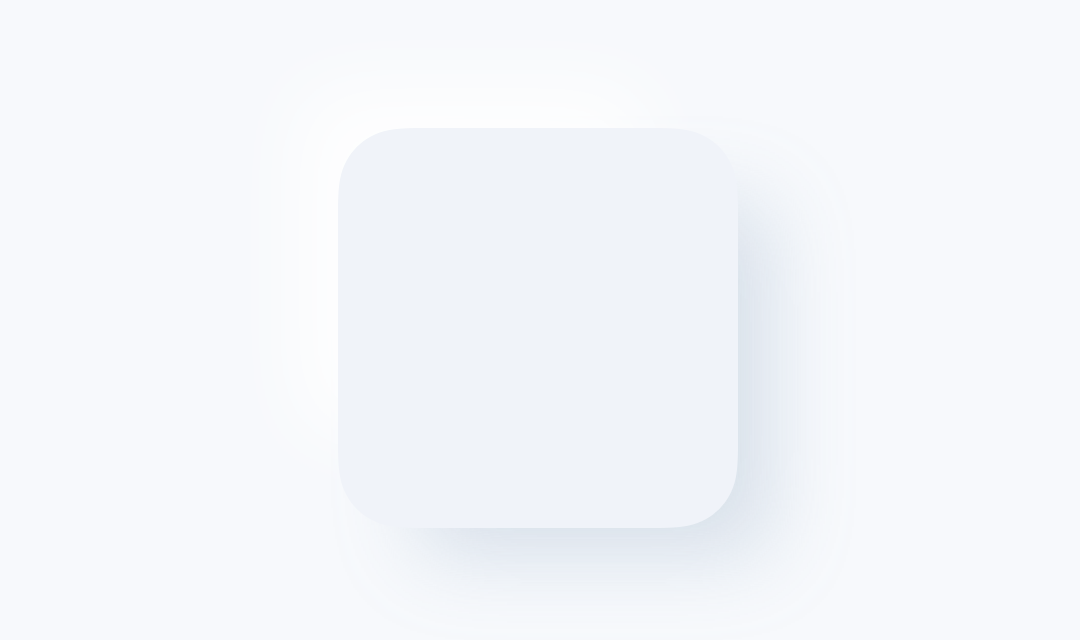
6.從現實世界中激發自己 (6. Inspire yourself from the real world)
The example from the above is just a beginning. Observehow other objects and materials interact with the lighting. See how they cast shadows — colors, blurs, angle. Remarkable results start with a spark of inspiration.
以上示例只是一個開始。 觀察其他物體和材料如何與照明交互。 了解他們如何投射陰影-顏色,模糊,角度。 出色的結果始于靈感的火花。
總結一下。 (To conclude.)
This 6 easy to apply steps will move your shadows to the next level. When you apply the simple tricks, repeat, and adjust them to your projects, you will notice how the quality of your work enhances.
這6個易于應用的步驟將使您的陰影更上一層樓。 當您應用簡單的技巧 ,重復這些技巧并將其調整到您的項目中時,您會注意到工作質量如何提高。
If you found the tutorial useful, share it to let your friends know how to make their UI better!
如果您覺得本教程有用,請與他人分享,以使您的朋友知道如何改善他們的UI!
This article is an extension of my blog post ??, which has its origin in the Instagram tutorial 📷.
本文是我的博客文章 ??的擴展,其起源于Instagram教程 📷。
Thanks for reading!
謝謝閱讀!
翻譯自: https://blog.prototypr.io/how-to-make-perfect-shadows-in-ui-design-2773e32074da
本文來自互聯網用戶投稿,該文觀點僅代表作者本人,不代表本站立場。本站僅提供信息存儲空間服務,不擁有所有權,不承擔相關法律責任。 如若轉載,請注明出處:http://www.pswp.cn/news/274124.shtml 繁體地址,請注明出處:http://hk.pswp.cn/news/274124.shtml 英文地址,請注明出處:http://en.pswp.cn/news/274124.shtml
如若內容造成侵權/違法違規/事實不符,請聯系多彩編程網進行投訴反饋email:809451989@qq.com,一經查實,立即刪除!相關文章

微軟2013年校園實習生招聘筆試題及答案

Android 第七課 4種基本布局之FrameLayout和百分比布局

mongodb 群集圖_群集和重疊條形圖

第一次寫python

Android 第八課 創建自定義控件

figma下載_搬到Figma對我意味著什么

解決IE中img.onload失效的方法

Android 第九課 常用控件-------ListView
)
Singleton patterns 單件(創建型模式)

Android 第十一課 SQlite 數據庫存儲

淺析SQL Server 2005中的主動式通知機制
)
Android 第十二課 使用LitePal操作數據庫(記得閱讀最后面的注意事項哦)

listview頻繁刷新報錯

Android 第十三課 SharedPreferences存儲

)
解決關于登錄校園網顯示不在IP段的問題方案(要看注意事項哦!)

jquery插件編寫

gtk/Glade編程 編譯命令不成功 解決方法
)
Android 第十五課 如何使用LitePal從SQLite數據庫中刪除數據(十四課用來保留講解如何向SQLite數據庫中存入數據)
)