UICollectionView 和UITableView非常像,是APPLE公司在iOS 6后推出的用于處理圖片這類UITableView 布局困難的控件,和UITableView 一樣,它也有自己的Datasource和delegate。以下具體說下像這種方式的效果.
首先來看看UICollectionView 的DataSource。
@protocol UICollectionViewDataSource <NSObject>
@required- (NSInteger)collectionView:(UICollectionView *)collectionView numberOfItemsInSection:(NSInteger)section;// The cell that is returned must be retrieved from a call to -dequeueReusableCellWithReuseIdentifier:forIndexPath:
- (UICollectionViewCell *)collectionView:(UICollectionView *)collectionView cellForItemAtIndexPath:(NSIndexPath *)indexPath;@optional- (NSInteger)numberOfSectionsInCollectionView:(UICollectionView *)collectionView;// The view that is returned must be retrieved from a call to -dequeueReusableSupplementaryViewOfKind:withReuseIdentifier:forIndexPath:
- (UICollectionReusableView *)collectionView:(UICollectionView *)collectionView viewForSupplementaryElementOfKind:(NSString *)kind atIndexPath:(NSIndexPath *)indexPath;@end
能夠看到和UITableView 一樣,它有兩個必須實現的方法:
- (NSInteger)collectionView:(UICollectionView *)collectionView numberOfItemsInSection:(NSInteger)section//有多少個item-dequeueReusableCellWithReuseIdentifier:forIndexPath:
- (UICollectionViewCell *)collectionView:(UICollectionView *)collectionView cellForItemAtIndexPath:(NSIndexPath *)indexPath;//每一個長什么樣,它要使用dequeueReusableSupplementaryViewOfKind:withReuseIdentifier:forIndexPath:來生成
其他的兩個是分別有幾部分cell,和UITableView中的numberOfSection一樣.默認是1個,viewForSupplementaryElementOfKind這個則是用來做出表頭和表尾的。
UICollectionViewDelegate 它的代理方法全是可選的,常常且主要用到的就是:
- (void)collectionView:(UICollectionView *)collectionView didSelectItemAtIndexPath:(NSIndexPath *)indexPath;這是表明選中后要做什么.
以下來實現一下:
首先在自定義的頭文件里加入一個UIColletionView的屬性(比直接用實例變量好,具體請看Effective objective-c的學習筆記1)配置各種屬性,然后加到self.view上。
@property (nonatomic, strong) ZJCollectionViewFlowOut *collectionViewFlowLayout;
self.collectionView = [[UICollectionView alloc]initWithFrame:self.view.frame collectionViewLayout:self.collectionViewFlowLayout];_collectionView.backgroundColor = [UIColor clearColor];_collectionView.dataSource = self;_collectionView.delegate = self;[self.view addSubview:_collectionView];
再設置viewController 遵守delegate和dataSource;
@interface ZJCollectionViewController ()<UICollectionViewDataSource, UICollectionViewDelegate>
@end
這樣再xcode 上新的一行輸入- collection就會出現非常多collectionView的提示了.
實現:collectionView:cellForItemAtIndexPath:
由于這種方法要用到前面說的那個注冊的cell所以先建一個UICollectionViewCell,順便搞定那個FlowLayout.
Cell的內容當然能夠自定義的了.
在viewDidLoad中創建CollectionView的以下加上:
[_collectionView registerClass:[ZJCollectionViewCell class] forCellWithReuseIdentifier:kCellReuseIdentifier];- (UICollectionViewCell *)collectionView:(UICollectionView *)collectionView cellForItemAtIndexPath:(NSIndexPath *)indexPath
{ZJCollectionViewCell *cell = [collectionView dequeueReusableCellWithReuseIdentifier:kCellReuseIdentifier forIndexPath:indexPath];NSString *image = @"201502192144014806.jpg";cell.userImageView.image = [UIImage imageNamed:image];return cell;
}- (NSInteger)collectionView:(UICollectionView *)collectionView numberOfItemsInSection:(NSInteger)section
{return self.pictureArray.count;
}在viewDidLoad中collectionView創建之前要創建那個布局的
collectionViewFlowLayout 對象.
self.collectionViewFlowLayout = [[ZJCollectionViewFlowOut alloc]init];
當中在collectionViewFlowLayout里面是這種:
- (id)init
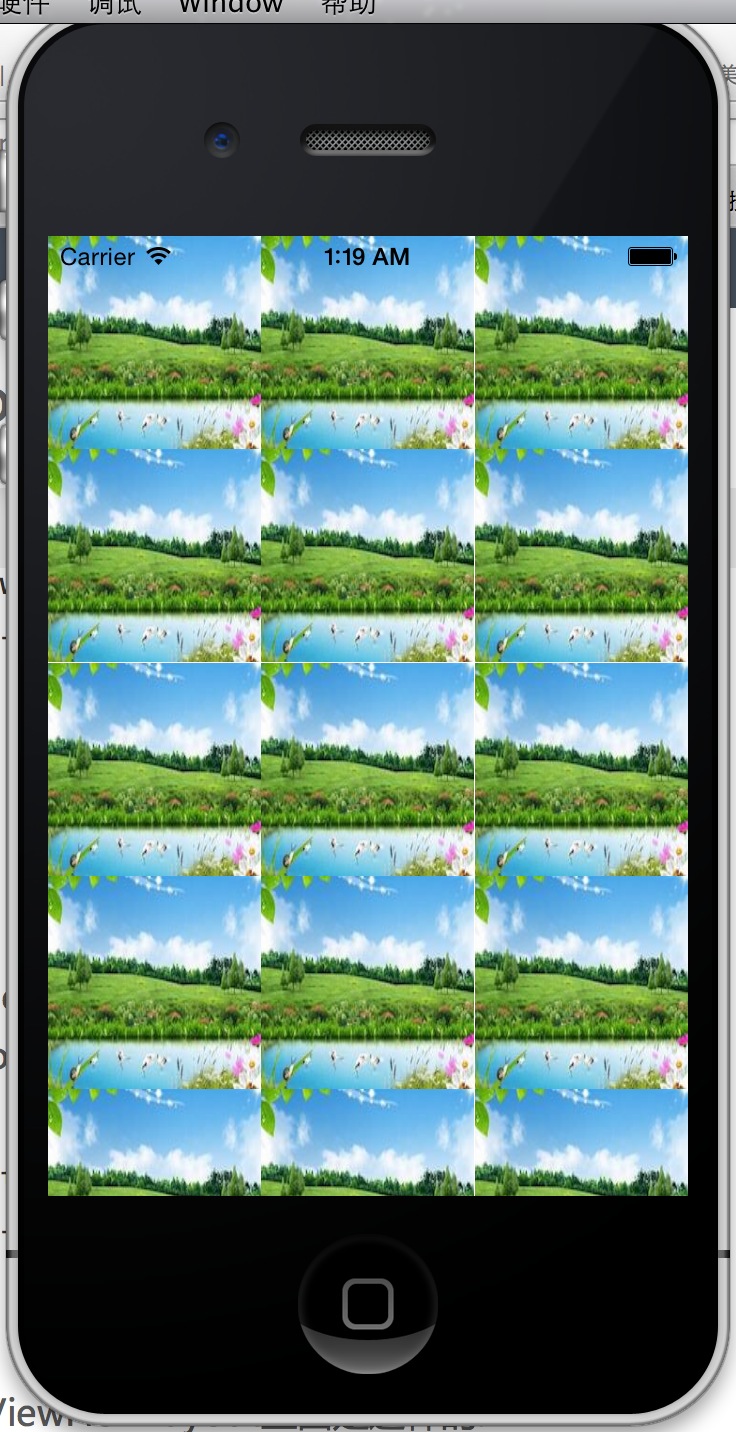
{if (self = [super init]) {self.minimumInteritemSpacing = 1.0;//item 之間的行的距離self.minimumLineSpacing = 0.0;//item 之間豎的距離self.itemSize = (CGSize){[UIScreen mainScreen].bounds.size.width/3,[UIScreen mainScreen].bounds.size.width/3};// self.sectionInset = UIEdgeInsetsMake(4, 4, 4, 4); 這個是設置一個section的距離上下上左下右間距。 } return self; } 得出的結果例如以下圖:
這是一個簡單的UICollectionView的展示,時間不多。有空再具體點


)


![信息學競賽相關優秀文章合集[持續更新]](http://pic.xiahunao.cn/信息學競賽相關優秀文章合集[持續更新])


)
--egg之微信支付)


