一、背景
IdentityServer4的介紹將不再敘述,百度下可以找到,且官網的快速入門例子也有翻譯的版本。這里主要從Client應用場景方面介紹對IdentityServer4的應用。
首先簡要介紹ID Token和Access Token:
Access Token是授權第三方客戶端訪問受保護資源的令牌。 ID Token是第三方客戶端標識用戶身份認證的問令牌,是JSON Web Token格式。
?
?
二、Client應用場景介紹
Client類是為OpenID Connect或OAuth 2.0 協議建模的。
我們先看官網快速入門中給的Client例子
public static IEnumerable<Client> GetClients(){// client credentials clientreturn new List<Client>{new Client{ClientId = "Client",AllowedGrantTypes = GrantTypes.ClientCredentials,ClientSecrets ={new Secret("secret".Sha256())},AllowedScopes = { "api1" }},// resource owner password grant clientnew Client{ClientId = "ro.client",AllowedGrantTypes = GrantTypes.ResourceOwnerPassword,ClientSecrets = {new Secret("secret".Sha256())},AllowedScopes = { "api1" } },// OpenID Connect hybrid flow and client credentials client (MVC)new Client{ClientId = "mvc",ClientName = "MVC Client",AllowedGrantTypes = GrantTypes.HybridAndClientCredentials,ClientSecrets ={new Secret("secret".Sha256())},RedirectUris = { "http://localhost:5002/signin-oidc" },PostLogoutRedirectUris = { "http://localhost:5002/signout-callback-oidc" },AllowedScopes ={IdentityServerConstants.StandardScopes.OpenId,IdentityServerConstants.StandardScopes.Profile,"api1"},AllowOfflineAccess = true},// JavaScript Clientnew Client{ClientId = "js",ClientName = "JavaScript Client",AllowedGrantTypes = GrantTypes.Implicit,AllowAccessTokensViaBrowser = true,RedirectUris = { "http://localhost:5003/callback.html" },PostLogoutRedirectUris = { "http://localhost:5003/index.html" },AllowedCorsOrigins = { "http://localhost:5003" },AllowedScopes ={IdentityServerConstants.StandardScopes.OpenId,IdentityServerConstants.StandardScopes.Profile,"api1"},}};}
里面主要介紹四種Client應用場景。
(1)客戶端模式(AllowedGrantTypes = GrantTypes.ClientCredentials)
? ? 這是一種最簡單的授權方式,應用于服務于服務之間的通信,token通常代表的是客戶端的請求,而不是用戶。
? ? 使用這種授權類型,會向token endpoint發送token請求,并獲得代表客戶機的access token。客戶端通常必須使用token endpoint的Client ID和secret進行身份驗證。
? ? 適用場景:用于和用戶無關,服務與服務之間直接交互訪問資源
(2)密碼模式(ClientAllowedGrantTypes = GrantTypes.ResourceOwnerPassword)
? ? 該方式發送用戶名和密碼到token endpoint,向資源服務器請求令牌。這是一種“非交互式”授權方法。
? ??官網上稱,為了解決一些歷史遺留的應用場景,所以保留了這種授權方式,但不建議使用。
? ? 適用場景:用于當前的APP是專門為服務端設計的情況。
(3)混合模式和客戶端模式(ClientAllowedGrantTypes =GrantTypes.HybridAndClientCredentials)
? ? ClientCredentials授權方式在第一種應用場景已經介紹了,這里主要介紹Hybrid授權方式。Hybrid是由Implicit和Authorization code結合起來的一種授權方式。其中Implicit用于身份認證,ID token被傳輸到瀏覽器并在瀏覽器進行驗證;而Authorization code使用反向通道檢索token和刷新token。
? ? 推薦適用Hybrid模式。
? ??適用場景:用于MVC框架,服務器端 Web 應用程序和原生桌面/移動應用程序。
(4)簡化模式(ClientAllowedGrantTypes =GrantTypes.Implicit)
? ? Implicit要么僅用于服務端和JavaScript應用程序端進行身份認證,要么用于身份身份驗證和access token的傳輸。
? ? 在Implicit中,所有token都通過瀏覽器傳輸的。
? ? 適用場景:JavaScript應用程序。
?
三、Server端搭建
為了介紹IdentityServer4的Client應用場景,我們需要先搭建IdentityServer服務端。
這里搭建的是使用EF Core來做數據操作,保存到SQL Server中。
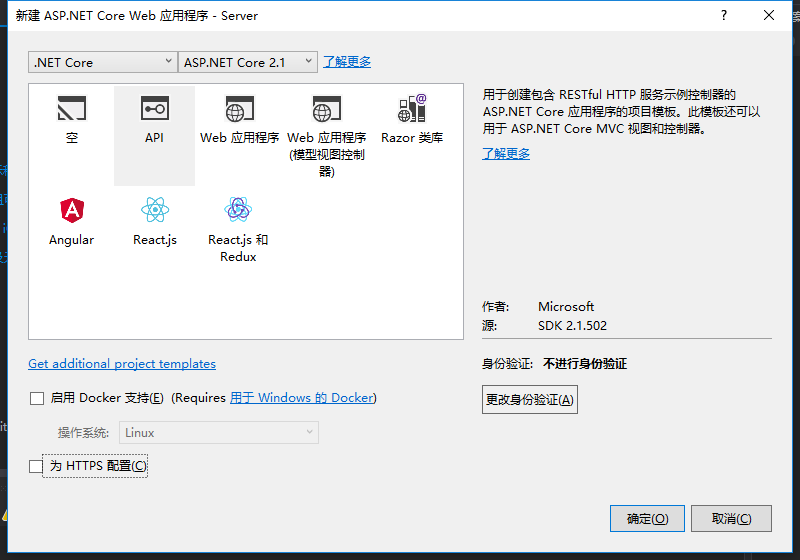
(1)新建API項目
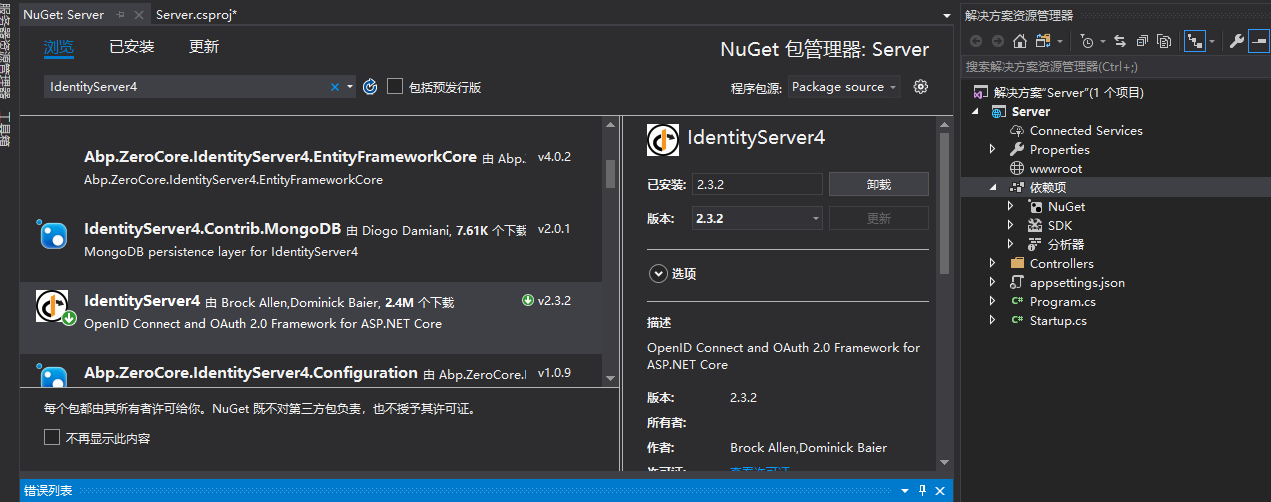
(2)安裝IdentityServer4.EntityFramework包

(3)安裝IdentityServer4包
(4)右鍵項目的屬性,編輯項目的.csproj文件
添加如下元素
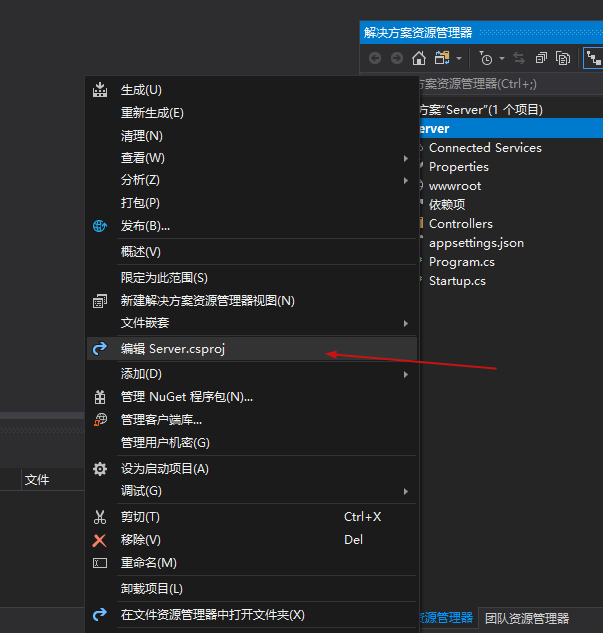
<ItemGroup><DotNetCliToolReference Include="Microsoft.EntityFrameworkCore.Tools.DotNet" Version="2.0.0" />
</ItemGroup>
如圖:

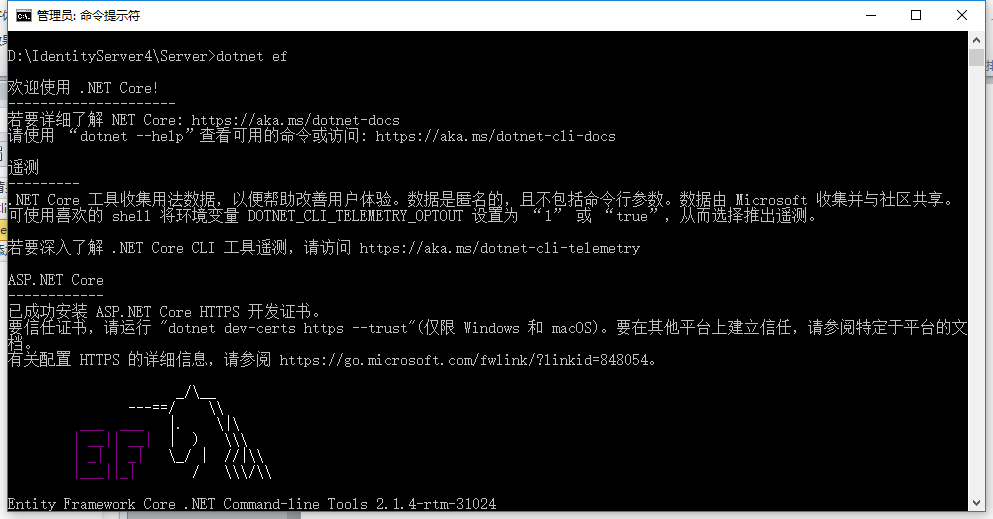
(5)cmd管理員身份進入項目目錄路徑(D:\IdentityServer4\Server),運行:dotnet ef
(6)項目內添加Config.cs類,代碼如下
public class Config{public static List<TestUser> GetUsers(){return new List<TestUser>{new TestUser{SubjectId = "1",Username = "alice",Password = "password",Claims = new List<Claim>(){new Claim(JwtClaimTypes.Role,"superadmin") }},new TestUser{SubjectId = "2",Username = "bob",Password = "password",Claims = new List<Claim>{new Claim("name", "Bob"),new Claim("website", "https://bob.com")},}};}public static IEnumerable<Client> GetClients(){// client credentials clientreturn new List<Client>{new Client{ClientId = "Client",AllowedGrantTypes = GrantTypes.ClientCredentials,ClientSecrets ={new Secret("secret".Sha256())},AllowedScopes = { "api1" }},// resource owner password grant clientnew Client{ClientId = "ro.client",AllowedGrantTypes = GrantTypes.ResourceOwnerPassword,ClientSecrets ={new Secret("secret".Sha256())},AllowedScopes = { "api1" }},// OpenID Connect hybrid flow and client credentials client (MVC)new Client{ClientId = "mvc",ClientName = "MVC Client",AllowedGrantTypes = GrantTypes.HybridAndClientCredentials,ClientSecrets ={new Secret("secret".Sha256())},RedirectUris = { "http://localhost:5002/signin-oidc" },PostLogoutRedirectUris = { "http://localhost:5002/signout-callback-oidc" },AllowedScopes ={IdentityServerConstants.StandardScopes.OpenId,IdentityServerConstants.StandardScopes.Profile,"api1"},AllowOfflineAccess = true},// JavaScript Clientnew Client{ClientId = "js",ClientName = "JavaScript Client",AllowedGrantTypes = GrantTypes.Implicit,AllowAccessTokensViaBrowser = true,RedirectUris = { "http://localhost:5003/callback.html" },PostLogoutRedirectUris = { "http://localhost:5003/index.html" },AllowedCorsOrigins = { "http://localhost:5003" },AllowedScopes ={IdentityServerConstants.StandardScopes.OpenId,IdentityServerConstants.StandardScopes.Profile,"api1"},}};}public static IEnumerable<IdentityResource> GetIdentityResources(){return new List<IdentityResource>{new IdentityResources.OpenId(),new IdentityResources.Profile(),};}public static IEnumerable<ApiResource> GetApiResources(){return new List<ApiResource>{new ApiResource("api1", "My API")};}
添加引用:
using IdentityModel;
using IdentityServer4;
using IdentityServer4.Models;
using IdentityServer4.Test;
using System.Collections.Generic;
using System.Security.Claims;
(7)編輯Startup.cs文件的ConfigureServices方法,改成如下代碼。
public void ConfigureServices(IServiceCollection services){const string connectionString = @"Server=localhost;database=IdentityServer4;User ID=sa;Password=Pwd;trusted_connection=yes";var migrationsAssembly = typeof(Startup).GetTypeInfo().Assembly.GetName().Name;// configure identity server with in-memory stores, keys, clients and scopes
            services.AddIdentityServer().AddDeveloperSigningCredential().AddTestUsers(Config.GetUsers())// this adds the config data from DB (clients, resources).AddConfigurationStore(options =>{options.ConfigureDbContext = builder =>builder.UseSqlServer(connectionString,sql => sql.MigrationsAssembly(migrationsAssembly));})// this adds the operational data from DB (codes, tokens, consents).AddOperationalStore(options =>{options.ConfigureDbContext = builder =>builder.UseSqlServer(connectionString,sql => sql.MigrationsAssembly(migrationsAssembly));// this enables automatic token cleanup. this is optional.options.EnableTokenCleanup = false;//是否從數據庫清楚令牌數據,默認為falseoptions.TokenCleanupInterval = 300;//令牌過期時間,默認為3600秒,一個小時
                });//.AddInMemoryClients(Config.GetClients());
            services.AddMvc().SetCompatibilityVersion(CompatibilityVersion.Version_2_1);}
添加引用:
using Microsoft.EntityFrameworkCore;
using System.Reflection;
(8)cmd管理員身份進入到項目目錄路徑(D:\IdentityServer4\Server\Server),注意,多了一層目錄,分別運行以下兩條指令:
dotnet ef migrations add InitialIdentityServerPersistedGrantDbMigration -c PersistedGrantDbContext -o Data/Migrations/IdentityServer/PersistedGrantDbdotnet ef migrations add InitialIdentityServerConfigurationDbMigration -c ConfigurationDbContext -o Data/Migrations/IdentityServer/ConfigurationDb 
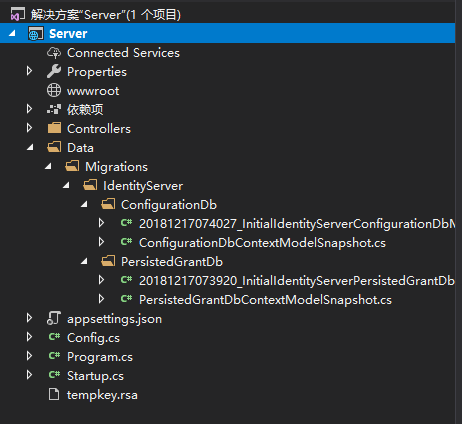
運行完后,項目中會多了一個Data文件夾
(9)在Startup.cs中添加初始化數據庫方法。
private void InitializeDatabase(IApplicationBuilder app)
{using (var serviceScope = app.ApplicationServices.GetService<IServiceScopeFactory>().CreateScope()){serviceScope.ServiceProvider.GetRequiredService<PersistedGrantDbContext>().Database.Migrate();var context = serviceScope.ServiceProvider.GetRequiredService<ConfigurationDbContext>();context.Database.Migrate();if (!context.Clients.Any()){foreach (var client in Config.GetClients()){context.Clients.Add(client.ToEntity());}context.SaveChanges();}if (!context.IdentityResources.Any()){foreach (var resource in Config.GetIdentityResources()){context.IdentityResources.Add(resource.ToEntity());}context.SaveChanges();}if (!context.ApiResources.Any()){foreach (var resource in Config.GetApiResources()){context.ApiResources.Add(resource.ToEntity());}context.SaveChanges();}}
}
添加引用:
using IdentityServer4.EntityFramework.DbContexts;
using IdentityServer4.EntityFramework.Mappers;
(10)在Startup.cs中的Configure方法修改成以下代碼。
  public void Configure(IApplicationBuilder app, IHostingEnvironment env){//if (env.IsDevelopment())//{//    app.UseDeveloperExceptionPage();//}
            InitializeDatabase(app);//app.UseMvc();}
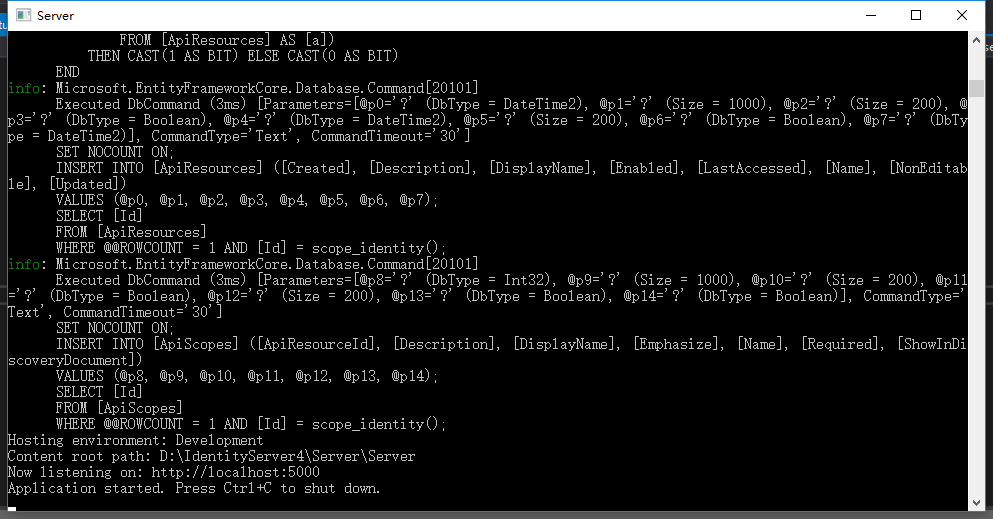
到這里,把項目以控制臺形式運行

點擊運行,可以跑起來,且生成數據庫IdentityServer4DB。

關于Client的說明可以查閱官網資料:https://identityserver4.readthedocs.io/en/release/reference/client.html
?
源碼地址:https://github.com/Bingjian-Zhu/Server.git
服務端準備好之后,下篇文章開始介紹Client客戶端的應用。
文中如有錯漏,歡迎指正,將對此系列文章進行維護。


 線性回歸)


![[數學]點、線、面分割問題](http://pic.xiahunao.cn/[數學]點、線、面分割問題)


![第二章:09流程控制[3for]](http://pic.xiahunao.cn/第二章:09流程控制[3for])