本地部署 ComfyUI
- ComfyUI 介紹
- ComfyUI Github 地址
- 部署 ComfyUI
- 配置模型地址 or 下載模型
- 啟動 ComfyUI
- 訪問 ComfyUI

ComfyUI 介紹
最強大、模塊化的穩定擴散 GUI 和后端。
該用戶界面將允許您使用基于圖形/節點/流程圖的界面設計和執行高級穩定擴散管道。
ComfyUI Github 地址
https://github.com/comfyanonymous/ComfyUI
部署 ComfyUI
克隆代碼庫,
git clone https://github.com/comfyanonymous/ComfyUI
cd ComfyUI
創建虛擬環境,
conda create -n comfyui python=3.10 -y
conda activate comfyui
使用 pip 安裝 pytorch,
pip install torch torchvision torchaudio --index-url https://download.pytorch.org/whl/cu121
# conda install -y -c "nvidia/label/cuda-12.1.0" cuda-runtime
驗證 cuda 可用,
python -c "import torch;print(torch.cuda.is_available());"
使用 pip 安裝依賴,
pip install -r requirements.txt
配置模型地址 or 下載模型
(1) 配置模型地址
拷貝 extra_model_paths.yaml.example 為 extra_model_paths.yaml,
修改示例如下,E:/workspace/sd-webui-aki-v4.4 是你的 Stable Diffusion Web UI的地址,
a111:base_path: E:/workspace/sd-webui-aki-v4.4
(2) 下載模型
將您的 SD checkpoints(巨大的 ckpt/safetensors 文件)放入:models/checkpoints
將您的 VAE 放入:models/vae
啟動 ComfyUI
運行,
python main.py
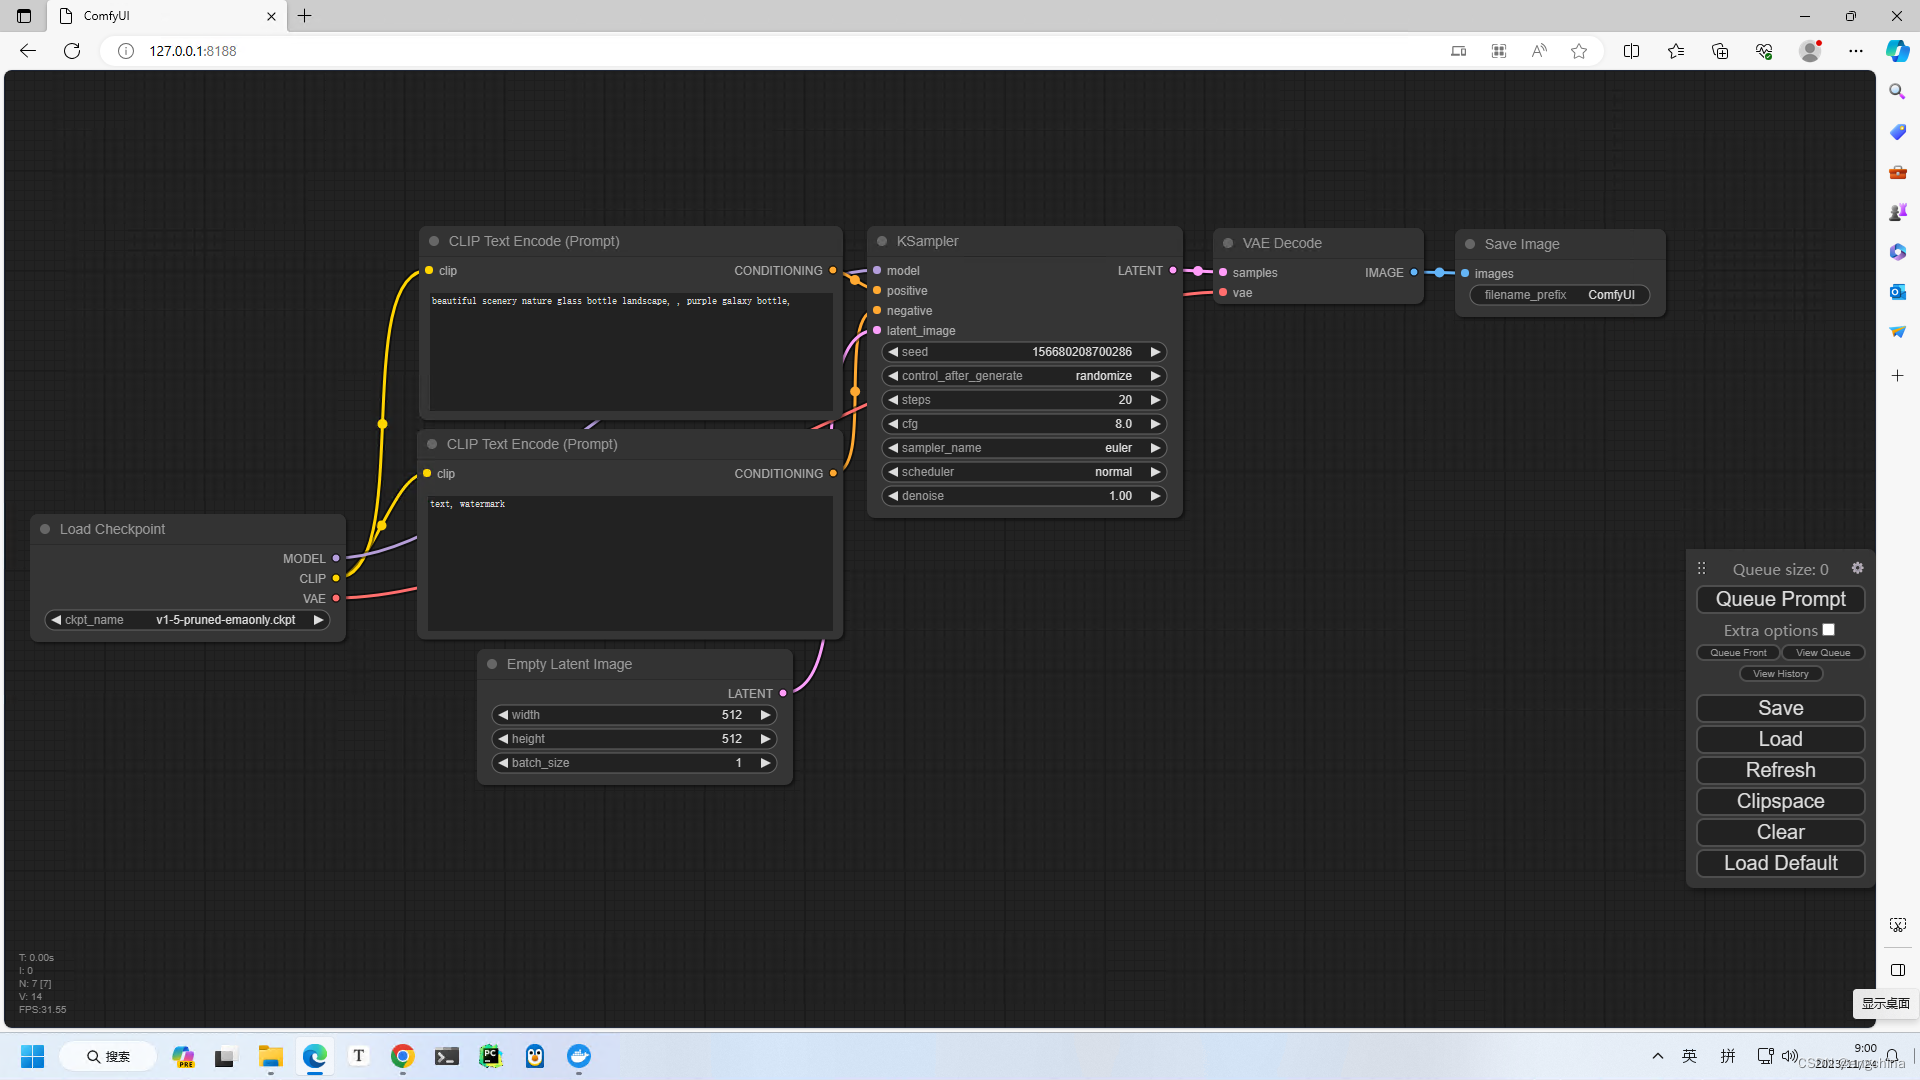
訪問 ComfyUI
使用瀏覽器訪問,
http://127.0.0.1:8188/
完結!


- 類型支持 (類型修改,從給定類型移除引用,std::remove_reference))


)


)


