最近進行了分割標注,感覺非常好玩,也遇到了很多坑,來跟大家分享一下,老樣子有問題評論區留言,我會的就會回答你。
第一步:準備數據集
1、安裝標注軟件labelme如果要在計算機視覺領域深入的同學,最好先下載好conda,主要作用是可以創建虛擬環境,在虛擬環境中配置python運行的包,避免不同軟件運行所需環境相互影響出現未知bug。具體安裝congda過程可以在CSDN搜索。conda安裝完成后,打開conda創建虛擬環境,name為虛擬環境名稱,3.8為要安裝的python版本,這里推薦對各個包適配更好的3.8版本。
conda create --name=labelme python=3.8
安裝完成后,使用conda activate labelme 進入創建好的虛擬環境,在安裝labelme之前先切換pip下載源到國內下載源,我這里使用的清華源。
pip config set global.index-url https://pypi.tuna.tsinghua.edu.cn/simple
安裝labelme
pip install labelme
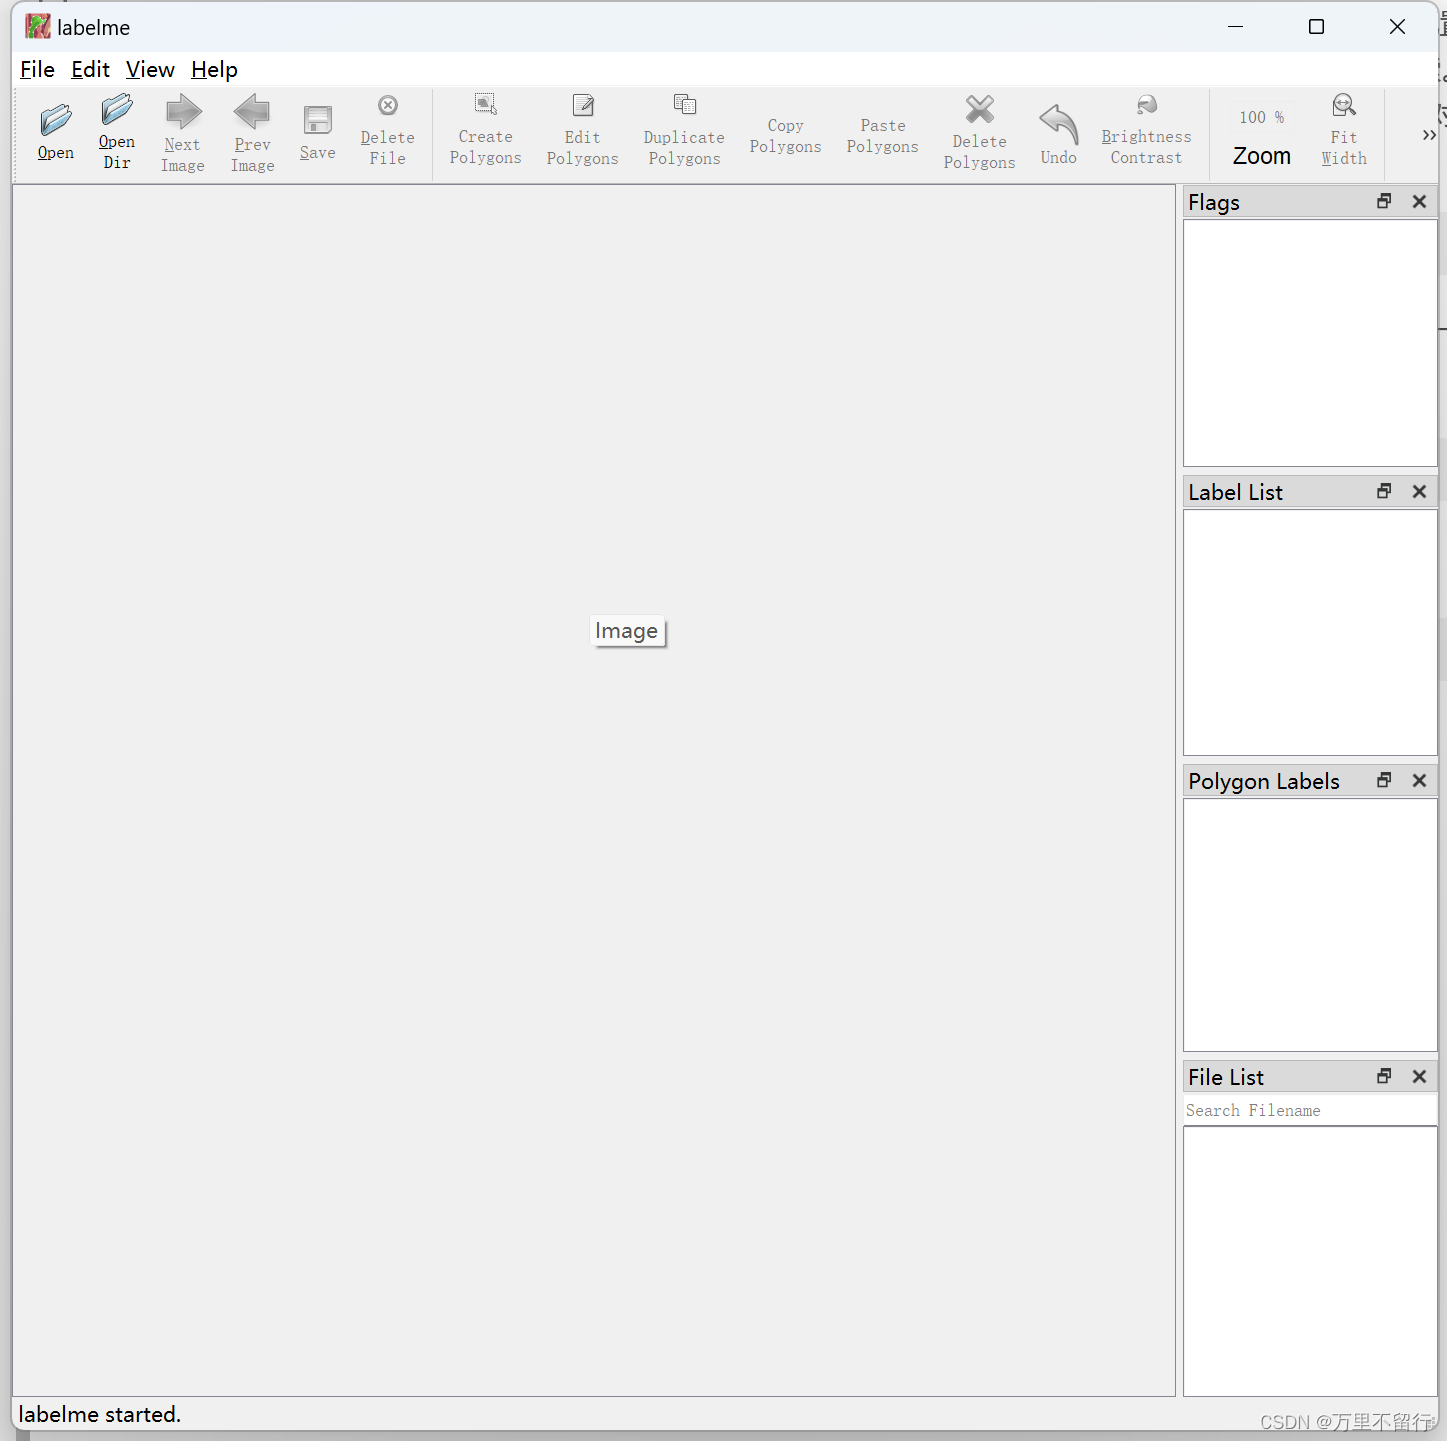
安裝完成后,輸入labelme即可打開程序,如下圖即為成功
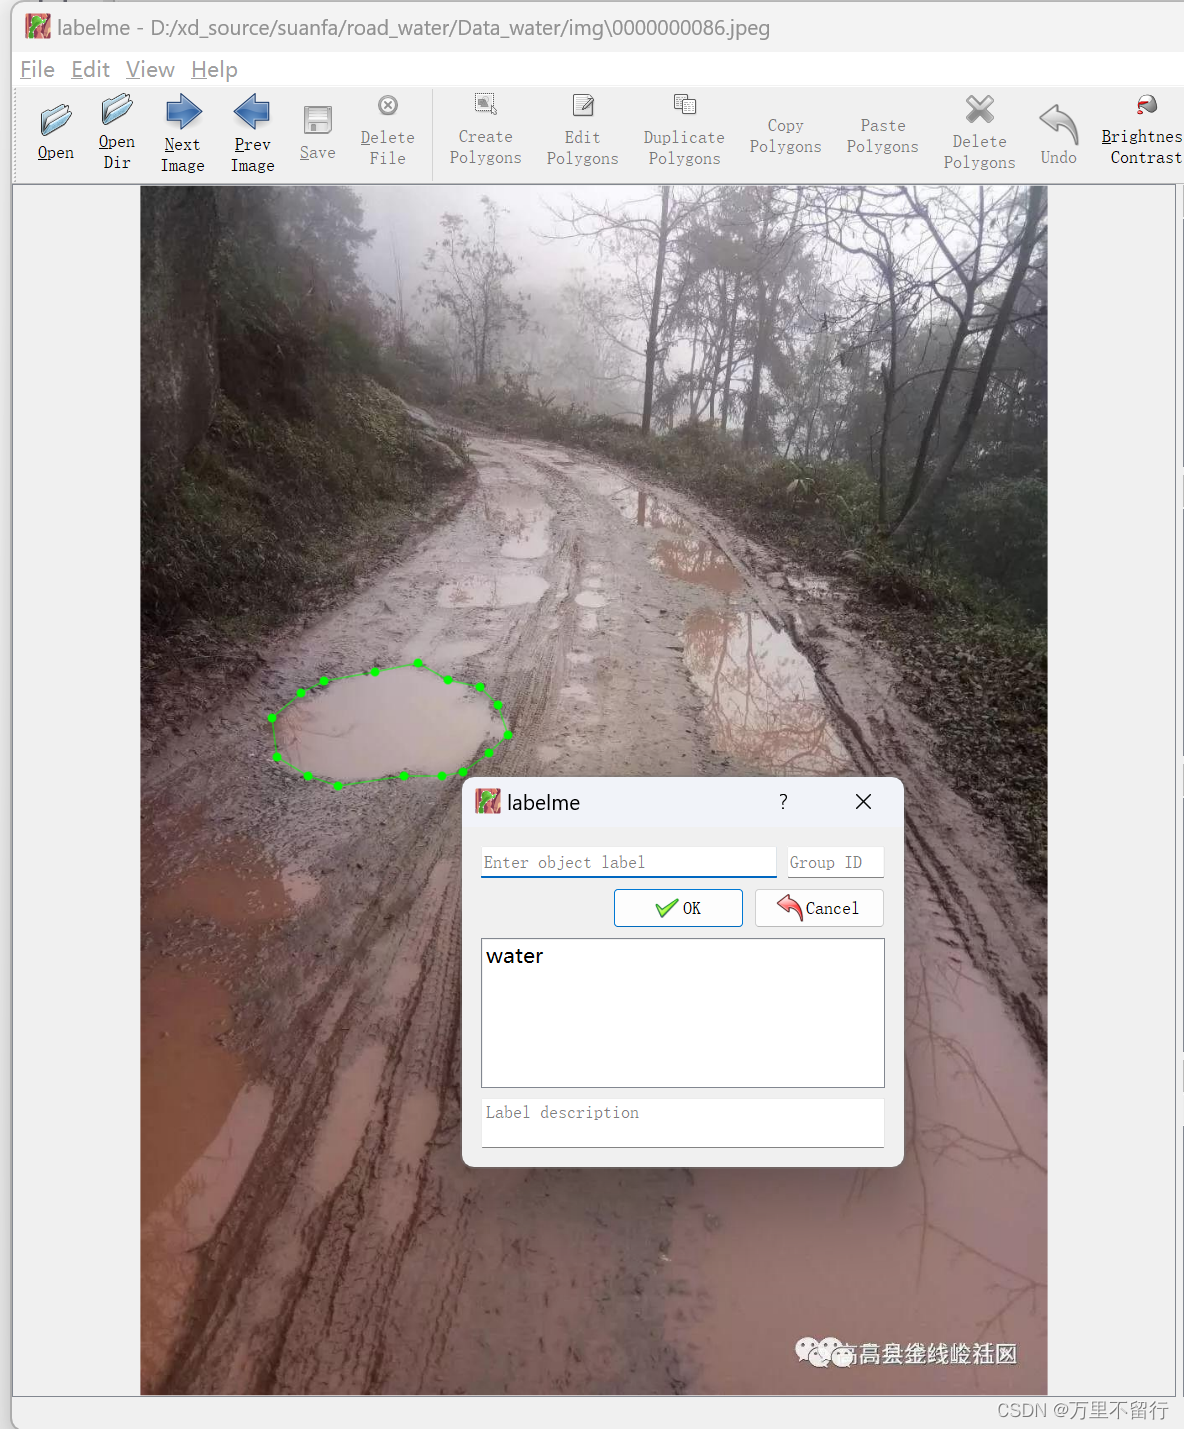
點擊上面OpenDir打開存放要標注的圖片的文件夾,點擊上面CreatePolygons即可進入標注,點擊一下便是一個點,把你要進行分割的東西圈起來,就會彈出下面的框,輸入你標注的名稱。
標注完成后,將json文件和圖片保存在一個文件夾內,使用下面腳本。
import json
import glob
import osimport cv2
import numpy as npjson_path = r"D:"; #此處填寫存放json文件的地址
labels = ['1','2']#此處填寫你標注的標簽名稱
json_files = glob.glob(json_path + "/*.json")for json_file in json_files:print(json_file)f = open(json_file)json_info = json.load(f)# print(json_info.keys())img = cv2.imread(os.path.join(json_path, json_info["imagePath"]))height, width, _ = img.shapenp_w_h = np.array([[width, height]], np.int32)txt_file = json_file.replace(".json", ".txt")f = open(txt_file, "a")for point_json in json_info["shapes"]:txt_content = ""np_points = np.array(point_json["points"], np.int32)norm_points = np_points / np_w_hnorm_points_list = norm_points.tolist()print()if point_json['label'] == labels[0]:txt_content += "0 " + " ".join([" ".join([str(cell[0]), str(cell[1])]) for cell in norm_points_list]) + "\n"elif point_json['label'] == labels[1]:txt_content += "1 " + " ".join([" ".join([str(cell[0]), str(cell[1])]) for cell in norm_points_list]) + "\n"f.write(txt_content)
使用上面腳本即可將json文件格式轉為YOLO訓練的txt格式,將圖片和txt文件分別放入img文件夾和txt文件夾,使用以下腳本進行劃分訓練、測試集。
import os
import random
import shutilrootpath = r'D:\a/'#此處為img和txt文件夾存放位置,地址后面要有/結尾set1 = ['images','labels']
set2 = ['train','val']
for s1 in set1:if not os.path.exists(rootpath+s1):os.mkdir(rootpath+s1)for s2 in set2:if not os.path.exists(rootpath+s1+'/'+s2):os.mkdir(rootpath+s1+'/'+s2)# 這是原始圖片路徑
img_path = rootpath+'img'
# 這是生成的txt路徑
txt_path = rootpath+'txt'
file_names = os.listdir(img_path)
l = 0.8
n = len(file_names)
train_files = random.sample(file_names, int(n*l))
for file in file_names:print(file)if not os.path.exists(txt_path+'/'+file[:-3]+'txt'):os.remove(img_path+'/'+file)print(file[:-3]+'txt,不存在')continueif file in train_files:shutil.copy(img_path+'/'+file,rootpath+'images/train/'+file)shutil.copy(txt_path+'/'+file[:-3]+'txt',rootpath+'labels/train/'+file[:-3]+'txt')else:shutil.copy(img_path+'/'+file,rootpath+'images/val/'+file)shutil.copy(txt_path+'/'+file[:-3]+'txt',rootpath+'labels/val/'+file[:-3]+'txt')
print('ok!!')
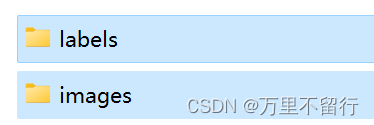
print(len(train_files))劃分好數據集后會出現下面兩個文件夾。
在YOLOv5文件夾的data文件夾內創建s-seg.yaml文件,將下面內容復制進去。
# Train/val/test sets as 1) dir: path/to/imgs, 2) file: path/to/imgs.txt, or 3) list: [path/to/imgs1, path/to/imgs2, ..]
path: D:\a  # dataset root dir
train : D:\a\images\train #此處填寫上面劃分好數據集的images文件夾下train
val: D:\a\images\val #此處填寫上面劃分好數據集的images文件夾下val# Classes
names : #此處為標簽序號和標簽名0: 11: 2
完成以上步驟即可進行第二步訓練。
第二步:訓練模型
打開YOLOv5文件夾內的segment文件夾中的train.py文件,從網上下載yolov5s-seg.pt文件放入該文件夾內,–data改為:
parser.add_argument('--data', type=str, default=ROOT / 'data/s-seg.yaml', help='dataset.yaml path')
運行即可,訓練出的模型在runs文件夾下train-seg文件夾下。
第三步:測試模型
打開YOLOv5文件夾內的segment文件夾中的predict.py文件,更改第243行附近的以下內容。
–weights是剛訓練好的模型位置,是絕對路徑
–source是要進行測試的圖片位置,是絕對路徑
parser.add_argument('--weights', nargs='+', type=str, default=ROOT / r'd:\yolov5-master\runs\train-seg\exp\weights\best.pt', help='model path(s)')parser.add_argument('--source', type=str, default=ROOT / r'D:\test\tudi', help='file/dir/URL/glob/screen/0(webcam)')
測試完成的結果保存在runs文件夾內的predict-seg文件夾內,打開可以查看。
![TC397 EB MCAL開發從0開始系列 之 [15.2] Fee配置 - QsBlock demo](http://pic.xiahunao.cn/TC397 EB MCAL開發從0開始系列 之 [15.2] Fee配置 - QsBlock demo)

)


)
)
)
】前綴、中綴、后綴表達式(逆波蘭表達式)和逆波蘭計算器的代碼實現(2))


)

:`new`和`delete`的實現原理)
)


