可能你對tailiwindcss毫不了解,別緊張,記住我們只是在學習,學習的是作者的思想和技巧,并不是某一行代碼。
在之前的幾篇文章中,我們已經熟悉了 Three.js 的基本用法,并通過 react-three-fiber 快速構建了一個完整場景。
本篇將正式開啟我們的 3D 個人主頁實戰系列 🚀
完整項目:
github項目地址:https://github.com/SunACong/three-practice.git
教程倉庫:
gitcode地址:https://gitcode.com/sunbyte/three-profile.git
前置知識:
- ? tailiwindcss
本篇聚焦以下幾個目標:
- ? 規劃整個項目的基礎目錄結構
- ? 明確資源(模型/貼圖)存放位置
- ? 明確各個文件夾的作用以及內容
這是構建你專屬 3D 主頁的第一步,讓我們開始吧!
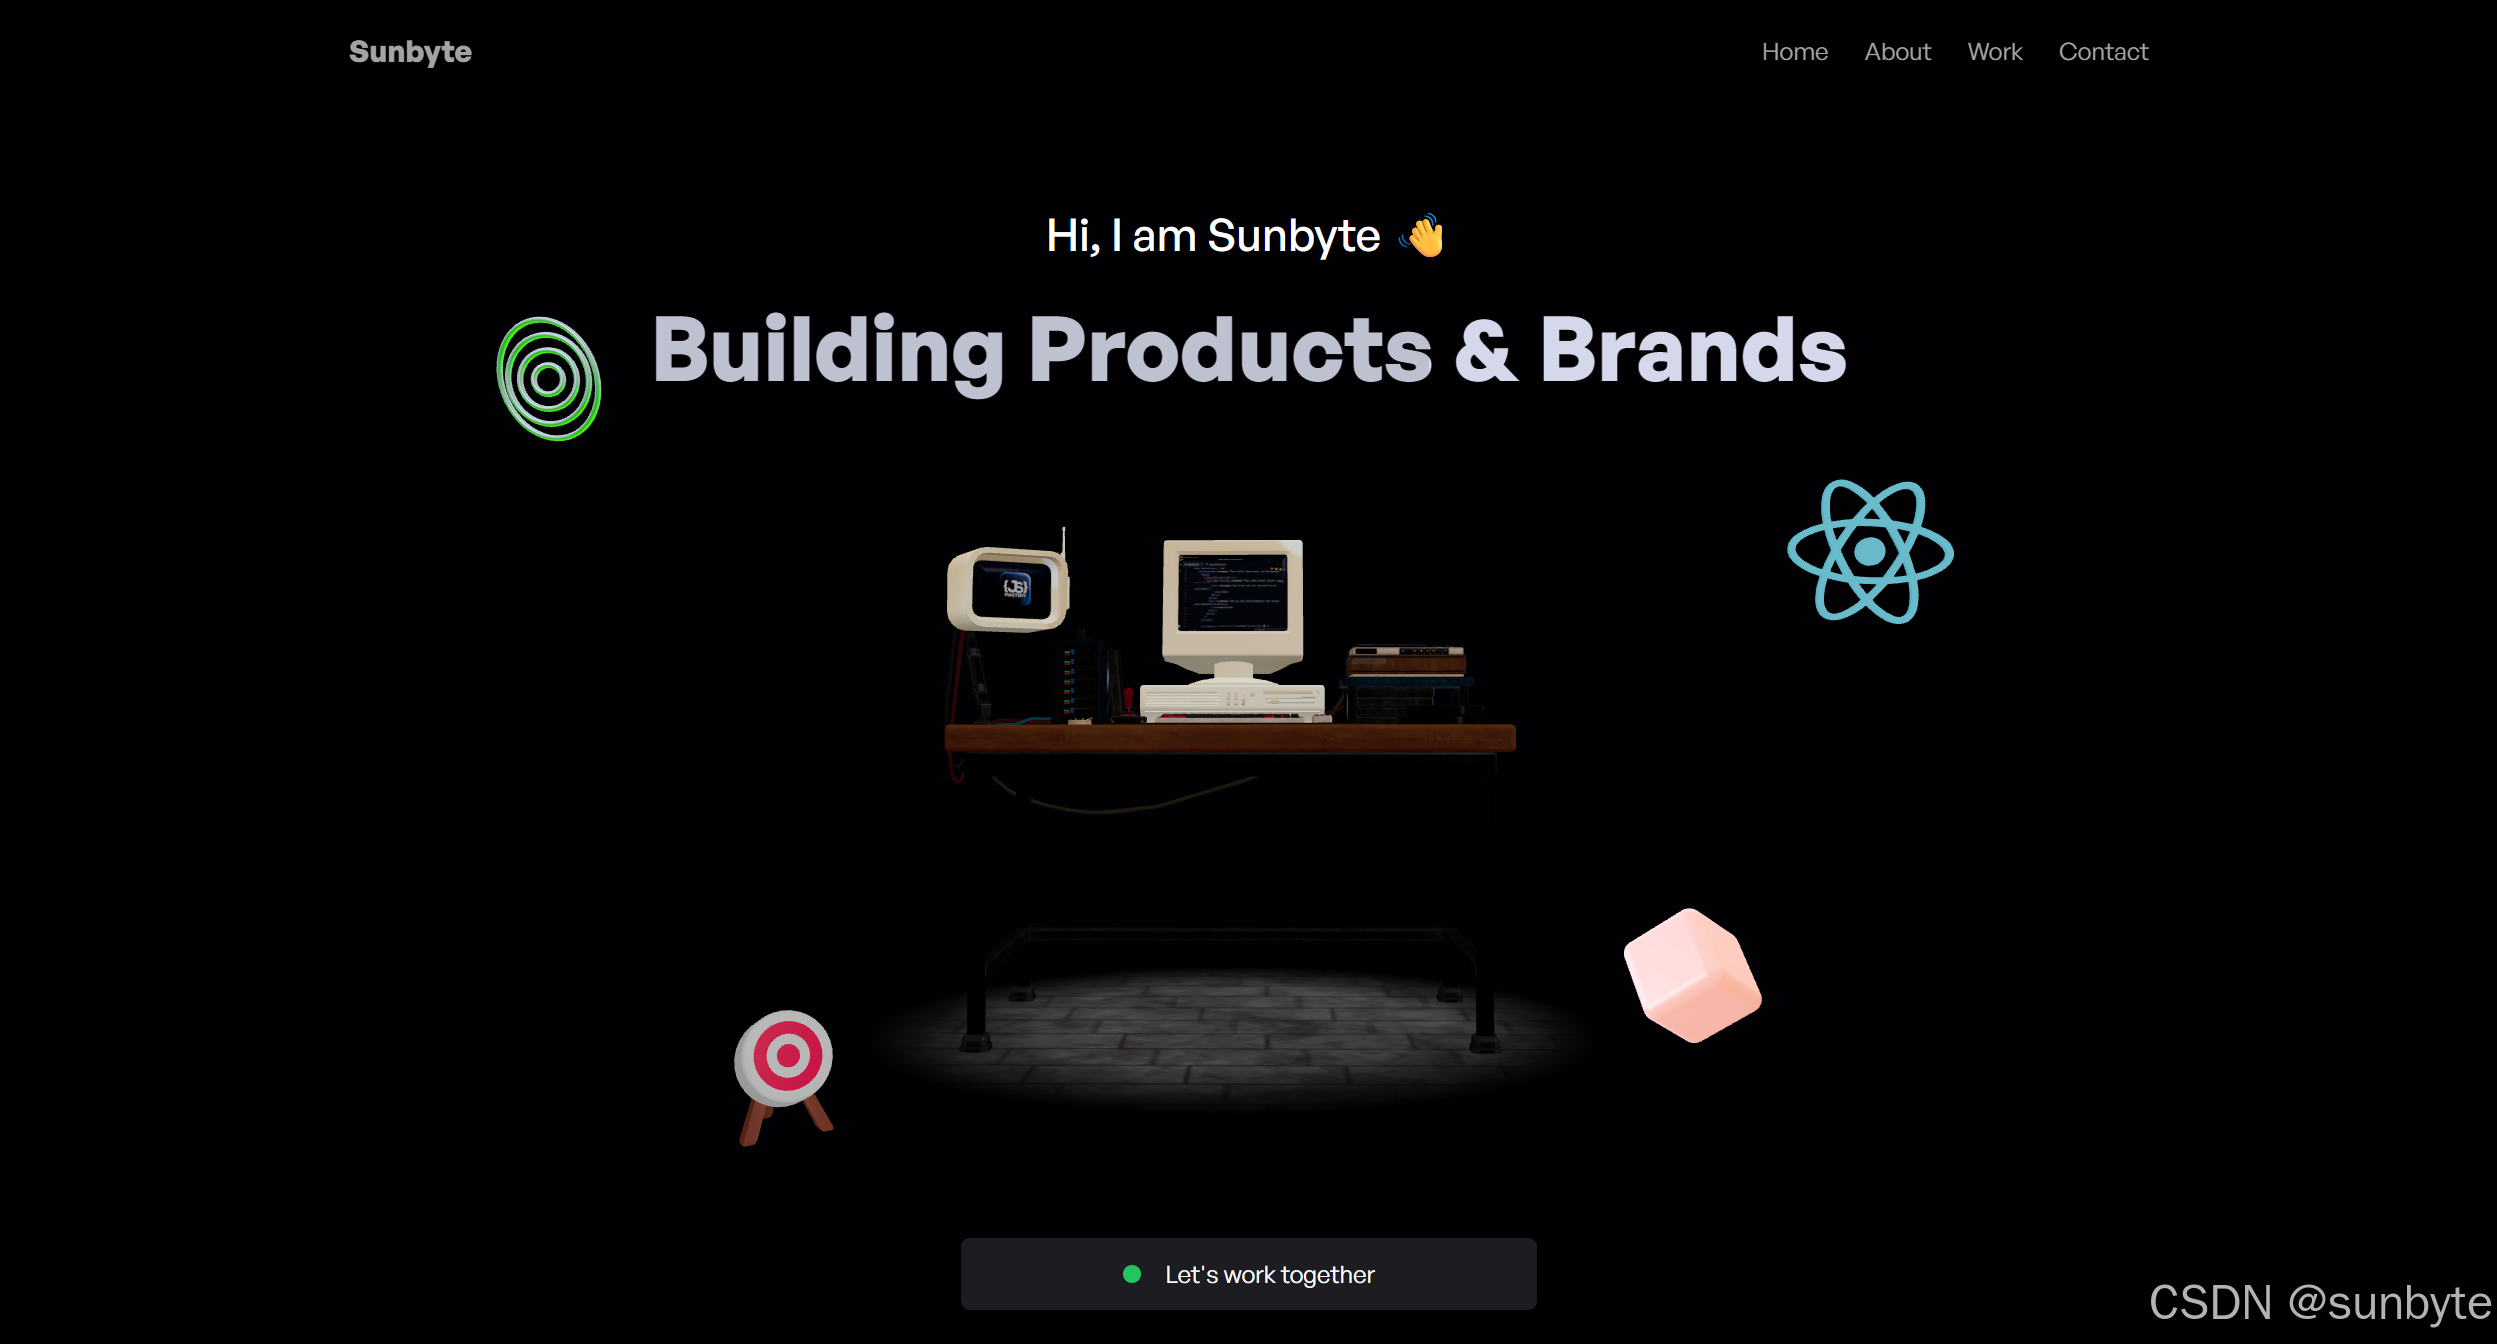
部署效果地址:https://three-profile-one.vercel.app/
🗂? 項目基礎目錄結構
建議將項目結構清晰劃分,便于后續維護與模塊化開發:
three-profile/
├── public/ # 靜態資源(模型、貼圖、icon)
│ ├── models/ # .glb / .gltf 模型資源
│ ├── textures/ # 貼圖(背景、材質貼圖等)
│ └── assetss/ # 圖標icon資源
├── src/
│ ├── components/ # 3D 場景組件(Avatar, Card, Icons...)
│ ├── constans/ # 常量定義
│ ├── sections/ # 構成主頁部分的section
│ ├── App.jsx # 應用主入口
│ └── main.jsx # React 掛載入口
│ └── index.css # 引入全局css配置入口
├── index.html
└── vite.config.js
🛠? 搭建項目
- 初始化 react 項目
npm create vite@latest three-profile -- --template reactnpm installnpm run dev
- 💻 安裝Tailiwindcss
雖然tailiwindcss已經更新到v4版本,但是為了不在環境配置上浪費時間,請使用v3版本。
"autoprefixer": "^10.4.20",
"postcss": "^8.4.41",
"tailwindcss": "^3.4.10",將上面依賴復制到package.json中執行npm install 安裝依賴即可
- 配置項目
根目錄執行 npx tailwindcss init 生成 tailiwindcss.config.js在倉庫Readme-代碼片段中復制 tailiwindcss.config.js 代碼片段根目錄創建postcss.config.js,在倉庫Readme-代碼片段中復制 postcss.config.js 代碼片段在倉庫ReadMe文件中復制 index.css 覆蓋 src/index.css刪除 App.css
👋 Hello ThreeJS!!
🎥 01 · 項目框架與資源準備:你的 3D 主頁起點
? 小結
我們已經完成了以下工作:
-
? 初始化項目結構
-
? 安裝并配置核心依賴
-
? 梳理項目資源
- GLB轉換為React代碼:https://gltf.pmnd.rs/
- 捏臉網址:https://readyplayer.me/
- GLB轉換為FBX:https://products.aspose.app/3d/conversion/glb-to-fbx#
- 為你的3D模型添加動作:https://www.mixamo.com/#/
- 免費部署網址:https://vercel.com/
🔮 下一篇預告
Navbar導航欄 ?


)


)

)


