首先luckysheet插件是支持在線替換excel內容編輯得但是瀏覽器無法調用本地文件,如果只是展示,讓后端返回文件得二進制文件流就可以了,直接使用luckysheet展示。
這里我們使用xlsx-populate得node簡單應用來調用本地文件,自己寫一個接口,讓自己對后端有更一步得了解。
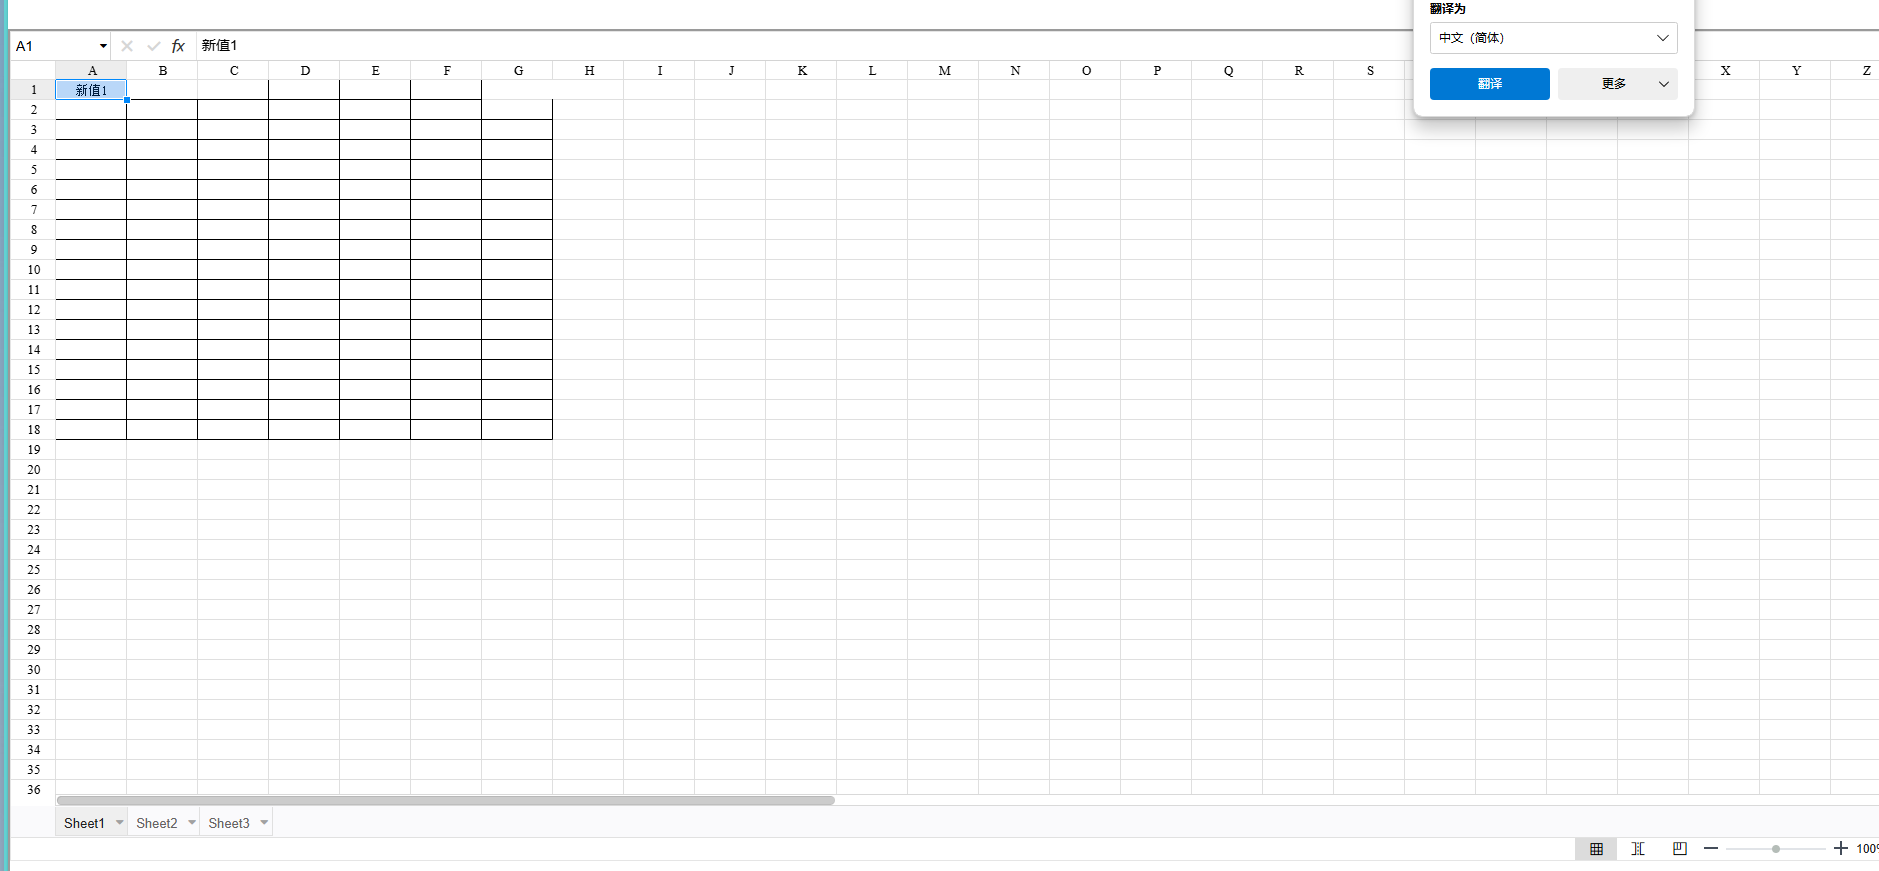
效果圖:
首先我們創建一個node應用
1、只是想展示文件,直接讓后端返回文件流可以跳過直接往下拉,看如何在線展示excel編輯器
2、node下載得二進制文件流,不需要展示得可以直接導出下載
前置條件:已經安裝node16以上版本
初始化項目:
1.創建項目目錄 :一個文件夾名為?my-xlsx-populate
2.文件內右鍵打開cmd? 使用命令創建? ?生成package.json:(-y使用默認配置)
npm init -y3.package.json文件我們需要得依賴復制一下,大家直接npm i 就可以了
{"name": "my-xlsx-populate", // 項目唯一標識符"version": "1.0.0", // 初始版本號"description": "基于Excel文件操作的Node.js服務框架","main": "server.js", // 主入口文件"scripts": {"test": "echo \"Error: no test specified\" && exit 1", "start": "node server.js" // 啟動服務腳本[2](@ref)},"keywords": [], // 關鍵詞列表"license": "ISC", // 開源協議"dependencies": {"cors": "^2.8.5", // 跨域資源共享中間件,用于處理跨域請求"express": "^4.21.2", // Node.js核心Web框架,提供HTTP服務基礎能力"multer": "^1.4.5-lts.1", // 文件上傳處理中間件,支持multipart/form-data"xlsx-populate": "^1.21.0" // Excel文件操作庫,支持讀寫xlsx文件}
}
4.創建server.js文件,功能如下 。
-
/excelprocess創建post接口 -
獲取body傳參循環操作xlsx-populate替換excel內容
-
接口返回文件流
const express = require('express');
const XlsxPopulate = require('xlsx-populate');
const path = require('path');
const fs = require('fs');
const cors = require('cors'); // 引入 cors 中間件const app = express();// 使用 cors 中間件,允許所有來源的請求
app.use(cors());// 解析 JSON 請求體
app.use(express.json());// 檢查 excelTemplates 目錄是否存在,不存在則創建
const templateDir = path.join(__dirname, 'excelTemplates');
if (!fs.existsSync(templateDir)) {fs.mkdirSync(templateDir);
}// 處理靜態文件,使得前端頁面可以被訪問
app.use(express.static(__dirname));// 處理文件處理請求
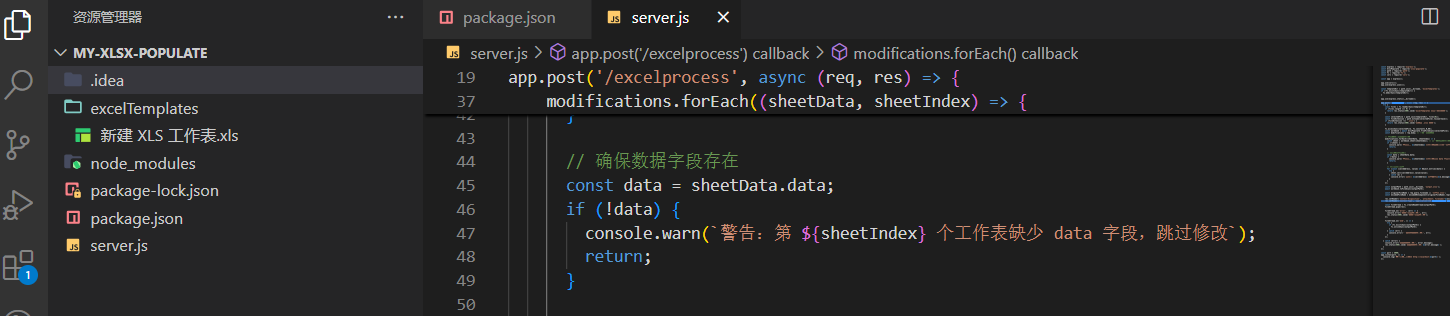
app.post('/excelprocess', async (req, res) => {try {// 獲取 excelTemplates 目錄下的所有文件const files = fs.readdirSync(templateDir);if (files.length === 0) {console.error('excelTemplates 目錄中沒有文件');return res.status(400).send('excelTemplates 目錄中沒有文件');}// 選擇第一個文件作為模板const selectedFile = path.join(templateDir, files[0]);console.log('選定模板文件:', selectedFile);// 檢查文件擴展名const fileExtension = path.extname(selectedFile).toLowerCase();if (fileExtension !== '.xlsx') {console.error('文件擴展名不正確:', fileExtension);return res.status(400).send('僅支持 .xlsx 文件');}// 檢查文件是否可讀fs.accessSync(selectedFile, fs.constants.R_OK);// 讀取 Excel 文件const workbook = await XlsxPopulate.fromFileAsync(selectedFile);console.log('成功讀取文件:', selectedFile);const sheet = workbook.sheet(0);// 獲取傳入的修改數據const modifications = req.body;// 根據傳入的數據修改 Excel 文件內容for (const [cellAddress, value] of Object.entries(modifications)) {sheet.cell(cellAddress).value(value);}// 生成修改后的文件路徑const defaultFileName = 'output.xlsx';const outputPath = path.join(__dirname, defaultFileName);// 將修改后的文件保存到磁盤await workbook.toFileAsync(outputPath);console.log('文件已保存到:', outputPath);// 對文件名進行嚴格編碼const originalFileName = req.query.filename || '修改后.xlsx'; // 使用查詢參數中的文件名或默認文件名const encodedFileName = encodeURIComponent(originalFileName).replace(/'/g, '%27');// 設置響應頭并發送文件流res.setHeader('Content-Disposition', `attachment; filename="${encodedFileName}"`);res.setHeader('Content-Type', 'application/vnd.openxmlformats-officedocument.spreadsheetml.sheet');// 使用流的方式發送文件const fileStream = fs.createReadStream(outputPath);fileStream.pipe(res);// 監聽文件流的錯誤fileStream.on('error', (err) => {console.error('文件流發送時出錯:', err);res.status(500).send('文件流發送時出錯');});} catch (error) {console.error('處理文件時出錯:', error.message);res.status(500).send(`處理文件時出錯: ${error.message}`);}
});// 啟動服務器
const port = 3000;
app.listen(port, () => {console.log(`服務器運行在端口 http://localhost:${port}/`);
});5.創建excelTemplates文件夾用于存放我們要操作得本地文件,在里放入一個excel文件
全部目錄如下:
excel模板sheet設置如下:

6.運行node 服務

7.打開接口調試工具
接口類型: post
接口地址 :?http://localhost:3000/excelprocess
接口傳參:
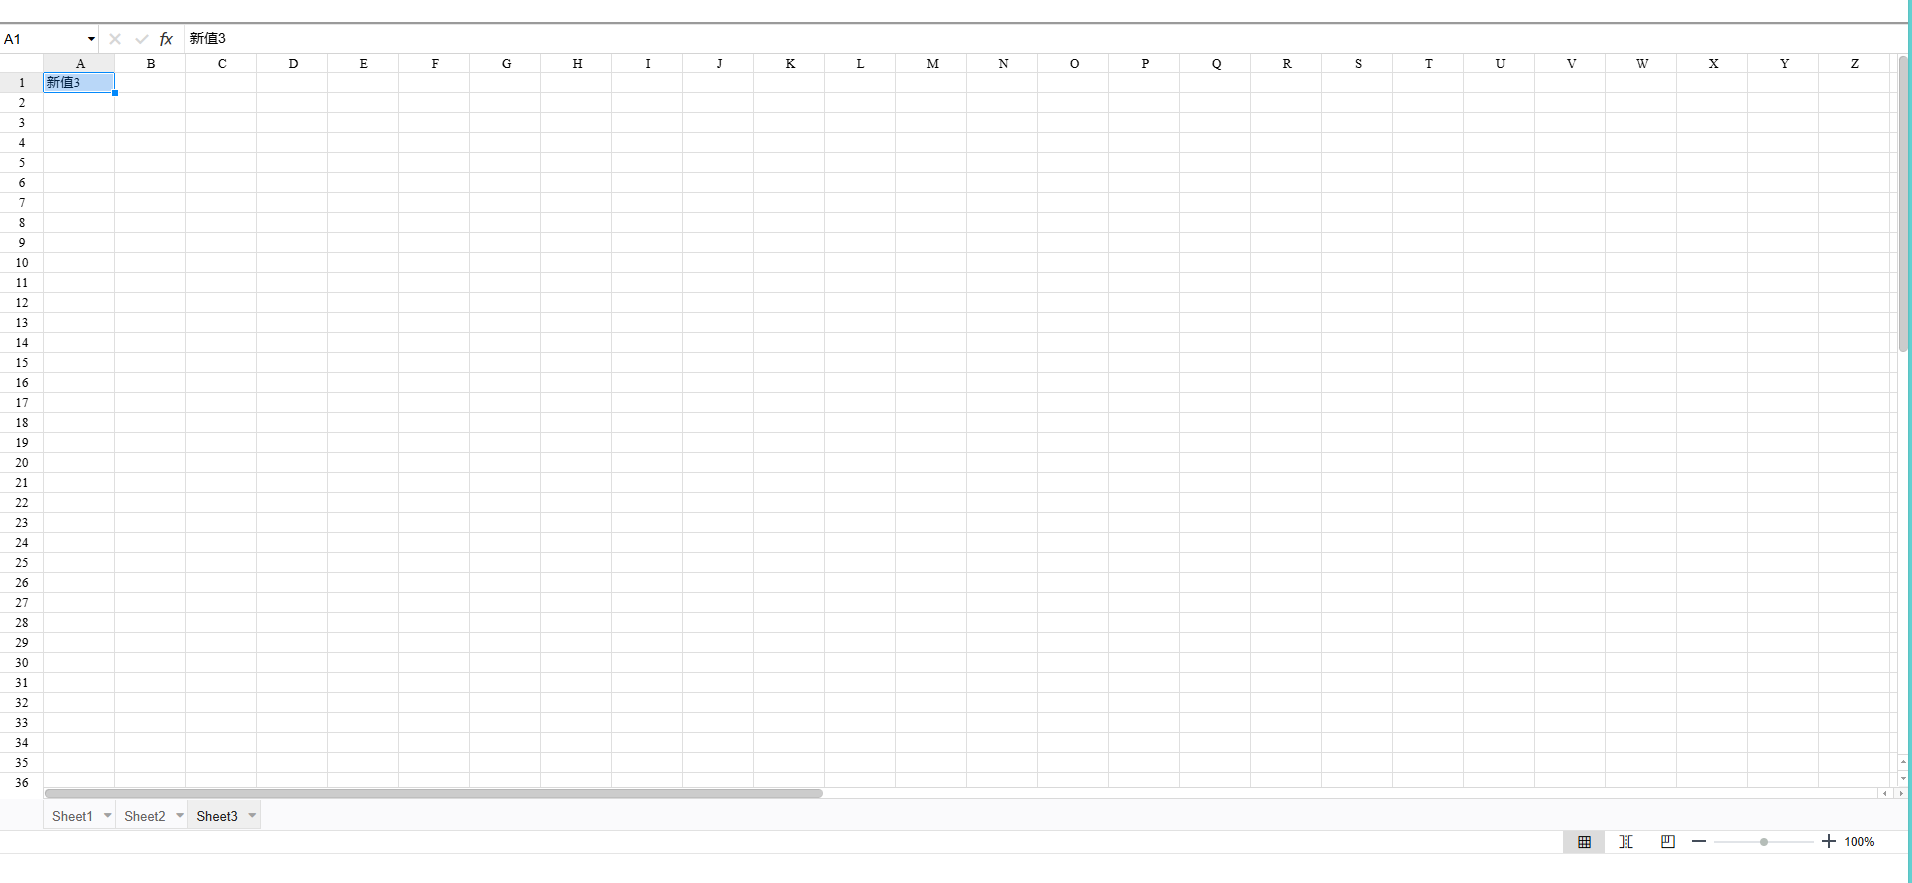
[{"sheetName": "Sheet1", "data": {"A1": "新值1"}},{"sheetName": "Sheet2", "data": {"A1": "新值2"}},{"sheetName": "Sheet3", "data": {"A1": "新值3"}}
]
點擊下載: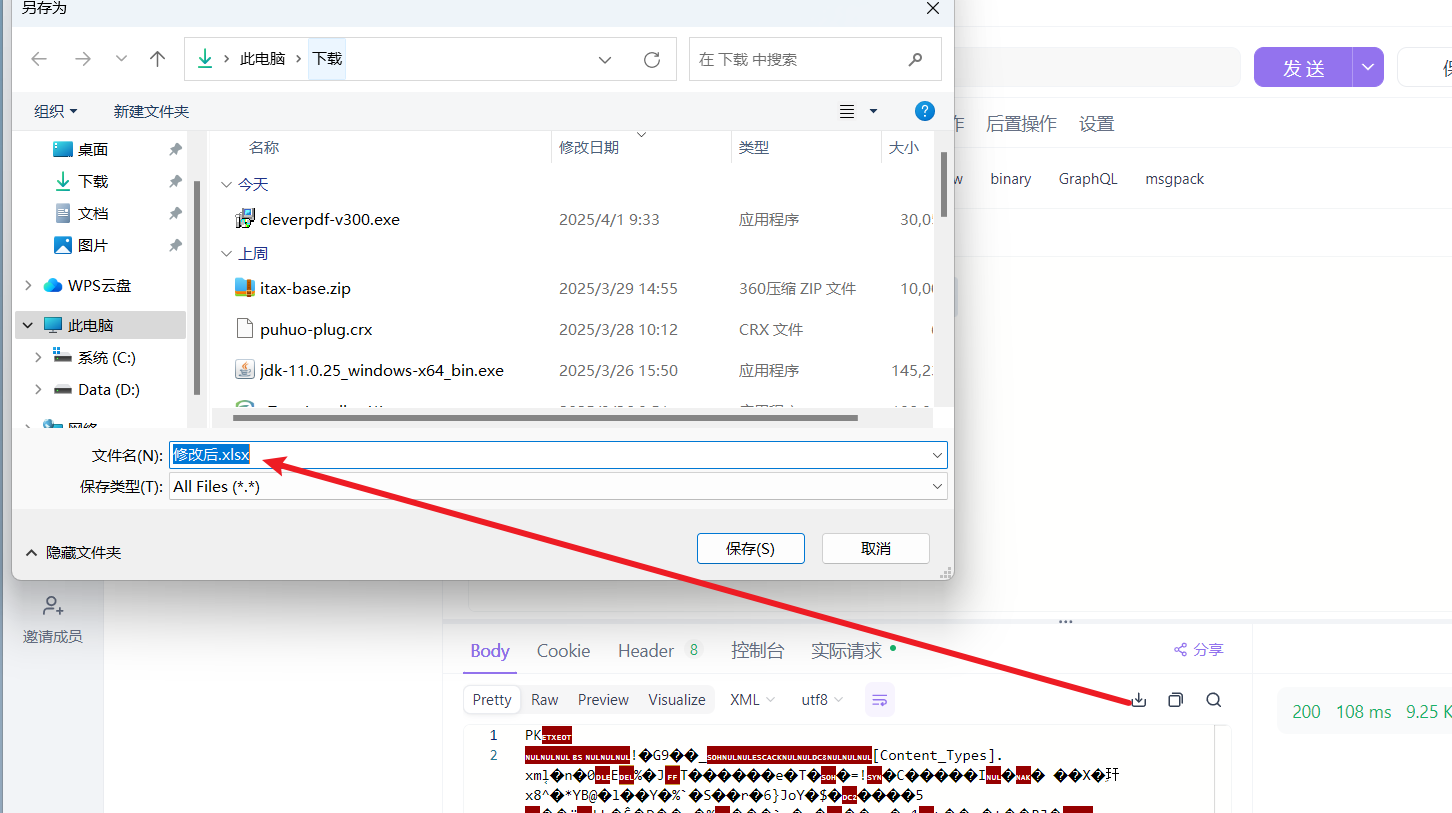
打開文件內容如下:
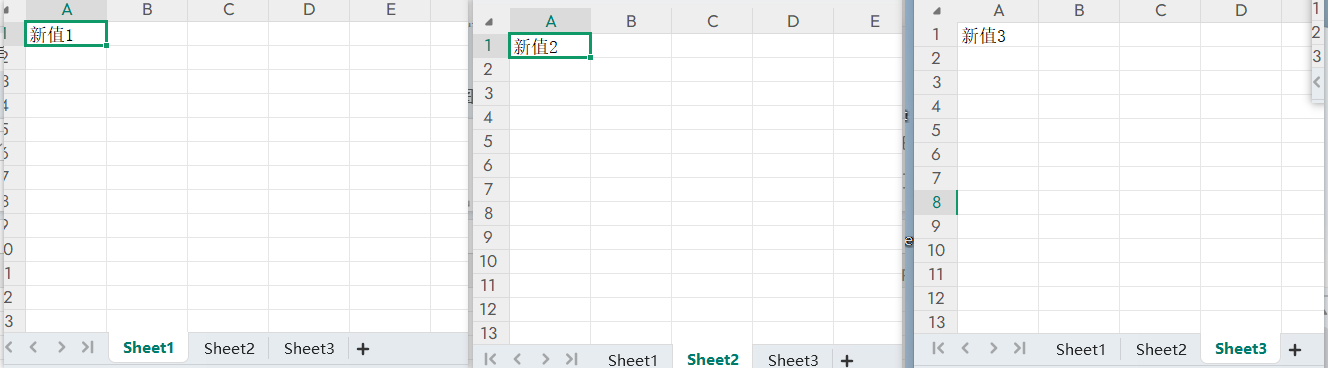
替換成功,我們獲取到了一個替換后得二進制文件流
xlsx-populate更多具體配置請看我得另一篇文章:
前端插件使用xlsx-populate,花樣配置excel內容,根據坐添加標替換excel內容,修改顏色,合并單元格...。_xlsxpopulate-CSDN博客
接下來我們將二進制文件展示到前端接口
接下來我們使用luckysheet插件展示操作完得excel文件
使用luckysheet插件
1.克隆官方gite代碼到本地
git clone https://gitee.com/mengshukeji/Luckysheet.git2.流水線操作-下載依賴打包得到dist文件
npm install
npm install gulp -gnpm run build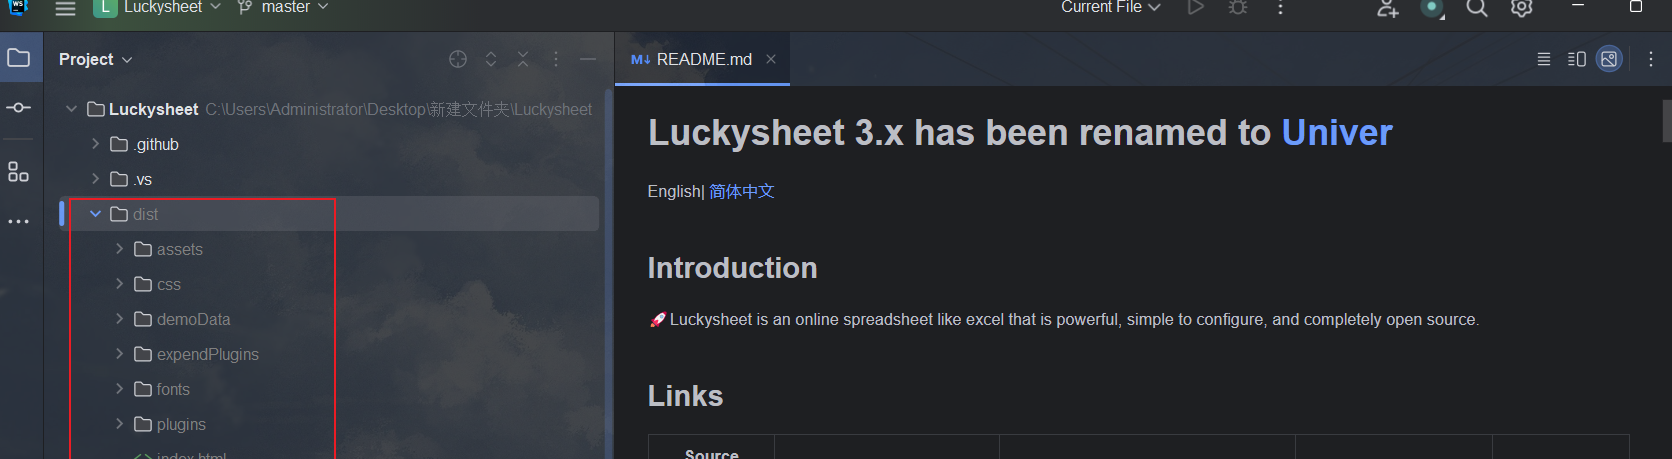
3.來到VUE項目根目錄下創建? ?public/Luckysheet
將dist里面得文件復制到public/Luckysheet目錄下
4.來到VUE項目根目錄下luckysheet.html?
將public/Luckysheet里面得文件引入到luckysheet.html?
luckysheet.html 內容如下
<!DOCTYPE html>
<html lang="en">
<head><meta charset="utf-8"><meta http-equiv="X-UA-Compatible" content="IE=edge"><meta name="viewport" content="width=device-width,initial-scale=1.0"><link rel="icon" href="<%= BASE_URL %>favicon.ico"><title>luckysheet-wrapper</title><link rel="stylesheet" href="/Luckysheet/plugins/css/pluginsCss.css"><link rel="stylesheet" href="/Luckysheet/plugins/plugins.css"><link rel="stylesheet" href="/Luckysheet/css/luckysheet.css"><link rel="stylesheet" href="/Luckysheet/assets/iconfont/iconfont.css"><script src="/Luckysheet/plugins/js/plugin.js"></script><script src="/Luckysheet/luckysheet.umd.js"></script>
</head>
<body>
<noscript><strong>We're sorry but luckysheet-wrapper doesn't work properly without JavaScript enabled. Please enable it to continue.</strong>
</noscript>
<div id="sheetContainer" style="margin:0px;padding:0px;position:absolute;width:100%;height:95%;left: 0px;top: 0px;"></div>
<!-- built files will be auto injected -->
</body>
</html>
目錄結構如下:

5.界面引用Luckysheet
這里我們使用? iframe 官方得方法是把Luckysheet實列掛在到windows實列上,初始化為windows.luckysheet? 但是我想一個界面同時存在多個編輯器時候,就會出現只能有一個excel展示,我們使用iframe把luckysheet 實列用沙箱隔離,保證獨立性
<iframe :id="iframeId" height="100%" width="100%" src="/luckysheet.html" class="no-scroll"></iframe>我得另一篇具體文章詳情:解決Luckysheet在線預覽編輯Excel、PDF.....無法在同一個界面創建多個luckysheet實列問題-CSDN博客
什么是iframe,火爆的微前端解決方案方案,教你快速看懂使用-CSDN博客
有興趣大家可以去看看哈~
6.這里為了編輯器邏輯隔離,也為了可以創建多個實列,我們把編輯器封裝為一個子組件使用:
功能邏輯:
第一步:這里我們需要引入luckyexcel ,因為luckysheet只支持展示json格式得文件,我們從node接口http://localhost:3000/excelprocess 獲取得是二進制文件流,所以要轉換。
npm install luckyexcel --save第二步:將我們準備得 luckysheet.html 文件引入到 iframe ,設置動態id
<iframe :id="iframeId" height="100%" width="100%" src="/luckysheet.html" class="no-scroll"></iframe>const iframeId = `iframe${Math.random().toString().substring(2)}`;第三步:onMounted 里面 初始化 luckysheet實列
const $sheet = ref(null); // 存儲luckysheet實例
onMounted(() => {const frame = document.querySelector(`#${iframeId}`);frame.onload = () => {$sheet.value = frame.contentWindow.luckysheet;const container = frame.contentDocument.createElement('div');container.id = 'sheetContainer';frame.contentDocument.body.appendChild(container);$sheet.value.create({container: container.id});initLuckysheet(); //調用后端接口};});
第四步:調用node接口
const initLuckysheet = async () => {try {const response = await axios.post('http://localhost:3000/excelprocess',[{"sheetName": "Sheet1", "data": {"A1": "新值1"}},{"sheetName": "Sheet2", "data": {"A1": "新值2"}},{"sheetName": "Sheet3", "data": {"A1": "新值3"}}] , {responseType: 'blob'}).then(response => {const file = new File([response.data], 'XXX.xlsx', {type: response.data.type});console.log(file);var files = [];files.push(file);uploadExcel(files); //加載表單數據});} catch (error) {console.error('加載并解析 Excel 失敗:', error);}
};
第五步:接口返回數據使用 luckyexcel 轉換為json格式 初始化? luckysheet ,加載表單數據
const uploadExcel = (files) => {LuckyExcel.transformExcelToLucky(files[0], function (exportJson, luckysheetfile) {if (exportJson.sheets == null || exportJson.sheets.length == 0) return alert('讀取excel文件內容失敗, 目前不支持XLS文件!');$sheet.value.destroy();$sheet.value.create({data: exportJson.sheets,title: exportJson.info.name,userInfo: exportJson.info.name.creator,container: 'sheetContainer', // 設定DOM容器的idshowtoolbar: false, // 是否顯示工具欄showinfobar: false, // 是否顯示頂部信息欄showstatisticBar: true, // 是否顯示底部計數欄sheetBottomConfig: false, // sheet頁下方的添加行按鈕和回到頂部按鈕配置allowEdit: false, // 是否允許前臺編輯enableAddRow: false, // 是否允許增加行enableAddCol: false, // 是否允許增加列sheetFormulaBar: true, // 是否顯示公式欄enableAddBackTop: false, // 返回頭部按鈕showsheetbar: true, // 是否顯示底部sheet頁按鈕// 自定義配置底部sheet頁按鈕showsheetbarConfig: {add: false,menu: false,},});});
};
子組件eftExcel.vue 完整代碼 如下
<template><div style="height: 100%; overflow: hidden;"><div class="controls"></div><iframe :id="iframeId" height="100%" width="100%" src="/luckysheet.html" class="no-scroll"></iframe></div>
</template><script setup>
import {ref, onMounted, defineProps} from 'vue';
import axios from 'axios';
import * as LuckyExcel from 'luckyexcel';
import { ElMessage } from 'element-plus'
const iframeId = `iframe${Math.random().toString().substring(2)}`;
const $sheet = ref(null); // 存儲luckysheet實例onMounted(() => {const frame = document.querySelector(`#${iframeId}`);frame.onload = () => {$sheet.value = frame.contentWindow.luckysheet;const container = frame.contentDocument.createElement('div');container.id = 'sheetContainer';frame.contentDocument.body.appendChild(container);$sheet.value.create({container: container.id});initLuckysheet();};});const initLuckysheet = async () => {try {const response = await axios.post('http://localhost:3000/excelprocess',[{"sheetName": "Sheet1", "data": {"A1": "新值1"}},{"sheetName": "Sheet2", "data": {"A1": "新值2"}},{"sheetName": "Sheet3", "data": {"A1": "新值3"}}] , {responseType: 'blob'}).then(response => {const file = new File([response.data], 'XXX.xlsx', {type: response.data.type});console.log(file);var files = [];files.push(file);uploadExcel(files);});} catch (error) {console.error('加載并解析 Excel 失敗:', error);}
};
const uploadExcel = (files) => {LuckyExcel.transformExcelToLucky(files[0], function (exportJson, luckysheetfile) {if (exportJson.sheets == null || exportJson.sheets.length == 0) return alert('讀取excel文件內容失敗, 目前不支持XLS文件!');$sheet.value.destroy();$sheet.value.create({data: exportJson.sheets,title: exportJson.info.name,userInfo: exportJson.info.name.creator,container: 'sheetContainer', // 設定DOM容器的idshowtoolbar: false, // 是否顯示工具欄showinfobar: false, // 是否顯示頂部信息欄showstatisticBar: true, // 是否顯示底部計數欄sheetBottomConfig: false, // sheet頁下方的添加行按鈕和回到頂部按鈕配置allowEdit: false, // 是否允許前臺編輯enableAddRow: false, // 是否允許增加行enableAddCol: false, // 是否允許增加列sheetFormulaBar: true, // 是否顯示公式欄enableAddBackTop: false, // 返回頭部按鈕showsheetbar: true, // 是否顯示底部sheet頁按鈕// 自定義配置底部sheet頁按鈕showsheetbarConfig: {add: false,menu: false,},});});
};</script><style scoped>
.controls {margin-bottom: 20px;
}.no-scroll {overflow: hidden; /* 隱藏水平和垂直滾動條 */
}
</style>
第六步:父組件引入調用
<template>
<div class="index_body"><div class="container"><el-main style="height: calc(100% - 80px); position: relative; padding: 0px"><LeftExcel ></LeftExcel></el-main></div>
</div>
</template><script setup>
import LeftExcel from './leftExcel.vue'
import { ref, onMounted, onUnmounted } from 'vue'</script><style lang="scss" scoped>
.index_body{
margin-top: 50px;.container {display: flex;justify-content: space-between; /* 根據需要調整 */align-items: stretch; /* 根據需要調整 */height: 100vh; /* 根據需要調整 */
}.left-component {flex: 1; /* 根據需要調整 */margin-right: 10px; /* 根據需要調整 */
}.right-component {flex: 1; /* 根據需要調整 */margin-left: 10px; /* 根據需要調整 */
}
}
</style>
效果展示:
第六步:我們操作一下功能
接口傳參中我們可以自己修改為需要得內容
const response = await axios.post('http://localhost:3000/excelprocess',[{"sheetName": "Sheet1", "data": {"A1": "新值1"}},{"sheetName": "Sheet2", "data": {"A1": "新值2"}},{"sheetName": "Sheet3", "data": {"A1": "新值3"}}] , {responseType: 'blob'})我們把本地得表格添加邊框,只替換其中得值,再次展示,實際開發中我們可以提前設置好模板得樣式比如換行,合并單元格,這樣我們只要替換其中得坐標值就可以了。
大家看到這里麻煩給個贊吧!!!


![[自制調試工具]構建高效調試利器:Debugger 類詳解](http://pic.xiahunao.cn/[自制調試工具]構建高效調試利器:Debugger 類詳解)


))


)