【iOS】3GShare仿寫
文章目錄
- 【iOS】3GShare仿寫
- 登陸注冊界面
- 主頁
- 搜索
- 文章
- 活動
- 我的
- 總結
登陸注冊界面
這個界面的ui東西不多,主要就是幾個輸入框及對輸入內容的一些判斷
登陸界面
//這里設置了一個初始密碼并儲存到NSUserDefaults中
NSUserDefaults *defaults = [NSUserDefaults standardUserDefaults];if (![defaults objectForKey: @"UserAccounts"]) {NSDictionary *defaultUser = @{@"a": @"1"};[defaults setObject: defaultUser forKey: @"UserAccounts"];}
self.textFieldUser = [[UITextField alloc] initWithFrame: CGRectMake(70, 320, 250, 46)];self.textFieldUser.placeholder = @"請輸入用戶名";self.textFieldUser.borderStyle = UITextBorderStyleRoundedRect;self.textFieldUser.leftView = [self createLefticonViewWithImageName: @"賬戶.png"];self.textFieldUser.leftViewMode = UITextFieldViewModeAlways;self.textFieldcode = [[UITextField alloc] initWithFrame: CGRectMake(70, 390, 250, 46)];self.textFieldcode.placeholder = @"請輸入密碼";self.textFieldcode.borderStyle = UITextBorderStyleRoundedRect;self.textFieldcode.secureTextEntry = YES;self.textFieldcode.leftView = [self createRighticonViewWithImageName: @"解鎖.png"];self.textFieldcode.leftViewMode = UITextFieldViewModeAlways;UIButton *loginBtn = [UIButton buttonWithType: UIButtonTypeSystem];loginBtn.frame = CGRectMake(85, 470, 90, 40);[loginBtn setTitle: @"登陸" forState: UIControlStateNormal];[loginBtn addTarget: self action: @selector(handleLoginBtn) forControlEvents: UIControlEventTouchUpInside];loginBtn.tintColor = [UIColor whiteColor];loginBtn.layer.borderColor = [UIColor whiteColor].CGColor;loginBtn.layer.borderWidth = 1.0;loginBtn.layer.cornerRadius = 8.0;loginBtn.clipsToBounds = YES;[self.view addSubview: loginBtn];
NSString *username = self.textFieldUser.text;NSString *password = self.textFieldcode.text;if (username.length > 15 || password.length > 15) {UIAlertController *alert2 = [UIAlertController alertControllerWithTitle: @"錯誤" message: @"賬號或密碼過長" preferredStyle: UIAlertControllerStyleAlert];[alert2 addAction: [UIAlertAction actionWithTitle: @"確定" style: UIAlertActionStyleDefault handler: nil]];[self presentViewController: alert2 animated: YES completion: nil];return;}NSDictionary *userDict = [[NSUserDefaults standardUserDefaults] objectForKey: @"UserAccounts"];NSString *savedPassword = userDict[username];if (savedPassword && [savedPassword isEqualToString: password]) {MainTabBarController *mainTabBar = [[MainTabBarController alloc] init];self.view.window.rootViewController = mainTabBar;} else {UIAlertController *alertright = [UIAlertController alertControllerWithTitle: @"錯誤" message: @"賬號或密碼錯誤" preferredStyle: UIAlertControllerStyleAlert];[alertright addAction: [UIAlertAction actionWithTitle: @"確定" style: UIAlertActionStyleDefault handler: nil]];[self presentViewController: alertright animated: YES completion: nil];return;}
主要是通過UITextField代理方法在確認后判斷框中的字符是否符合標準,再用個警告對話框進行提示
注冊界面其他的跟登錄界面差不多,主要是要用一個協議傳值判斷后把新的賬號密碼傳入到前面設置的defaultUser中,關于協議傳值的內容前面博客中有所寫出,不多闡述
主頁
主頁界面大體由上面的輪播圖和下面的自定義單元格組成
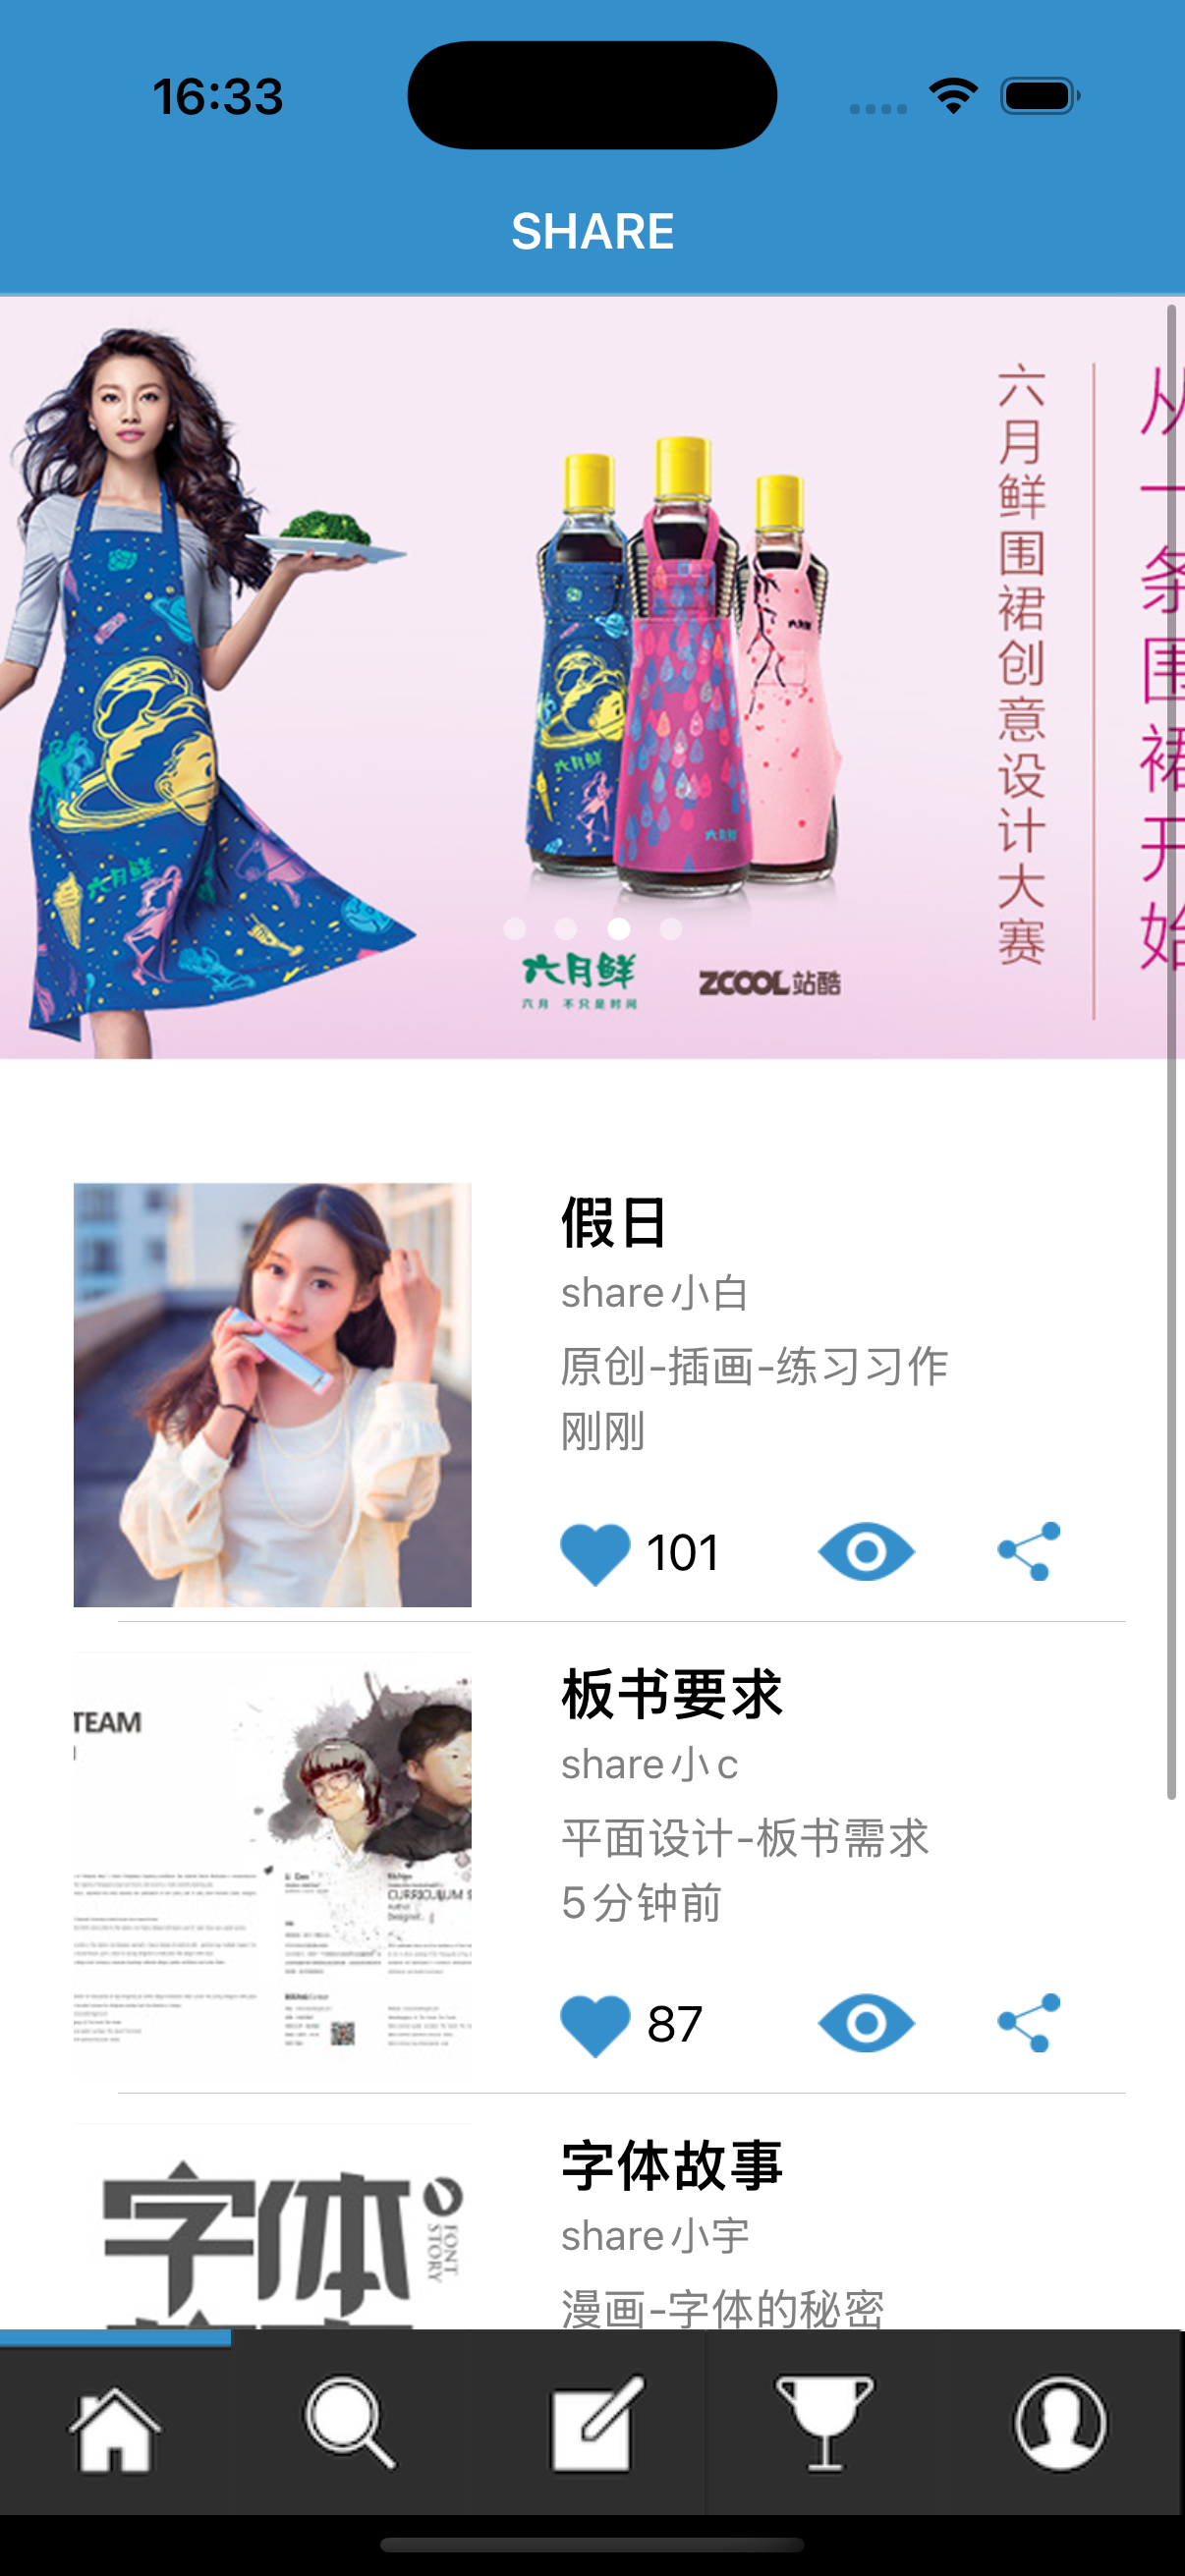
里面比較有意思的內容就是點擊下面第一個單元格時可進入其詳情界面,且這里的點贊功能是正常且完善的
這里是同時使用了屬性傳值與協議傳值,屬性往里傳,協議往外傳
詳情界面的部分代碼:
@protocol SendViewControllerDelegate <NSObject>- (void)didUpdateLikeStatus:(BOOL)isLiked likeCount:(NSInteger)likeCount;@end@interface SendViewController : UIViewController@property (nonatomic, copy) NSString *likeCountText;
@property (nonatomic, assign) BOOL isLiked;
@property (nonatomic, weak) id<SendViewControllerDelegate> delegate;
@property (nonatomic, strong) UIButton *like;@property (nonatomic, strong) UILabel *likecount;
@property (nonatomic, strong) UIImageView *looking;
@property (nonatomic, strong) UIImageView *sharing;
@end
self.like = [UIButton buttonWithType:UIButtonTypeCustom];[self.like setImage:[UIImage imageNamed:@"liking.png"] forState:UIControlStateNormal];[self.like addTarget:self action:@selector(toggleLike) forControlEvents:UIControlEventTouchUpInside];self.like.frame = CGRectMake(235, 75, 30, 30);[self.like setImage:[UIImage imageNamed:(self.isLiked ? @"likingred.png" : @"liking.png")] forState:UIControlStateNormal];[scrollView addSubview:self.like];self.likecount = [[UILabel alloc] init];self.likecount.frame = CGRectMake(265, 80, 40, 20);self.likecount.text = self.likeCountText;[scrollView addSubview: self.likecount];scrollView.contentSize = CGSizeMake(self.view.frame.size.width, CGRectGetMaxY(vImage.frame) + 20);
}
- (void)toggleLike {self.isLiked = !self.isLiked;NSInteger currentCount = [self.likecount.text integerValue];if (self.isLiked) {currentCount += 1;[self.like setImage:[UIImage imageNamed:@"likingred.png"] forState:UIControlStateNormal];} else {currentCount -= 1;[self.like setImage:[UIImage imageNamed:@"liking.png"] forState:UIControlStateNormal];}self.likecount.text = [NSString stringWithFormat:@"%ld", (long)currentCount];if ([self.delegate respondsToSelector: @selector(didUpdateLikeStatus:likeCount:)]) {[self.delegate didUpdateLikeStatus: self.isLiked likeCount: currentCount];}
}
搜索
這個界面的內容主要是可以點擊的一些按鈕,可以識別輸入字符跳轉的一個界面還有一個上傳界面
UITextField *searchField = [[UITextField alloc] initWithFrame:CGRectMake(16, 150, self.view.frame.size.width - 32, 36)];searchField.borderStyle = UITextBorderStyleRoundedRect;searchField.placeholder = @"搜索 用戶名 作品分類 文章";searchField.clearButtonMode = UITextFieldViewModeWhileEditing;searchField.returnKeyType = UIReturnKeySearch;searchField.delegate = self;UIImageView *leftImageView = [[UIImageView alloc] initWithImage:[UIImage imageNamed:@"搜索.png"]];leftImageView.contentMode = UIViewContentModeScaleAspectFit;leftImageView.frame = CGRectMake(0, 0, 20, 20);UIView *leftViewContainer = [[UIView alloc] initWithFrame:CGRectMake(0, 0, 30, 20)];[leftViewContainer addSubview:leftImageView];leftImageView.center = leftViewContainer.center;searchField.leftView = leftViewContainer;searchField.leftViewMode = UITextFieldViewModeAlways;searchField.backgroundColor = [UIColor colorWithWhite:0.9 alpha:1.0];
其實這個界面主要的還是上傳界面
這個上傳界面的圖片墻我使用UICollectionView設置的,若點擊一張圖片則會儲存到一個可變數組當中,再次點擊即會取消其被包含的狀態,最后會把數組中存儲的照片數量和選中的第一張圖片返回代替放在選擇圖片上面
self.view.backgroundColor = [UIColor whiteColor];self.images = @[@"頭像1.jpg", @"頭像2.jpg", @"頭像3.jpg", @"頭像4.jpg", @"頭像5.jpg", @"頭像6.jpg", @"頭像7.jpg", @"頭像8.jpg", @"頭像9.jpg"];self.selectedIndexes = [NSMutableArray array];//設置collectionview的所處的位置UICollectionViewFlowLayout *layout = [[UICollectionViewFlowLayout alloc] init];layout.itemSize = CGSizeMake(100, 100);layout.minimumLineSpacing = 20;layout.minimumInteritemSpacing = 10;layout.sectionInset = UIEdgeInsetsMake(20, 20, 20, 20);self.collectionView = [[UICollectionView alloc] initWithFrame:self.view.bounds collectionViewLayout:layout];self.collectionView.delegate = self;self.collectionView.dataSource = self;self.collectionView.backgroundColor = [UIColor whiteColor];[self.collectionView registerClass:[UICollectionViewCell class] forCellWithReuseIdentifier:@"cell"];[self.view addSubview:self.collectionView];
- (void)collectionView:(UICollectionView *)collectionView didSelectItemAtIndexPath:(NSIndexPath *)indexPath {NSNumber *indexNumber = @(indexPath.item);if ([self.selectedIndexes containsObject:indexNumber]) {[self.selectedIndexes removeObject:indexNumber];} else {[self.selectedIndexes addObject:indexNumber];}[collectionView reloadItemsAtIndexPaths:@[indexPath]];
}- (void)doneAction {UIImage *selectedImage = nil;if (self.selectedIndexes.count > 0) {NSNumber *firstIndex = self.selectedIndexes.firstObject;selectedImage = [UIImage imageNamed:self.images[firstIndex.integerValue]];}if ([self.delegate respondsToSelector:@selector(didSelectImage: andCount:)]) {[self.delegate didSelectImage:selectedImage andCount:self.selectedIndexes.count];}[self dismissViewControllerAnimated:YES completion:nil];[self.navigationController popViewControllerAnimated:YES];
}
文章
這個界面是一個分欄控件管理的三個視圖控制器,每個視圖控制器都是一個分別的自定義cell,并且在其底下有一個橫向的滾動視圖以確保其可以進行左右滑動

self.segmentedControl = [[UISegmentedControl alloc] initWithItems:@[@"精選文章", @"熱門推薦", @"全部文章"]];self.segmentedControl.frame = CGRectMake(0, 100, self.view.bounds.size.width , 40);self.segmentedControl.selectedSegmentIndex = 0;[self.segmentedControl addTarget:self action:@selector(segmentChanged:) forControlEvents:UIControlEventValueChanged];self.segmentedControl.backgroundColor = [UIColor whiteColor];UIFont *font = [UIFont systemFontOfSize:18];NSDictionary *attributes = @{NSFontAttributeName: font};[self.segmentedControl setTitleTextAttributes:attributes forState:UIControlStateNormal];[self.segmentedControl setTitleTextAttributes:attributes forState:UIControlStateSelected];[self.view addSubview:self.segmentedControl];self.firstVC = [[FirstVC alloc] init];self.secondVC = [[SecondVC alloc] init];self.thirdVC = [[ThirdVC alloc] init];CGFloat yOffset = CGRectGetMaxY(self.segmentedControl.frame);CGFloat scrollHeight = self.view.bounds.size.height - yOffset;self.scrollView = [[UIScrollView alloc] initWithFrame:CGRectMake(0, yOffset, self.view.bounds.size.width, scrollHeight)];self.scrollView.pagingEnabled = YES;self.scrollView.showsHorizontalScrollIndicator = NO;self.scrollView.delegate = self;self.scrollView.contentSize = CGSizeMake(self.view.bounds.size.width * 3, scrollHeight);[self.view addSubview:self.scrollView];
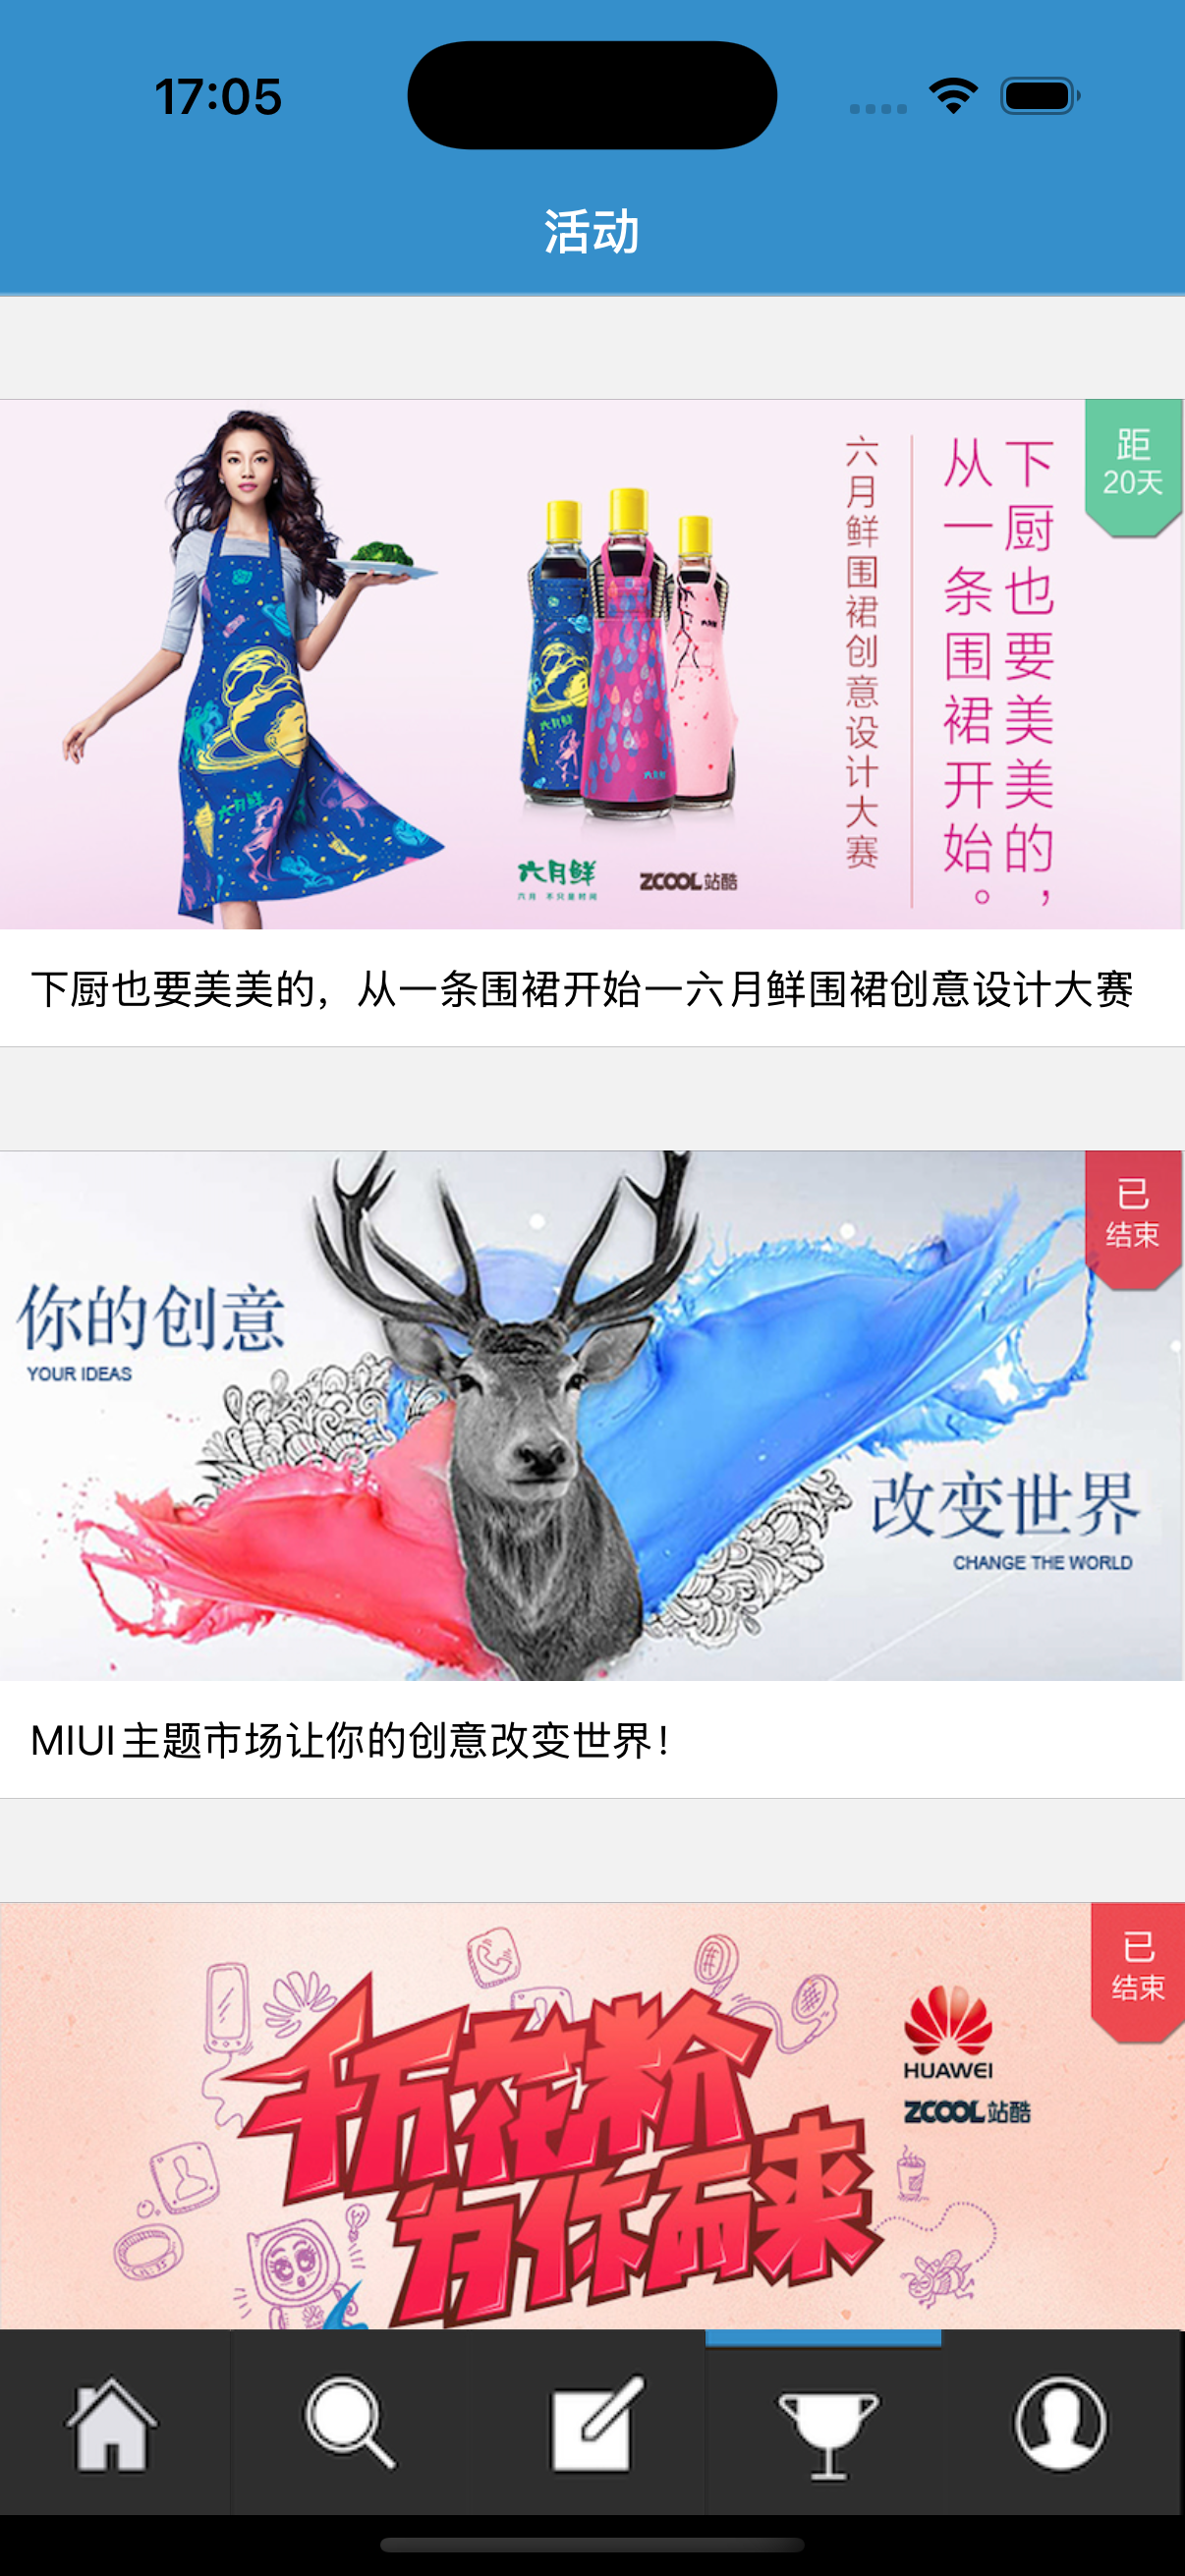
活動
這個界面非常簡單,只是一個簡單的三個自定義的單元格
我的
這個界面的東西最多也最繁瑣,但是總的看來也就這么幾個東西:
第一個就是需要跨多個界面進行傳值進行保留
這里使用的是強屬性引用來傳值的方法,即設置下一個視圖控制器為上一個的屬性,若不為空則使用上次創建的那個視圖來保存之前設置的狀態
- (void)tableView:(UITableView *)tableView didSelectRowAtIndexPath:(NSIndexPath *)indexPath {switch (indexPath.row) {case 0: {if (self.setDatavc == nil) {self.setDatavc = [[SetDataViewController alloc] init];[self.navigationController pushViewController: self.setDatavc animated: YES];break;} else {[self.navigationController pushViewController: self.setDatavc animated: YES];break;}}case 1: {ChangeWordVC *vc = [[ChangeWordVC alloc] init];[self.navigationController pushViewController:vc animated:YES];break;}case 2: {if (self.messagesetvc == nil) {self.messagesetvc = [[MessageSetVC alloc] init];[self.navigationController pushViewController: self.messagesetvc animated: YES];break;} else {[self.navigationController pushViewController: self.messagesetvc animated: YES];break;}}case 3: {UIAlertController *alert3 = [UIAlertController alertControllerWithTitle: @"這是一個古老的軟件" message: nilpreferredStyle: UIAlertControllerStyleAlert];[alert3 addAction: [UIAlertAction actionWithTitle: @"確定" style: UIAlertActionStyleDefault handler: nil]];[self presentViewController: alert3 animated: YES completion: nil];break;}case 4: {UIAlertController *alert4 = [UIAlertController alertControllerWithTitle: @"已清理緩存" message: nilpreferredStyle: UIAlertControllerStyleAlert];[alert4 addAction: [UIAlertAction actionWithTitle: @"確定" style: UIAlertActionStyleDefault handler: nil]];[self presentViewController: alert4 animated: YES completion: nil];break;}default:break;}[tableView deselectRowAtIndexPath:indexPath animated:YES];
}
第二個就是一個可以對密碼進行修改并確認兩次密碼是否一樣的,因不需要影響登陸進來的原始密碼,只是對兩次輸入的密碼進行確認就行了,所以沒啥東西掠過
第三個就是里面有關一個簡單的聊天室的內容
即每次發送消息都切換一個發送方,并根據發送方的不同分別進行相應的布局,在前面記得要設置每方氣泡的最大寬度
 if (self.inputField.text.length == 0) {return;}static int count = 0;NSString *text = self.inputField.text;NSString *avatar = (count % 2 == 0) ? @"img03.png" : @"img12.png";MessageType type = (count % 2 == 0) ? MessageTypeSent : MessageTypeReceived;NSString *time = [NSString stringWithFormat: @"10:%02d", count];Message *message = [[Message alloc] initWithText:text time:time avatar:avatar type:type];[self.messages addObject:message];[self.tableView reloadData];[self scrollToBottom];self.inputField.text = @"";count++;
}- (void)keyboardWillShow:(NSNotification *)notification {NSDictionary *userInfo = notification.userInfo;CGRect keyboardFrameInWindow = [userInfo[UIKeyboardFrameEndUserInfoKey] CGRectValue];CGRect keyboardFrame = [self.view convertRect:keyboardFrameInWindow fromView:nil];CGFloat keyboardHeight = keyboardFrame.size.height;[UIView animateWithDuration:0.25 animations:^{CGRect inputFrame = self.inputField.superview.frame;CGFloat tabBarHeight = self.tabBarController.tabBar.frame.size.height;inputFrame.origin.y = self.view.bounds.size.height - keyboardHeight - inputFrame.size.height + tabBarHeight;self.inputField.superview.frame = inputFrame;CGRect tableFrame = self.tableView.frame;tableFrame.size.height = inputFrame.origin.y;self.tableView.frame = tableFrame;[self scrollToBottom];}];
同時也要有點擊鍵盤時的上抬,這里記得要考慮減去下面導航欄的高度,否則可能會導致那個輸入框上移過多或者無法回到正常位置,關于聊天室更加具體明確的寫出參考學長的博客,「OC」實現簡單的聊天室界面
總結
這個項目算是暑假中相當繁瑣的一個,能更好的鍛煉我們的各種傳值方式和對各種控件的掌握


)


)

:設計思路與實現原理(C/C++代碼實現))
 條件指令、循環結構、定義函數)


:RecyclerView 多類型布局與數據刷新實戰)
)