九、【前后端聯調篇】Vue3 + Axios 異步通信實戰
- 前言
- 準備工作
- 第一步:安裝 Axios
- 第二步:封裝 Axios 實例
- 第三步:創建 API 服務模塊
- 第四步:在組件中調用 API
- 第五步:測試前后端聯調
- 總結
前言
在 Web 開發中,前后端分離架構已成為主流。前端負責用戶界面和交互,后端負責業務邏輯和數據處理。它們之間通過 API(通常是 RESTful API)進行通信。
- 前端需要向后端發送請求來:
- 獲取數據(GET請求),如獲取項目列表、用例詳情等。
- 創建新數據(POST請求),如新建項目、提交表單等。
- 更新數據(PUT/PATCH請求),如修改用例信息等。
- 刪除數據(DELETE請求),如刪除模塊等。
- 后端接收請求,處理后返回響應給前端:
- 響應通常是 JSON 格式的數據。
- 響應中還包含狀態碼,用于指示請求的處理結果。
為什么選擇 Axios?
Axios 是一個基于 Promise 的 HTTP 客戶端,可以用在瀏覽器和 Node.js 中。它擁有許多優秀的特性:
- API 簡潔易用: 發送各種類型的 HTTP 請求非常方便。
- 支持 Promise API: 天然支持
async/await,使得異步代碼更易讀寫。 - 請求和響應攔截器: 可以在請求發送前或響應處理前進行全局的預處理,如添加 Token、統一錯誤處理等。
- 自動轉換 JSON 數據: 默認情況下,它會自動將請求數據序列化為 JSON 字符串,并將響應數據解析為 JavaScript 對象。
- 客戶端支持防御 XSRF: 增強安全性。
- 瀏覽器兼容性好。
準備工作
-
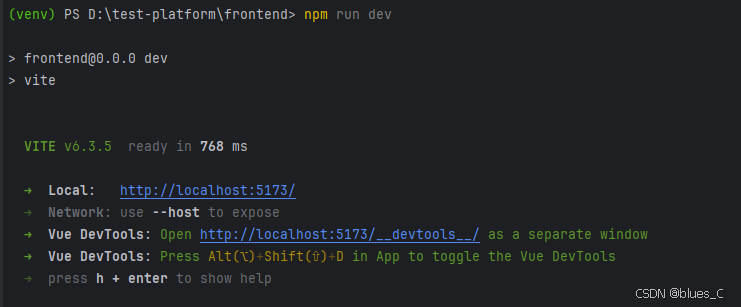
前端項目已就緒:
test-platform/frontend項目可以正常運行 (npm run dev)。
-
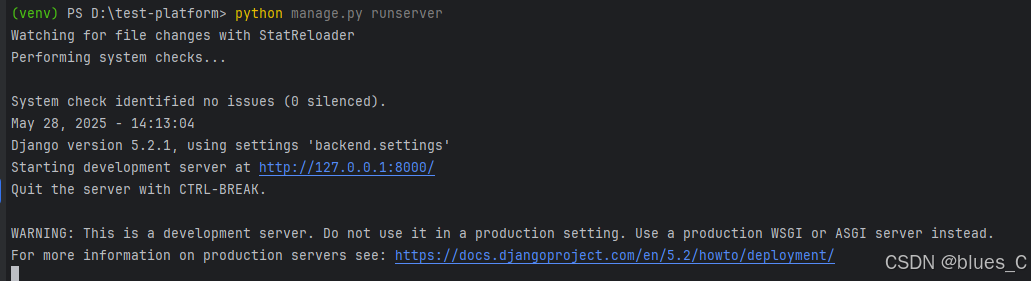
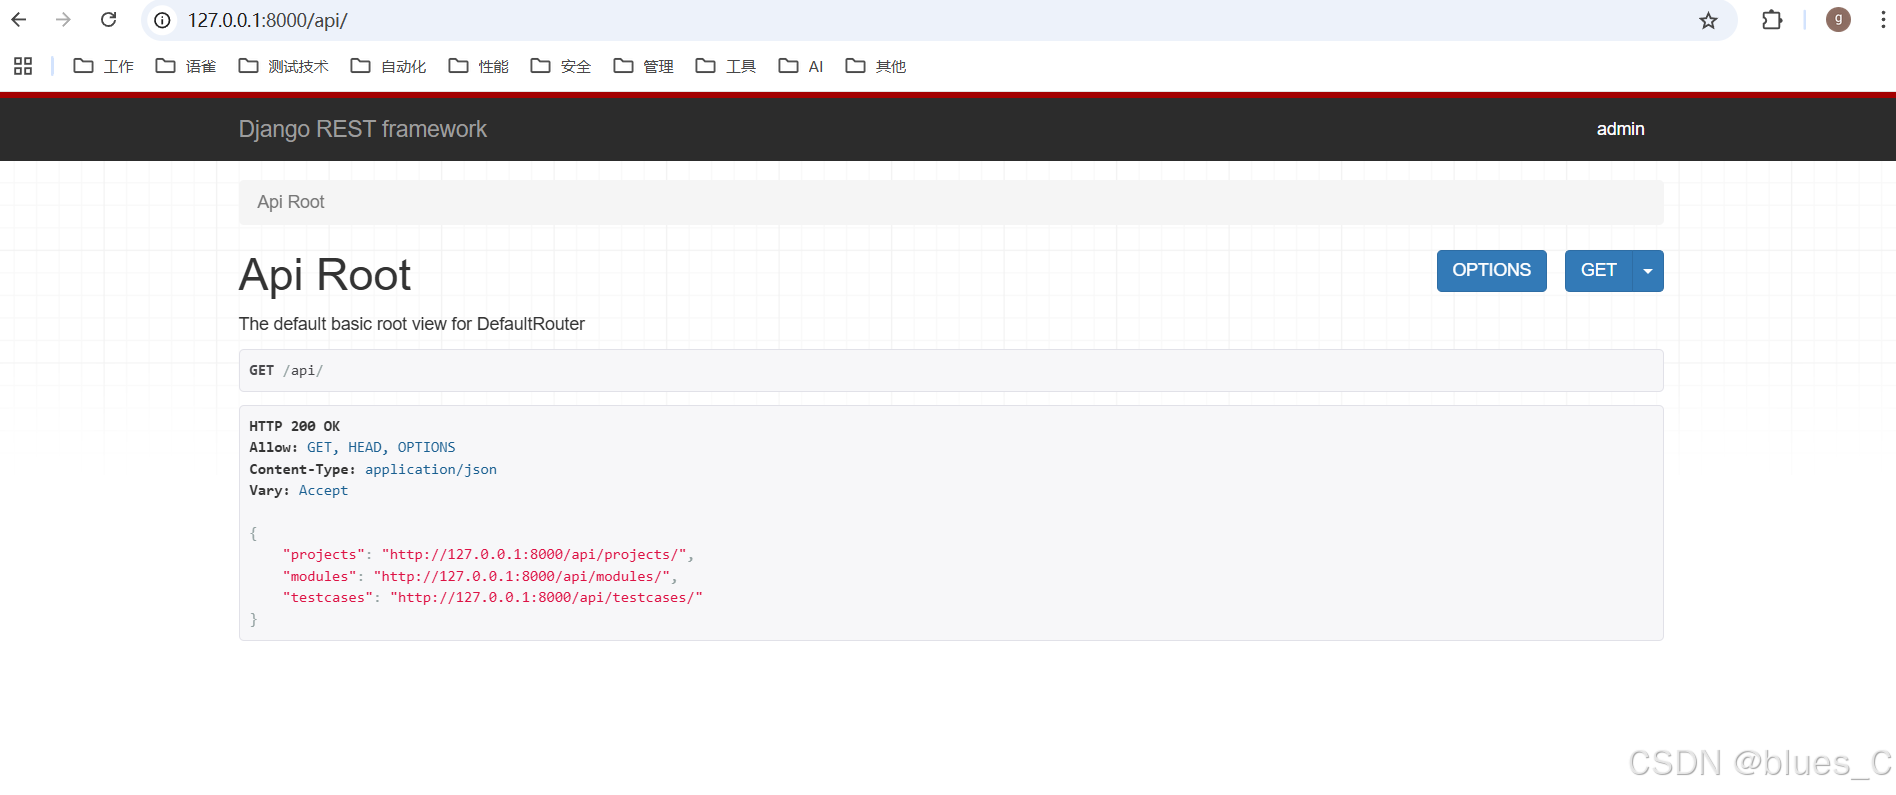
后端 API 運行: 確保你的 Django 后端開發服務器 (
python manage.py runserver) 可運行,并且 API (http://127.0.0.1:8000/api/...) 可以正常訪問。
-
Pinia 用戶狀態管理已配置: 我們將使用
userStore中的 Token 來演示如何在請求頭中添加認證信息。
第一步:安裝 Axios
如果你的項目中還沒有 Axios,首先需要安裝它。
在前端項目根目錄 (test-platform/frontend) 下打開終端,運行:
npm install axios --save
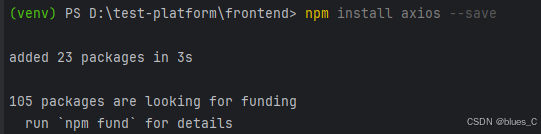
這會將 Axios 添加到你的項目依賴中。
第二步:封裝 Axios 實例
為了更好地管理 API 請求,通常我們會創建一個 Axios 實例,并對其進行一些全局配置,而不是在每個組件中都直接使用 axios.get(...)。
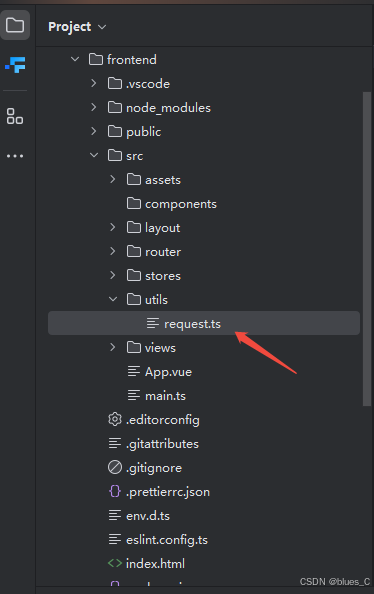
-
創建
utils/request.ts文件:
在src目錄下創建一個utils文件夾,并在其中創建一個request.ts文件。
-
編寫
request.ts:
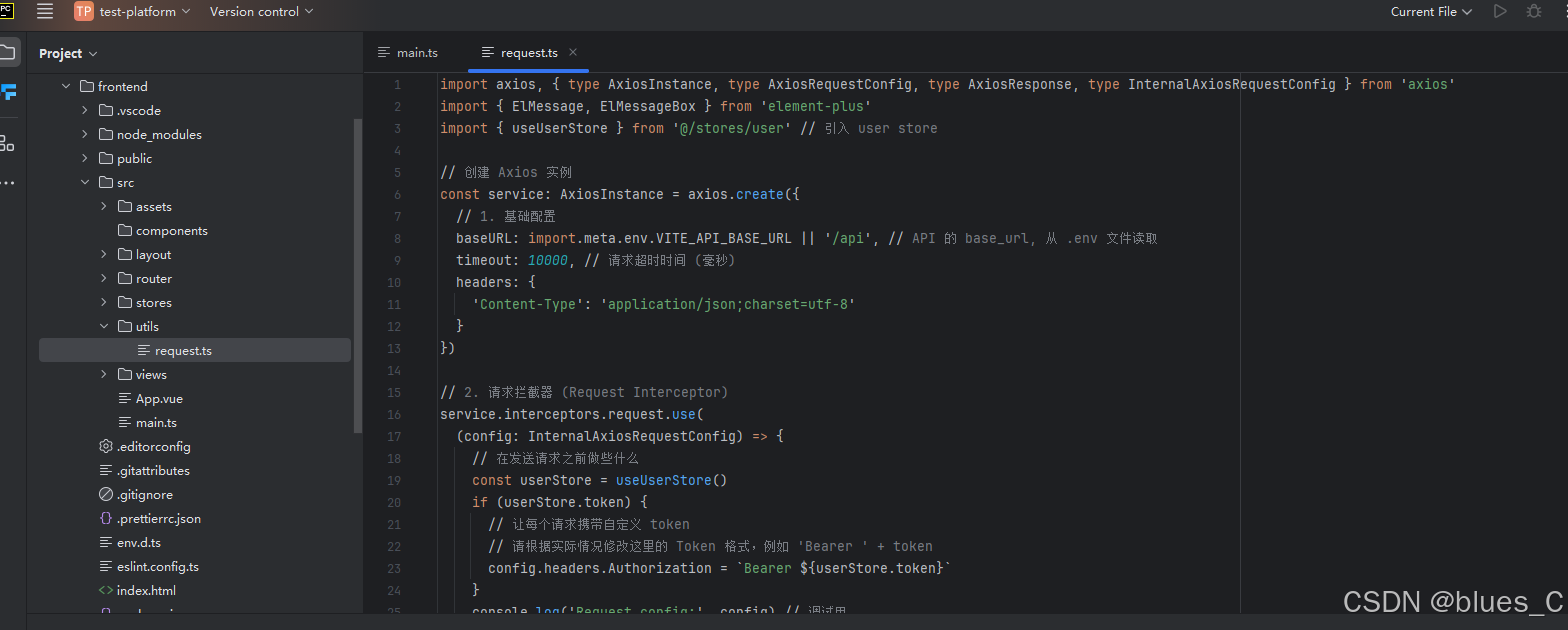
// test-platform/frontend/src/utils/request.ts
import axios, { type AxiosInstance, type AxiosRequestConfig, type AxiosResponse, type InternalAxiosRequestConfig } from 'axios'
import { ElMessage, ElMessageBox } from 'element-plus'
import { useUserStore } from '@/stores/user' // 引入 user store// 創建 Axios 實例
const service: AxiosInstance = axios.create({// 1. 基礎配置baseURL: import.meta.env.VITE_API_BASE_URL || '/api', // API 的 base_url, 從 .env 文件讀取timeout: 10000, // 請求超時時間 (毫秒)headers: {'Content-Type': 'application/json;charset=utf-8'}
})// 2. 請求攔截器 (Request Interceptor)
service.interceptors.request.use((config: InternalAxiosRequestConfig) => {// 在發送請求之前做些什么const userStore = useUserStore()if (userStore.token) {// 讓每個請求攜帶自定義 token// 請根據實際情況修改這里的 Token 格式,例如 'Bearer ' + tokenconfig.headers.Authorization = `Bearer ${userStore.token}`}console.log('Request config:', config) // 調試用return config},(error) => {// 對請求錯誤做些什么console.error('Request Error:', error) // for debugreturn Promise.reject(error)}
)// 3. 響應攔截器 (Response Interceptor)
service.interceptors.response.use((response: AxiosResponse) => {// 對響應數據做點什么// HTTP 狀態碼為 2xx 時會進入這里const res = response.dataconsole.log('Response data:', res) // 調試用// 這里可以根據后端返回的自定義 code/status 來判斷業務成功或失敗// 例如,如果后端約定 code === 0 表示成功// if (res.code !== 0) {//   ElMessage({//     message: res.message || 'Error',//     type: 'error',//     duration: 5 * 1000//   })//   // 可以根據不同的業務錯誤碼進行特定處理//   return Promise.reject(new Error(res.message || 'Error'))// } else {//   return res // 只返回 data 部分// }// 對于我們的 DRF 后端,通常 2xx 狀態碼就表示業務成功,直接返回響應數據return response // 或者 return res 如果你只想取 data},(error) => {// 超出 2xx 范圍的狀態碼都會觸發該函數。// 對響應錯誤做點什么console.error('Response Error:', error.response || error.message) // for debugconst userStore = useUserStore() // 在錯誤處理中也可能需要訪問 storeif (error.response) {const { status, data } = error.responselet message = `請求錯誤 ${status}: `if (data && typeof data === 'object' && data.detail) {message += data.detail; // DRF 認證失敗等通常在 detail 中} else if (data && typeof data === 'string') {message += data;} else if (error.message) {message = error.message;} else {message += '未知錯誤';}if (status === 401) {// 例如:Token 過期或無效ElMessageBox.confirm('登錄狀態已過期,您可以繼續留在該頁面,或者重新登錄','系統提示',{confirmButtonText: '重新登錄',cancelButtonText: '取消',type: 'warning'}).then(() => {userStore.logout() // 調用 store 的 logout action 清除 token 并跳轉登錄頁}).catch(() => {// 用戶選擇取消,可以什么都不做,或者提示用戶某些功能可能不可用});} else if (status === 403) {message = '您沒有權限執行此操作!'ElMessage({ message, type: 'error', duration: 5 * 1000 })} else if (status === 404) {message = '請求的資源未找到!'ElMessage({ message, type: 'error', duration: 5 * 1000 })} else if (status >= 500) {message = '服務器內部錯誤,請稍后再試!'ElMessage({ message, type: 'error', duration: 5 * 1000 })} else {ElMessage({ message, type: 'error', duration: 5 * 1000 })}} else if (error.message.includes('timeout')) {ElMessage({ message: '請求超時,請檢查網絡連接!', type: 'error', duration: 5 * 1000 })} else {ElMessage({ message: '請求失敗,請檢查網絡或聯系管理員!', type: 'error', duration: 5 * 1000 })}return Promise.reject(error)}
)// 4. 導出封裝好的 Axios 實例
export default service
代碼解釋:
import axios, { ... } from 'axios': 導入 Axios 及其相關的類型定義,這對于 TypeScript 項目非常重要。axios.create({ ... }): 創建一個 Axios 實例service。baseURL: 設置 API 請求的基礎 URL。-
import.meta.env.VITE_API_BASE_URL: 我們嘗試從 Vite 的環境變量中讀取VITE_API_BASE_URL。 -
|| '/api': 如果環境變量未設置,則默認為/api。 -
配置
VITE_API_BASE_URL:
在前端項目根目錄 (test-platform/frontend) 下創建.env.development文件 (用于開發環境) 和.env.production文件 (用于生產環境)。
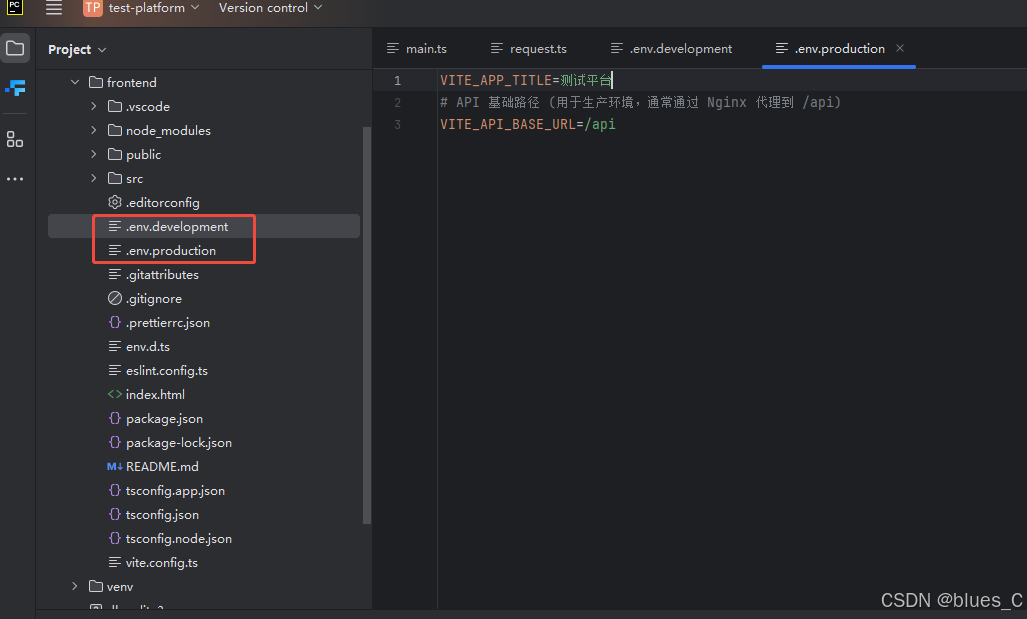
# .env.development
VITE_APP_TITLE=測試平臺 (開發環境)
# API 基礎路徑 (用于開發時直接請求后端服務)
VITE_API_BASE_URL=http://127.0.0.1:8000/api
# .env.production VITE_APP_TITLE=測試平臺 # API 基礎路徑 (用于生產環境,通常通過 Nginx 代理到 /api) VITE_API_BASE_URL=/api這樣,在開發時,
baseURL會是http://127.0.0.1:8000/api,可以直接跨域請求本地 Django 服務。在生產打包時,baseURL會是/api,通常會配置 Nginx 將/api路徑代理到后端服務。
-
timeout: 設置請求超時時間。headers: 設置默認的請求頭。
- 請求攔截器 (
service.interceptors.request.use):- 在每個請求被發送之前執行。
const userStore = useUserStore(): 獲取 Pinia Store 實例。if (userStore.token): 如果用戶已登錄 (Store 中有 Token),則在請求頭中添加Authorization字段。config.headers.Authorization = \Bearer ${userStore.token}`: **重要!** 這里的 Token 格式 (Bearer前綴) 需要與你后端 Django REST Framework 配置的認證方式一致。如果你的 DRF 使用的是rest_framework_simplejwt,那么默認的JWTAuthentication就期望Bearer格式。如果你的后端需要不同的格式 (例如直接是 Token 值,或者Token `),請相應修改。
return config: 必須返回修改后的config對象,否則請求不會被發送。
- 響應攔截器 (
service.interceptors.response.use):- 第一個函數處理 HTTP 狀態碼為 2xx 的成功響應。
- 我們暫時直接
return response。在實際項目中,你可能需要根據后端返回的特定業務狀態碼 (如res.code或res.status) 來進一步判斷成功或失敗,并可能只返回response.data。
- 我們暫時直接
- 第二個函數處理 HTTP 狀態碼超出 2xx 范圍的錯誤響應。
console.error(...): 打印錯誤信息到控制臺,方便調試。if (error.response): 判斷是 HTTP 錯誤 (有響應對象但狀態碼非 2xx)。const { status, data } = error.response: 獲取錯誤狀態碼和響應數據。- 根據不同的
status(如 401, 403, 404, 500) 給出不同的用戶提示 (使用ElMessage或ElMessageBox)。 - 特別地,對于
status === 401(未授權),我們彈出一個確認框,如果用戶選擇“重新登錄”,則調用userStore.logout()來清除本地狀態并跳轉到登錄頁。
else if (error.message.includes('timeout')): 處理請求超時錯誤。else: 處理其他網絡錯誤 (如 DNS 解析失敗、網絡中斷等)。return Promise.reject(error): 必須返回一個 rejected Promise,這樣調用 API 的地方的.catch()塊才能捕獲到錯誤。
- 第一個函數處理 HTTP 狀態碼為 2xx 的成功響應。
export default service: 導出配置好的 Axios 實例,以便在其他地方使用。
關于跨域問題 (CORS) 在開發環境:
由于我們的前端開發服務器 (如http://localhost:5173) 和后端 API 服務器 (http://127.0.0.1:8000) 在不同的源 (協議、域名、端口有一個不同即為不同源),直接在前端 JS 中請求后端 API 會遇到瀏覽器的同源策略限制,導致跨域錯誤。有兩種常見的解決方法,你只需要選擇其中一種解決方法就可以了:
-
后端配置 CORS (Cross-Origin Resource Sharing): 在 Django 后端安裝并配置
django-cors-headers庫,允許來自前端開發服務器源的請求。這是更規范的做法。-
pip install django-cors-headers -i https://pypi.tuna.tsinghua.edu.cn/simple

-
在
settings.py中,拷貝以下內容進行替換:""" Django settings for backend project.Generated by 'django-admin startproject' using Django 5.2.1.For more information on this file, see https://docs.djangoproject.com/en/5.2/topics/settings/For the full list of settings and their values, see https://docs.djangoproject.com/en/5.2/ref/settings/ """from pathlib import Path# Build paths inside the project like this: BASE_DIR / 'subdir'. BASE_DIR = Path(__file__).resolve().parent.parent# See https://docs.djangoproject.com/en/5.2/howto/deployment/checklist/# SECURITY WARNING: keep the secret key used in production secret! SECRET_KEY = "django-insecure-n797j*a(g^*i_u^ibiwu+ia)oj7bd&t=$es(j1!h1hg71s&_q)"# SECURITY WARNING: don't run with debug turned on in production! DEBUG = TrueALLOWED_HOSTS = ['*'] # 允許所有主機# Application definitionINSTALLED_APPS = ["corsheaders","django.contrib.admin","django.contrib.auth","django.contrib.contenttypes","django.contrib.sessions","django.contrib.messages","django.contrib.staticfiles",'rest_framework', # 我們之前安裝了DRF,在這里也注冊上'api', # 添加我們新建的 app ]MIDDLEWARE = ["backend.cors_middleware.CustomCorsMiddleware", # 添加自定義中間件在最前面"corsheaders.middleware.CorsMiddleware", # django-cors-headers中間件"django.middleware.security.SecurityMiddleware","django.contrib.sessions.middleware.SessionMiddleware","django.middleware.common.CommonMiddleware","django.middleware.csrf.CsrfViewMiddleware","django.contrib.auth.middleware.AuthenticationMiddleware","django.contrib.messages.middleware.MessageMiddleware","django.middleware.clickjacking.XFrameOptionsMiddleware", ]# CORS 配置 - 完全放開 CORS_ORIGIN_ALLOW_ALL = True # 允許所有源 CORS_ALLOW_CREDENTIALS = True # 允許攜帶Cookie CORS_ALLOW_ALL_HEADERS = True # 允許所有頭 CORS_ALLOW_METHODS = ["DELETE","GET","OPTIONS","PATCH","POST","PUT", ]ROOT_URLCONF = "backend.urls"TEMPLATES = [{"BACKEND": "django.template.backends.django.DjangoTemplates","DIRS": [],"APP_DIRS": True,"OPTIONS": {"context_processors": ["django.template.context_processors.request","django.contrib.auth.context_processors.auth","django.contrib.messages.context_processors.messages",],},}, ]WSGI_APPLICATION = "backend.wsgi.application"# https://docs.djangoproject.com/en/5.2/ref/settings/#databasesDATABASES = {"default": {"ENGINE": "django.db.backends.sqlite3","NAME": BASE_DIR / "db.sqlite3",} }# https://docs.djangoproject.com/en/5.2/ref/settings/#auth-password-validatorsAUTH_PASSWORD_VALIDATORS = [{"NAME": "django.contrib.auth.password_validation.UserAttributeSimilarityValidator",},{"NAME": "django.contrib.auth.password_validation.MinimumLengthValidator",},{"NAME": "django.contrib.auth.password_validation.CommonPasswordValidator",},{"NAME": "django.contrib.auth.password_validation.NumericPasswordValidator",}, ]# Internationalization # https://docs.djangoproject.com/en/5.2/topics/i18n/LANGUAGE_CODE = "en-us"TIME_ZONE = "UTC"USE_I18N = TrueUSE_TZ = True# Static files (CSS, JavaScript, Images) # https://docs.djangoproject.com/en/5.2/howto/static-files/STATIC_URL = "static/"# Default primary key field type # https://docs.djangoproject.com/en/5.2/ref/settings/#default-auto-fieldDEFAULT_AUTO_FIELD = "django.db.models.BigAutoField" -
新增
cors_middleware.py文件,拷貝以下內容:class CustomCorsMiddleware:def __init__(self, get_response):self.get_response = get_responsedef __call__(self, request):response = self.get_response(request)response["Access-Control-Allow-Origin"] = "http://127.0.0.1:5173"response["Access-Control-Allow-Headers"] = "*"response["Access-Control-Allow-Methods"] = "*"response["Access-Control-Allow-Credentials"] = "true"# 處理預檢請求if request.method == "OPTIONS":response["Access-Control-Max-Age"] = "1000"response.status_code = 200return response
-
-
前端配置代理 (Vite Proxy): 在 Vite 的配置文件 (
vite.config.ts) 中設置一個代理,將前端特定路徑的 API 請求轉發到后端服務器。這樣瀏覽器看到的請求是發往同源的 (前端服務器),然后由前端服務器代為請求后端。// test-platform/frontend/vite.config.ts import { fileURLToPath, URL } from 'node:url' import { defineConfig, loadEnv } from 'vite' import vue from '@vitejs/plugin-vue'export default defineConfig(({ mode }) => {// 根據當前工作目錄中的 `mode` 加載 .env 文件// 設置第三個參數為 '' 來加載所有環境變量,而不管是否有 `VITE_` 前綴。const env = loadEnv(mode, process.cwd(), '')return {plugins: [vue()],resolve: {alias: {'@': fileURLToPath(new URL('./src', import.meta.url))}},server: {host: '0.0.0.0', // 允許通過 IP 訪問port: parseInt(env.VITE_PORT) || 5173, // 從 .env 讀取端口號proxy: {// 字符串簡寫寫法// '/foo': 'http://localhost:4567',// 帶選項寫法'/api': { // 當請求路徑以 /api 開頭時,會走這個代理target: 'http://127.0.0.1:8000', // 后端 API 服務器地址changeOrigin: true, // 需要虛擬主機站點rewrite: (path) => path.replace(/^\/api/, '/api') // 如果后端 API 本身就帶 /api 前綴,這里可以不重寫或重寫為空 ''// 如果 VITE_API_BASE_URL 設置為 /api, 后端接口如 /api/projects// 我們的 baseURL 已設置為 'http://127.0.0.1:8000/api' (開發時) 或 '/api' (生產時)// 所以如果 baseURL 是 /api, 實際請求會是 /api/projects,// 而如果 target 是 http://127.0.0.1:8000, 那么我們可能需要將 /api/projects 重寫為 /api/projects (如果后端本身路徑是 /api/projects)// 或者如果后端本身路徑是 /projects (不帶 /api),則 rewrite: (path) => path.replace(/^\/api/, '')}}}} })如果你的
VITE_API_BASE_URL在開發時已經設置為了http://127.0.0.1:8000/api,那么請求會直接發往后端,此時你必須在后端配置 CORS。
如果你的VITE_API_BASE_URL在開發時設置為了/api(與生產環境一致),那么你就需要在 Vite 中配置代理,將/api的請求代理到http://127.0.0.1:8000,并且rewrite規則可能需要調整,確保最終到達后端的路徑是正確的。推薦方案:開發時
VITE_API_BASE_URL指向完整后端地址,并在后端配置 CORS。這樣更接近真實部署情況。
第三步:創建 API 服務模塊
為了讓 API 調用更有組織性,我們可以為每個后端資源 (如項目、模塊、用例) 創建一個對應的 API 服務文件。
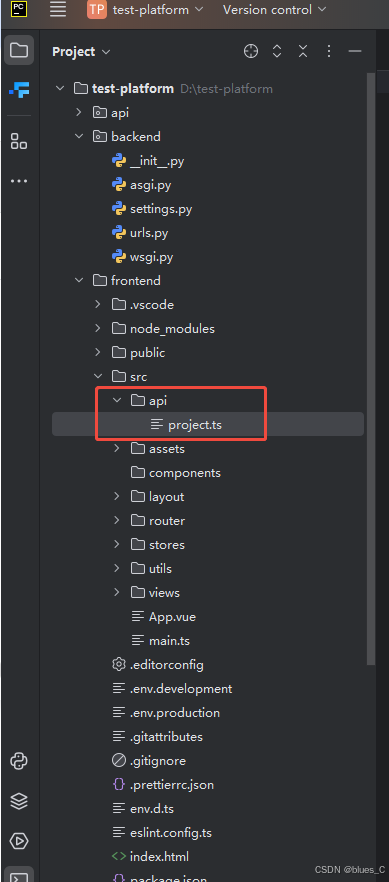
-
創建
api目錄和文件:
在src目錄下創建一個api文件夾,并在其中為project創建一個project.ts文件。
-
編寫
project.tsAPI 服務:
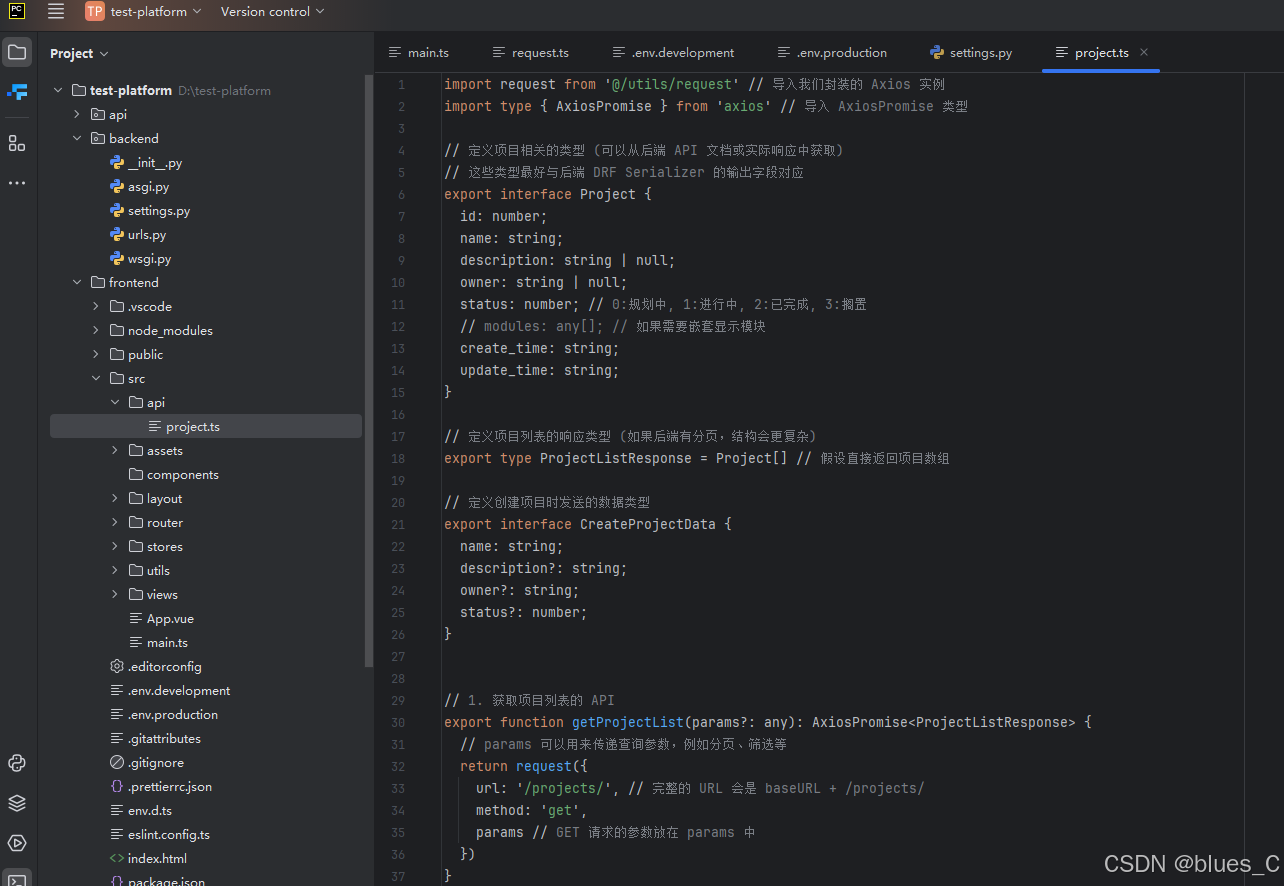
// test-platform/frontend/src/api/project.ts
import request from '@/utils/request' // 導入我們封裝的 Axios 實例
import type { AxiosPromise } from 'axios' // 導入 AxiosPromise 類型// 定義項目相關的類型 (可以從后端 API 文檔或實際響應中獲取)
// 這些類型最好與后端 DRF Serializer 的輸出字段對應
export interface Project {id: number;name: string;description: string | null;owner: string | null;status: number; // 0:規劃中, 1:進行中, 2:已完成, 3:擱置// modules: any[]; // 如果需要嵌套顯示模塊create_time: string;update_time: string;
}// 定義項目列表的響應類型 (如果后端有分頁,結構會更復雜)
export type ProjectListResponse = Project[] // 假設直接返回項目數組// 定義創建項目時發送的數據類型
export interface CreateProjectData {name: string;description?: string;owner?: string;status?: number;
}// 1. 獲取項目列表的 API
export function getProjectList(params?: any): AxiosPromise<ProjectListResponse> {// params 可以用來傳遞查詢參數,例如分頁、篩選等return request({url: '/projects/', // 完整的 URL 會是 baseURL + /projects/method: 'get',params // GET 請求的參數放在 params 中})
}// 2. 創建項目的 API
export function createProject(data: CreateProjectData): AxiosPromise<Project> {return request({url: '/projects/',method: 'post',data // POST/PUT/PATCH 請求的數據放在 data 中})
}// 3. 獲取單個項目詳情的 API
export function getProjectDetail(projectId: number): AxiosPromise<Project> {return request({url: `/projects/${projectId}/`,method: 'get'})
}// 4. 更新項目的 API
export function updateProject(projectId: number, data: Partial<CreateProjectData>): AxiosPromise<Project> {// Partial<CreateProjectData> 表示 data 對象中的屬性都是可選的 (用于 PATCH)// 如果是 PUT (全量更新),類型可以是 CreateProjectDatareturn request({url: `/projects/${projectId}/`,method: 'put', // 或者 'patch'data})
}// 5. 刪除項目的 API
export function deleteProject(projectId: number): AxiosPromise<void> { // 刪除通常沒有響應體內容,所以 Promise<void>return request({url: `/projects/${projectId}/`,method: 'delete'})
}
代碼解釋:
import request from '@/utils/request': 導入我們之前封裝的 Axios 實例。export interface Project { ... }: 定義了Project對象的 TypeScript 接口,這有助于類型檢查和代碼提示。這些字段應該與你后端 DRFProjectSerializer輸出的字段一致。export function getProjectList(...) { ... }: 每個函數對應一個 API 端點。url: API 的相對路徑 (相對于baseURL)。method: HTTP 請求方法。params: 用于 GET 請求的 URL 查詢參數。data: 用于 POST, PUT, PATCH 請求的請求體數據。AxiosPromise<ProjectListResponse>: 指定了函數返回的是一個 AxiosPromise,并且其data部分的類型是ProjectListResponse。
第四步:在組件中調用 API
現在我們可以在組件中使用這些封裝好的 API 函數了。以 ProjectListView.vue 為例,獲取并顯示項目列表。
<!-- test-platform/frontend/src/views/project/ProjectListView.vue -->
<template><div class="project-list-view"><div class="page-header"><h2>項目列表</h2><el-button type="primary" @click="handleCreateProject"><el-icon><Plus /></el-icon> 新建項目</el-button></div><el-table :data="projects" v-loading="loading" style="width: 100%" empty-text="暫無項目數據"><el-table-column prop="id" label="ID" width="80" /><el-table-column prop="name" label="項目名稱" min-width="180" /><el-table-column prop="description" label="描述" min-width="250" show-overflow-tooltip /><el-table-column prop="owner" label="負責人" width="120" /><el-table-column prop="status" label="狀態" width="120"><template #default="scope"><el-tag :type="getStatusTagType(scope.row.status)">{{ getStatusText(scope.row.status) }}</el-tag></template></el-table-column><el-table-column prop="create_time" label="創建時間" width="180"><template #default="scope">{{ formatDateTime(scope.row.create_time) }}</template></el-table-column><el-table-column label="操作" width="200" fixed="right"><template #default="scope"><el-button size="small" type="primary" @click="handleViewDetail(scope.row.id)">查看</el-button><el-button size="small" type="warning" @click="handleEditProject(scope.row)">編輯</el-button><el-popconfirmtitle="確定要刪除這個項目嗎?"confirm-button-text="確定"cancel-button-text="取消"@confirm="handleDeleteProject(scope.row.id)"><template #reference><el-button size="small" type="danger">刪除</el-button></template></el-popconfirm></template></el-table-column></el-table><!-- 新建/編輯項目對話框 (后續添加) --><!-- <project-form-dialog v-model="dialogVisible" :project-id="editingProjectId" @success="fetchProjectList" /> --></div>
</template><script setup lang="ts">
import { ref, onMounted } from 'vue'
import { useRouter } from 'vue-router'
import { ElMessage } from 'element-plus'
import { Plus } from '@element-plus/icons-vue' // 導入圖標
import { getProjectList, deleteProject, type Project } from '@/api/project' // 1. 導入 API 函數和類型// import ProjectFormDialog from './components/ProjectFormDialog.vue'; // 假設有表單對話框組件const router = useRouter()
const projects = ref<Project[]>([]) // 2. 定義響應式數據來存儲項目列表
const loading = ref(false)
// const dialogVisible = ref(false)
// const editingProjectId = ref<number | null>(null)// 3. 獲取項目列表的函數
const fetchProjectList = async () => {loading.value = truetry {const response = await getProjectList() // 調用 API// 注意:如果你的 request.ts 中的響應攔截器直接返回 response.data (例如 return res)// 那么這里直接用 response (例如 projects.value = response)// 如果響應攔截器返回的是整個 AxiosResponse (例如 return response),那么需要取 response.dataprojects.value = response.data // 假設 getProjectList 返回 { data: Project[] } 結構console.log('Fetched projects:', projects.value)} catch (error) {console.error('獲取項目列表失敗:', error)// ElMessage.error('獲取項目列表失敗,請稍后再試') // 錯誤提示已在 request.ts 中統一處理} finally {loading.value = false}
}// 4. 在組件掛載時調用獲取列表函數
onMounted(() => {fetchProjectList()
})// 輔助函數:格式化日期時間
const formatDateTime = (dateTimeStr: string) => {if (!dateTimeStr) return ''const date = new Date(dateTimeStr)return date.toLocaleString() // 或者使用更專業的日期格式化庫如 dayjs
}// 輔助函數:獲取狀態文本
const getStatusText = (status: number) => {const statusMap: { [key: number]: string } = {0: '規劃中',1: '進行中',2: '已完成',3: '擱置',}return statusMap[status] || '未知狀態'
}// 輔助函數:獲取狀態標簽類型
const getStatusTagType = (status: number) => {const typeMap: { [key: number]: '' | 'success' | 'warning' | 'info' | 'danger' } = {0: 'info',1: '', // 默認 (primary)2: 'success',3: 'warning',}return typeMap[status] || 'info'
}const handleCreateProject = () => {// editingProjectId.value = null;// dialogVisible.value = true;router.push('/project/create') // 跳轉到創建頁面ElMessage.info('跳轉到新建項目頁面 (功能待實現)')
}const handleViewDetail = (projectId: number) => {router.push(`/project/detail/${projectId}`)
}const handleEditProject = (project: Project) => {// editingProjectId.value = project.id;// dialogVisible.value = true;ElMessage.info(`編輯項目 ID: ${project.id} (功能待實現)`)
}const handleDeleteProject = async (projectId: number) => {loading.value = true // 可以加一個局部的 loading 狀態或使用表格的 loadingtry {await deleteProject(projectId) // 調用刪除 APIElMessage.success('項目刪除成功!')fetchProjectList() // 重新加載列表} catch (error) {console.error('刪除項目失敗:', error)// ElMessage.error('刪除項目失敗') // 錯誤提示已在 request.ts 中統一處理} finally {loading.value = false}
}
</script><style scoped lang="scss">
.project-list-view {padding: 20px;.page-header {display: flex;justify-content: space-between;align-items: center;margin-bottom: 20px;}
}
</style>
代碼解釋:
import { getProjectList, deleteProject, type Project } from '@/api/project': 導入我們定義的 API 函數和Project類型。const projects = ref<Project[]>([]): 定義一個響應式引用來存儲從后端獲取的項目列表數據。const loading = ref(false): 用于控制表格的加載狀態。fetchProjectList:- 這是一個異步函數,用于調用
getProjectList()API。 loading.value = true開始加載。const response = await getProjectList(): 使用await等待 API 請求完成。projects.value = response.data: 將 API 返回的數據 (假設在response.data中) 賦值給projects。這里需要注意,如果你的request.ts的響應攔截器修改了返回結構 (例如直接返回res.data而不是整個AxiosResponse),那么這里的賦值方式需要相應調整。 我們的request.ts示例是return response,所以這里用response.data是正確的。- 錯誤處理:
try...catch塊用于捕獲 API 請求可能發生的錯誤。我們的request.ts中的響應攔截器已經做了全局的錯誤提示,所以組件層面可以只console.error,或者根據需要做更細致的局部處理。 loading.value = false結束加載。
- 這是一個異步函數,用于調用
onMounted(() => { fetchProjectList() }): 在組件掛載后(即 DOM 渲染完成后)立即調用fetchProjectList來獲取初始數據。- 表格中使用了
#default="scope"的作用域插槽來定制單元格內容,例如狀態的顯示和操作按鈕。 handleDeleteProject: 演示了如何調用刪除 API,并在成功后重新獲取列表。
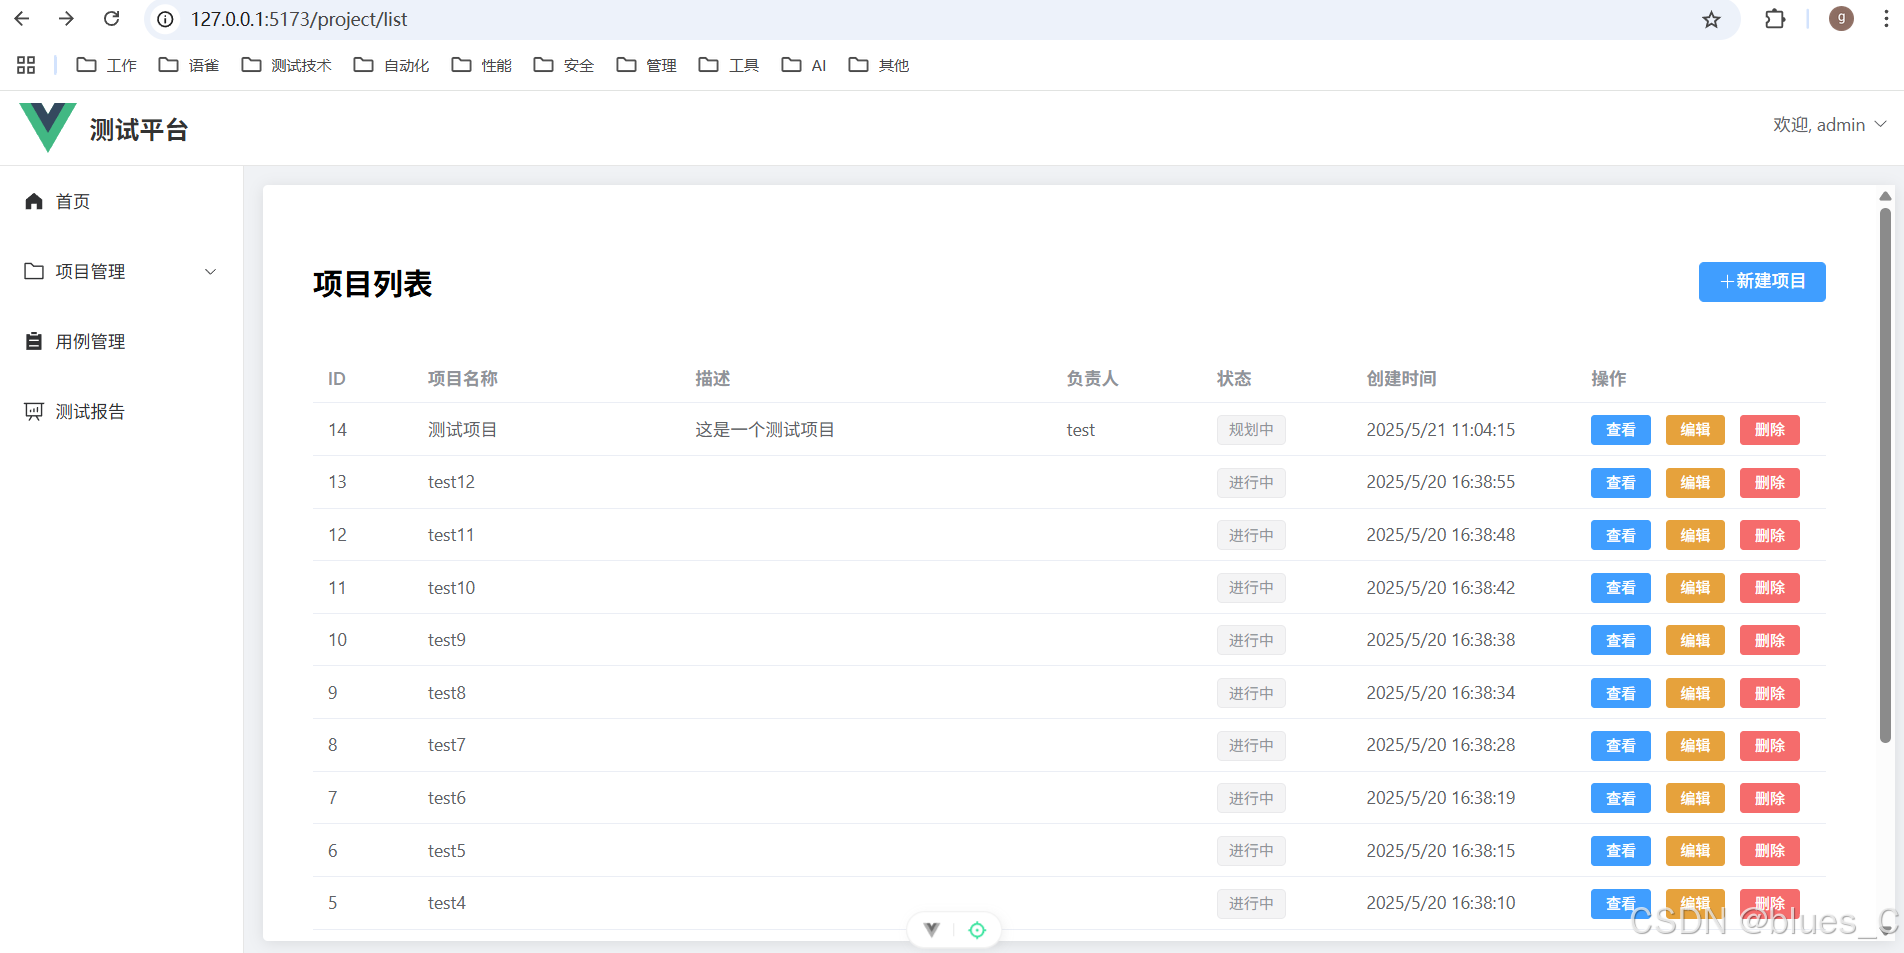
第五步:測試前后端聯調
- 確保后端 Django 服務運行在
http://127.0.0.1:8000。 - 確保后端 API
/api/projects/可以正常返回項目列表數據 (可以通過 Postman 或瀏覽器直接訪問http://127.0.0.1:8000/api/projects/來測試)。 - 確保你的前端開發環境
VITE_API_BASE_URL設置正確 (例如http://127.0.0.1:8000/api) 并且后端 CORS 配置允許來自前端源的請求 (例如http://localhost:5173)。 - 啟動前端開發服務器:
npm run dev - 登錄并訪問項目列表頁 (
http://localhost:5173/project/list):- 你應該能看到表格顯示了從后端 API 獲取到的真實項目數據。
- 表格應該有加載狀態的指示。
- 打開瀏覽器開發者工具的 “Network” (網絡) 標簽頁,你應該能看到向
/projects/端點發起的 GET 請求,以及成功的響應 (狀態碼 200)。 - 檢查請求頭,確保
Authorization頭部被正確添加(如果已登錄)。 - 嘗試刪除一個項目,觀察網絡請求和界面的變化。
常見問題與調試:
- CORS 錯誤: 如果在 Network 標簽頁看到 CORS 相關的錯誤,請檢查你的 Django 后端
django-cors-headers配置是否正確,CORS_ALLOWED_ORIGINS是否包含了你的前端開發服務器地址。 - 401 未授權錯誤:
- 確保你已登錄,并且
userStore中的token被正確設置。 - 檢查
request.ts中Authorization請求頭的格式是否與后端期望的一致 (例如Bearer <token>)。 - 如果 Token 過期,響應攔截器中的 401 處理邏輯應該會被觸發。
- 確保你已登錄,并且
- 404 Not Found 錯誤: 檢查
baseURL和 API 的url拼接后的完整路徑是否正確,與后端 API 端點是否匹配。 - 500 服務器內部錯誤: 這通常是后端代碼的問題,需要查看 Django 后端的日志來定位。
- 數據未顯示或格式不正確:
- 在
fetchProjectList中console.log(response)打印完整的響應對象,查看數據結構是否與預期一致。 - 檢查
projects.value = response.data是否正確地取到了數據數組。 - 檢查
Project類型定義是否與后端返回的字段匹配。
- 在
總結
在這篇文章中,我們成功地打通了 Vue3 前端和 Django 后端之間的數據交互通道:
- ? 安裝了 Axios HTTP 客戶端庫。
- ? 創建并封裝了一個 Axios 實例 (
utils/request.ts),配置了:- 基礎 URL (
baseURL),并利用 Vite 環境變量使其在開發和生產環境可配置。 - 請求超時時間。
- 請求攔截器: 統一為需要認證的請求添加
AuthorizationToken 頭部。 - 響應攔截器: 統一處理 HTTP 成功響應和錯誤響應,包括對常見錯誤狀態碼 (如 401, 403, 404, 500) 的全局提示和處理邏輯 (如 401 時自動登出)。
- 基礎 URL (
- ? 討論了開發環境中的跨域問題 (CORS) 及其解決方案 (后端配置 CORS 或前端配置代理),并推薦了后端 CORS 方案。
- ? 創建了模塊化的 API 服務文件 (
api/project.ts),用于集中管理與特定資源相關的 API 調用函數,并定義了相關的 TypeScript 類型。 - ? 在 Vue 組件 (
ProjectListView.vue) 中調用了封裝好的 API 函數來獲取項目列表數據,并將其展示在 Element Plus 表格中。 - ? 演示了如何在組件中處理加載狀態和調用刪除 API。
- ? 指導了如何測試前后端聯調的效果并分析常見問題。
現在,你的前端應用已經具備了與后端 API 進行真實數據交互的能力!這是構建一個功能完整的全棧測試平臺的關鍵一步。
在接下來的文章中,我們將基于這個聯調基礎,逐步實現項目中其他核心功能模塊的前端頁面和邏輯,例如創建/編輯項目表單、模塊管理、測試用例管理等,讓我們的測試平臺越來越完善。


)


)


實現騰訊云 IM 消息撤回)


)
