WordPress簡稱WP,最初是一款博客系統,后逐步演化成一款免費的CMS(內容管理系統/建站系統)。
WordPress網站的適用場景:
-
博客
-
企業官網
-
作品集網站
-
電商平臺
-
線上教育系統
-
論壇和社群網站
-
甚至會員系統、訂閱內容平臺……
1 環境說明
| 系統 | 安裝軟件 | IP | 服務角色 |
|---|---|---|---|
| centos7 | nginx+mysql數據庫 | 192.168.42.28 | 代理服務器 |
| centos7 | nginx+wordpress(加載靜態資源) | 192.168.42.29 | 靜態服務器 |
| centos7 | nginx+php+wordpress(加載動態資源) | 192.168.42.30 | 動態服務器 |
軟件安裝略
2 代理服務器配置
vim wordpress.conf
upstream static {server 192.168.42.29:8080;
}
?
upstream dynamic {server 192.168.42.30:80;
}
?
server {listen 80;server_name 192.168.42.28;
?location / {proxy_pass http://dynamic;proxy_set_header Host $http_host; ? # 保留原始請求的 Host 頭proxy_set_header X-Real-IP $remote_addr; ? # 傳遞客戶端的真實 IPproxy_set_header X-Forwarded-For $proxy_add_x_forwarded_for; ?# 添加客戶端 IP 到代理鏈proxy_set_header X-Forwarded-Proto $scheme; ? # 傳遞原始請求協議(http/https)}
?# 靜態資源:WordPress 的 uploads、themes、plugins 目錄location ~* ^.+\.(css|js|jpg|jpeg|png|gif|svg|ico|woff|woff2|ttf|eot)$ {rewrite ^/wordpress(/.*)$ $1 break; ?# 移除路徑前綴proxy_pass http://static; ?# ← WordPress根目錄expires 30d;add_header Cache-Control "public, no-transform"; # 允許所有緩存(包括 CDN),禁止代理修改內容(如壓縮圖片)proxy_set_header Host $http_host;proxy_set_header X-Real-IP $remote_addr;proxy_set_header X-Forwarded-For $proxy_add_x_forwarded_for;proxy_set_header X-Forwarded-Proto $scheme;
?# 調試日志(生產環境可移除)access_log /var/log/nginx/static-access.log;error_log /var/log/nginx/static-error.log notice;}
}
改完重啟nginx:
systemctl restart nginx此節點需要安裝mysql數據庫,安裝過程略。
數據庫需要創建一個wordpress庫,并創建一個wordpress用戶用來給其他節點連接數據庫,并賦予這個用戶這個庫的權限。
CREATE DATABASE wordpress; ?# 創建一個新的數據庫
CREATE USER 'wordpress'@'%' identified with mysql_native_password by 'Nebula@123'; # 創建一個新用戶
GRANT ALL PRIVILEGES ON wordpress.* TO 'wordpress'@'%'; ?# 賦予用戶對 “wordpress” 數據庫的全部權限。
FLUSH PRIVILEGES;
3 靜態服務器配置
vim static.conf
server {listen 8080;server_name 192.168.42.29;
?# 添加wordpress路徑層location /wordpress {alias /opt/wordpress; ?# 使用alias精確匹配路徑try_files $uri $uri/ =404; # 按順序嘗試訪問文件或目錄,如果都找不到,則返回404。}
?location ~* ^.+\.(css|js|jpg|jpeg|png|gif|svg|ico|woff|woff2|ttf|eot)$ {root /opt/wordpress;}
}
改完重啟nginx服務
systemctl restart nginx4 動態服務器配置
wordpress版本跟php版本對應關系:
| WordPress 版本 | 最低支持 PHP 版本 | 推薦 PHP 版本 |
|---|---|---|
| 4.x | PHP 5.2.4 | PHP 5.6 – 7.1 |
| 5.x | PHP 5.6 | PHP 7.0 – 7.4 |
| 6.0 – 6.2 | PHP 5.6 | PHP 7.4 – 8.2 |
| 6.3 – 6.5 | PHP 7.0 | PHP 7.4 – 8.3 |
| 6.6 – 6.8+ | PHP 7.2 | PHP 7.4 及以上 |
wordpress這里我選擇5.x的版本,centos 7 默認的 php 版本為5.4,太多老舊,因此我們需要升級php
# 執行下面的命令升級軟件倉庫
rpm -Uvh https://mirror.webtatic.com/yum/el7/epel-release.rpm
rpm -Uvh https://mirror.webtatic.com/yum/el7/webtatic-release.rpm
?
# 執行下面的命令刪除php
yum remove php-common
?
# 安裝php 5.6版本(php56w-devel這個不是必需的)
yum install -y php56w php56w-opcache php56w-xml php56w-mcrypt php56w-gd php56w-devel php56w-mysql php56w-intl php56w-mbstring
?
# 如果是nginx ,則還需要安裝 php56w-fpm
yum install php56w-fpm -y
啟動php服務
systemctl restart php-fpm下載wordpress
wget https://cn.wordpress.org/wordpress-5.6.14-zh_CN.tar.gz解壓wordpress到nginx發布目錄,并配置數據庫連接
tar -zxvf wordpress-5.6.14-zh_CN.tar.gz -C /usr/share/nginx/html/
cd /usr/share/nginx/html/wordpress
cp wp-config-sample.php wp-config.php
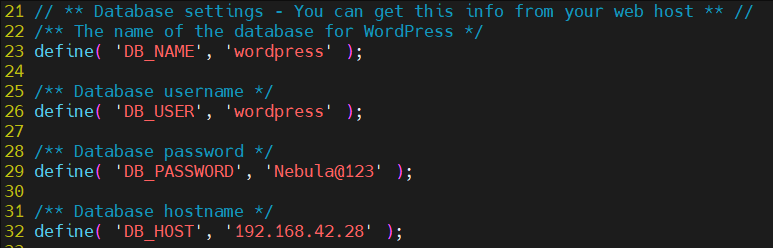
vim wp-config.php編輯wp-config.php文件23-32行關于數據庫連接的相關信息,確保配置正確。
配置nginx訪問fastcgi進行php解析
vim php.conf
server {listen 80;server_name 192.168.42.30;
?location / {root ? /usr/share/nginx/html;index ?index.html index.htm index.php;}
?location ~ \.php$ {root ? ? ? ? ? /usr/share/nginx/html;fastcgi_pass ? 127.0.0.1:9000;fastcgi_index ?index.php;fastcgi_param ?SCRIPT_FILENAME  $document_root$fastcgi_script_name;include ? ? ?  fastcgi_params;}
}
重啟nginx服務
systemctl restart nginx5 訪問測試
瀏覽器訪問“http://代理服務器IP地址/wordpress”進入安裝向導。
這里我的代理服務器為192.168.42.28,因此地址為http://192.168.42.28/wordpress
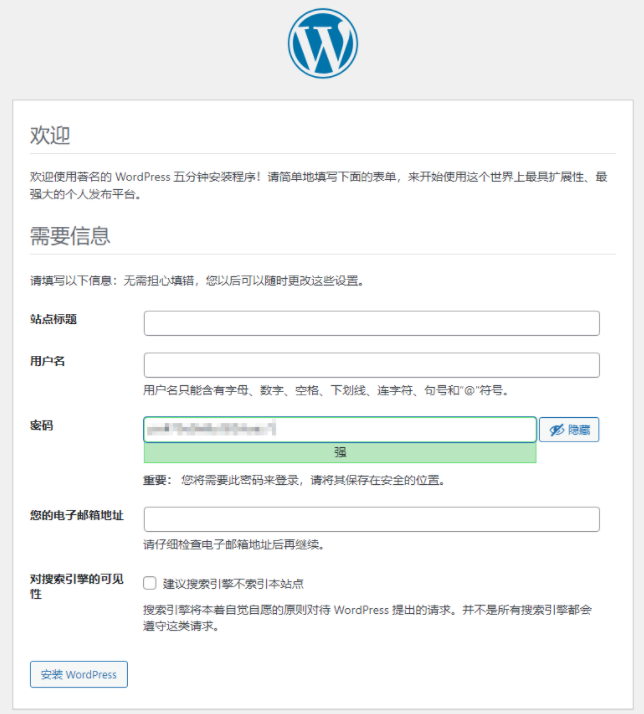
設置站點標題、管理員賬號、密碼和郵箱,并單擊“安裝 WordPress”。
| 參數 | 說明 |
|---|---|
| 站點標題 | WordPress網站名稱。 |
| 用戶名 | WordPress管理員名稱。 |
| 密碼 | 可以使用默認的密碼或者自定義密碼。請勿重復使用現有密碼,并確保將密碼保存在安全的位置。 |
| 您的電子郵箱地址 | 接收通知的電子郵件地址。 |
安裝完成后,彈出安裝成功界面。
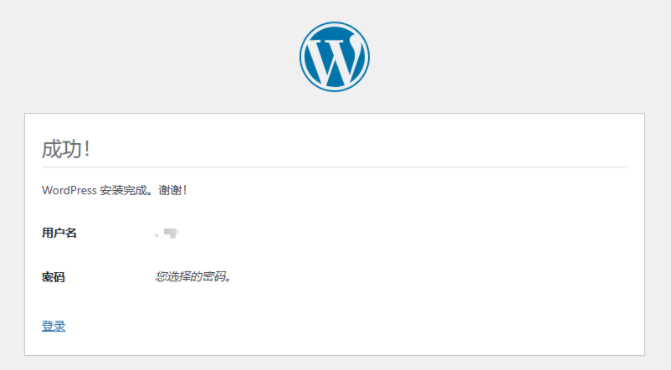
單擊“登錄”,或者瀏覽器訪問“http://服務器IP地址/wordpress/wp-login.php”,輸入用戶名/電子郵箱地址和密碼后單擊“登錄”,進入WordPress。
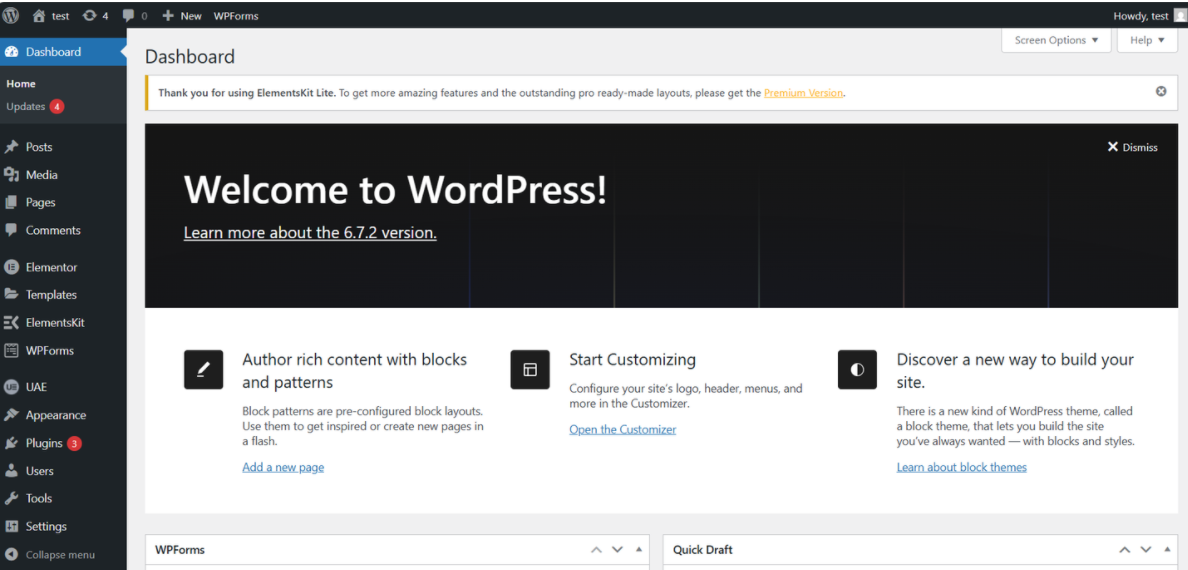
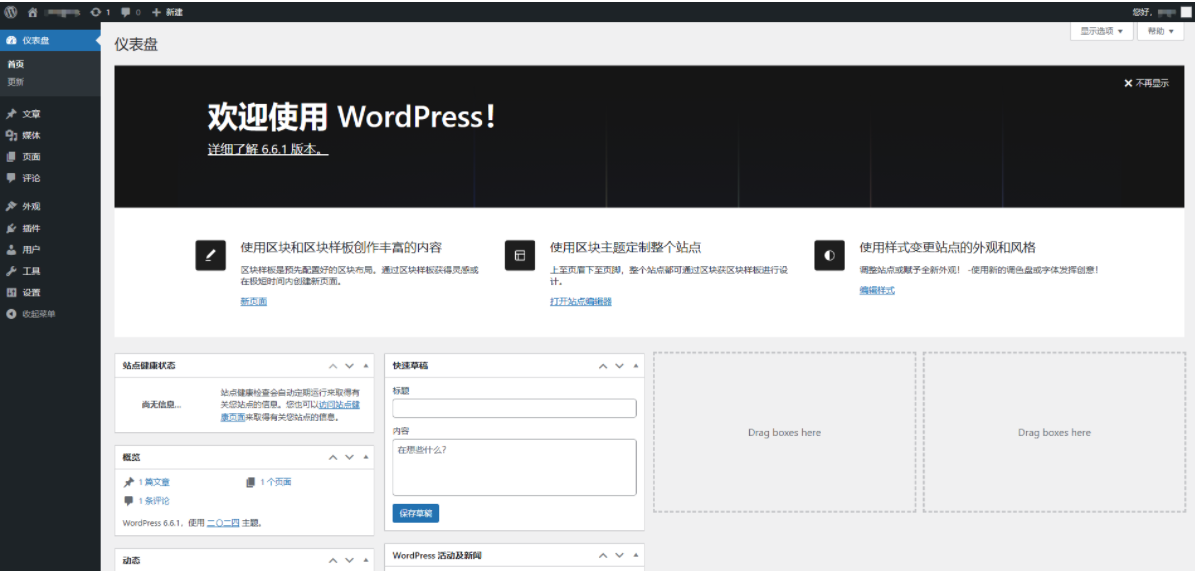
登錄成功后進入主界面,就可以愉快玩耍了。
?
6 過程中問題解決
6.1 問題現象和舊配置
原來舊的配置,在做的過程中,遇到無法加載頁面樣式,導致靜態頁面訪問都是404(瀏覽器F12打開查看有很多靜態資源404)。
# 代理服務器配置
upstream static {server 192.168.42.29:8080;
}
?
upstream dynamic {server 192.168.42.30:80;
}
?
server {listen 80;server_name 192.168.42.28;
?location / {proxy_pass http://dynamic;proxy_set_header Host $http_host;proxy_set_header X-Real-IP $remote_addr;proxy_set_header X-Forwarded-For $proxy_add_x_forwarded_for;proxy_set_header X-Forwarded-Proto $scheme;}
?# 靜態資源:WordPress 的 uploads、themes、plugins 目錄location ~* ^.+\.(css|js|jpg|jpeg|png|gif|svg|ico|woff|woff2|ttf|eot)$ {proxy_pass http://static; ?# ← WordPress根目錄expires 30d;add_header Cache-Control "public, no-transform";try_files $uri =404;proxy_set_header Host $http_host;proxy_set_header X-Real-IP $remote_addr;proxy_set_header X-Forwarded-For $proxy_add_x_forwarded_for;proxy_set_header X-Forwarded-Proto $scheme;}
}
# 靜態服務器配置為
server {listen 8080;server_name 192.168.42.29;
?location / {root /opt/wordpress;index index.php;}
?location ~* ^.+\.(css|js|jpg|jpeg|png|gif|svg|ico|woff|woff2|ttf|eot)$ {root /opt/wordpress;}
?
}
6.2 問題分析
分析可能的原因:
-
靜態資源的路徑問題:當我們訪問http://192.168.42.28/wordpress/時,頁面會加載一些靜態資源,比如CSS文件。這些靜態資源的URL路徑可能是以/wordpress/開頭的。但是我們的靜態服務器配置中,root是/opt/wordpress,那么靜態服務器期望的路徑是/opt/wordpress下的文件。然而,當我們請求一個CSS文件時,例如http://192.168.42.28/wordpress/wp-content/themes/style.css,代理服務器會將其代理到靜態服務器的/wordpress/wp-content/themes/style.css路徑,而靜態服務器會在/opt/wordpress/wordpress/wp-content/themes/style.css路徑下尋找文件,這顯然是不正確的,因為我們的wordpress文件應該直接位于/opt/wordpress下,而不是還有一級wordpress目錄。
-
另外,動態服務器上,root是/usr/share/nginx/html,那么WordPress程序應該放在該目錄下。同樣,如果我們將WordPress放在/usr/share/nginx/html/wordpress目錄下,那么訪問路徑應該是http://192.168.42.28/wordpress/,這樣動態服務器需要能夠正確解析到/usr/share/nginx/html/wordpress目錄下的文件。
-
靜態服務器的配置中,我們設置了兩個location塊,但是都沒有處理/wordpress/路徑下的靜態文件。靜態服務器的root設置為/opt/wordpress,那么當請求/css/style.css時,它會去/opt/wordpress/css/style.css找。但是我們的請求是/wordpress/wp-content/...,所以靜態服務器需要知道文件在/opt/wordpress/wordpress/wp-content/...?這顯然不對。
總結原因:
-
路徑不匹配:
-
訪問URL:
http://192.168.42.28/wordpress/ -
WordPress生成的靜態資源URL路徑為:
/wordpress/wp-content/themes/.../style.css -
靜態服務器(
192.168.42.29)的root目錄是/opt/wordpress,它期望的請求路徑是/wp-content/...(無/wordpress前綴) -
實際請求路徑包含
/wordpress前綴,導致靜態服務器在/opt/wordpress/wordpress/...路徑下查找文件(路徑錯誤)
-
-
配置缺陷:
-
代理服務器的靜態location直接轉發原始URI(含
/wordpress前綴)到靜態服務器 -
靜態服務器未處理
/wordpress路徑前綴
-
6.3 解決方案
修改靜態服務器配置
在靜態服務器的Nginx配置中添加/wordpress路徑解析:
server {listen 8080;server_name 192.168.42.29;
?# 關鍵修改:添加wordpress路徑層location /wordpress {alias /opt/wordpress; ?# 使用alias精確匹配路徑,將請求中的/wordpress映射到物理路徑/opt/wordpresstry_files $uri $uri/ =404;}
?location ~* ^.+\.(css|js|jpg|jpeg|png|gif|svg|ico|woff|woff2|ttf|eot)$ {root /opt/wordpress;}
}
修改代理服務器配置
在代理服務器的靜態location中重寫URI路徑:
location ~* ^.+\.(css|js|jpg|jpeg|png|gif|svg|ico|woff|woff2|ttf|eot)$ {# 關鍵修改:移除URI中的/wordpress前綴rewrite ^/wordpress(/.*)$ $1 break; ?# rewrite規則將/wordpress/wp-content/...重寫為/wp-content/...proxy_pass http://static;... # 其他配置保持不變
}


 BUG)

:WebAssembly 嘗鮮)
