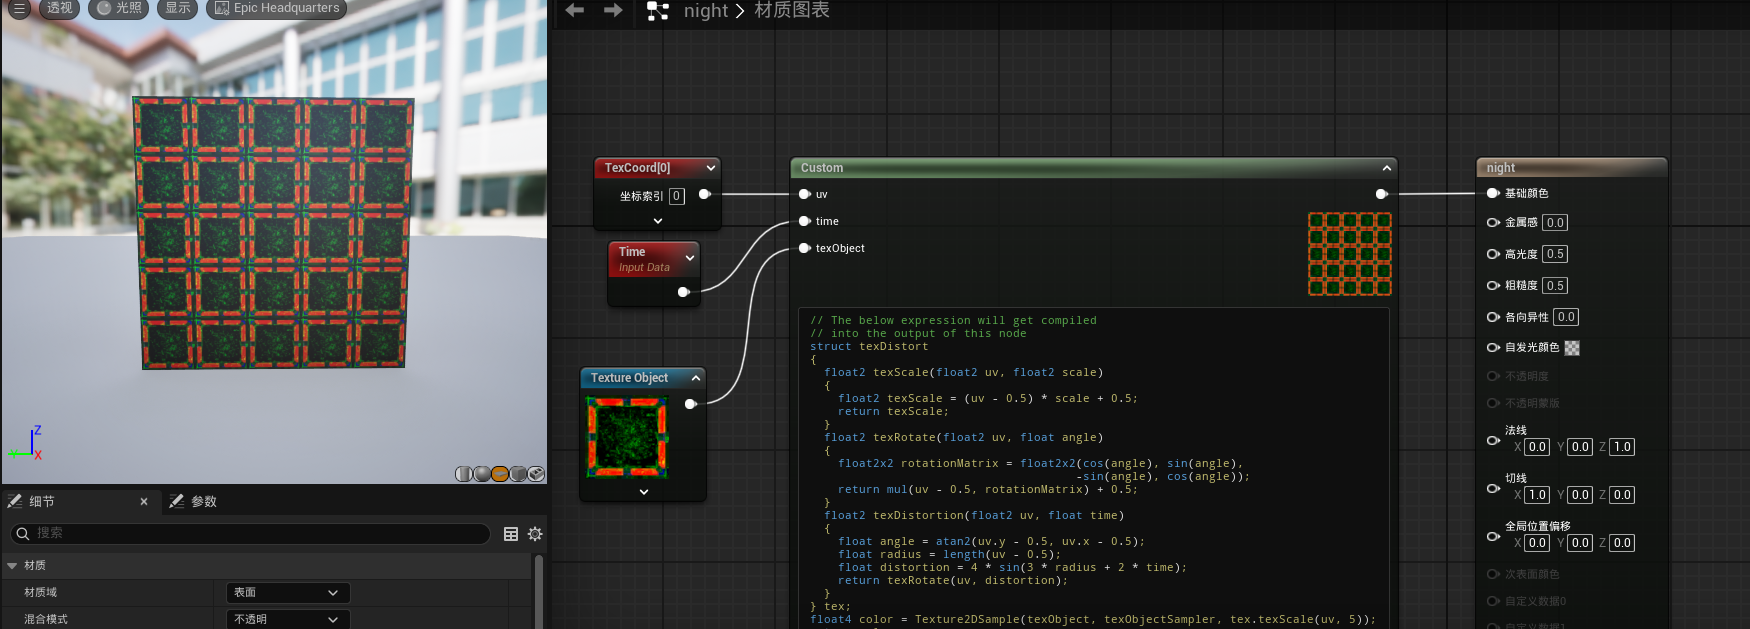
這節課的主要目的是對uv進行操作,實現一些動畫的效果,實際就是采樣的動畫
struct texDistort
{float2 texScale(float2 uv, float2 scale){float2 texScale = (uv - 0.5) * scale + 0.5;return texScale;}float2 texRotate(float2 uv, float angle){float2x2 rotationMatrix = float2x2(cos(angle), sin(angle),-sin(angle), cos(angle));return mul(uv - 0.5, rotationMatrix) + 0.5;}float2 texDistortion(float2 uv, float time){float angle = atan2(uv.y - 0.5, uv.x - 0.5);float radius = length(uv - 0.5);float distortion = 4 * sin(3 * radius + 2 * time);return texRotate(uv, distortion);}
};
主要的變化公式,這里主要注意hlsl中因為是列優先存儲所以右乘會更加的快速。這里列舉了三種變化方式
縮放
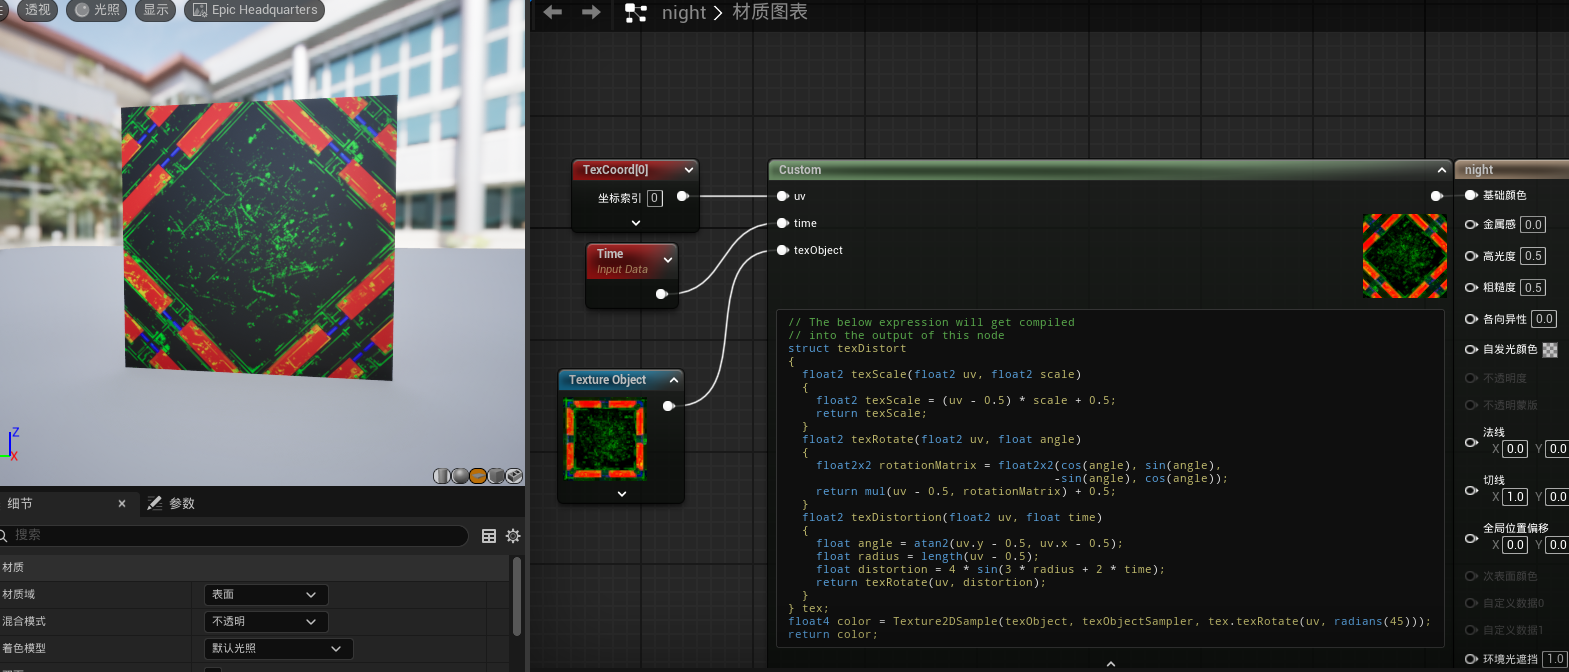
旋轉
記得轉為弧度制radians()
動態旋轉
struct texDistort
{float2 texScale(float2 uv, float2 scale){float2 texScale = (uv - 0.5) * scale + 0.5;return texScale;}float2 texRotate(float2 uv, float angle){float2x2 rotationMatrix = float2x2(cos(angle), sin(angle),-sin(angle), cos(angle));return mul(uv - 0.5, rotationMatrix) + 0.5;}float2 texDistortion(float2 uv, float time){float angle = atan2(uv.y - 0.5, uv.x - 0.5);float radius = length(uv - 0.5);float distortion = 4 * sin(3 * radius + 2 * time);return texRotate(uv, distortion);}
} tex;
float4 color = Texture2DSample(texObject, texObjectSampler, tex.texDistortion(uv, time));
return color;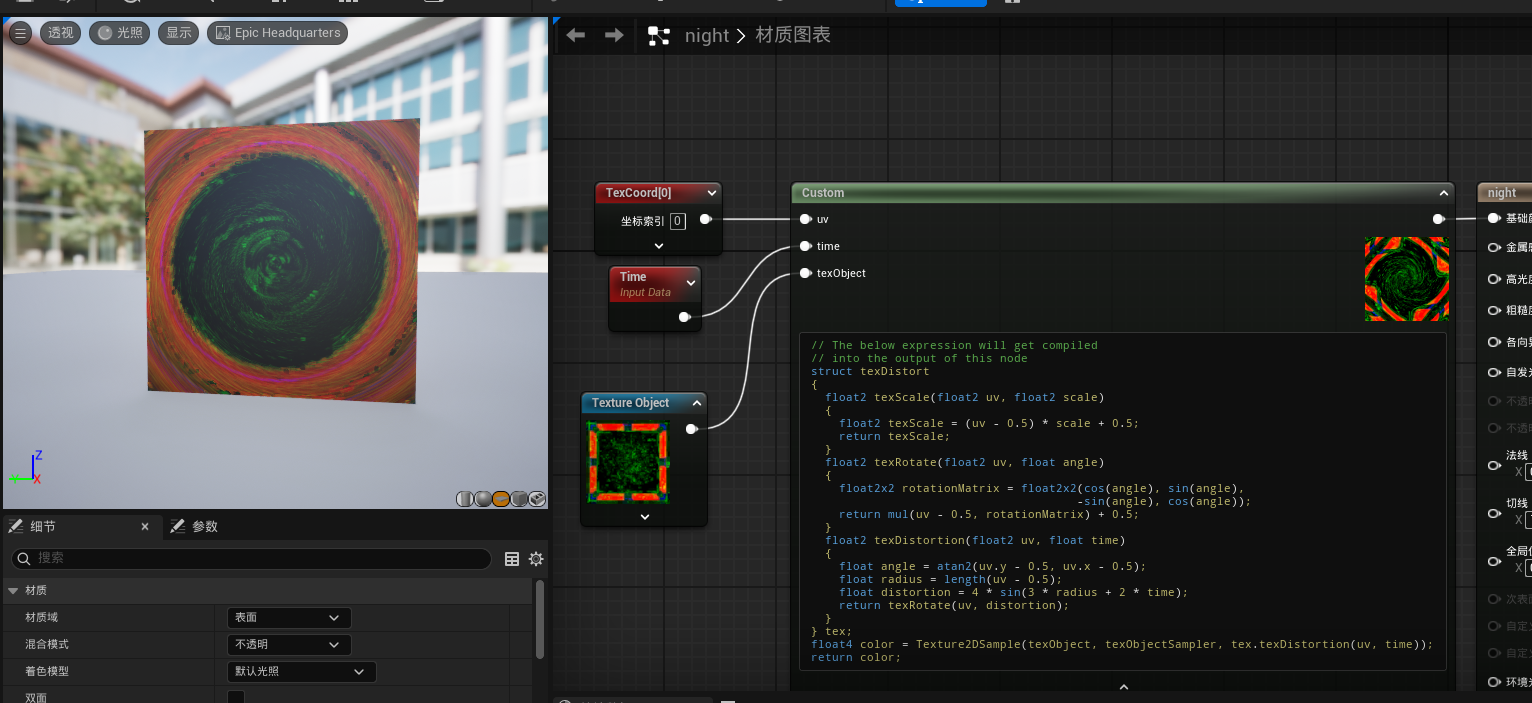
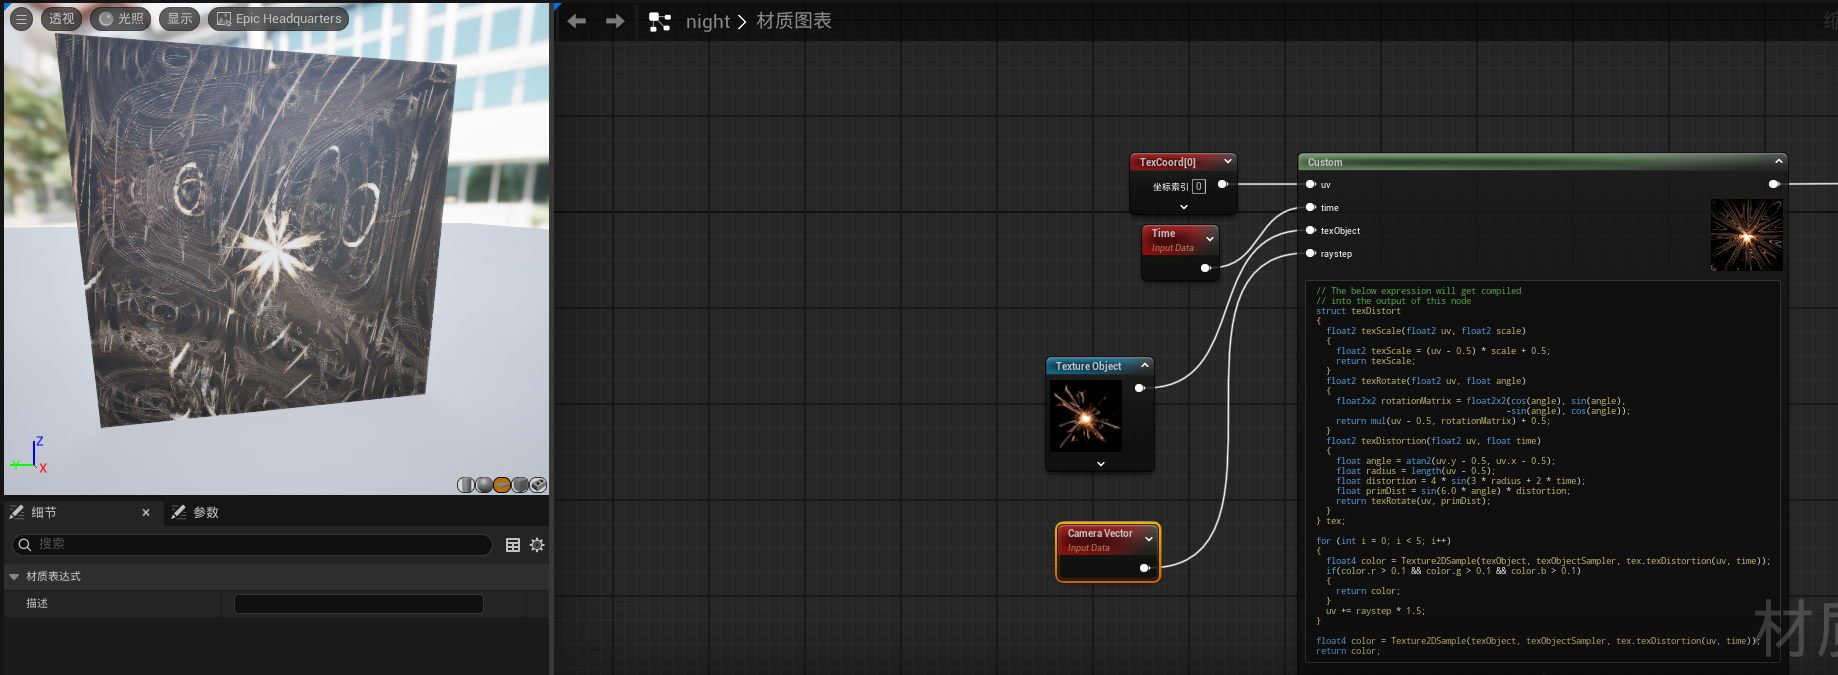
更多的變化
struct texDistort
{float2 texScale(float2 uv, float2 scale){float2 texScale = (uv - 0.5) * scale + 0.5;return texScale;}float2 texRotate(float2 uv, float angle){float2x2 rotationMatrix = float2x2(cos(angle), sin(angle),-sin(angle), cos(angle));return mul(uv - 0.5, rotationMatrix) + 0.5;}float2 texDistortion(float2 uv, float time){float angle = atan2(uv.y - 0.5, uv.x - 0.5);float radius = length(uv - 0.5);float distortion = 4 * sin(3 * radius + 2 * time);float primDist = sin(6.0 * angle) * distortion;return texRotate(uv, primDist);}
} tex;
float4 color = Texture2DSample(texObject, texObjectSampler, tex.texDistortion(uv, time));
return color;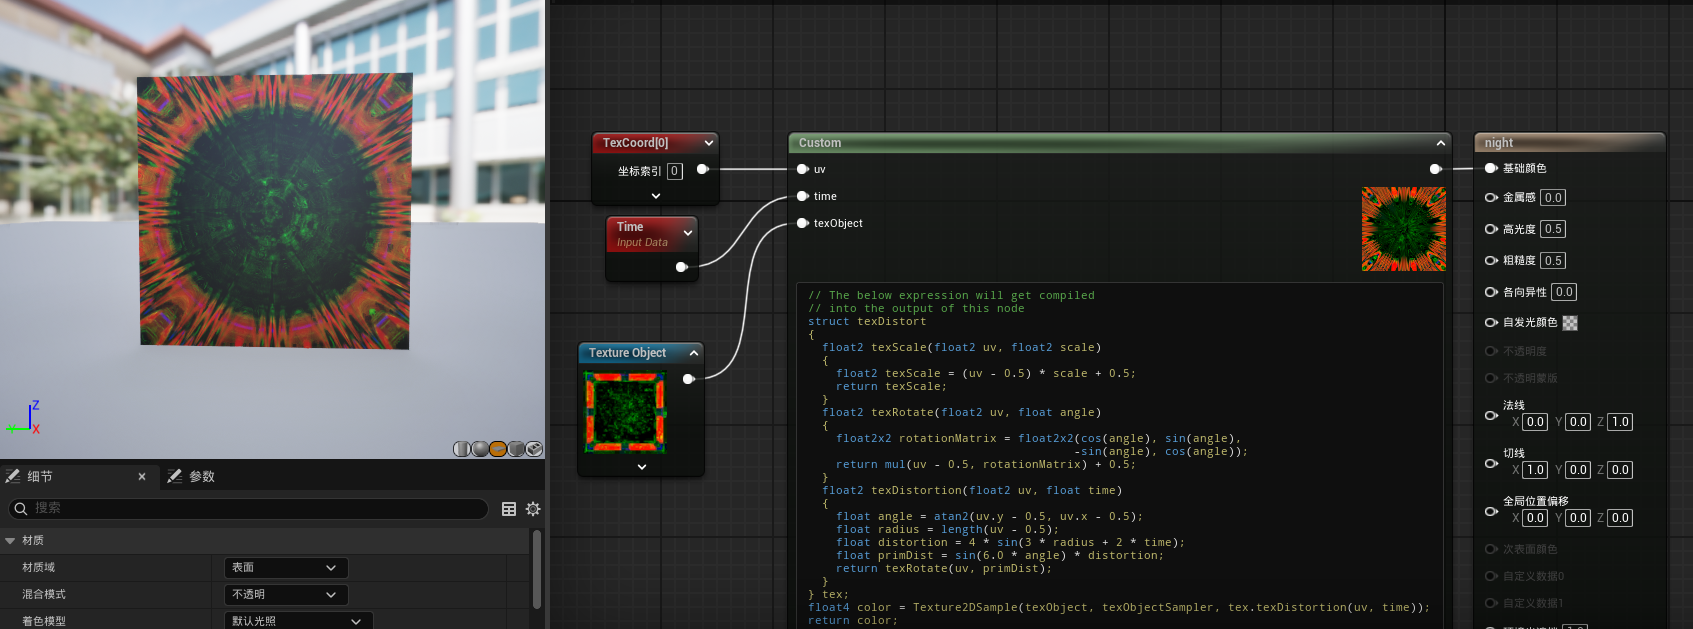
深度視覺
深度視覺這里實際就是利用了,uv的偏移,形成的深度誤差,當在黑色區域的時候,會向非黑區域偏移,形成了深度的效果


)


(SpringBoot2.x整合Mybatis實現CURD操作和分頁查詢詳細項目文檔))


)

)


