1、直接新建module進行導入,選擇opencv的sdk
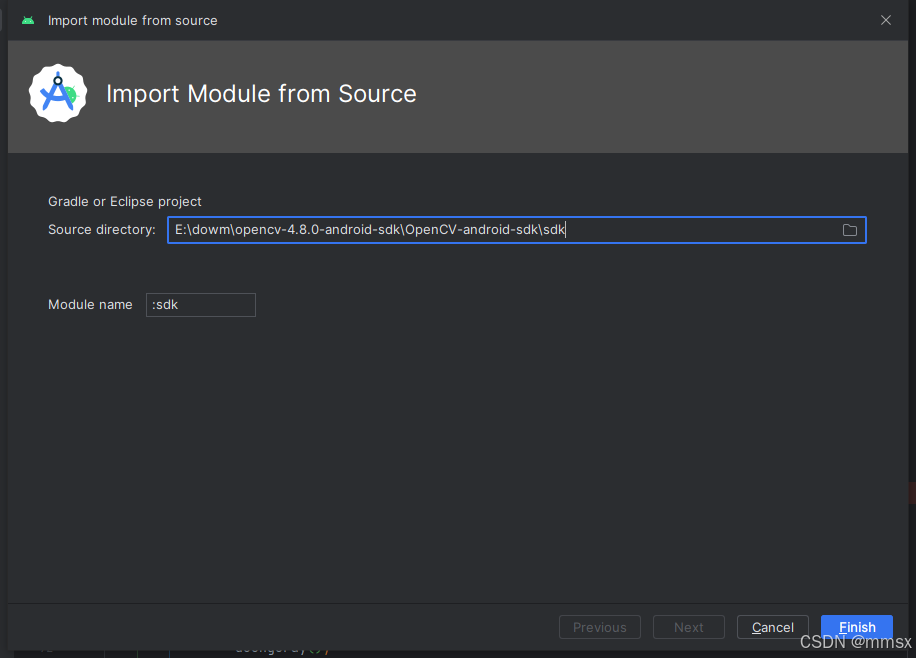
導入module模式,選擇下載好的sdk,修改module name為OpenCV490。
有報錯直接解決報錯,沒報錯直接運行成功。
2、解決錯誤,同步成功
一般報錯是gradle版本問題較多。我的報錯如下:
Build file 'D:\work\OpenCVJni\OpenCV480\build.gradle' line: 92A problem occurred evaluating project ':OpenCV480'.> Plugin with id 'kotlin-android' not found.注釋掉
//apply?plugin:?'kotlin-android'
重新同步成功。
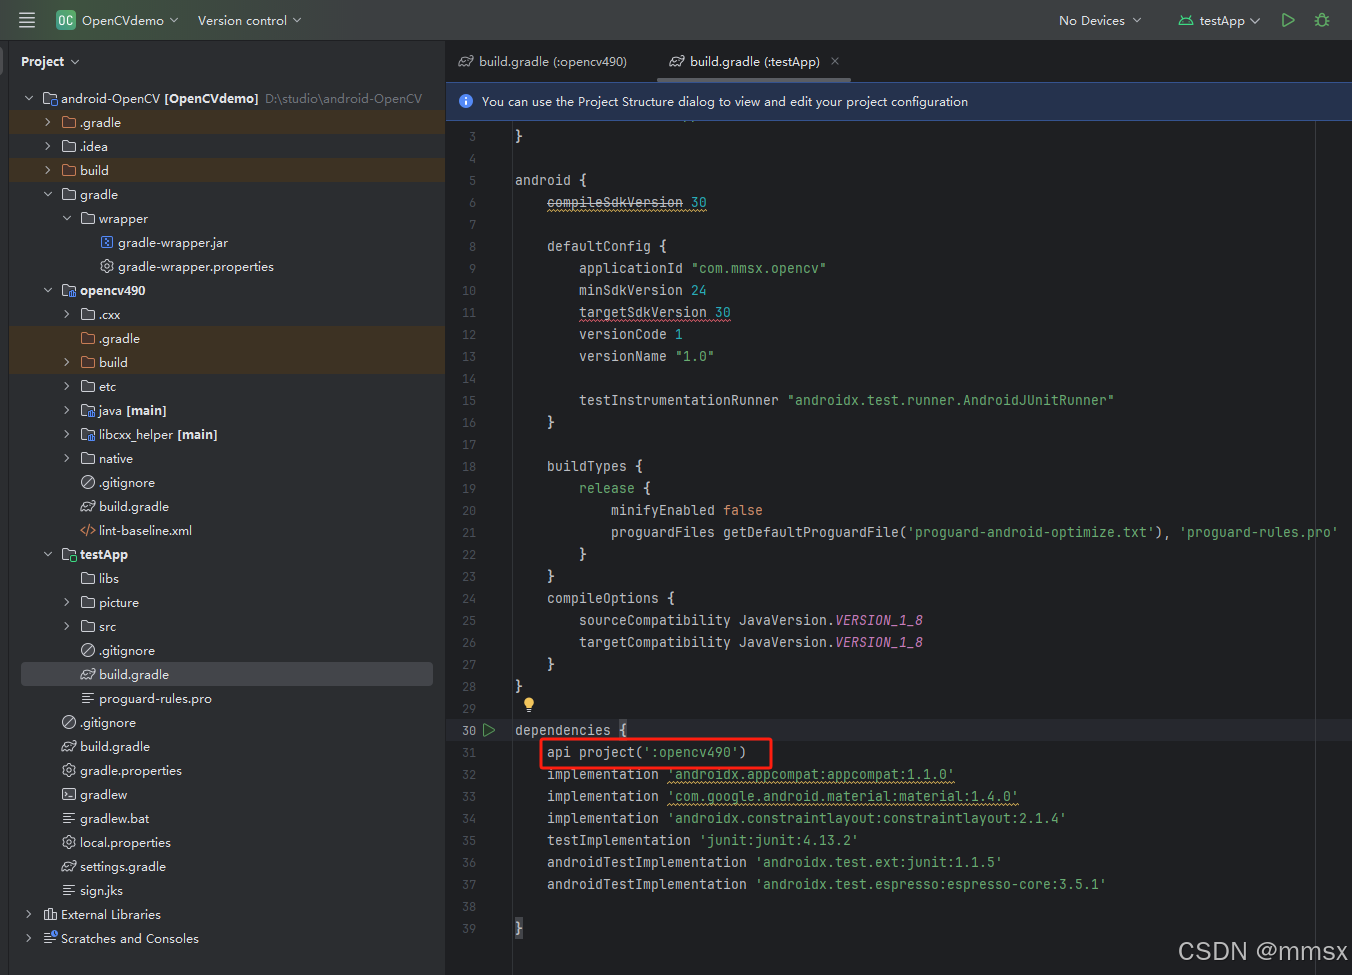
那就直接build,運行沒再報錯,就可以直接引用項目進行測試。
3、測試代碼
public class MainActivity extends AppCompatActivity {private Bitmap srcBitmap = null;private Bitmap dstBitmap = null;private ImageView imageView = null;@Overrideprotected void onCreate(@Nullable Bundle savedInstanceState) {super.onCreate(savedInstanceState);setContentView(R.layout.activity_main);// opencv初始化if (!OpenCVLoader.initDebug()) {// Handle initialization errorreturn;}imageView = findViewById(R.id.imageView);srcBitmap = BitmapFactory.decodeResource(getResources(), R.mipmap.image); // 替換為你的圖片資源findViewById(R.id.load).setOnClickListener(v -> {imageView.setImageBitmap(srcBitmap);});findViewById(R.id.equalize).setOnClickListener(v -> {// 加載成功后,進行直方圖均衡化操作dstBitmap = equalizeHistogram(srcBitmap);imageView.setImageBitmap(dstBitmap);});}private Bitmap equalizeHistogram(Bitmap srcBitmap) {Mat srcMat = new Mat();Mat dstMat = new Mat();Utils.bitmapToMat(srcBitmap, srcMat);// 將圖片轉換為灰度圖Imgproc.cvtColor(srcMat, srcMat, Imgproc.COLOR_BGR2GRAY);// 將源圖像的通道轉換為單通道List<Mat> channels = new ArrayList<>();Core.split(srcMat, channels);// 對每個通道進行直方圖均衡化Imgproc.equalizeHist(channels.get(0), channels.get(0));// 合并通道Core.merge(channels, dstMat);// 將處理后的圖像轉換回RGB格式Imgproc.cvtColor(dstMat, dstMat, Imgproc.COLOR_GRAY2BGR);Bitmap equalizedBitmap = Bitmap.createBitmap(dstMat.cols(), dstMat.rows(), Bitmap.Config.ARGB_8888);Utils.matToBitmap(dstMat, equalizedBitmap);// 釋放資源srcMat.release();dstMat.release();return equalizedBitmap;}
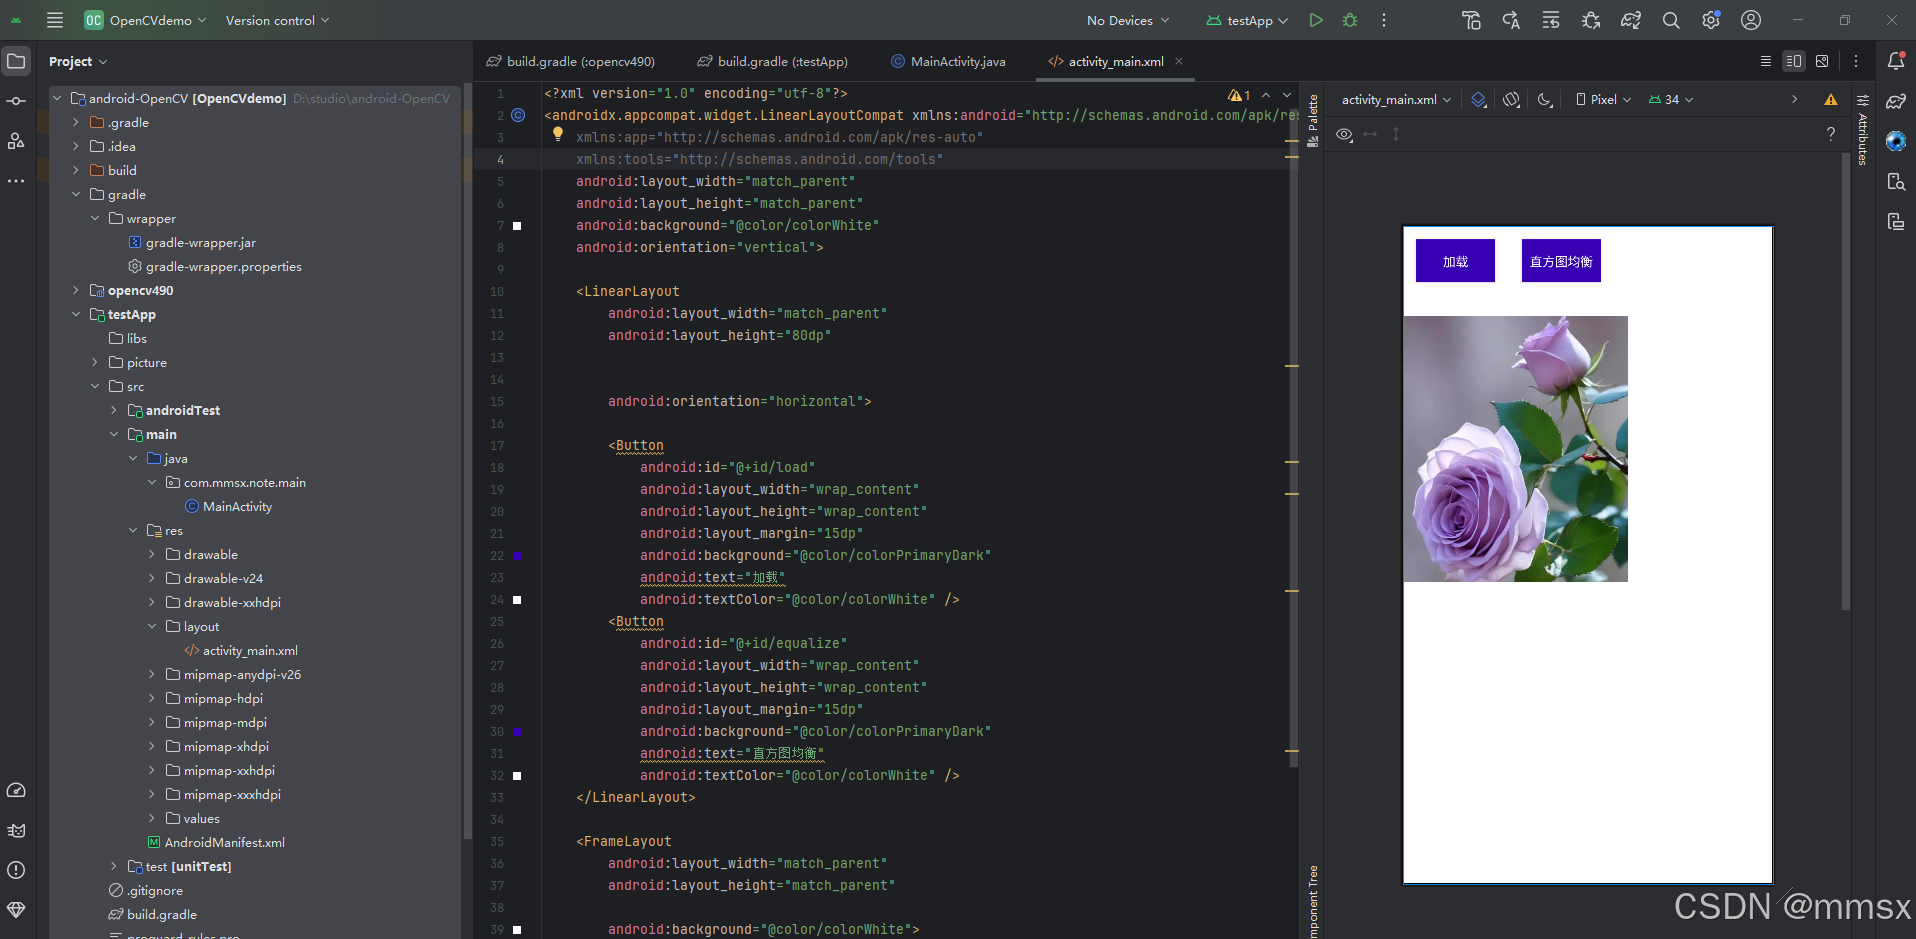
}xml布局文件
<?xml version="1.0" encoding="utf-8"?>
<androidx.appcompat.widget.LinearLayoutCompat xmlns:android="http://schemas.android.com/apk/res/android"xmlns:app="http://schemas.android.com/apk/res-auto"xmlns:tools="http://schemas.android.com/tools"android:layout_width="match_parent"android:layout_height="match_parent"android:background="@color/colorWhite"android:orientation="vertical"><LinearLayoutandroid:layout_width="match_parent"android:layout_height="80dp"android:orientation="horizontal"><Buttonandroid:id="@+id/load"android:layout_width="wrap_content"android:layout_height="wrap_content"android:layout_margin="15dp"android:background="@color/colorPrimaryDark"android:text="加載"android:textColor="@color/colorWhite" /><Buttonandroid:id="@+id/equalize"android:layout_width="wrap_content"android:layout_height="wrap_content"android:layout_margin="15dp"android:background="@color/colorPrimaryDark"android:text="直方圖均衡"android:textColor="@color/colorWhite" /></LinearLayout><FrameLayoutandroid:layout_width="match_parent"android:layout_height="match_parent"android:background="@color/colorWhite"><ImageViewandroid:id="@+id/imageView"android:layout_width="wrap_content"android:layout_height="wrap_content"android:layout_marginTop="20dp"android:src="@mipmap/image" /></FrameLayout></androidx.appcompat.widget.LinearLayoutCompat>
代碼截圖
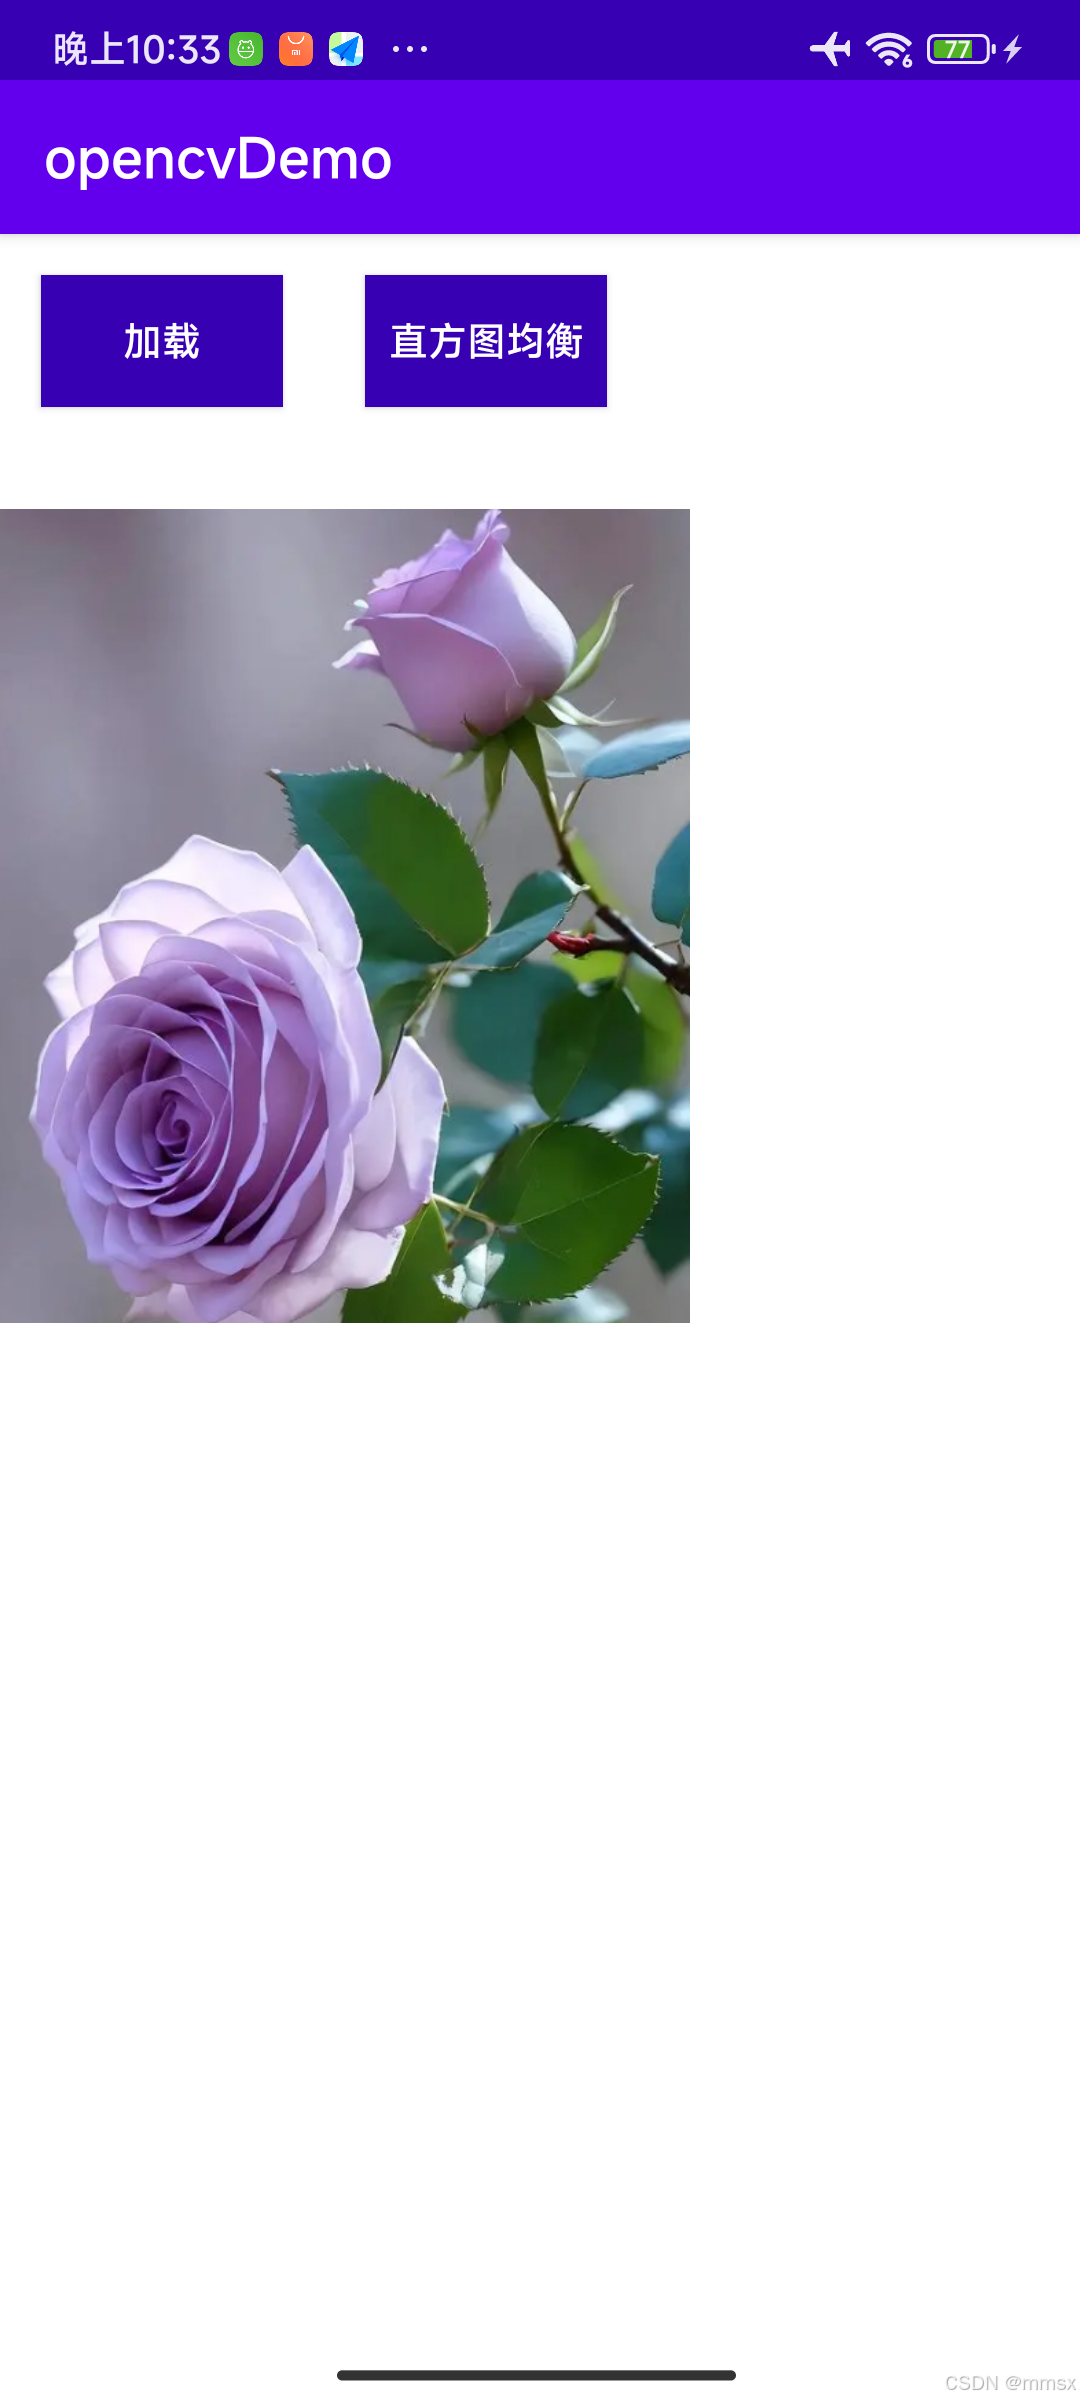
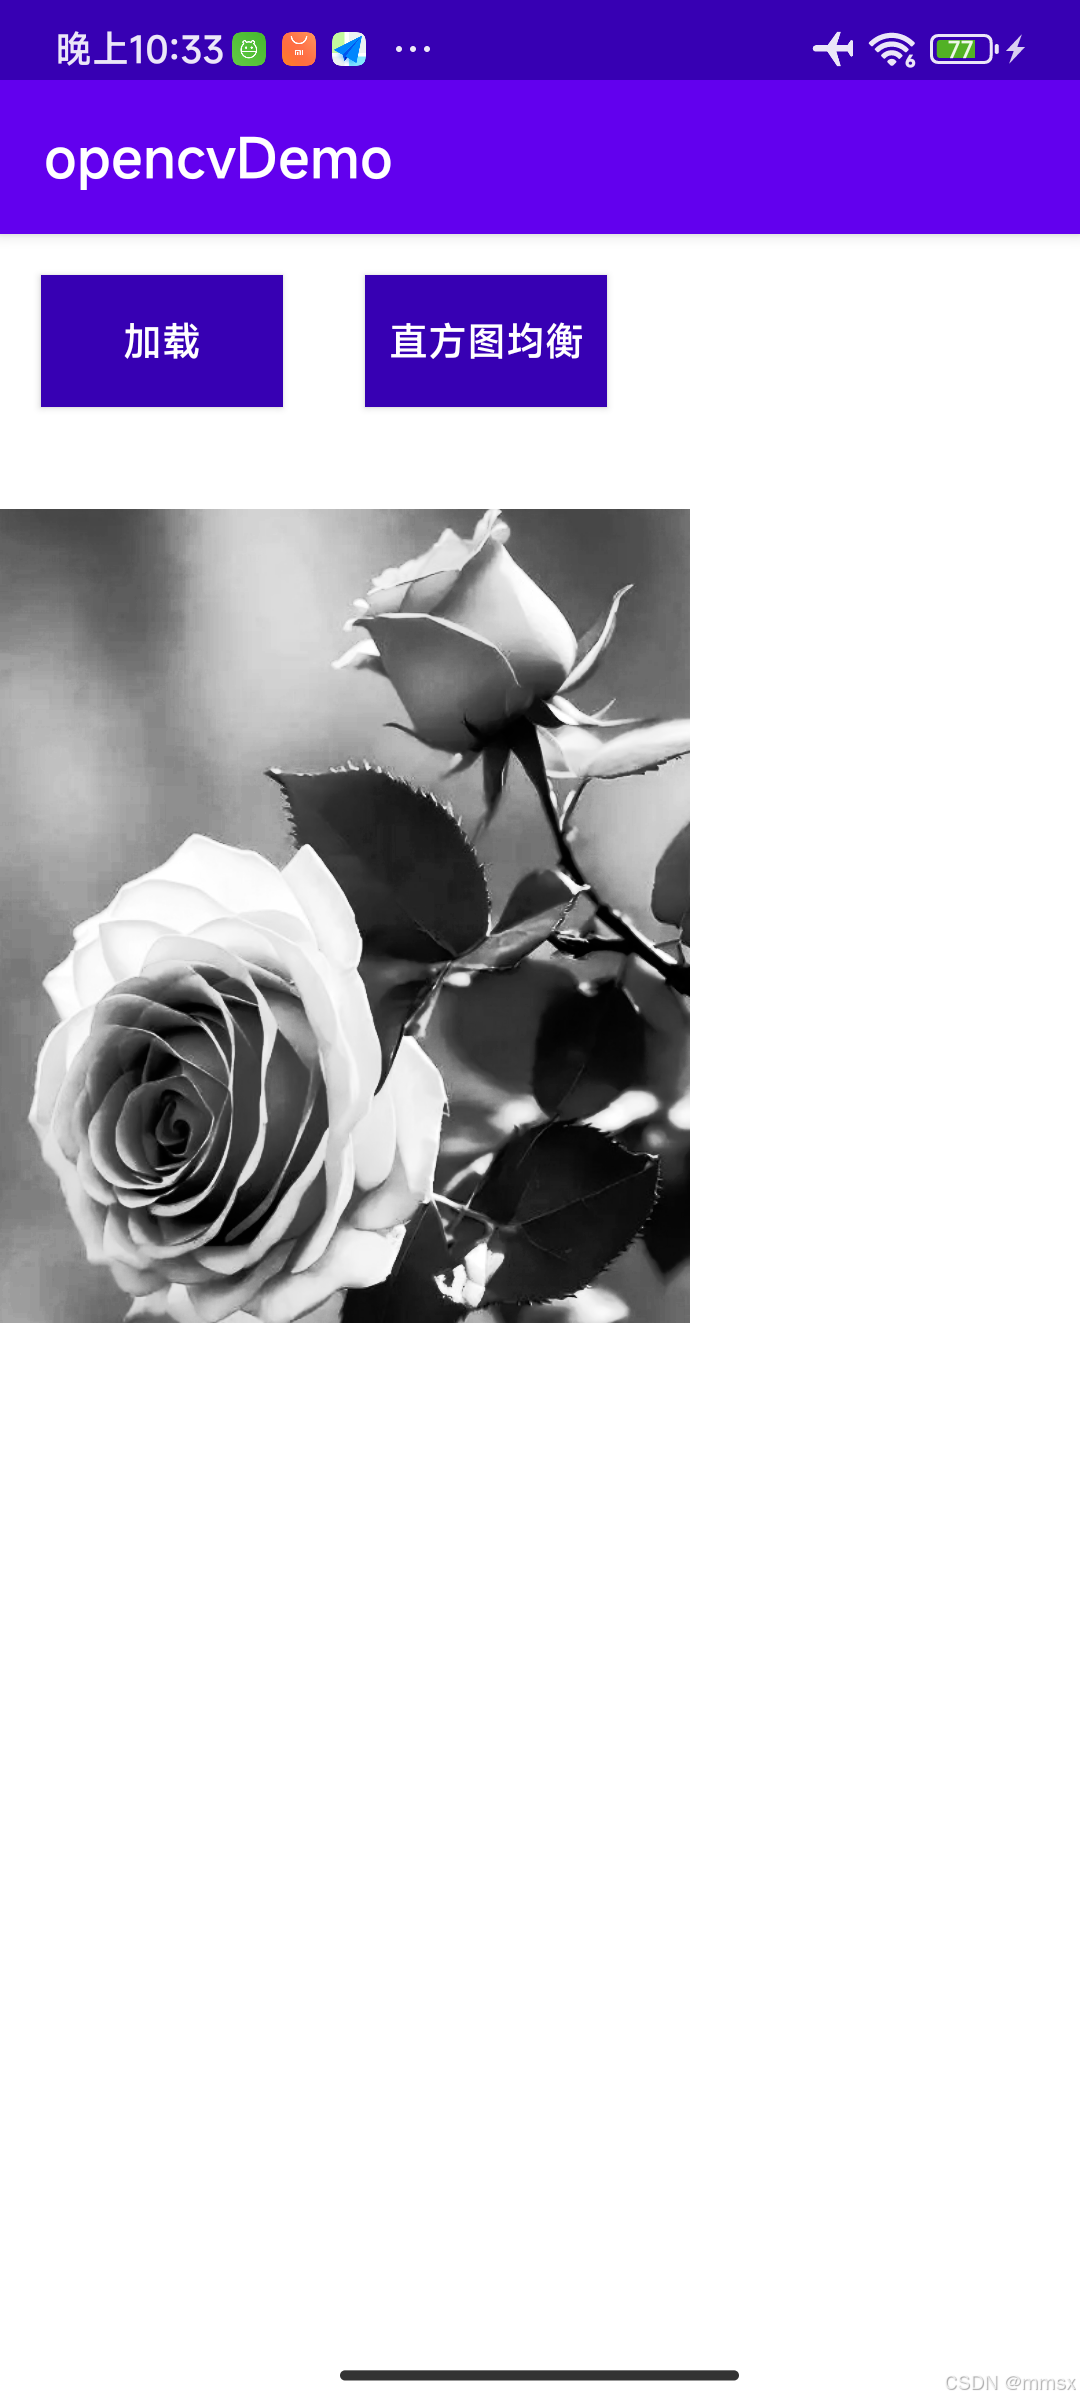
4、運行結果
如果需要編譯任意一個opencv版本搞不定的話,可以找我尋求幫助。


,大大提高開發效率)


- 打造動態炫酷彩虹字控件,讓你的界面動起來)
)


)


