目錄
- 1 加載后端的數據
- 2 為什么不直接給變量賦值
- 3 保存部門信息
- 4 最終的效果
- 5 總結
現在部門管理已經完成了后端功能和前端開發,就需要在前端調用后端的數據完成界面的展示,而且在錄入部門信息后需要提交到數據庫里,本篇我們介紹一下前后端如何交互。
1 加載后端的數據
現在后端API已經有了,頁面加載的時候需要從后端讀取數據。打開應用,點擊編輯JSX代碼
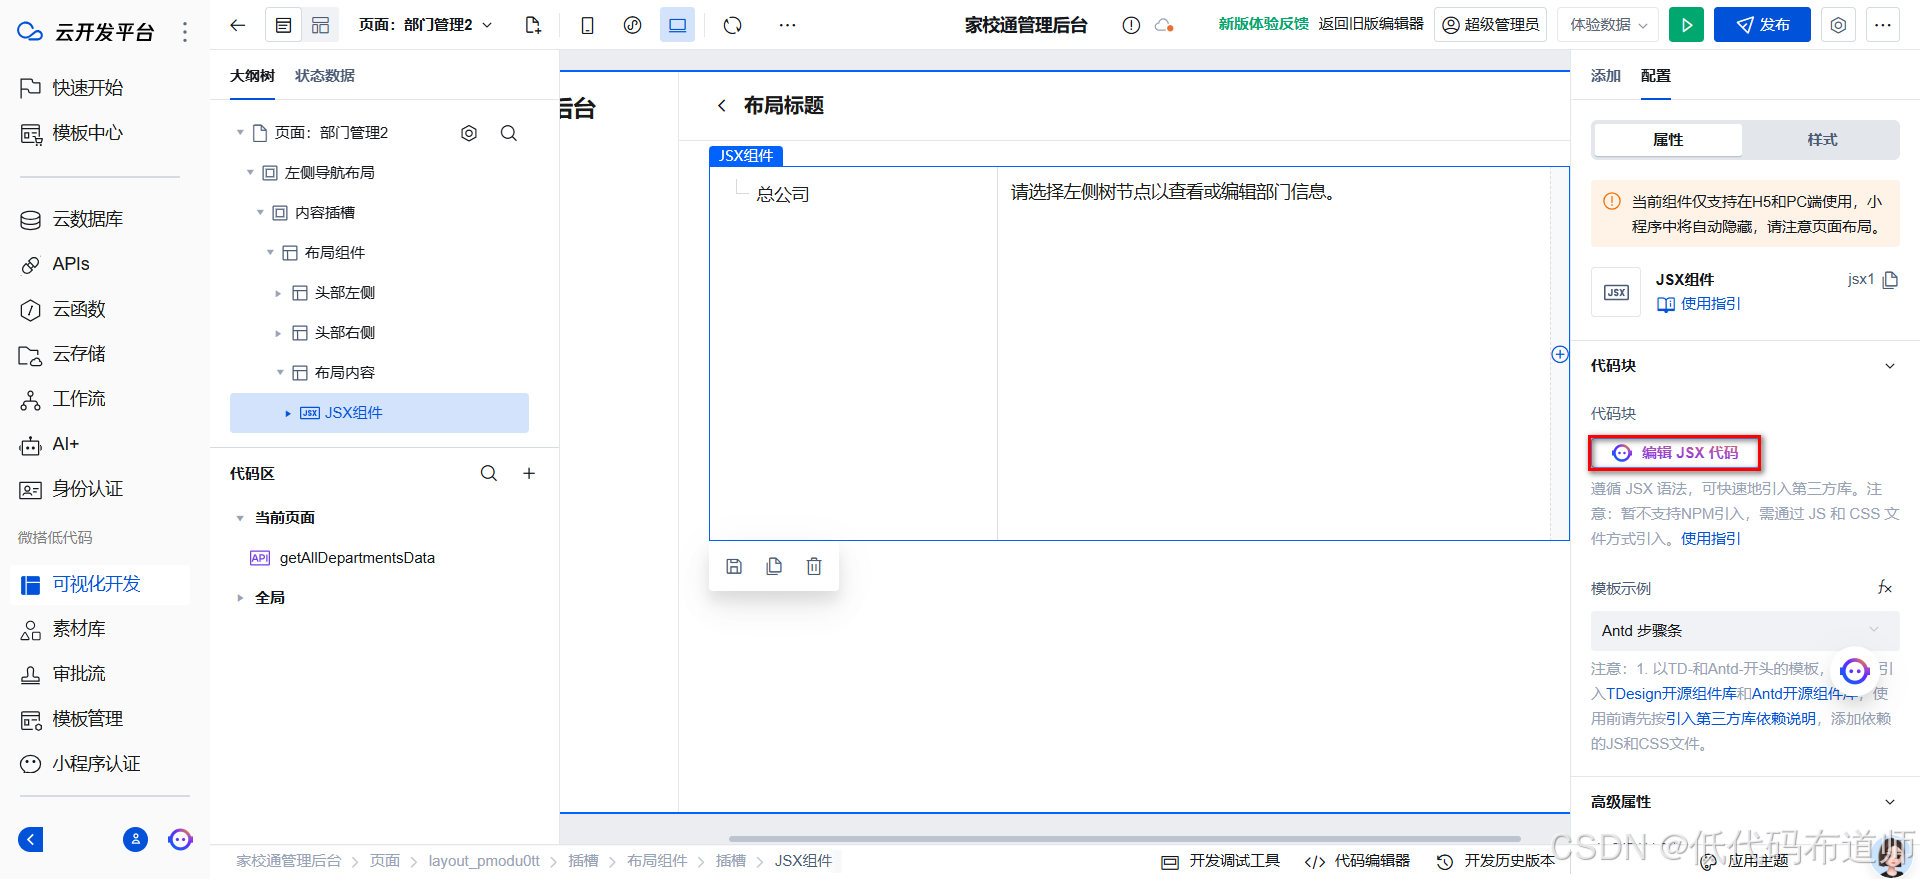
輸入如下代碼
export default function DepartmentTree(props: JSXCompProps) {const { $w, contentSlot1, style } = props;const { Modal, Input, Tree, Button, Form } = antd;const [treeData, setTreeData] = React.useState([]);const [selectedNode, setSelectedNode] = React.useState(null);const [addChildModalVisible, setAddChildModalVisible] = React.useState(false);const [newDepartmentName, setNewDepartmentName] = React.useState("");const [contextMenuTargetId, setContextMenuTargetId] = React.useState(null);const [contextMenuPosition, setContextMenuPosition] = React.useState(null);const [form] = Form.useForm();// 初始化獲取部門數據React.useEffect(() => {async function fetchDepartments() {try {const result = await $w.cloud.callDataSource({dataSourceName: "departmentManagement_adpurdw",methodName: "getAllDepartments",params: {}});if (result && result.data) {setTreeData(result.data);} else {Modal.warning({ title: "數據加載失敗", content: "未獲取到部門數據。" });}} catch (error) {console.error("Error fetching departments:", error);Modal.error({ title: "加載失敗", content: "獲取部門數據時出錯,請稍后重試。" });}}fetchDepartments();}, [$w]);// 點擊節點事件const handleNodeClick = (node) => {setSelectedNode(node);setContextMenuTargetId(null);form.setFieldsValue({ name: node.name });};// 切換節點展開/收起const toggleNode = (node) => {node.isOpen = !node.isOpen;setTreeData([...treeData]);};// 遞歸更新樹節點const updateTree = (nodes, callback) => {return nodes.map((node) => {if (callback(node)) {return { ...node };}if (node.children) {return { ...node, children: updateTree(node.children, callback) };}return node;});};// 添加子部門邏輯const handleAddChild = () => {if (!newDepartmentName.trim()) {return Modal.warning({title: "部門名稱不能為空",content: "請輸入部門名稱后重試。"});}const newChild = {id: Date.now(),name: newDepartmentName,parentId: contextMenuTargetId,children: [],isOpen: false};setTreeData((prevTreeData) =>updateTree(prevTreeData, (node) => {if (node.id === contextMenuTargetId) {node.children = [...(node.children || []), newChild];return true;}return false;}));setAddChildModalVisible(false);setNewDepartmentName("");};// 保存表單修改const handleSaveForm = () => {form.validateFields().then((values) => {setTreeData((prevTreeData) =>updateTree(prevTreeData, (node) => {if (node.id === selectedNode.id) {node.name = values.name;return true;}return false;}));Modal.success({ title: "保存成功", content: "部門信息已更新。" });}).catch((info) => console.error("Validate Failed:", info));};// 右鍵點擊事件const handleRightClick = (e, node) => {e.preventDefault();setContextMenuTargetId(node.id);setContextMenuPosition({ x: e.clientX, y: e.clientY });};// 渲染樹節點const renderTree = (nodes) =>nodes.map((node) => (<Tree.TreeNodekey={node.id}title={<spanonClick={() => handleNodeClick(node)}onContextMenu={(e) => handleRightClick(e, node)}>{node.name}</span>}>{node.children && renderTree(node.children)}</Tree.TreeNode>));return (<div style={{ display: "flex", ...style }}>{/* 左側樹 */}<divstyle={{flex: "1",borderRight: "1px solid #ddd",overflowY: "auto",padding: "10px",minHeight: "300px"}}><Tree showLine defaultExpandAll>{renderTree(treeData)}</Tree></div>{/* 右側表單 */}<divstyle={{flex: "2",padding: "10px",minHeight: "300px"}}>{selectedNode ? (<Form form={form} layout="vertical"><h3>部門信息</h3><Form.Itemlabel="部門名稱"name="name"rules={[{ required: true, message: "請輸入部門名稱" }]}><Input /></Form.Item><Form.Item label="部門編號"><Input value={selectedNode.id} disabled /></Form.Item><div style={{ marginTop: "10px" }}><Buttontype="primary"onClick={handleSaveForm}style={{ marginRight: "10px" }}>保存</Button><Button onClick={() => form.resetFields()}>取消</Button></div></Form>) : (<p>請選擇左側樹節點以查看或編輯部門信息。</p>)}</div>{/* 添加子部門 Modal */}<Modaltitle="添加子部門"visible={addChildModalVisible}onOk={handleAddChild}onCancel={() => setAddChildModalVisible(false)}><Inputplaceholder="請輸入部門名稱"value={newDepartmentName}onChange={(e) => setNewDepartmentName(e.target.value)}/></Modal>{/* 右鍵菜單 */}{contextMenuPosition && (<divstyle={{position: "absolute",top: contextMenuPosition.y,left: contextMenuPosition.x,backgroundColor: "#fff",boxShadow: "0 2px 8px rgba(0,0,0,0.15)",borderRadius: "4px",zIndex: 1000}}onMouseLeave={() => setContextMenuPosition(null)}><divonClick={() => setAddChildModalVisible(true)}style={{padding: "8px 16px",cursor: "pointer",borderBottom: "1px solid #f0f0f0"}}>添加子部門</div></div>)}{/* 插槽 */}<div>{contentSlot1}</div></div>);
}
我們追加了一個代碼,主要是要異步調用后端API的
// 初始化獲取部門數據React.useEffect(() => {async function fetchDepartments() {try {const result = await $w.cloud.callDataSource({dataSourceName: "departmentManagement_adpurdw",methodName: "getAllDepartments",params: {}});if (result && result.data) {setTreeData(result.data);} else {Modal.warning({ title: "數據加載失敗", content: "未獲取到部門數據。" });}} catch (error) {console.error("Error fetching departments:", error);Modal.error({ title: "加載失敗", content: "獲取部門數據時出錯,請稍后重試。" });}}fetchDepartments();}, [$w]);
這里的dataSourceName和methodName是從我們的API里獲取的

部門管理旁邊的相當于我們的dataSourceName,而標識相當于我們的methodName
2 為什么不直接給變量賦值
我一開始認為,我直接獲取數據就可以,比如這樣
const treeData = $w.cloud.callDataSource({dataSourceName: "departmentManagement_adpurdw",methodName: "getAllDepartments",params: {}
});
但這種操作發現樹是空的,并沒有從后臺讀取數據過來。主要的原因是兩方面,首先callDataSource是異步的,你這個執行完了數據其實是沒返回的
兩一方面,數據加載完畢并不會通知React重新渲染組件。改成useEffect的好處是,在組件首次渲染后啟動數據加載任務。當數據加載完成后,通過 setTreeData 更新組件狀態,React 會自動重新渲染組件并展示新數據。
尤其如果部門比較多的情況下,界面可以先出來,等數據獲取完畢組裝好了再次渲染樹形組件,這種體驗就比較好了
3 保存部門信息
數據我們現在已經可以從變量中讀取了,剩下就是添加的時候將新增的部門信息保存到數據源里。這里我們調用微搭的寫入方法,修改如下代碼
// 添加子部門邏輯const handleAddChild = () => {if (!newDepartmentName.trim()) {return Modal.warning({title: "部門名稱不能為空",content: "請輸入部門名稱后重試。",});}// 調用數據源寫入新部門$w.cloud.callDataSource({dataSourceName: "bmb", // 數據源名稱methodName: "wedaCreateV2", // 假設存在 createDepartment 方法params: {data: {bmmc: newDepartmentName, // 部門名稱fbm: { _id: contextMenuTargetId }, // 父部門ID},},}).then((response) => {const newId = response?.id; // 從響應中獲取新節點的 IDif (!newId) {throw new Error("數據源未返回有效ID");}const newChild = {id: newId, // 使用后端返回的 IDname: newDepartmentName,parentId: contextMenuTargetId,children: [],isOpen: false,};// 更新前端樹數據setTreeData((prevTreeData) =>updateTree(prevTreeData, (node) => {if (node.id === contextMenuTargetId) {node.children = [...(node.children || []), newChild];return true;}return false;}));// 關閉模態框并清空輸入setAddChildModalVisible(false);setNewDepartmentName("");Modal.success({title: "添加成功",content: `子部門 "${newDepartmentName}" 已成功添加。`,});}).catch((error) => {console.error("數據源寫入失敗", error);Modal.error({title: "操作失敗",content: "添加子部門時出現錯誤,請稍后重試。",});});};
需要把上邊給的完整代碼的handleAddChild 進行替換,這里主要是調用了微搭的創建單條的API。在創建的時候需要傳遞對應的數據,因為我們的父部門是關聯關系,新版的關聯關系是對象類型,所以我們是按照對象的結構組織了數據。
4 最終的效果
現在已經可以從數據庫里讀取部門的信息,并且按照樹形的結構進行展示

點擊右鍵的時候可以添加部門,數據庫里可以看到寫入的數據

5 總結
我們本篇介紹了如何將前后端的功能連接起來,從代碼上來講還是比較復雜的,主要需要考慮react組件加載的機制,副作用的理解,以及微搭的異步加載機制。要想理解好這些概念需要你親自做一遍,才會有深入的體會。

)


部署指南)

 演化路線圖)
)
![[面試題]--索引用了什么數據結構?有什么特點?](http://pic.xiahunao.cn/[面試題]--索引用了什么數據結構?有什么特點?)
roles角色管理)


中平均凈收益用于評價模型算法(R自定義函數))


