概述
- 文生圖模型為使用 Cloudflare Worker AI 部署 Flux 模型,是參照視頻https://www.bilibili.com/video/BV1UbkcYcE24/?spm_id_from=333.337.search-card.all.click&vd_source=9ca2da6b1848bc903db417c336f9cb6b的復現
- Cursor MCP Server實現是參照文章https://juejin.cn/post/7485267450880229402#heading-9實現
Cloudflare部署 Flux 模型
獲取Cloudflare賬號和token
- 注冊、登錄等步驟省略
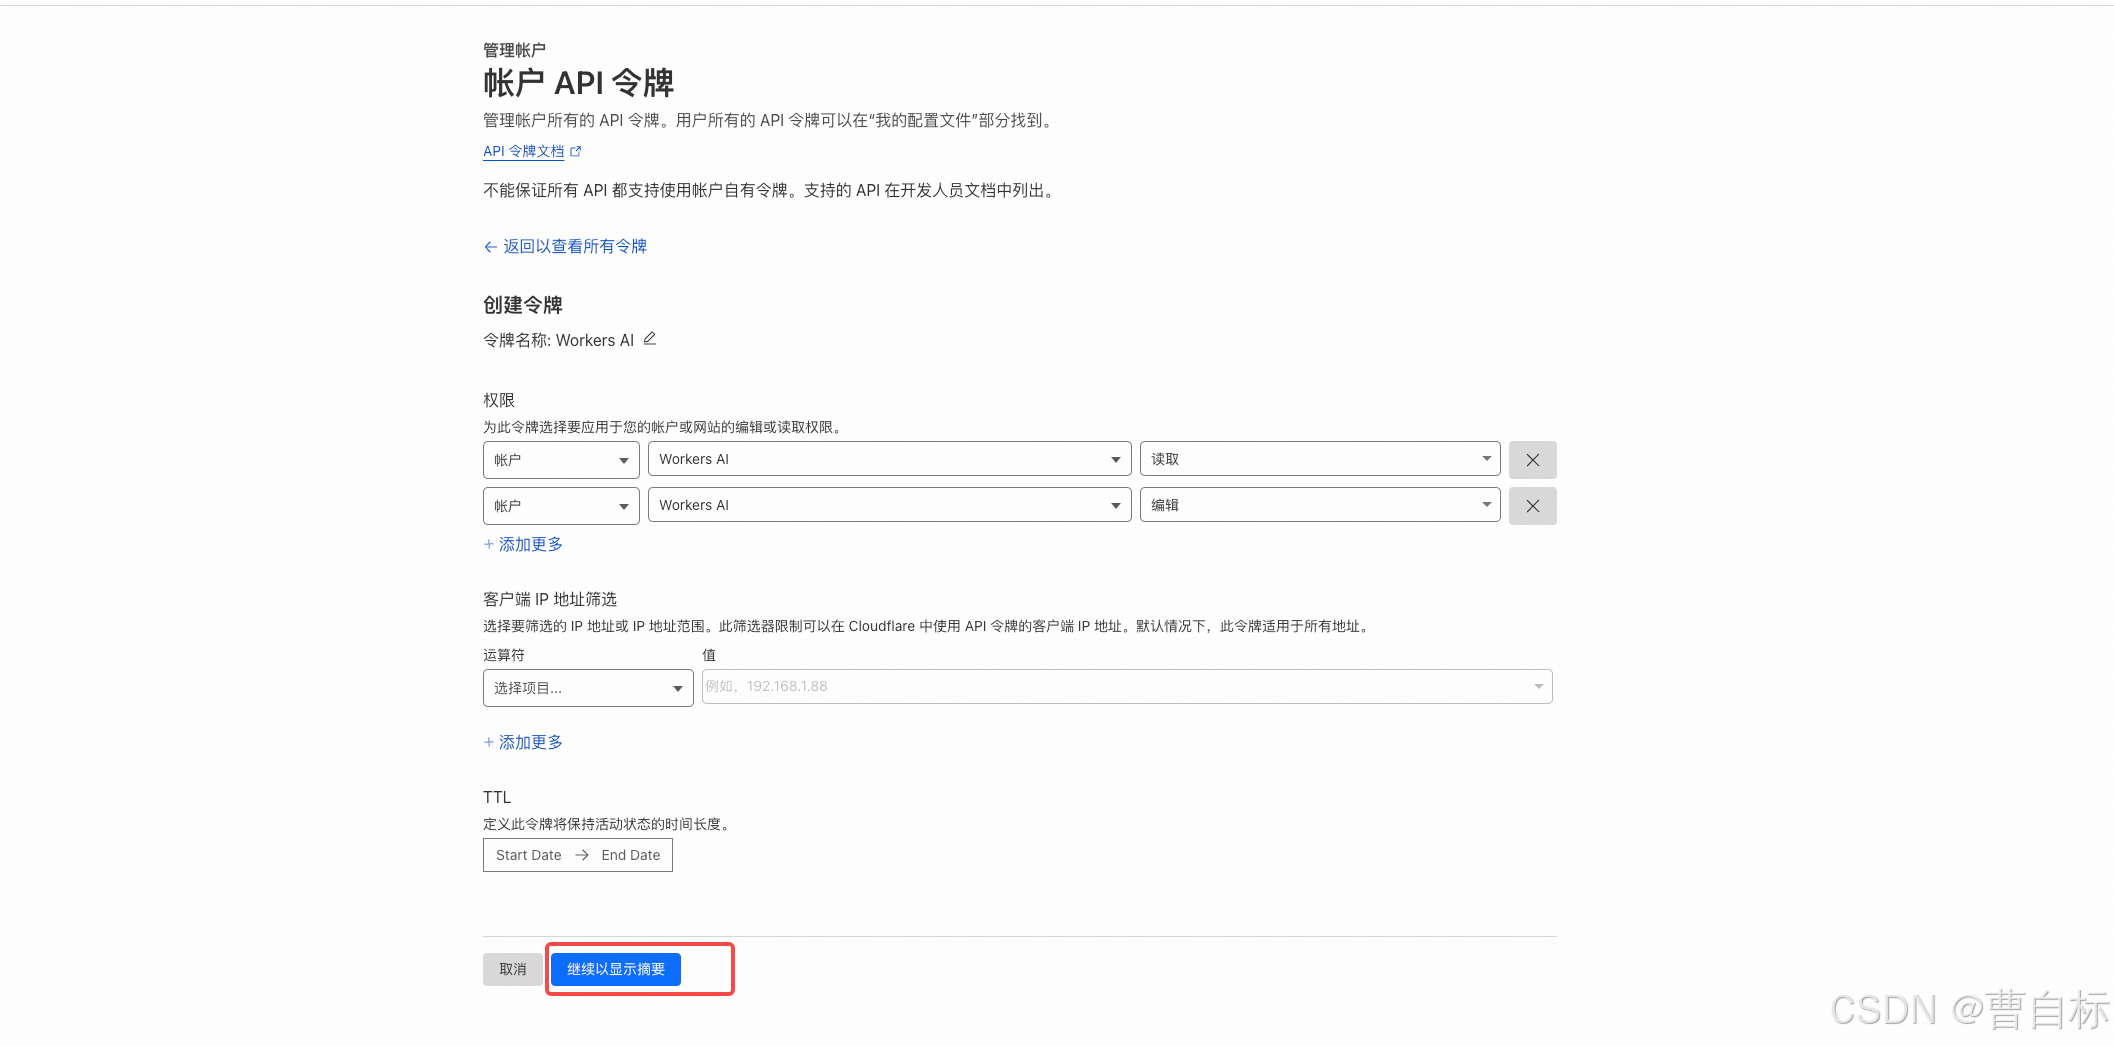
管理賬號——賬戶API令牌——Workers AI——使用模版
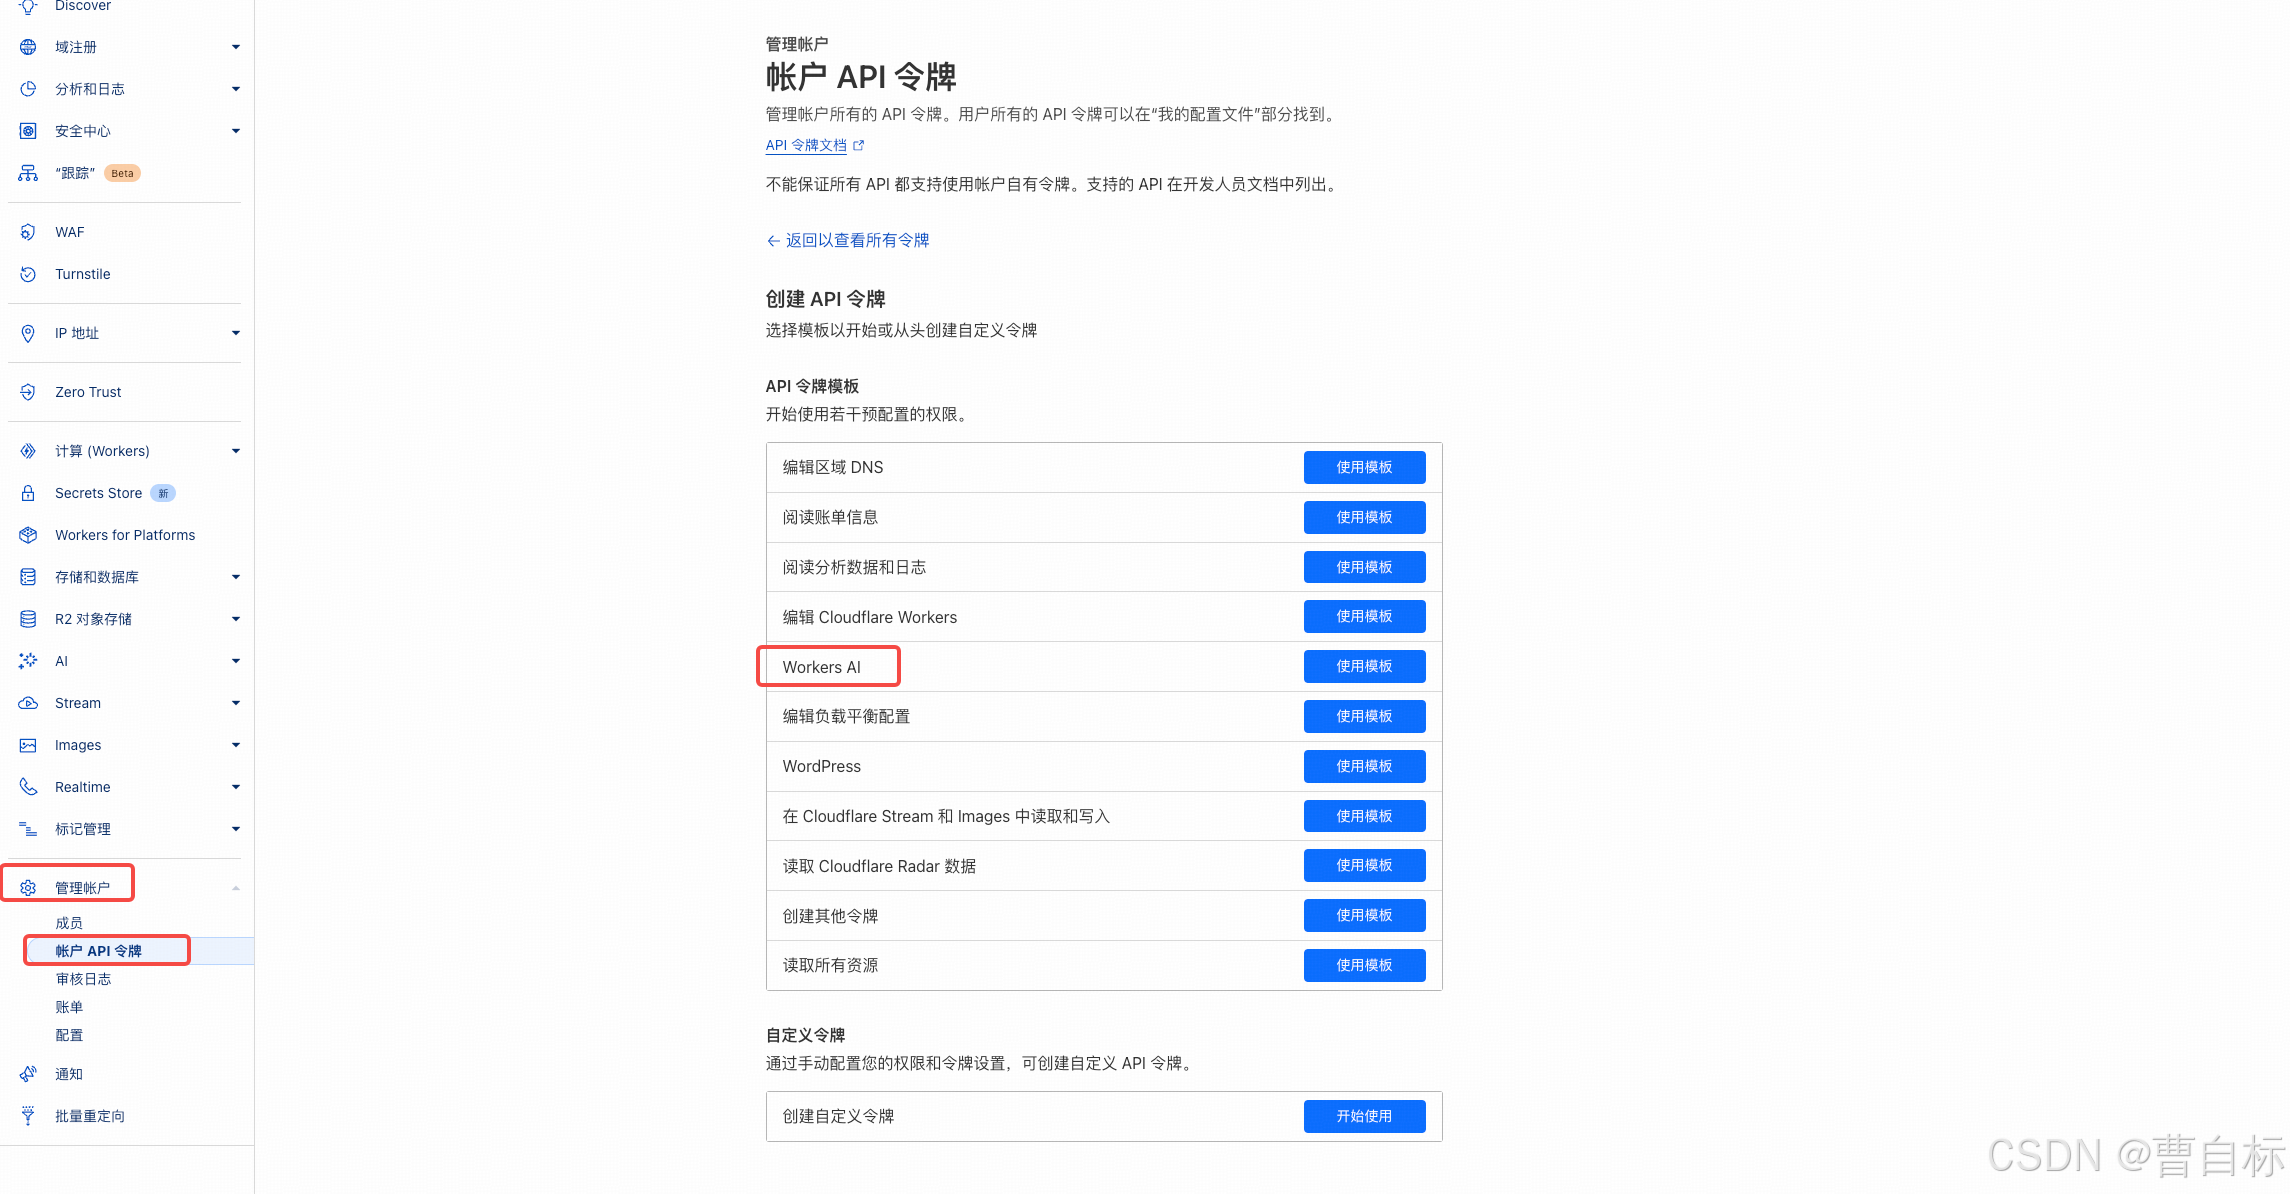
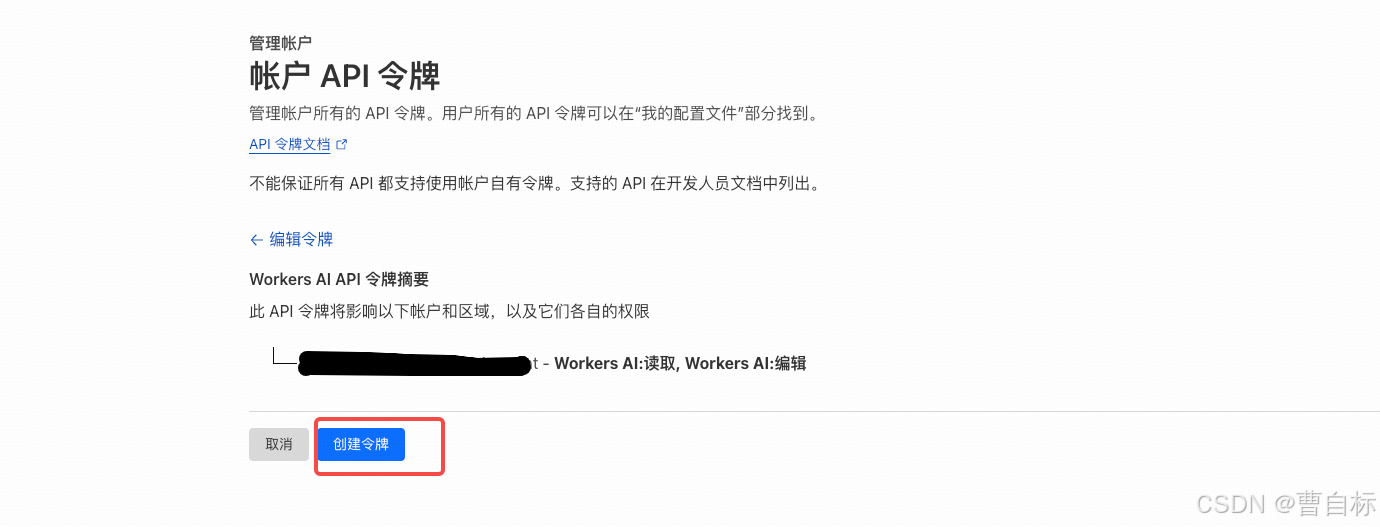
繼續以顯示摘要
創建令牌
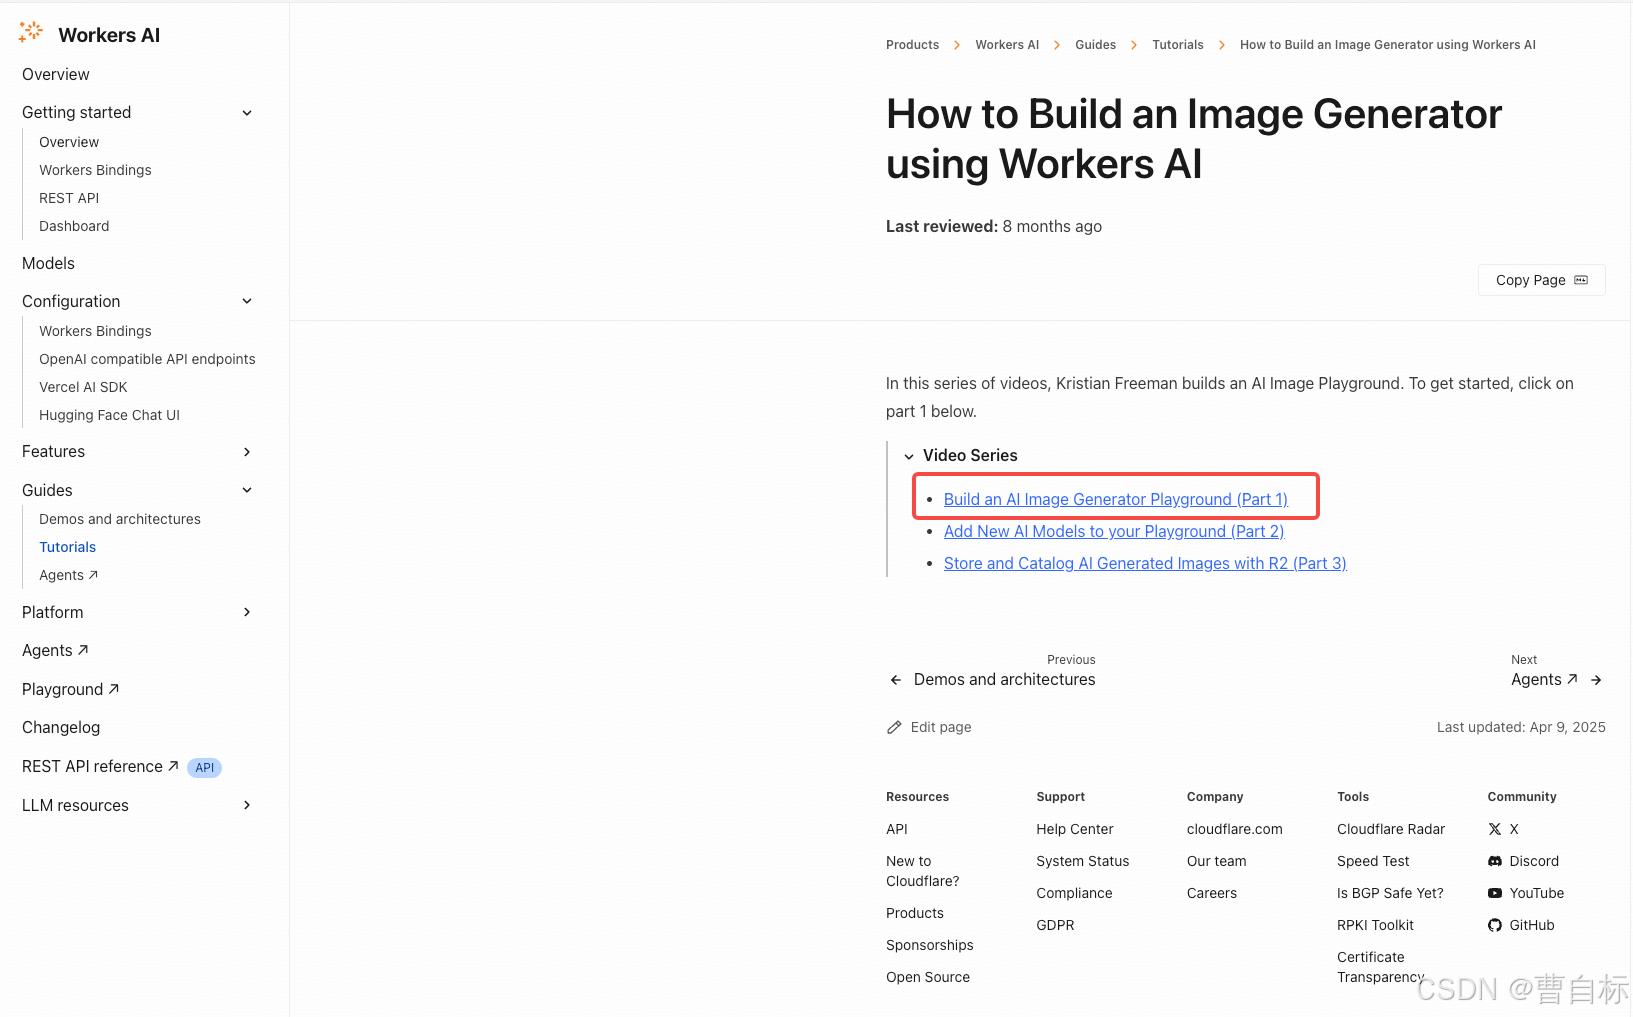
找到文生圖模型github地址
Workers AI——模型——flux-1-schnell——了解更多

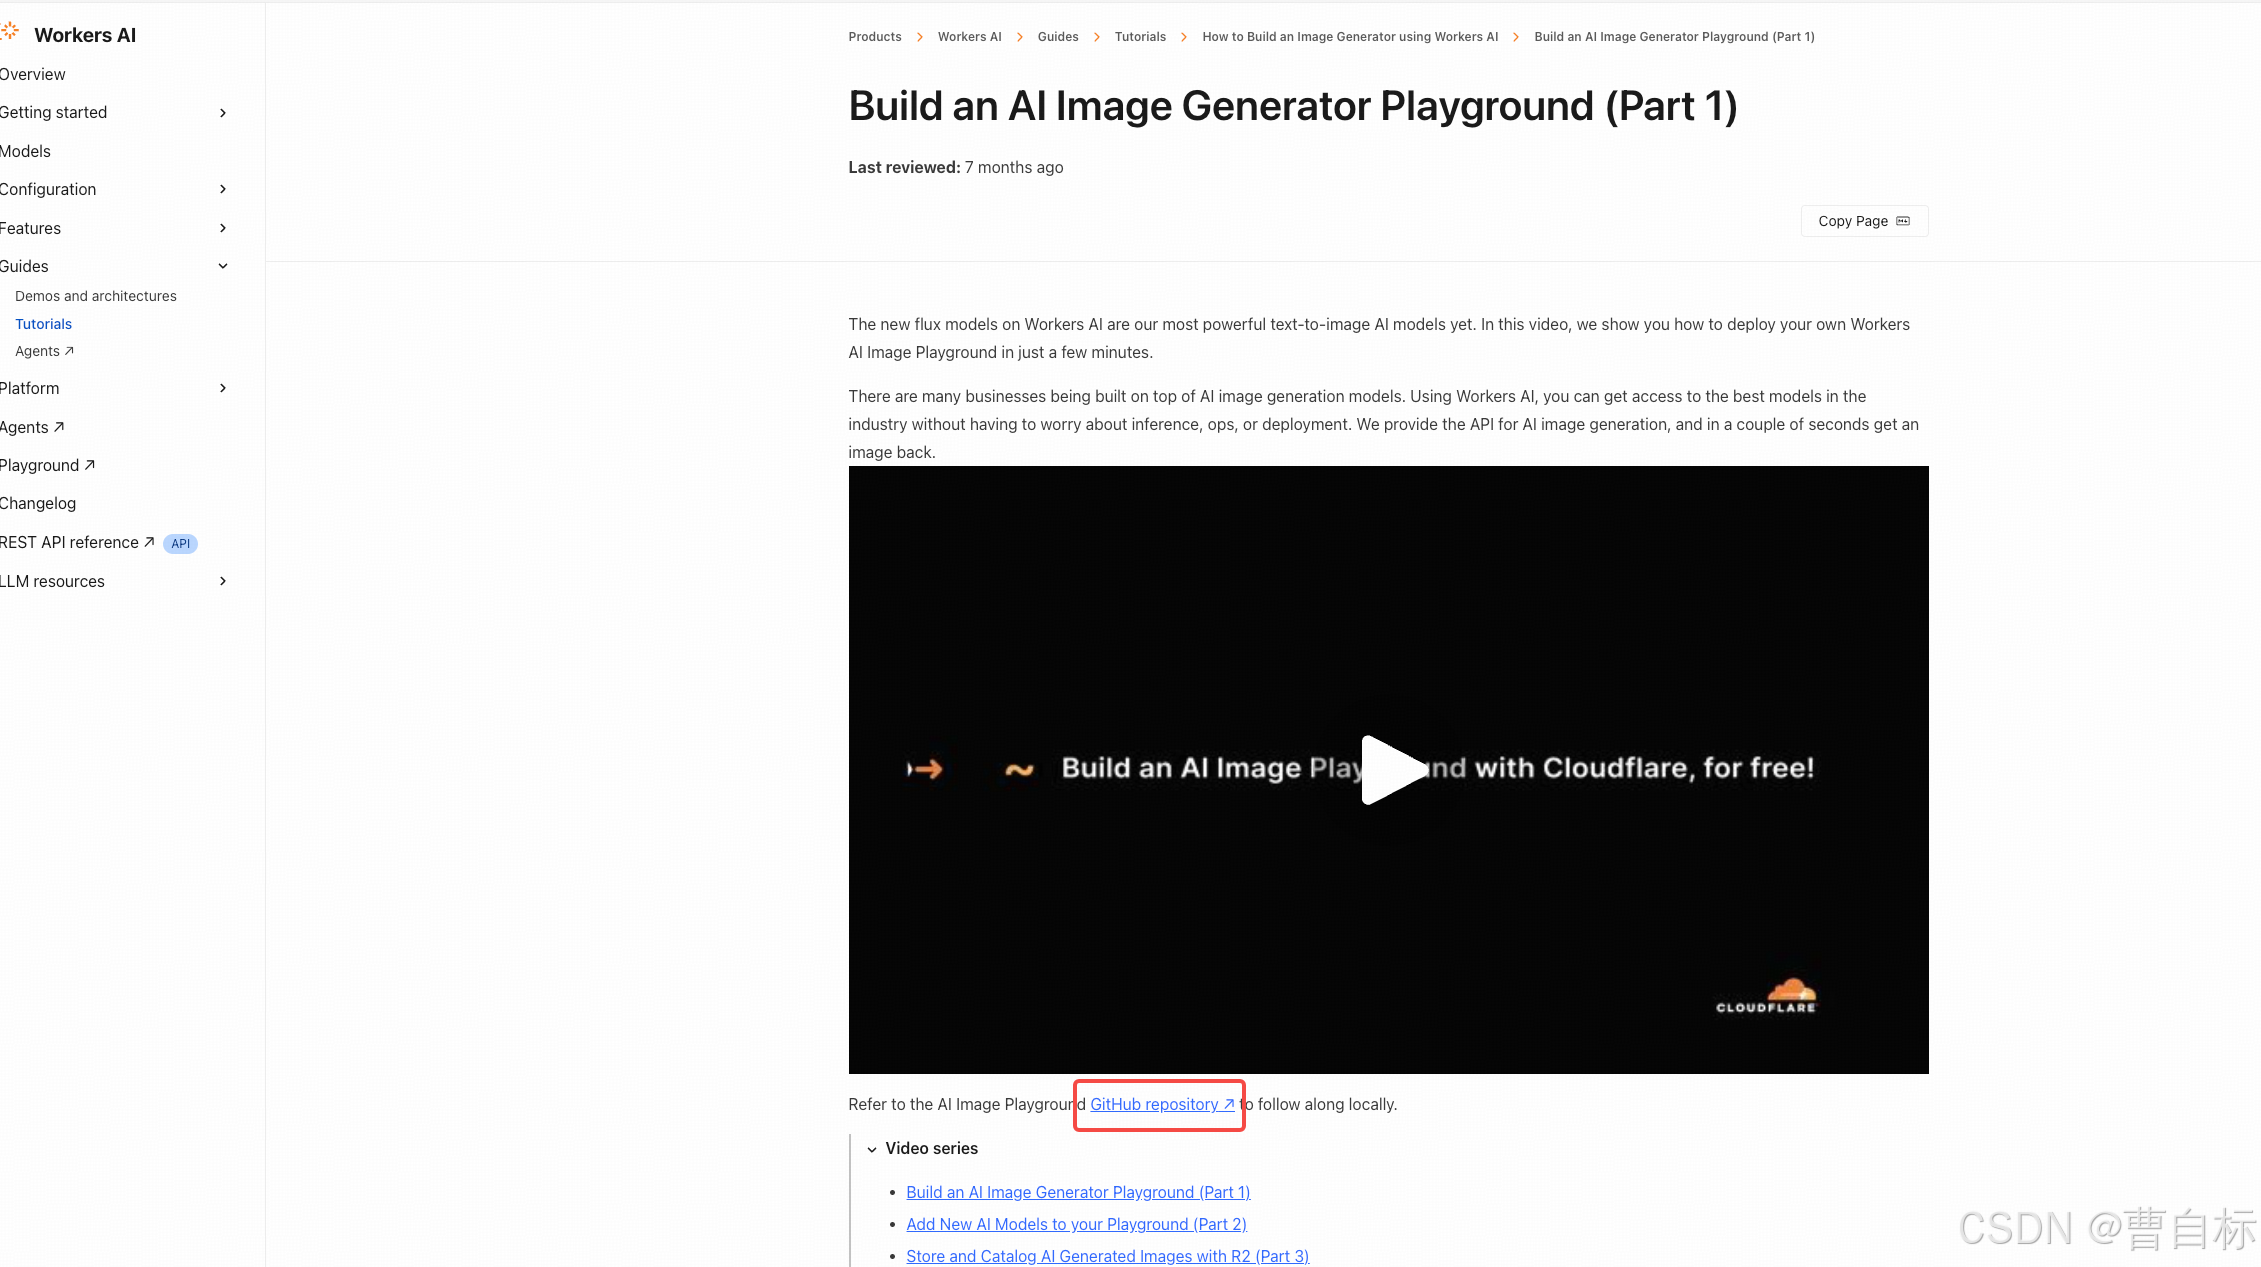
Guides——Tutorials——How to Build an Image Generator using Workers AI
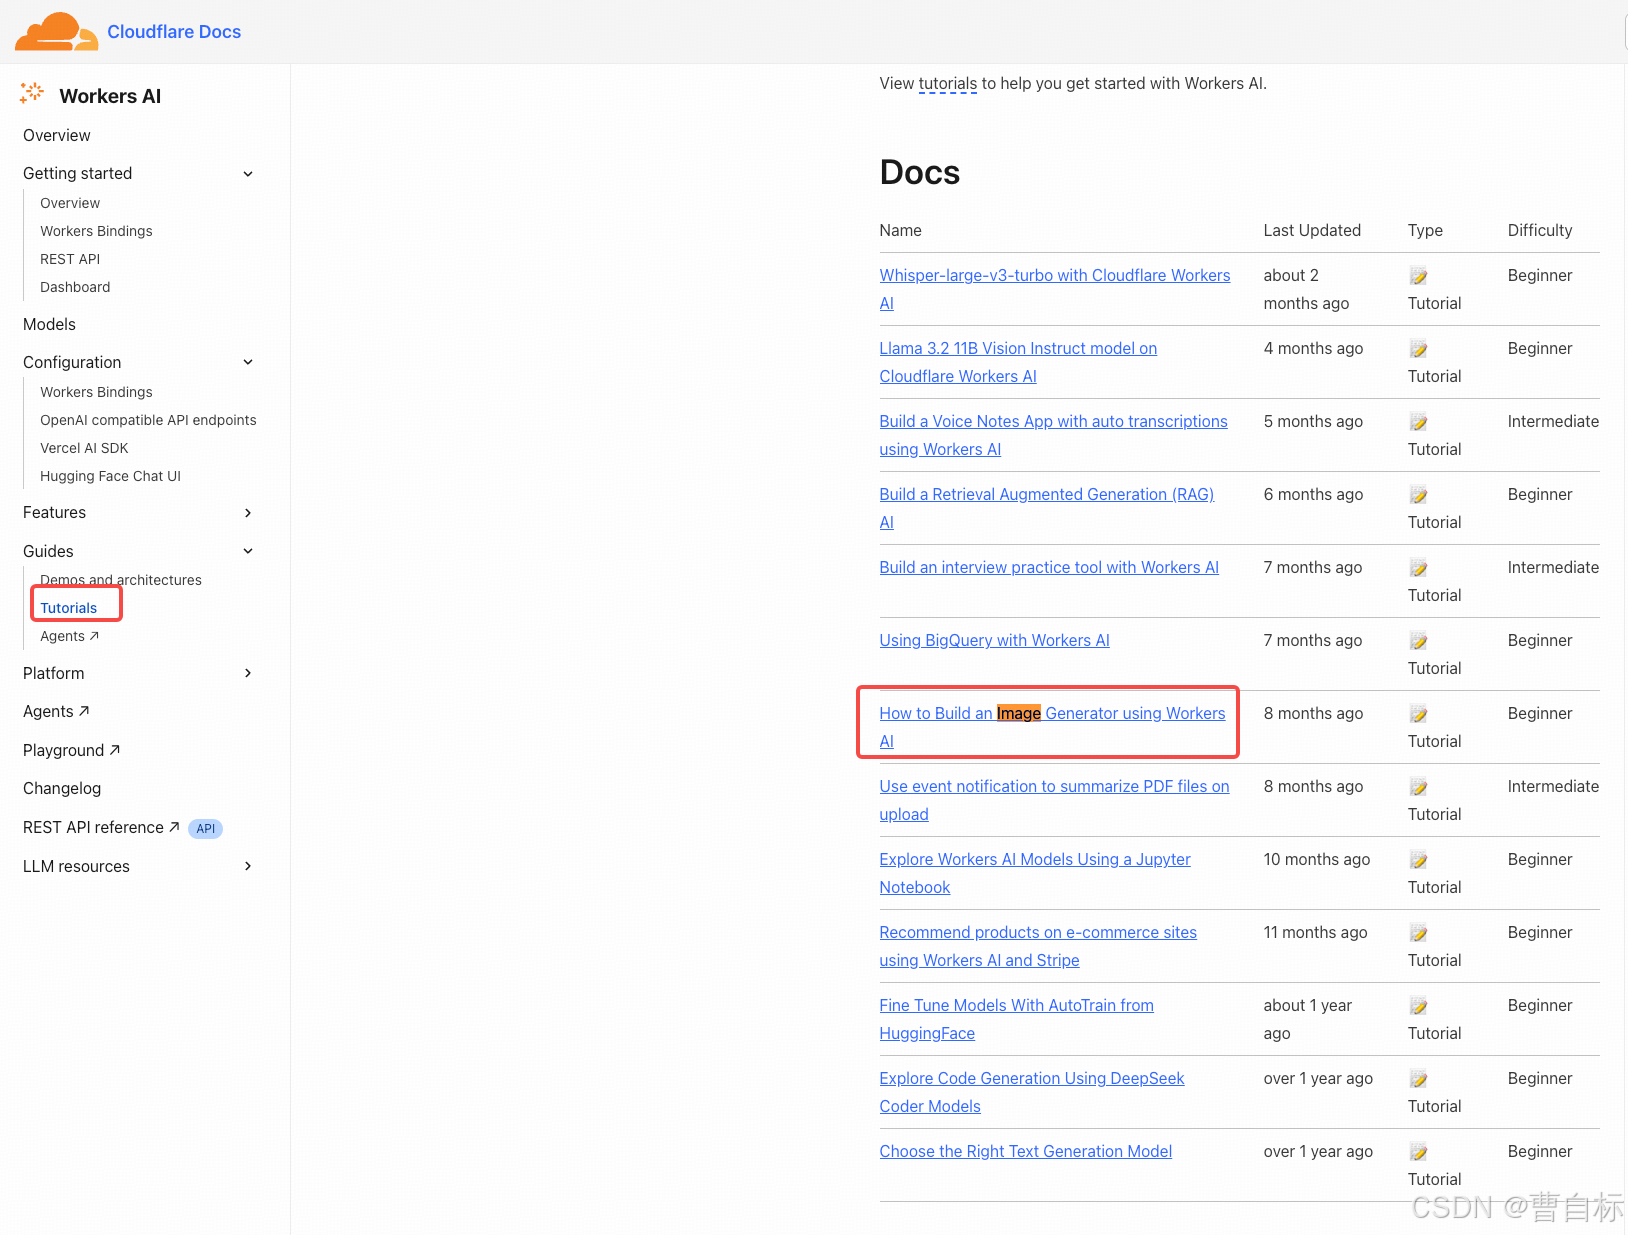
https://developers.cloudflare.com/workers-ai/guides/tutorials/image-generation-playground/image-generator-flux/
部署文生圖模型
github地址
https://github.com/kristianfreeman/workers-ai-image-playground?tab=readme-ov-file#readme
執行順序:
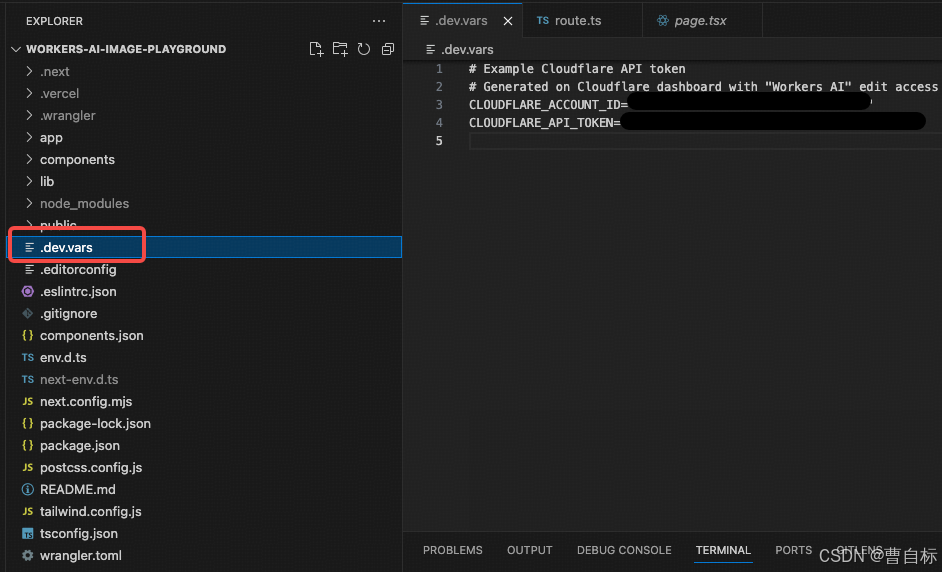
- git clone到本地
- 修改配置文件
- 將.dev.vars.example改為.dev.vars
- 替換CLOUDFLARE_ACCOUNT_ID(賬號)和CLOUDFLARE_API_TOKEN(令牌)
3. 執行npm install
4. 執行npm run preview(生產為preview)
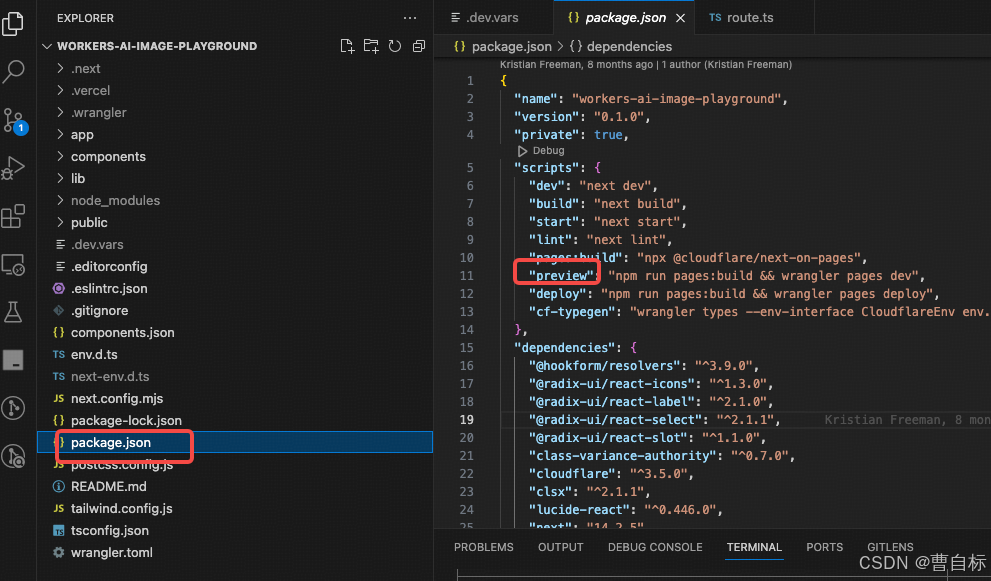
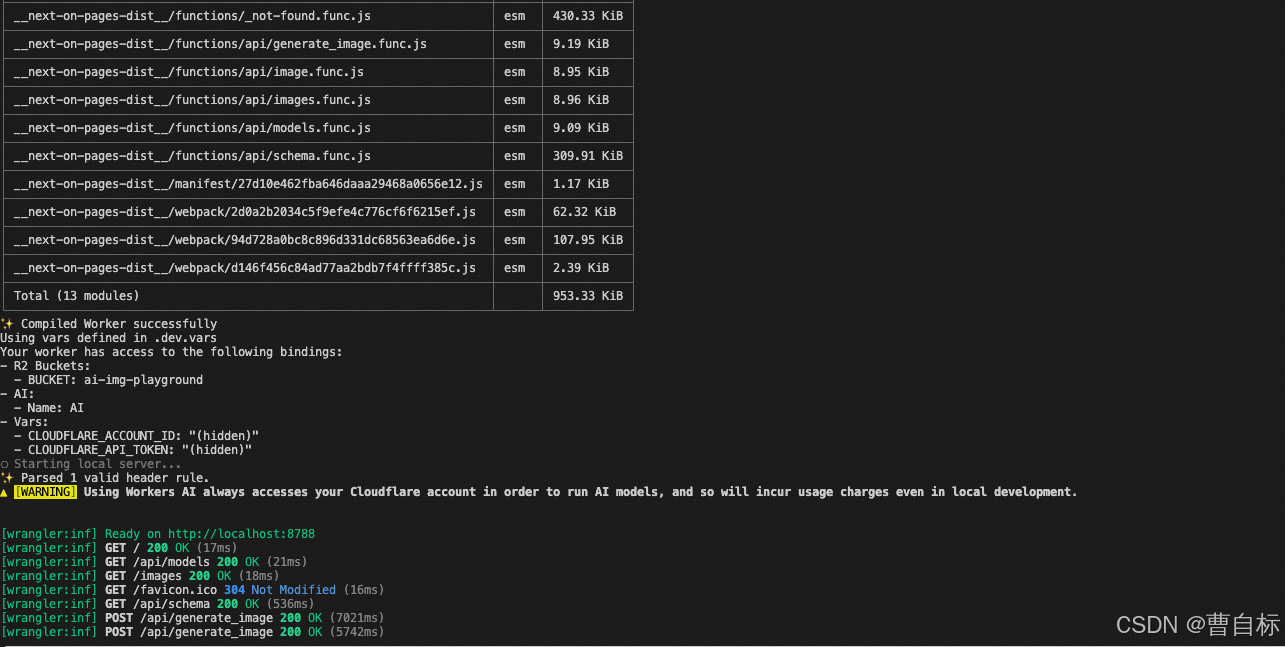
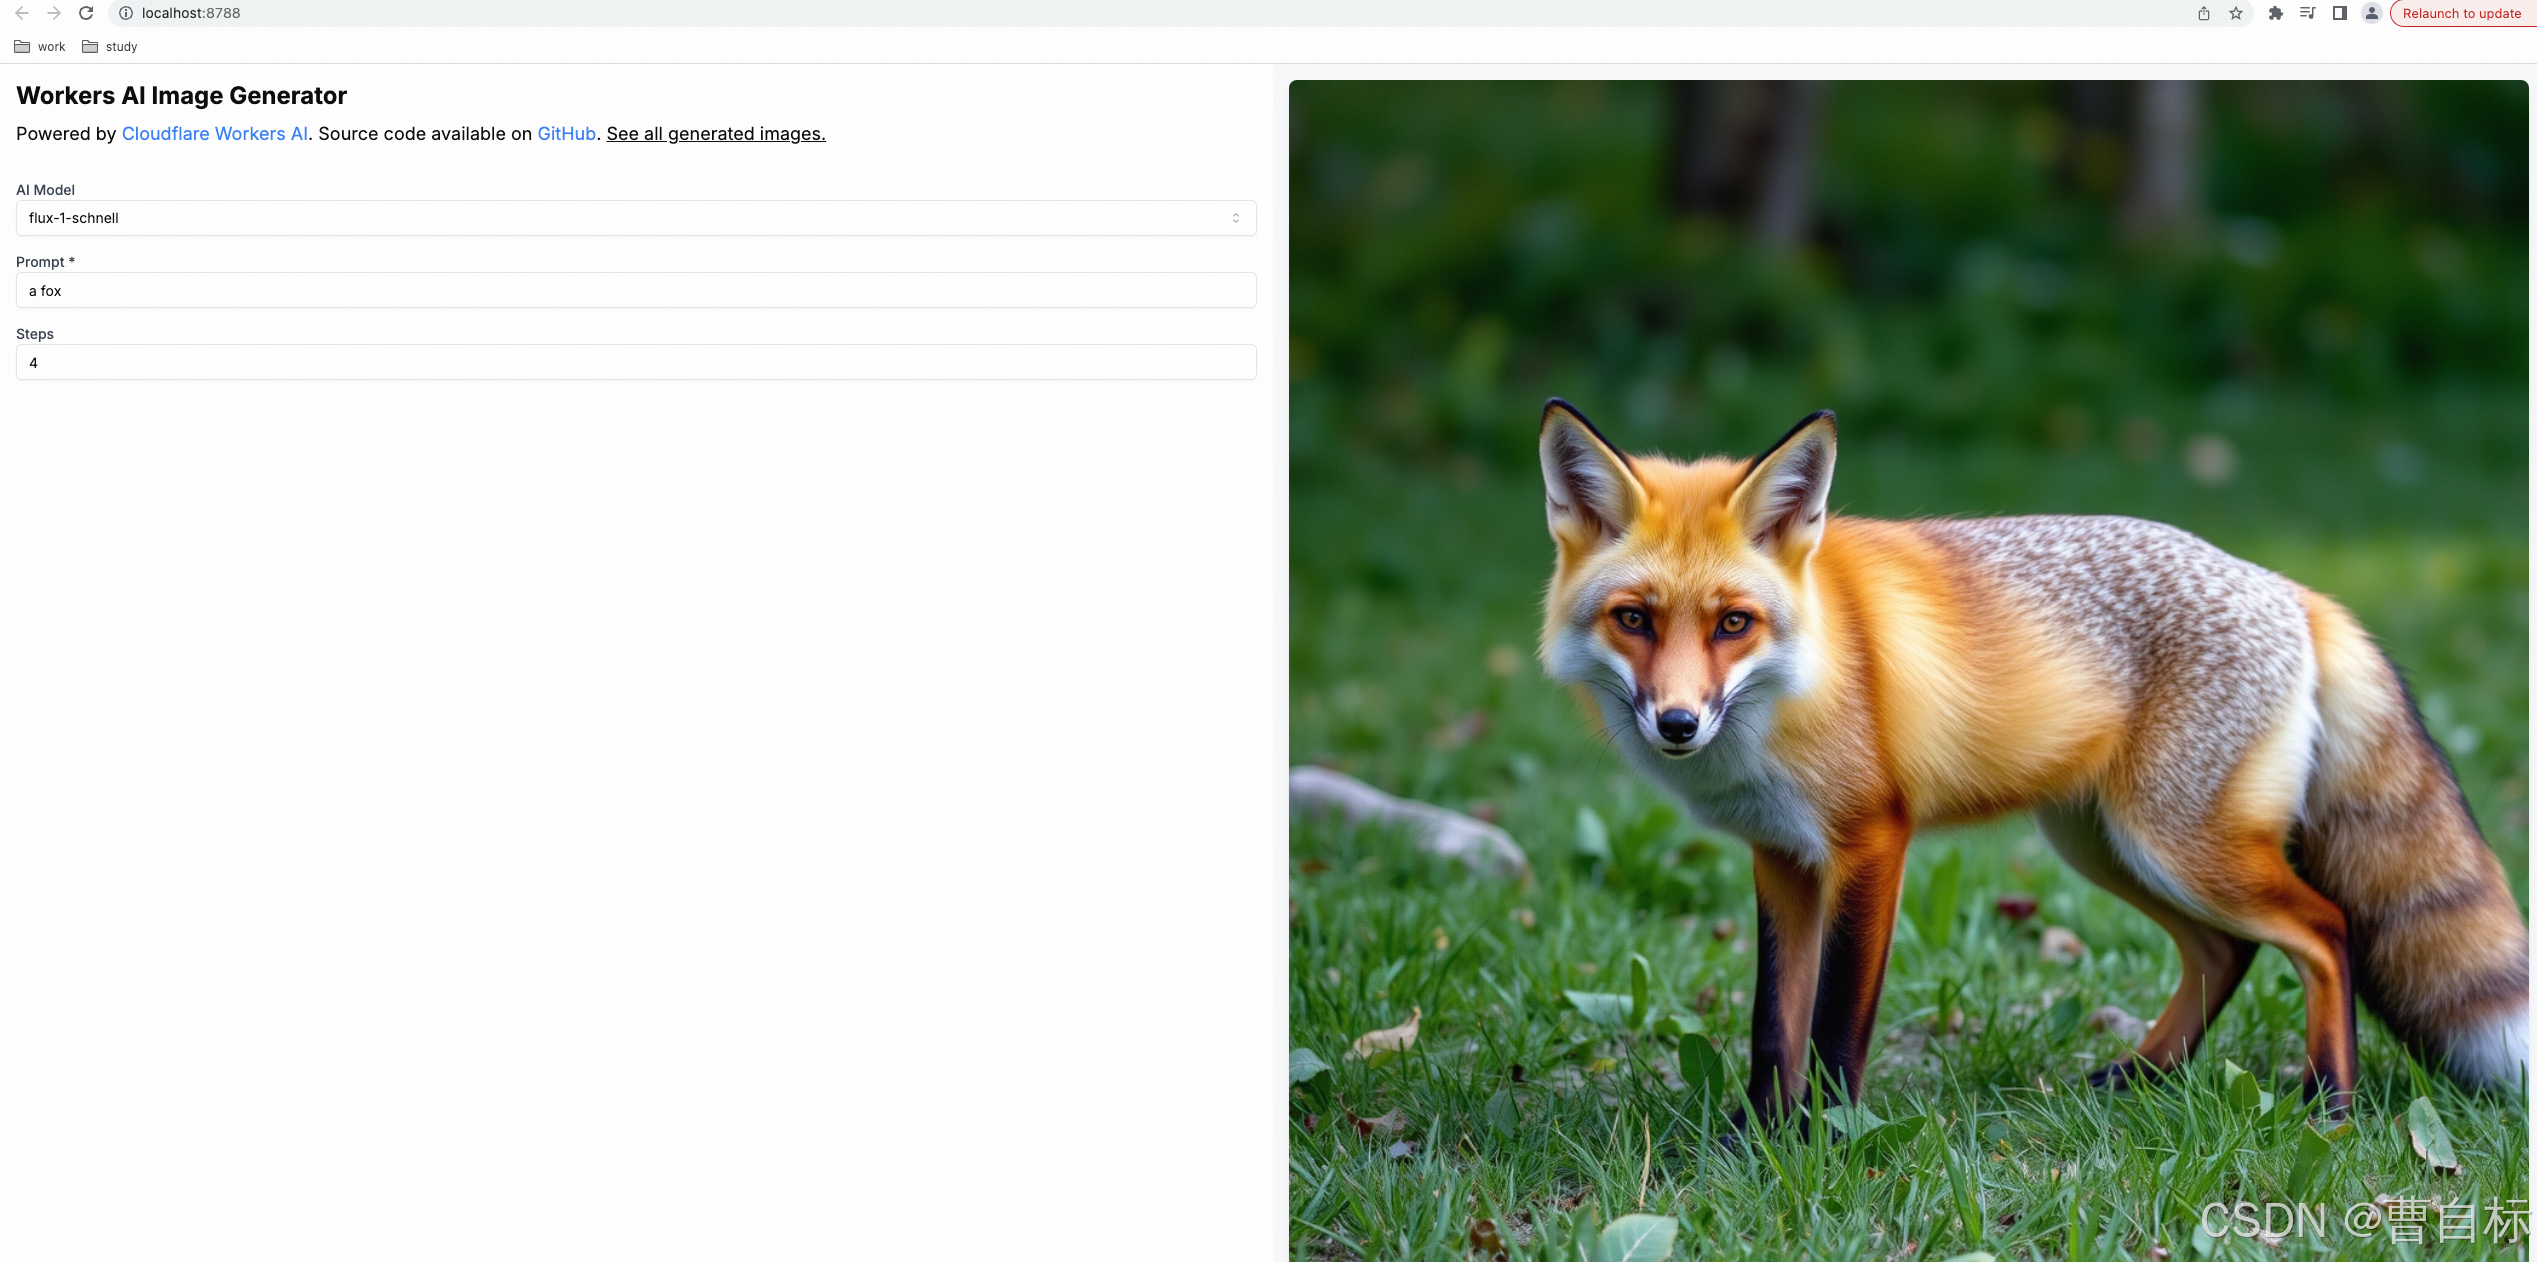
5. 打開網頁(http://localhost:8788),選擇flux-1-schnell

輸入prompt進行測試
Cursor調用MCP Server
實現一個調用Cloudflare Workers AI模型的MCP Server
參照文章(https://juejin.cn/post/7485267450880229402#heading-9)進行項目設置
項目設置
讓我們從創建項目和安裝依賴開始:
mkdir mcp-image-generator
cd mcp-image-generator
npm init -y
npm install @modelcontextprotocol/sdk zod dotenv
npm install --save-dev typescript @types/node
接下來,創建一個基本的TypeScript配置文件。在項目根目錄創建tsconfig.json:
{"compilerOptions": {"target": "ES2020","module": "NodeNext","moduleResolution": "NodeNext","esModuleInterop": true,"outDir": "./dist","strict": true},"include": ["src/**/*"]
}
然后,創建一個.env文件來存儲你的Cloudflare憑證:
ini 體驗AI代碼助手 代碼解讀復制代碼CLOUDFLARE_ACCOUNT_ID=你的賬戶ID
CLOUDFLARE_API_TOKEN=你的API令牌
別忘了將這個文件添加到.gitignore,保護你的API密鑰不被意外公開。
構建MCP服務器
直接替換src/index.ts文件
import { McpServer } from "@modelcontextprotocol/sdk/server/mcp.js";
import { StdioServerTransport } from "@modelcontextprotocol/sdk/server/stdio.js";
import { z } from "zod";
import fs from 'fs';
import path from 'path';
import os from 'os';
import * as dotenv from 'dotenv';// 加載環境變量
dotenv.config();// 創建MCP服務器
const server = new McpServer({name: "AI圖片生成助手",version: "1.0.0"
});// 添加一個文生圖工具
server.tool("generate-image-from-text","使用Cloudflare的Flux模型生成圖像",{prompt: z.string().min(1, "提示文本不能為空").max(2048, "提示文本不能超過2048個字符").describe("用于生成圖像的文本描述"),steps: z.number().int("步數必須是整數").max(8, "步數最大為8").default(4).describe("擴散步數,值越高質量越好但耗時更長"),outputPath: z.string().min(1, "輸出路徑不能為空").describe("生成圖片的保存目錄路徑"),filename: z.string().min(1, "文件名不能為空").describe("保存的圖片文件名,不需要包含擴展名")},async ({ prompt, steps = 4, outputPath, filename }) => {const CLOUDFLARE_ACCOUNT_ID = process.env.CLOUDFLARE_ACCOUNT_ID;const CLOUDFLARE_API_TOKEN = process.env.CLOUDFLARE_API_TOKEN;const url = `https://api.cloudflare.com/client/v4/accounts/${CLOUDFLARE_ACCOUNT_ID}/ai/run/@cf/black-forest-labs/flux-1-schnell`;console.log(url);try {// 調用Cloudflare APIconst response = await fetch(url, {method: 'POST',headers: {'Authorization': `Bearer ${CLOUDFLARE_API_TOKEN}`,'Content-Type': 'application/json'},body: JSON.stringify({prompt: prompt})});// 解析響應const responseData = await response.json() as { image?: string;[key: string]: unknown };if (!response.ok) {return {content: [{ type: "text", text: `調用API失敗: ${response.status} ${response.statusText}` }]};}// 提取圖像數據let imageBase64 = null;if (responseData.image) {imageBase64 = responseData.image as string;} else if (responseData.result && typeof responseData.result === 'object') {const resultObj = responseData.result as Record<string, unknown>;if (resultObj.image) {imageBase64 = resultObj.image as string;} else if (resultObj.data) {imageBase64 = resultObj.data as string;}}if (!imageBase64) {return {content: [{ type: "text", text: "API返回的數據中沒有圖像" }]};}// 圖像處理邏輯將在下一步添加// 保存圖像文件let targetFilePath = path.join(outputPath, `${filename}.jpg`);let actualSavePath = targetFilePath;let message = '';try {// 確保輸出目錄存在if (!fs.existsSync(outputPath)) {fs.mkdirSync(outputPath, { recursive: true });}// 測試目錄是否可寫const testFileName = path.join(outputPath, '.write-test');fs.writeFileSync(testFileName, '');fs.unlinkSync(testFileName);// 將Base64圖像保存為文件const imageBuffer = Buffer.from(imageBase64, 'base64');fs.writeFileSync(targetFilePath, imageBuffer);message = `圖像已成功生成并保存到: ${targetFilePath}`;} catch (fileError) {// 備用方案:保存到臨時目錄const tempDir = path.join(os.tmpdir(), 'mcp_generated_images');if (!fs.existsSync(tempDir)) {fs.mkdirSync(tempDir, { recursive: true });}actualSavePath = path.join(tempDir, `${filename}.jpg`);const imageBuffer = Buffer.from(imageBase64, 'base64');fs.writeFileSync(actualSavePath, imageBuffer);message = `由于權限問題無法保存到 ${targetFilePath},已保存到臨時位置: ${actualSavePath}`;}return {content: [{ type: "text", text: message }]};} catch (error: unknown) {const errorMessage = error instanceof Error ? error.message : String(error);return {content: [{ type: "text", text: `發生錯誤: ${errorMessage}` }]};}
}
);// 啟動服務器
const transport = new StdioServerTransport();
await server.connect(transport);
編譯和運行
在package.json中添加以下腳本:
"scripts": {"build": "tsc","start": "node dist/index.js"
}
然后編譯并運行你的服務器:
npm run build
在Cursor中配置MCP服務
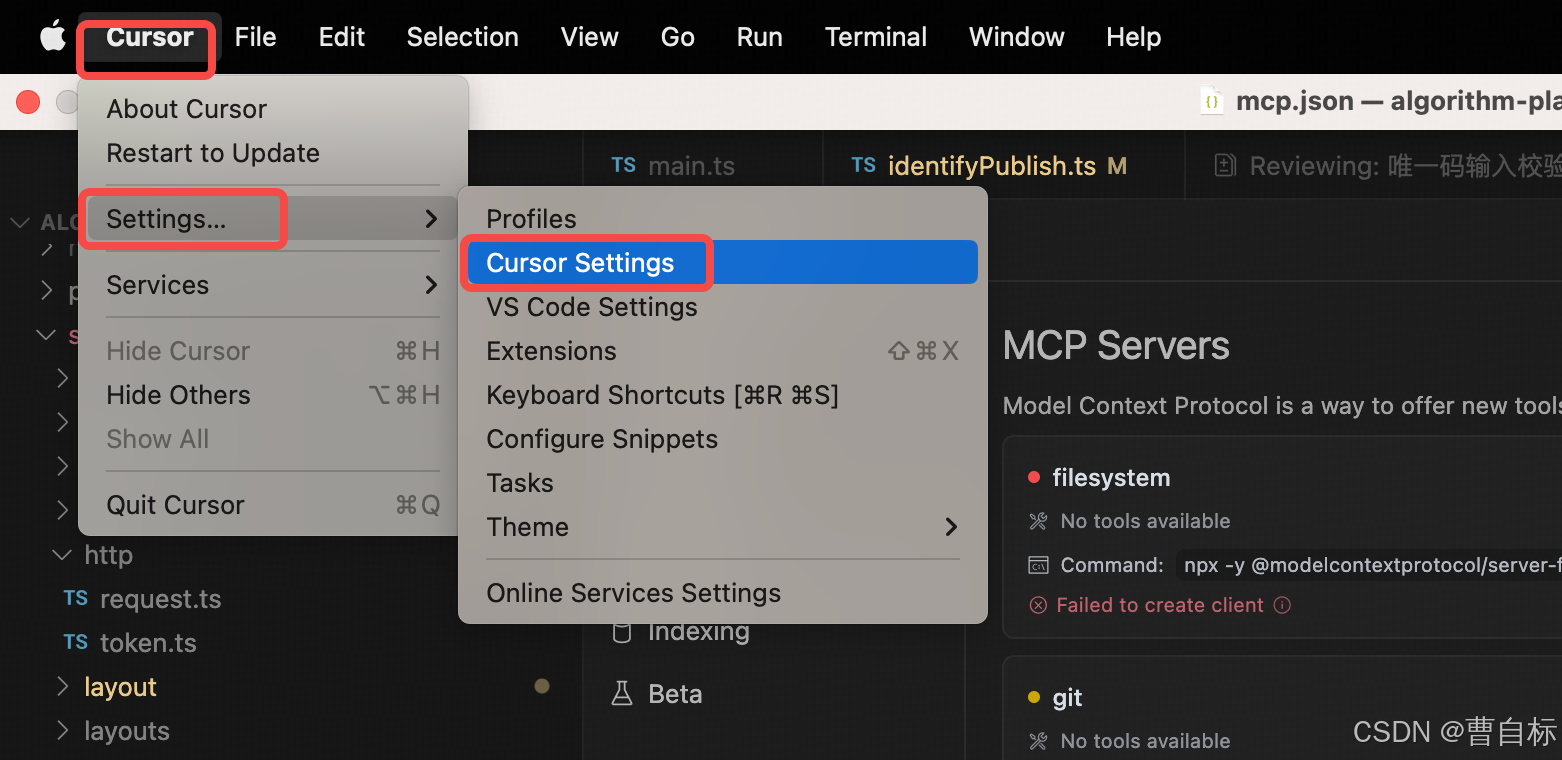
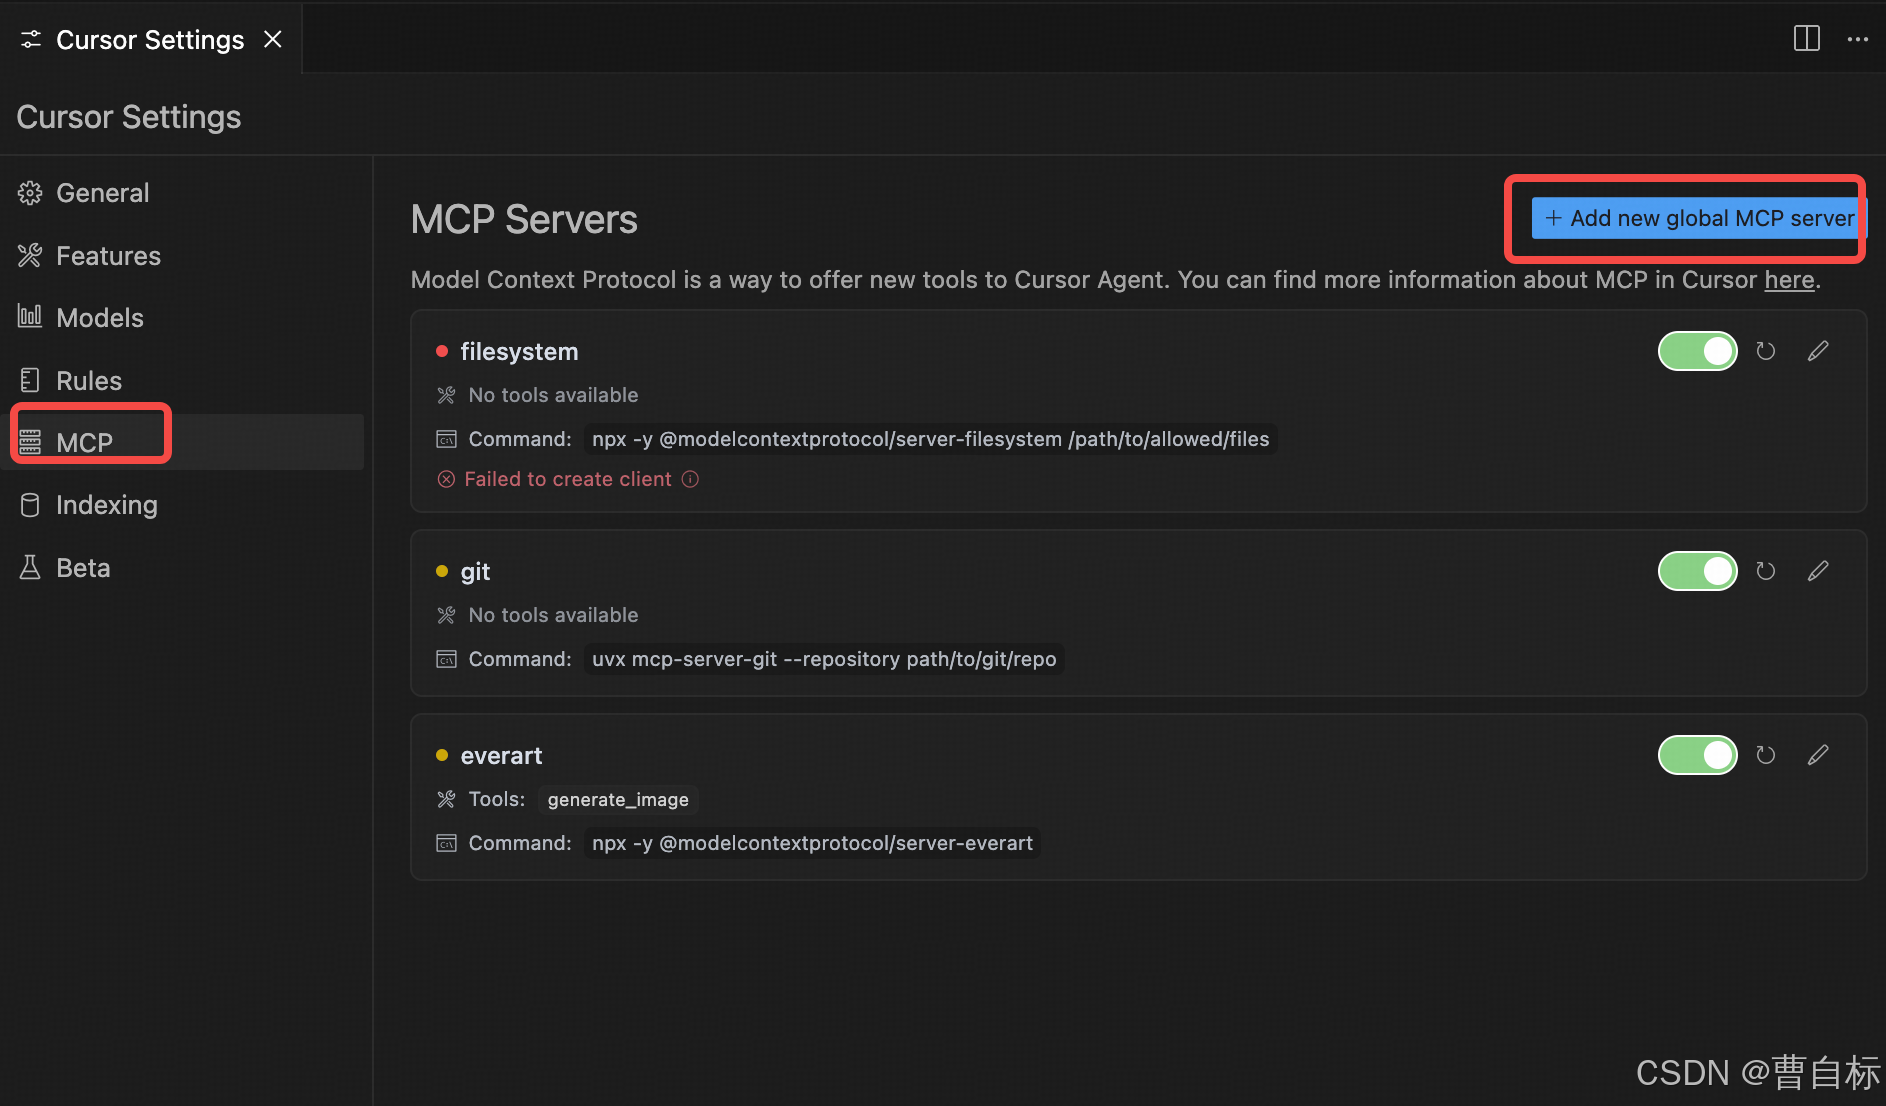
{"mcpServers": {"imageGenerator": {"command": "node","args": ["/Users/admin/Desktop/work/study/mcp-image-generator/dist/index.js" # 替換為你的路徑]}}
}
重啟Cursor使配置生效
測試效果
輸入
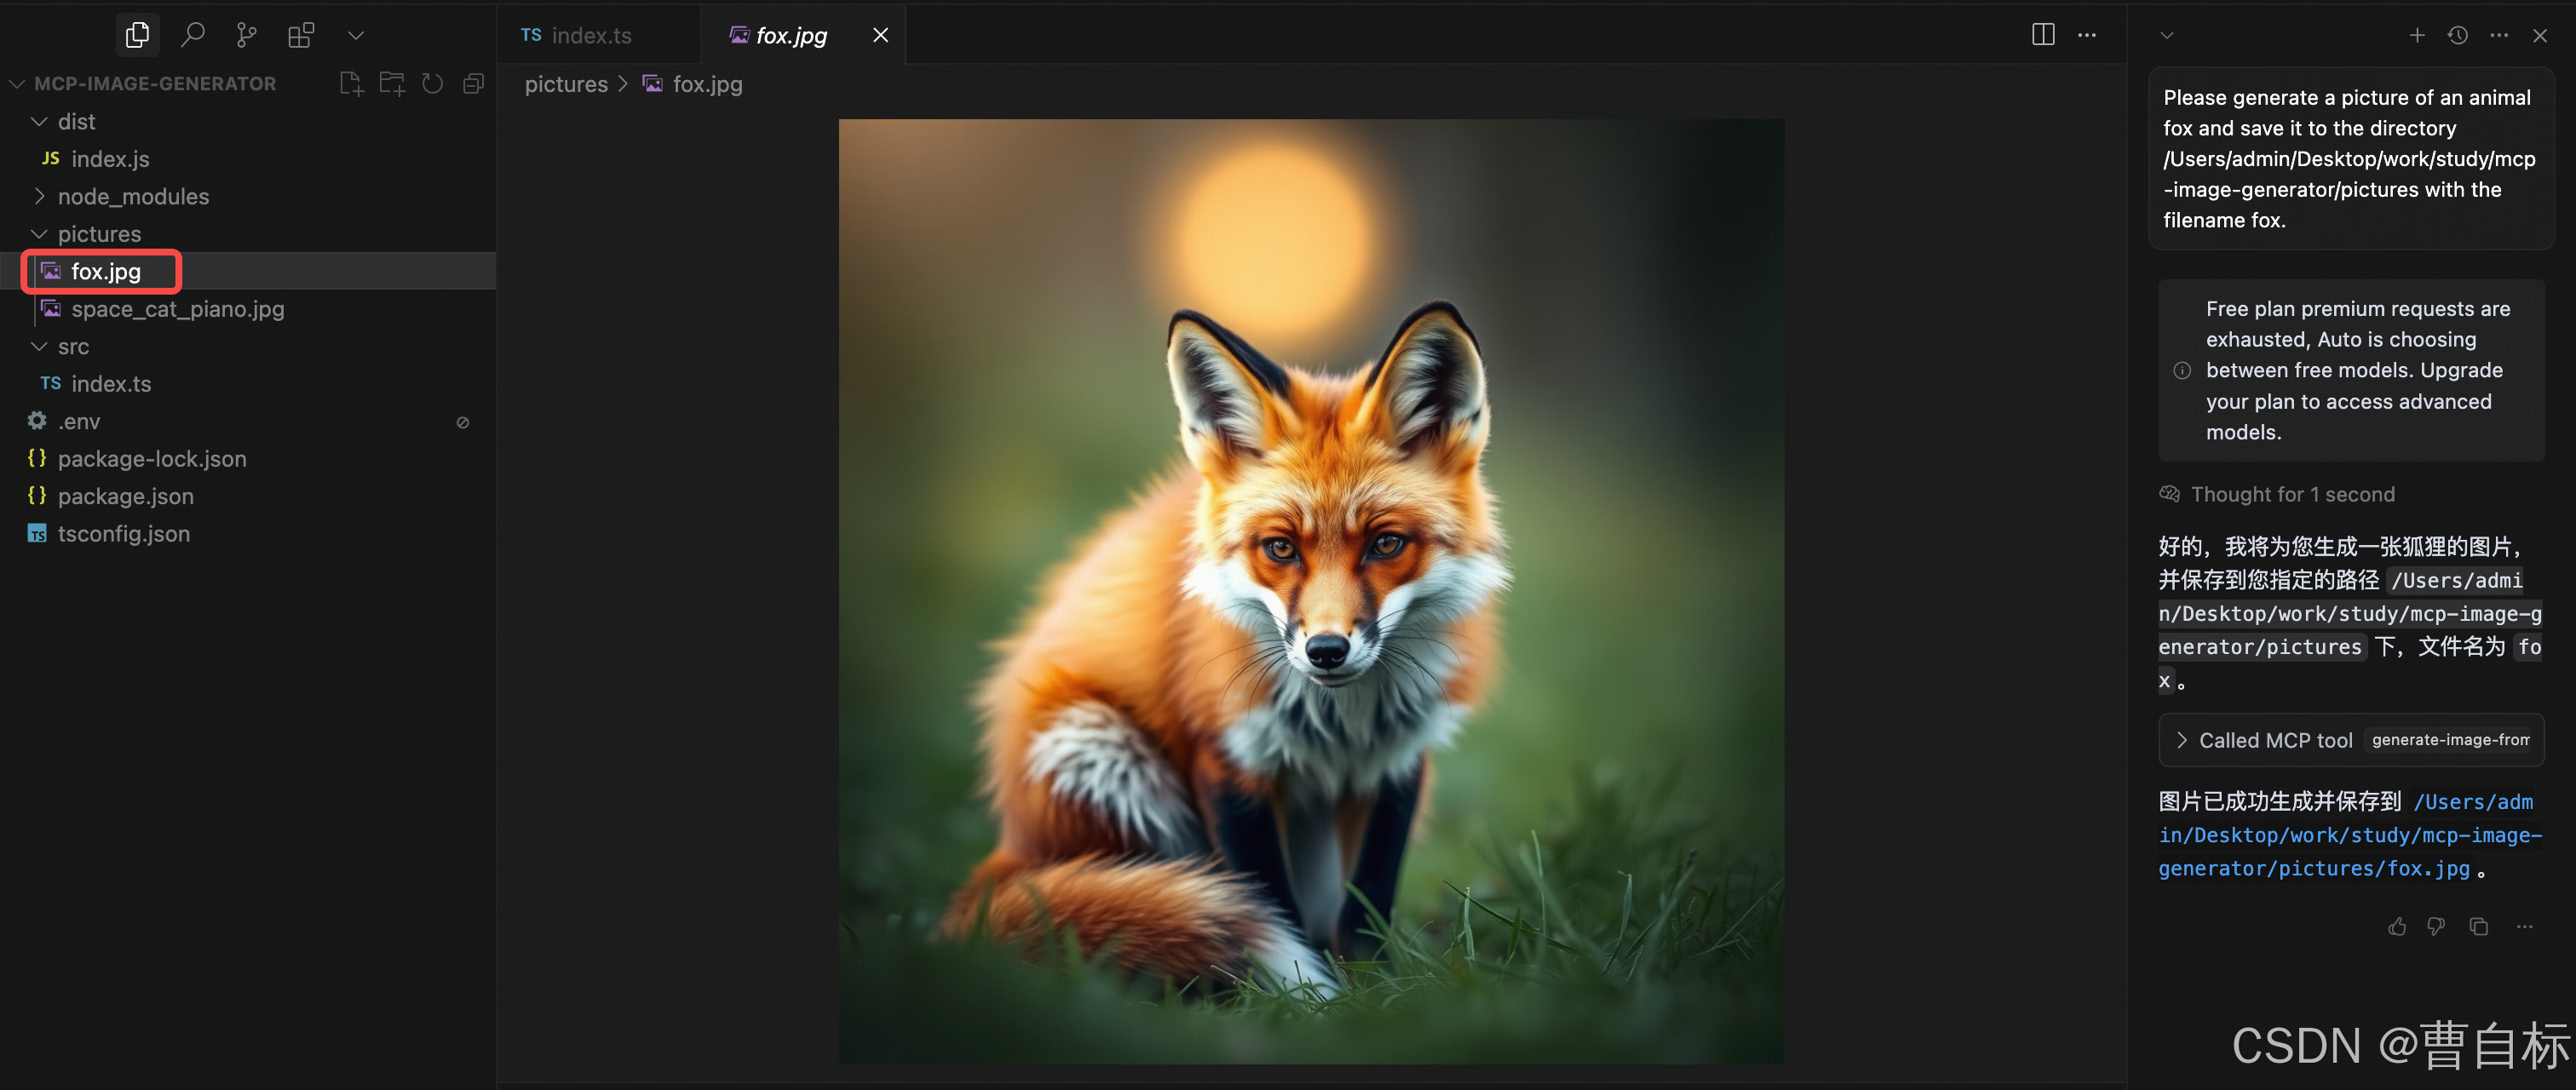
Please generate a picture of an animal fox and save it to the directory /Users/admin/Desktop/work/study/mcp-image-generator/pictures with the filename fox.
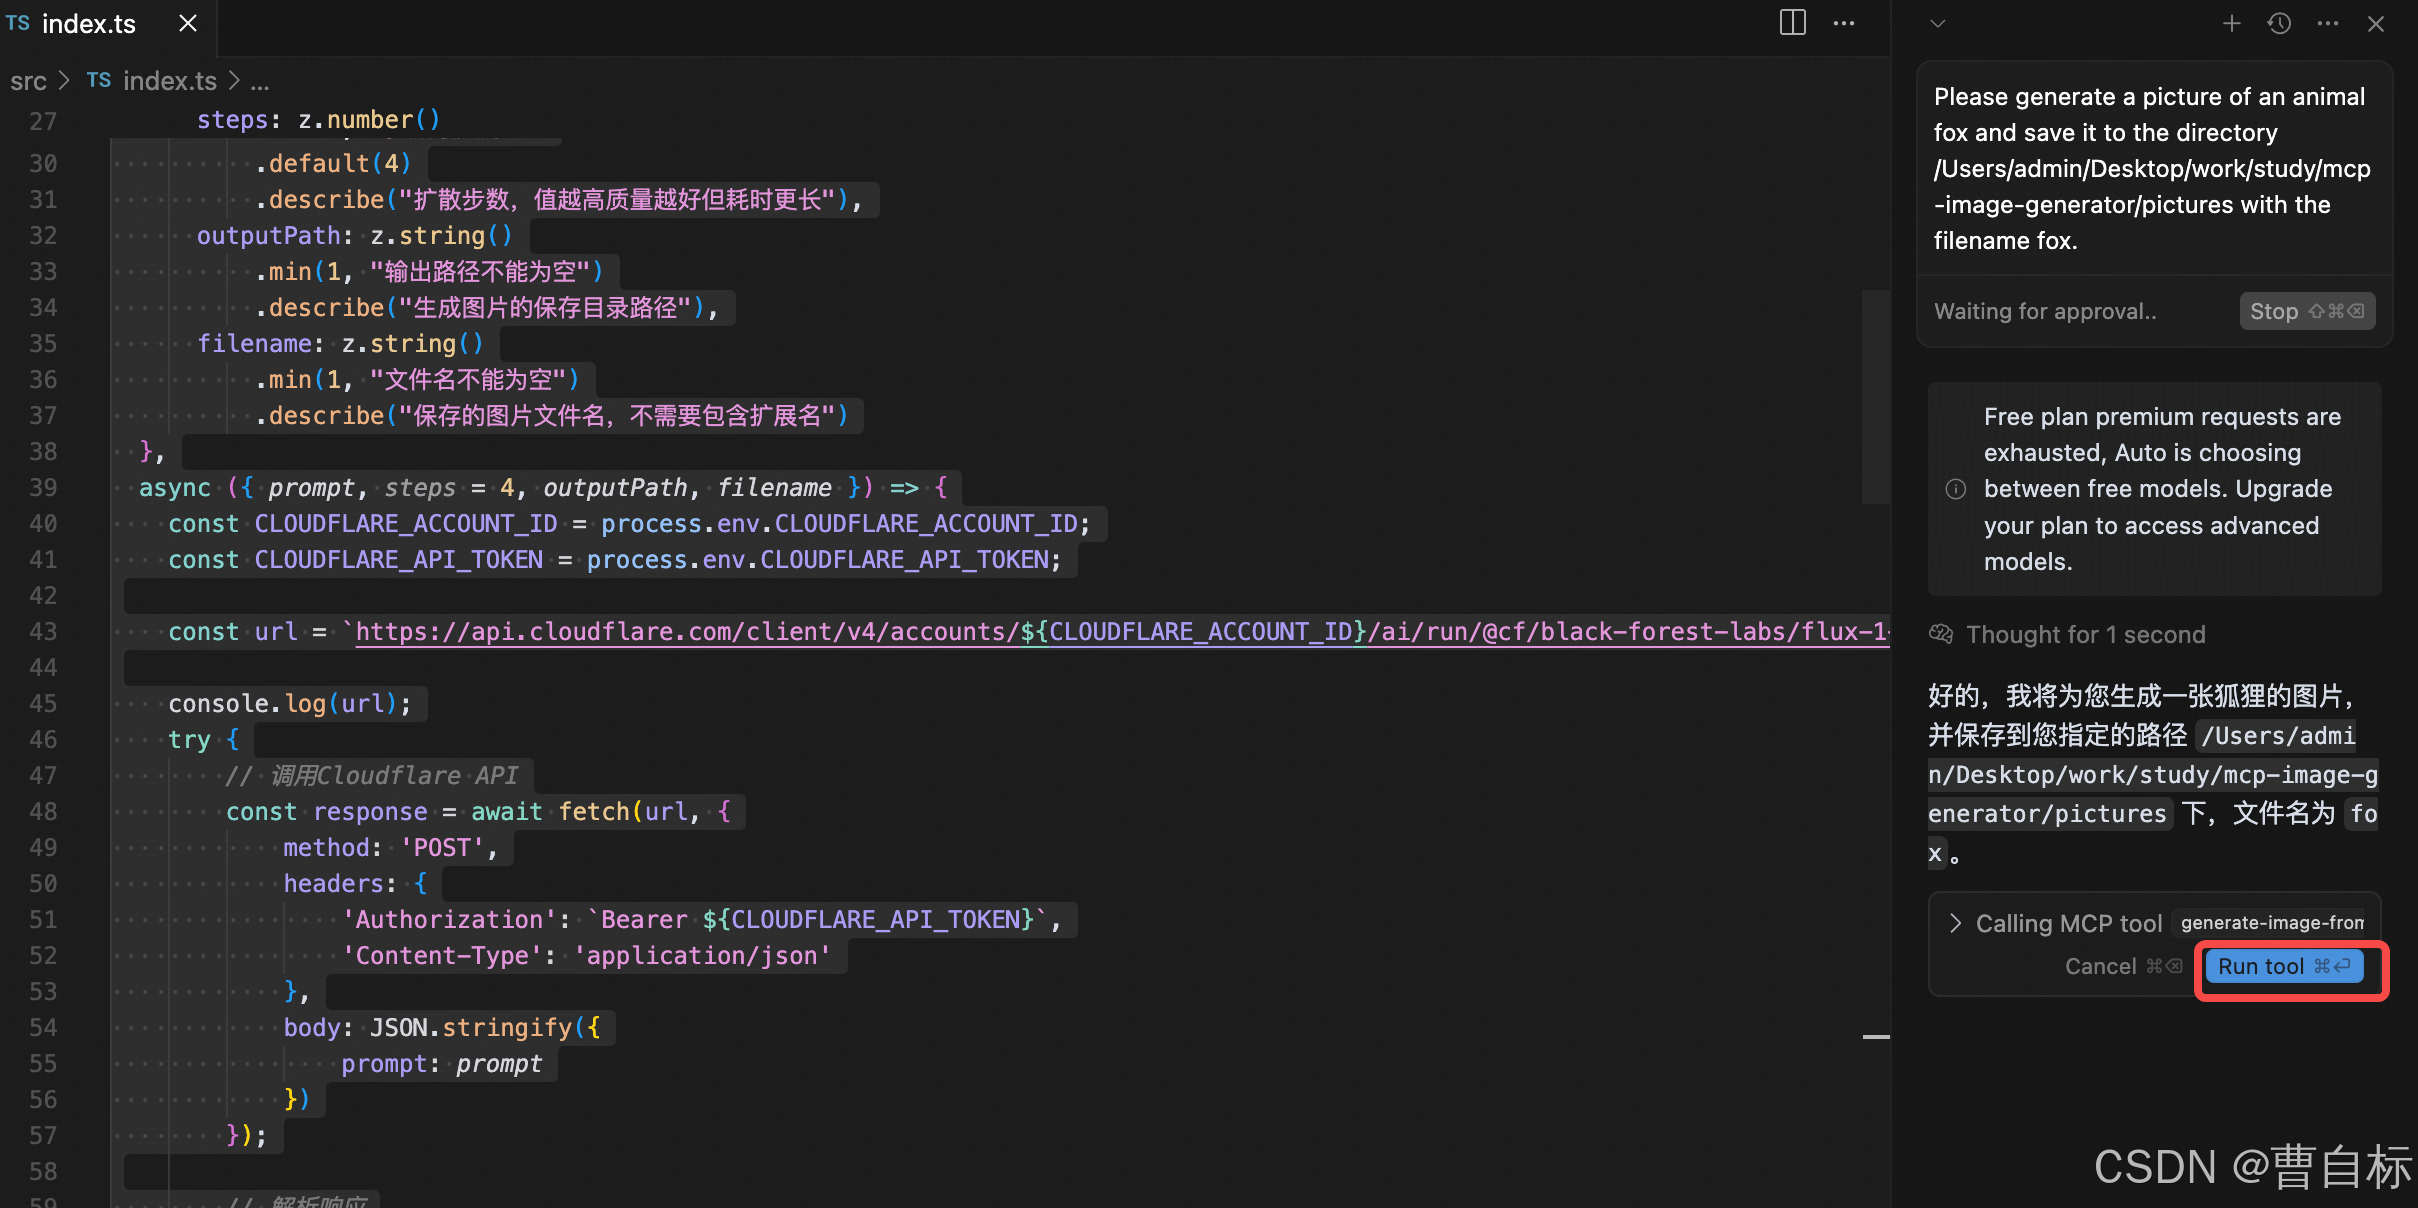
Run tool,查看圖片
參考
https://juejin.cn/post/7485267450880229402
https://www.cnblogs.com/foxhank/p/18378208
https://github.com/fengin/image-gen-server?tab=readme-ov-file
https://cursor.directory/mcp
https://zhuanlan.zhihu.com/p/27327515233
https://blog.csdn.net/m0_65096391/article/details/147570383

)


)


