系列文章目錄
文章目錄
- 系列文章目錄
- 前言
- 一、為什么前端選擇slint而不是Tauri或者其他GUI框架
- 二、開發工具
- 三、代碼編寫
- 項目結構
- 前端代碼編寫
- 后端開發編寫
- 運行效果
- 總結
前言
本文章就是一個簡單rust全棧編程的一個小小的示例供rust新手閱讀學習。
一、為什么前端選擇slint而不是Tauri或者其他GUI框架
下面是我AI出來的一張表
| 框架 | GUI 模式 | 渲染后端 | 性能優勢 | 最佳適用場景 |
|---|---|---|---|---|
| ??egui | ?? 即時模式 | wgpu/glow ? | ?極高渲染幀率??,實時響應 | 游戲工具、實時數據儀表盤、調試界面 |
| ??Iced?? | 保留模式 (Elm) | wgpu/glow/tiny_skia | ??良好的渲染性能??,高效更新 | 通用桌面應用、工具軟件 |
| ??Slint?? | 保留模式 (DSL) | 自有高效渲染器 ?? | 最低內存占用??,??最快啟動?? | 嵌入式系統、資源敏感型應用、Kiosk |
| ??Tauri?? | Web (任何前端框架) | 系統 WebView ?? | 高開發效率??,??安裝包小?? | 商業桌面應用、利用現有Web技術的項目 |
| ??GTK-rs | ?? 保留模式 (GTK) | Cairo/GTK | 原生外觀,穩定 | 希望與 GNOME/Linux 桌面深度集成的應用 |
其是我選擇slint的主要原因就是看重它的高性能和跨平臺能力,對于手機或者樹莓派這類內存敏感平臺會更友好一些。
二、開發工具
這里我選擇的是RustRover它對新手會友好一些,代碼提示豐富,開發起來效率也會高一些。
使用slintGUI框架的話RustRover也有對應的插件,可以預覽窗體效果
三、代碼編寫
項目結構
首先安裝號rust的開發環境,具體怎么安裝可以在網上尋找教程
在控制輸入命令
cargo new slint-test
創建一個rust的項目
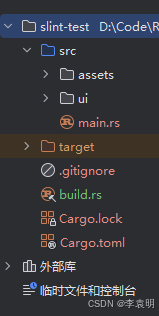
打開之后項目結構如下;新創建的項目不會有assets和ui這兩個文件夾和build.rs文件,因為這是我自己創建的
前端代碼編寫
前端的代碼我把它和rust分開了,方便項目管理,這里我創建了一個ui文件夾,里面主要是放.slint文件也就是前端文件
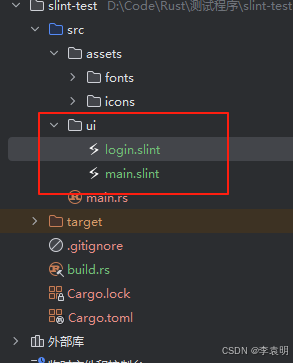
login.slint 文件中的代碼如下:
import { VerticalBox, HorizontalBox, LineEdit, Button, CheckBox } from "std-widgets.slint";
import "../assets/fonts/Amble-Regular.ttf";
export component LoginWindow inherits Window {default-font-family: "Amble";preferred-width: 500px;preferred-height: 400px;title: "用戶登錄";icon: @image-url("../assets/icons/windowlog.png");in-out property <string> userName: "";in-out property <string> passWord: "";in-out property <bool> remember-me: false;in-out property <string> message: "";callback login();// 1. 先把整個內容放進一個占滿窗口的布局VerticalLayout {alignment: center; // 垂直居中HorizontalLayout {alignment: center; // 水平居中// 2. 真正負責外觀的卡片Rectangle {background: #ffffff;border-radius: 8px;drop-shadow-offset-x: 2px;drop-shadow-offset-y: 2px;drop-shadow-blur: 6px;drop-shadow-color: #00000030;width: 450px;VerticalLayout {spacing: 12px;padding: 20px;// 標題Text {text: "用戶登錄";font-size: 24px;color: #2c3e50;font-weight: 700;horizontal-alignment: center;}// 表單區域VerticalLayout {spacing: 10px;width: 400px;// 用戶名輸入HorizontalLayout {spacing: 10px;height: 40px;Text {text: "用戶名:";width: 80px;horizontal-alignment: right;vertical-alignment: center;}LineEdit {placeholder-text: "請輸入用戶名";text <=> root.userName;}}// 密碼輸入HorizontalLayout {spacing: 10px;height: 40px;Text {text: "密碼:";width: 80px;horizontal-alignment: right;vertical-alignment: center;}LineEdit {placeholder-text: "請輸入密碼";text <=> root.passWord;input-type: password;}}// 記住我選項CheckBox {text: "記住登錄狀態";checked <=> root.remember-me;}}// 登錄按鈕HorizontalLayout {alignment: center;Button {text: "登  錄";clicked => {root.login();}width: 120px;height: 36px;}}// 消息提示Text {color: #e74c3c;height: 20px;text <=> root.message;}}}}}
}
在代碼中有這樣一句代碼:
這里是我放置的字體文件;
import "../assets/fonts/Amble-Regular.ttf";
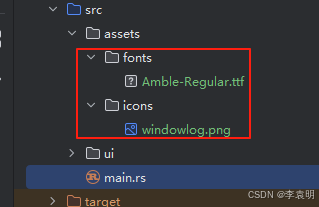
assets 文件夾主要就是放一些靜態文件
目前主要是放一下圖標和字體文件
后端開發編寫
后端主要就是做了一個密碼校驗和一些簡單的邏輯處理
slint::include_modules!();  // 導入編譯生成的 UI 代碼
use std::time::Duration;
fn main() -> Result<(), slint::PlatformError> {let ui = LoginWindow::new()?;// 加載保存的用戶名和密碼(示例中簡單實現)if let Some((user, pass)) = load_credentials() {ui.set_userName(user.into());ui.set_passWord(pass.into());ui.set_remember_me(true);}let ui_handle = ui.as_weak();ui.on_login(move || {let ui = ui_handle.unwrap();let username = ui.get_userName();let password = ui.get_passWord();let remember = ui.get_remember_me();// 簡單的驗證邏輯if username.is_empty() || password.is_empty() {ui.set_message("用戶名和密碼不能為空".into());return;}// 模擬網絡請求延遲slint::spawn_local({let ui_weak = ui.as_weak();async move {// 模擬網絡請求async_std::task::sleep(Duration::from_secs(1)).await;let success = username == "admin" && password == "123456";ui_weak.upgrade_in_event_loop(move |ui| {ui.set_message(if success {if remember {save_credentials(&username, &password);} else {clear_credentials();}"登錄成功!".into()} else {"用戶名或密碼錯誤".into()});}).unwrap();}}).expect("程序內部錯誤!");});ui.run()
}// 簡單的憑證存儲(實際應用中應該加密)
fn save_credentials(username: &str, password: &str) {// 這里應該使用更安全的方式存儲println!("保存憑證: {}:{}", username, password);
}fn load_credentials() -> Option<(String, String)> {// 這里從安全存儲中加載Some(("admin".into(), "123456".into())) // 示例中硬編碼
}fn clear_credentials() {println!("清除保存的憑證");
}
在代碼開頭有這樣一句代碼
slint::include_modules!();
這里是因為我在build.rs文件中進行了處理所有這里就不需要導入指定的slint文件
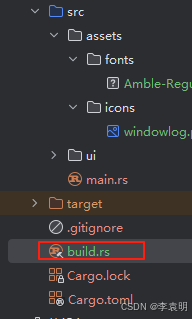
build.rs文件代碼如下:
fn main() {slint_build::compile("src/ui/login.slint").unwrap();
}
運行效果
打開RustRover 輸入命令:cargo run
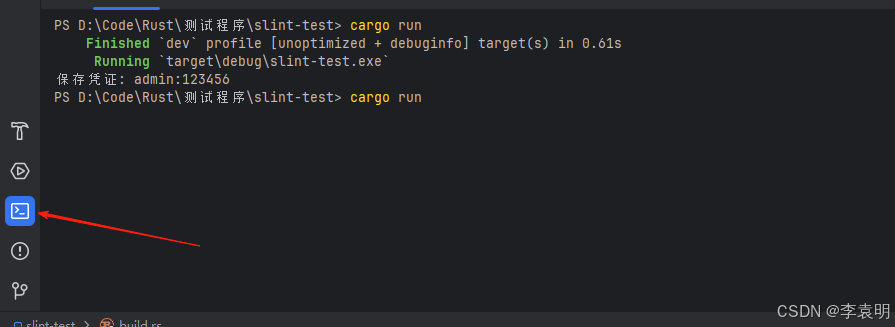
執行效果如下:

總結
以上就是今天要講的內容,本文僅僅簡單介紹了rust+slint的使用。rust是一門很好的語言沒有GC不用擔心對象跑飛。性能也和c和c++不相上下,卻比他們更安全。
)
)
)


優化BP神經網絡和NSGA-II(非支配排序遺傳算法)多目標優化)


