一、安裝
在docker中安裝部署ELK+filebeat
二、主要配置
| - type: log
??# Change to true to enable this input configuration.
??enabled: true
??# Paths that should be crawled and fetched. Glob based paths.
??paths:
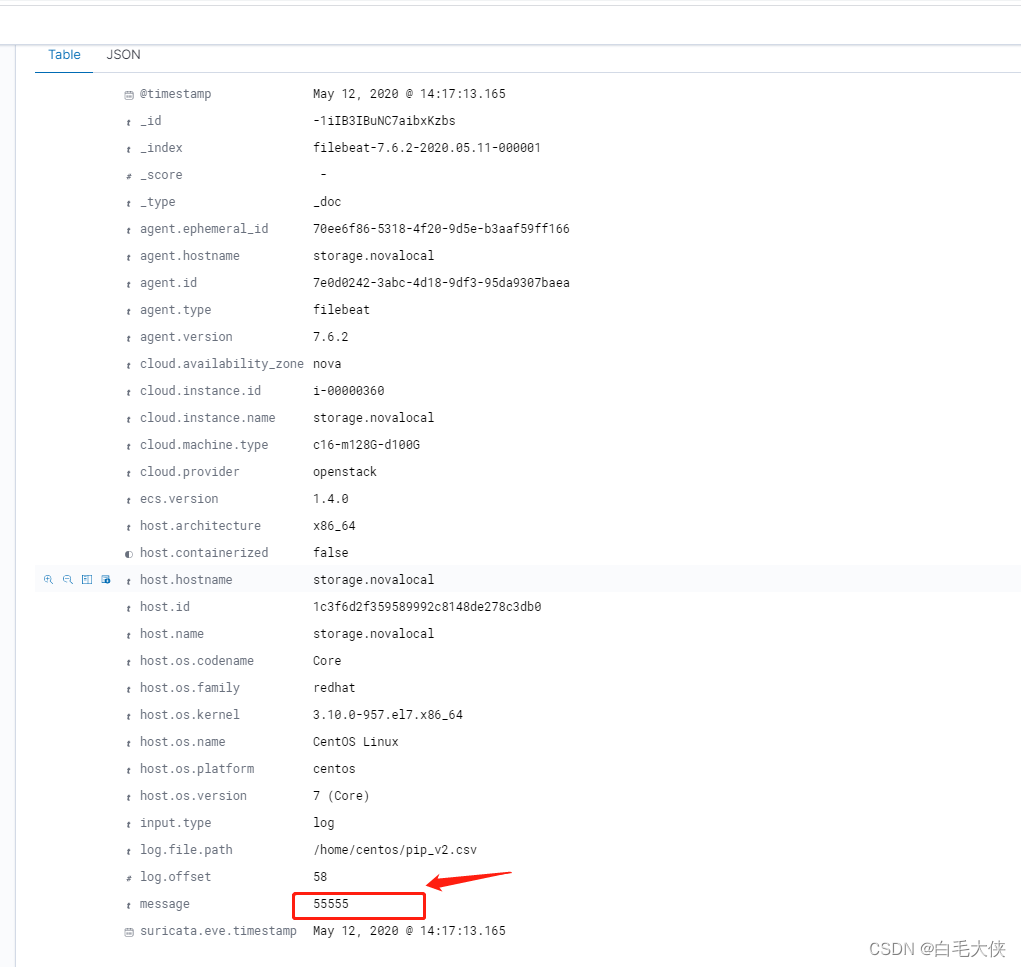
????- /home/centos/pip_v2.csv? #源路徑
????#- c:\programdata\elasticsearch\logs\*
??#exclude_lines: ["^Restaurant Name,"]? #第一行為字段頭以"Restaurant Name"開頭,不要第一行
??multiline:
????pattern: ^\d{4}
????#pattern: ',\d+,[^\",]+$'
????negate: true
????match: after
????max_lines: 1000
????timeout: 30s
|
三、關于elastic的pipline
https://hacpai.com/article/1512990272091
我簡單介紹主流程,詳情見上鏈接
1.開啟數據預處理,node.ingest: true
2.向es提交pipline,并命名為my-pipeline-id
PUT _ingest/pipeline/my-pipeline-id
{
"description" : "describe pipeline",
"processors" : [
{
"set" : {
"field": "foo",
"value": "bar"
}
}
]
}
3.以上pipline的作用
若產生新的數據,會新增一個字段為foo:bar
4.curl的pipline即時測試
POST _ingest/pipeline/_simulate
是一個測試接口,提供pipline的規則和測試數據,返回結果數據
四、關于grok
是pipline中的正則匹配模式,以上規則的復雜版
| POST _ingest/pipeline/_simulate
{
??"pipeline": {
????"description": "grok processor",
??"processors" : [
????{
??????"grok": {
????????"field": "message",
????????"patterns": ["%{IP:client} %{WORD:method} %{URIPATHPARAM:request} %{NUMBER:bytes} %{NUMBER:duration}"]
??????}
????}
??]
??},
??"docs": [
????{
??????"_index": "index",
??????"_type": "type",
??????"_id": "id",
??????"_source": {
???????"message": "55.3.244.1 GET /index.html 15824 0.043"
??????}
????}
??]
}
|
五、使用pipline導入csv
| utput.elasticsearch:
??# Array of hosts to connect to.
??hosts: ["localhost:9200"]
??#index: "csvindex"
??pipline: "my-pipeline-id"
??# Protocol - either `http` (default) or `https`.
??#protocol: "https"
|
測試結果pipline配置后,并沒生效。
六、結論
1.filebeat 導入csv的資料很少,主要為pipline方式,測試幾個失敗。
2.J和數據組并沒有filebaeat 導入csv的成功案例。J不太建議使用
結論:filebeat導csv并不方便,建議采用logstash。
一般日志收集可使用logstash,每行的信息會存到message中
![Sqli-labs靶場第15關詳解[Sqli-labs-less-15]](http://pic.xiahunao.cn/Sqli-labs靶場第15關詳解[Sqli-labs-less-15])


)


---->E. Turtle vs. Rabbit Race: Optimal Trainings)


