前言:最近項目大量用到狀態欄透明,網上也出現很多庫可以直接拿來用,個人認為沒有必要那么重引用到一個庫(有木有同學和我有一樣的想法),所以研究了一番,在此做個記錄加強記憶也便后期查閱,如果無意中有幸能幫助到你那就再好不過了。
一、兩個基本概念
Android 從 4.4 (SDK 19) 開始支持系統欄(狀態欄+導航欄)半透明效果:
You can now make the system bars partially translucent with new themes,Theme.Holo.NoActionBar.TranslucentDecorandTheme.Holo.Light.NoActionBar.TranslucentDecor. By enabling translucent system bars, your layout will fill the area behind the system bars, so you must also enablefitsSystemWindowsfor the portion of your layout that should not be covered by the system bars.
If you're creating a custom theme, set one of these themes as the parent theme or include thewindowTranslucentNavigationandwindowTranslucentStatusstyle properties in your theme.
翻譯一下就是:
TranslucentDecor主題設置了兩個屬性windowTranslucentStatus和windowTranslucentNavigation都為 true,前者指定狀態欄半透明、后者指定導航欄半透明。
本文只探討“狀態欄”。
默認樣式是這樣:
可見 Toolbar 和系統狀態欄之間有明顯的分界,我們要實現的效果是 Toolbar 和狀態欄背景統一,看起來像是一個整體(自行腦補圖片)。
按照官方文檔,我們自定義主題:
對應的 Activity 引用該主題:
android:name=".DetailActivity"
android:label="@string/title_activity_detail"
android:theme="@style/AppTheme.NoActionBar.TransparentStatusBar">
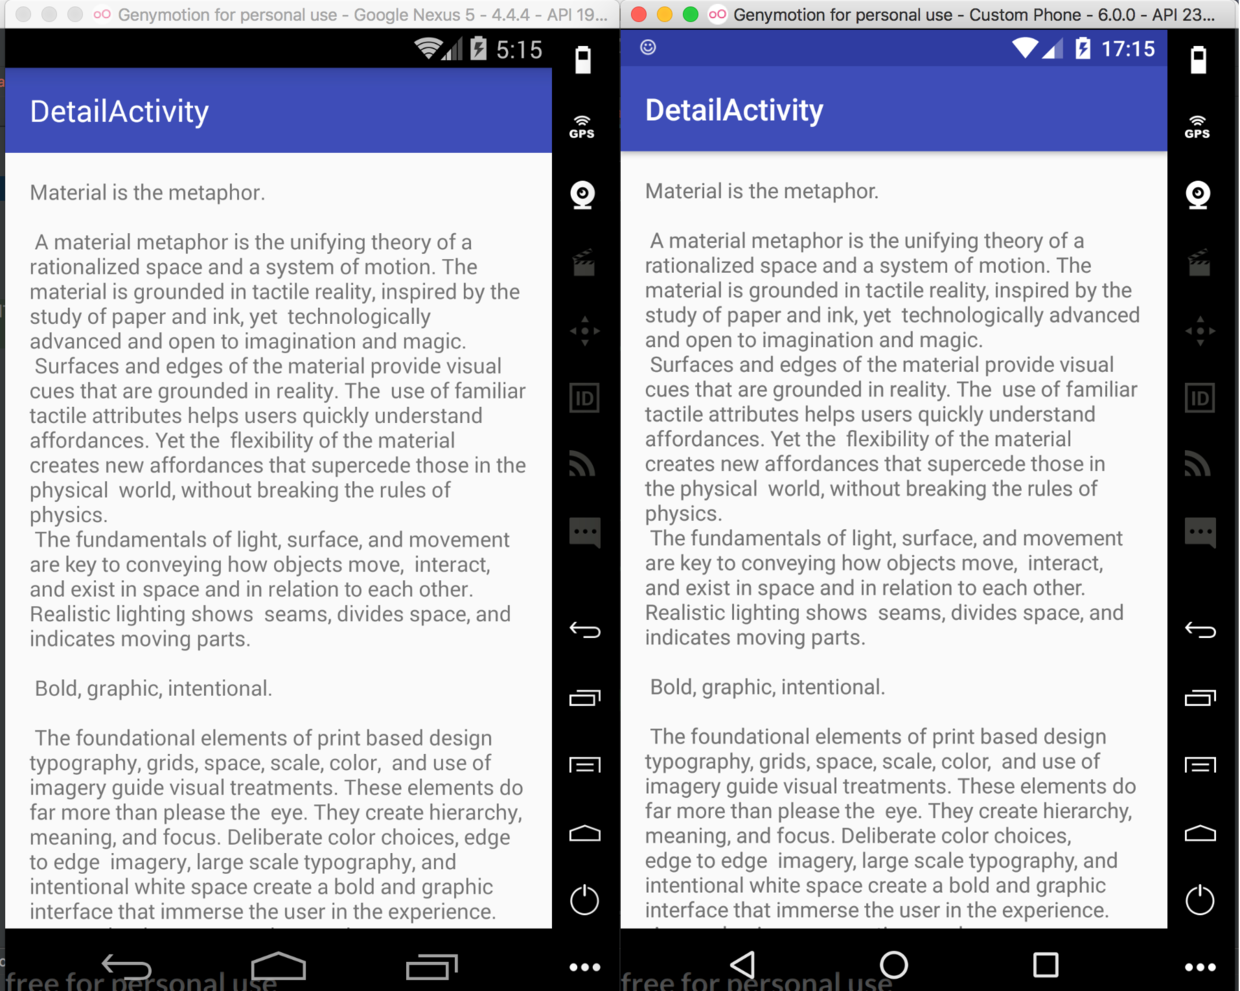
我看來看看效果:
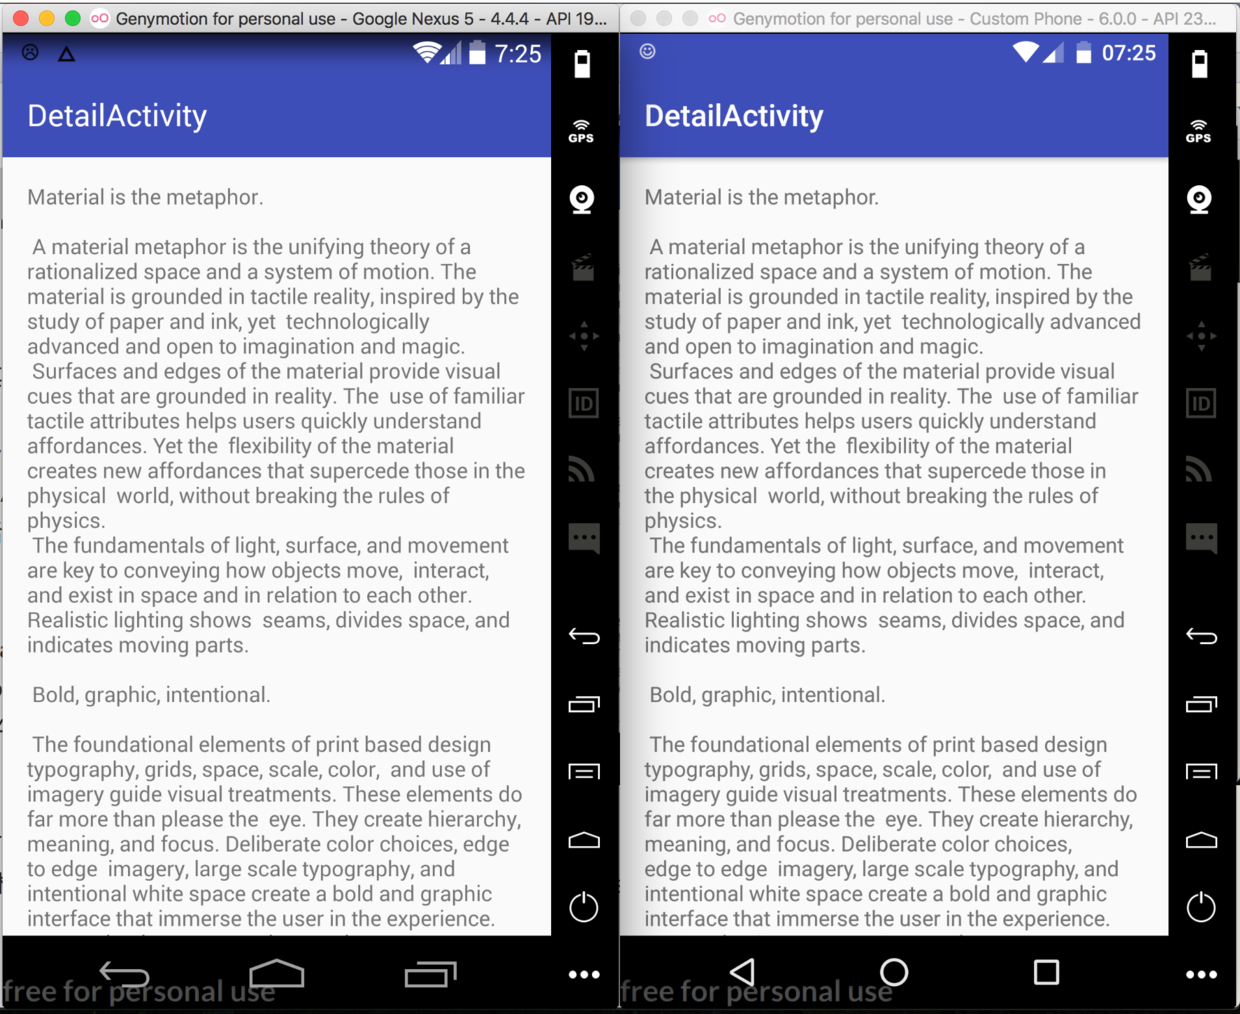
重要:圖上圖所示,在 TranslucentStatusBar 主題下,Android 4.4 狀態欄背景為默認黑色到透明的漸變,5.0+ 狀態欄背景默認為半透明的黑色。
雖然實現了半透明,但是布局被狀態欄覆蓋,接下來在布局文件中設置fitSystemWindows(注意加到根節點ConstraintLayout上):
xmlns:android="http://schemas.android.com/apk/res/android"
xmlns:app="http://schemas.android.com/apk/res-auto"
xmlns:tools="http://schemas.android.com/tools"
android:layout_width="match_parent"
android:layout_height="match_parent"
android:fitsSystemWindows="true"
tools:context="com.netease.mail.statusbar.DetailActivity">
android:id="@+id/app_bar"
android:layout_width="match_parent"
android:layout_height="?attr/actionBarSize"
android:theme="@style/AppTheme.AppBarOverlay"
app:layout_constraintTop_toTopOf="parent">
android:id="@+id/toolbar"
android:layout_width="match_parent"
android:layout_height="?attr/actionBarSize"
app:layout_collapseMode="pin"
app:popupTheme="@style/AppTheme.PopupOverlay"/>
android:layout_width="match_parent"
android:layout_height="0dp"
app:layout_constraintTop_toBottomOf="@id/app_bar"
app:layout_constraintBottom_toBottomOf="parent">
android:layout_width="wrap_content"
android:layout_height="wrap_content"
android:layout_margin="@dimen/text_margin"
android:text="@string/large_text"/>
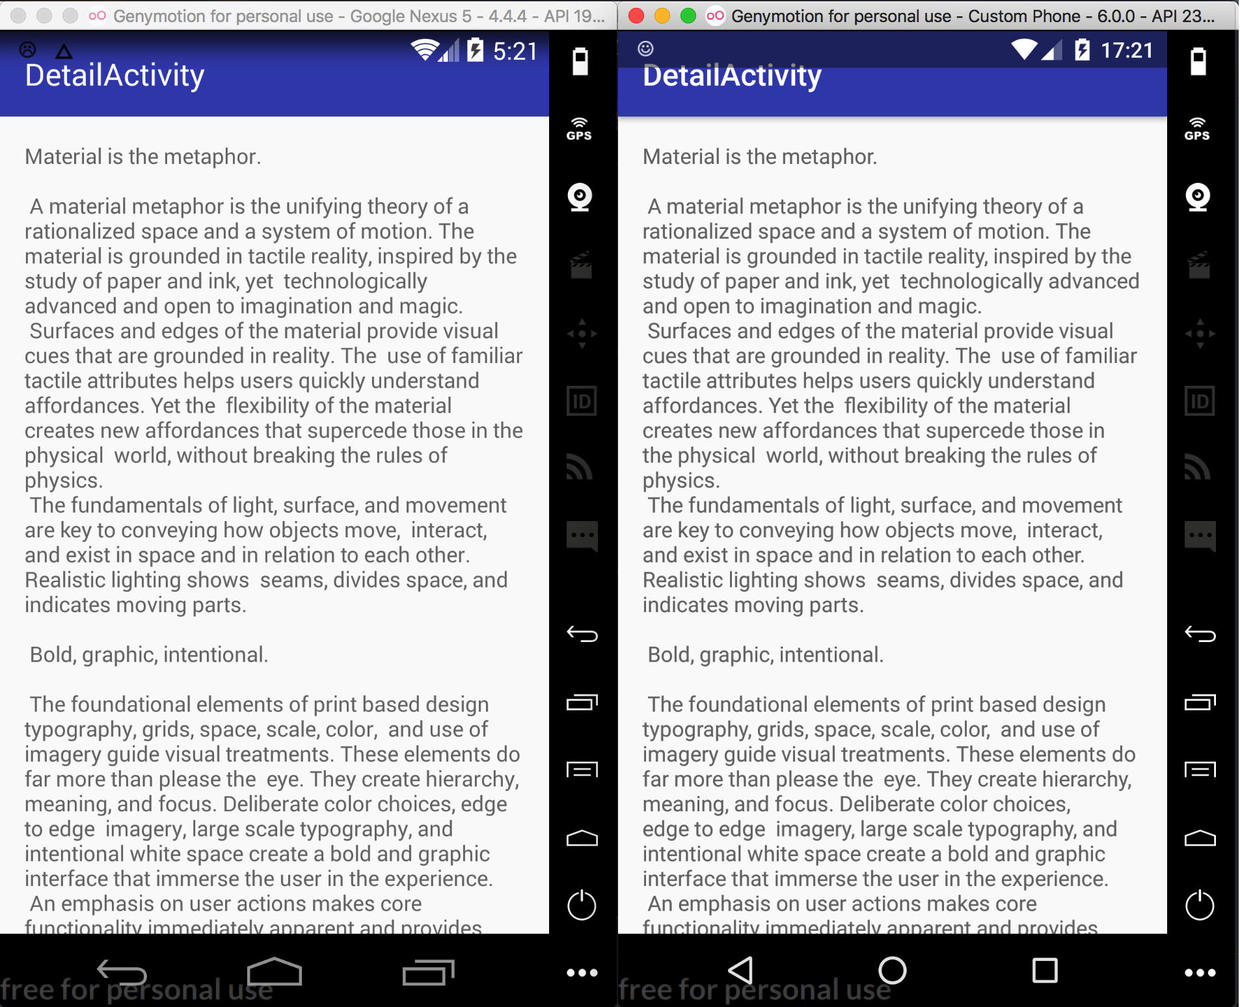
來看看效果:
雖然布局沒有被狀態欄覆蓋,但是狀態欄背景顯然這不是我們想要的效果...
為什么狀態欄會這么奇怪?
文章開頭的定義中我們說了,布局文件會延伸到狀態欄所占區域下,fitsSystemWindows的作用是給對應的 View 增加 padding(這里以 ConstraintLayout 為例),目的是為了讓其內容不被狀態欄遮擋。
在我們的布局文件中 ConstraintLayout 沒有設置背景(默認白色),所以狀態欄默認的半透明背景色和 ConstraintLayout 的白色背景疊加,就變成了上圖中的效果。
【總結】兩個基本概念:
1、windowTranslucentStatus設置為true之后,狀態欄默認是半透明的(4.4 是黑色到透明色漸變,5.0+ 是純黑色半透明),和我們要求的透明相去甚遠。更重要的是,布局會延伸到狀態欄底下。
2、android:fitsSystemWindows 簡單理解就是 View 為了適配系統狀態欄和導航欄(不被遮擋)自動增加 padding,當然真正的實現原理比這復雜很多而且不同的 View 可以自定義實現方式。
二、透明效果如何實現
所以,為了實現文章開頭提出來的“狀態欄透明”效果,我們需要處理:
2.1 設置主題
設置 windowTranslucentStatus 為 true,讓狀態欄半透明。
2.2 布局自適應狀態欄
在根節點設置 android:fitsSystemWindows 使其不被狀態欄遮擋。
2.3 狀態欄透明
Android 4.4 暫時沒有辦法去掉狀態欄的漸變。
Android 5.0+ 開始支持修改狀態欄顏色,設置透明色即可把半透明去掉。
if (Build.VERSION.SDK_INT >= Build.VERSION_CODES.LOLLIPOP) {
//兼容5.0及以上支持全透明
activity.window.clearFlags(WindowManager.LayoutParams.FLAG_TRANSLUCENT_STATUS)
activity.window.decorView.systemUiVisibility = View.SYSTEM_UI_FLAG_LAYOUT_FULLSCREEN or View.SYSTEM_UI_FLAG_LAYOUT_STABLE
activity.window.addFlags(WindowManager.LayoutParams.FLAG_DRAWS_SYSTEM_BAR_BACKGROUNDS)
activity.window.statusBarColor = Color.TRANSPARENT
}通過 theme 設置無效。
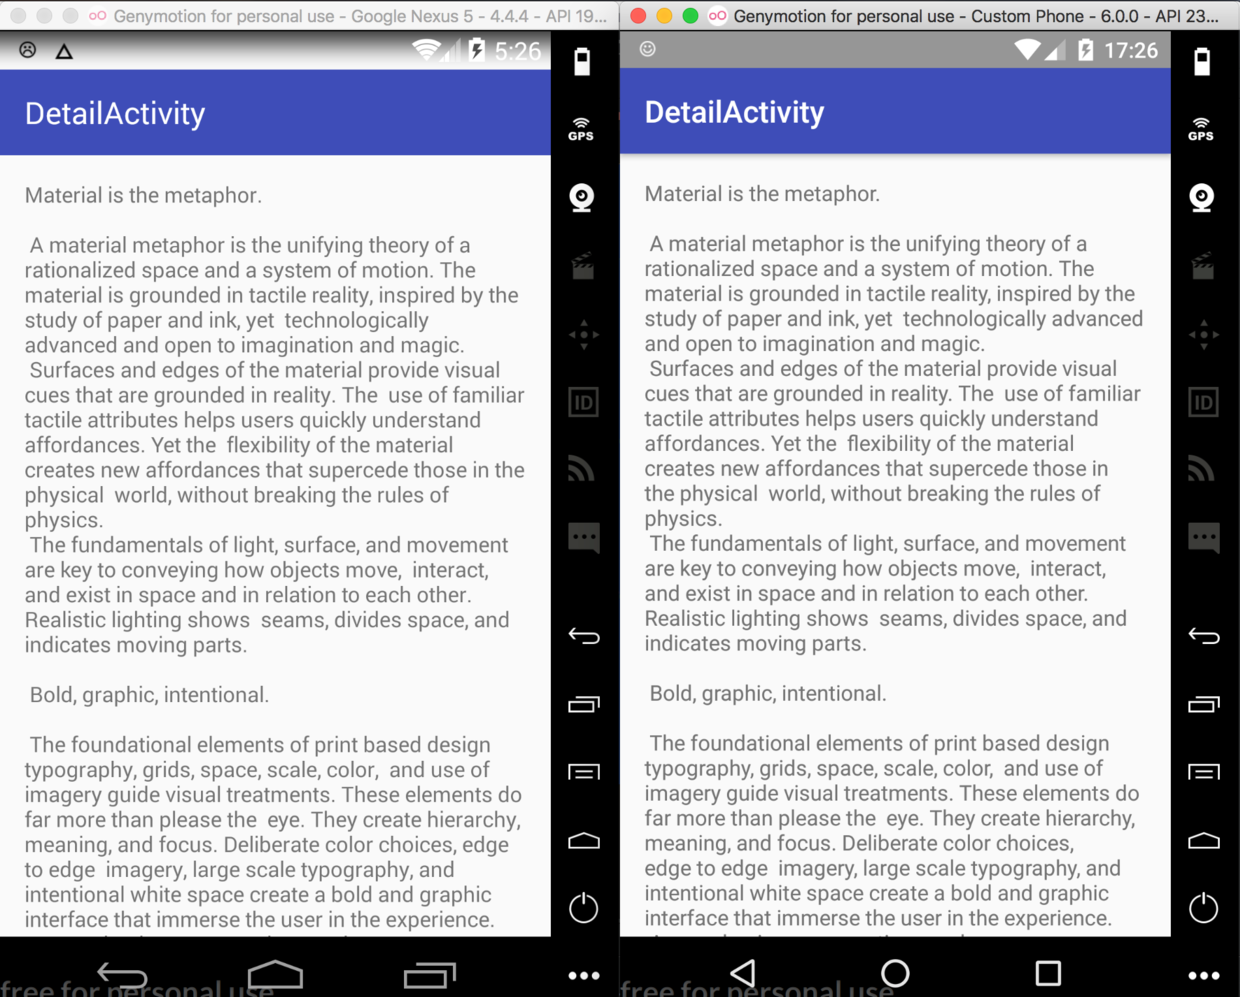
看看效果:
2.4 給布局上色
我們看到即使狀態欄透明了,但是其底色是一片白,因為跟節點 ConstraintLayout 沒有設置背景,大多情況下我們不會給整個跟節點設置顏色,可以考慮把 android:fitsSystemWindows 設置到子 View 上,本例中是 AppBarLayout(5.0+ 無效,只能顯式給 AppBarLayout 加 padding,可以利用其背景色),實際項目中可靈活調整。
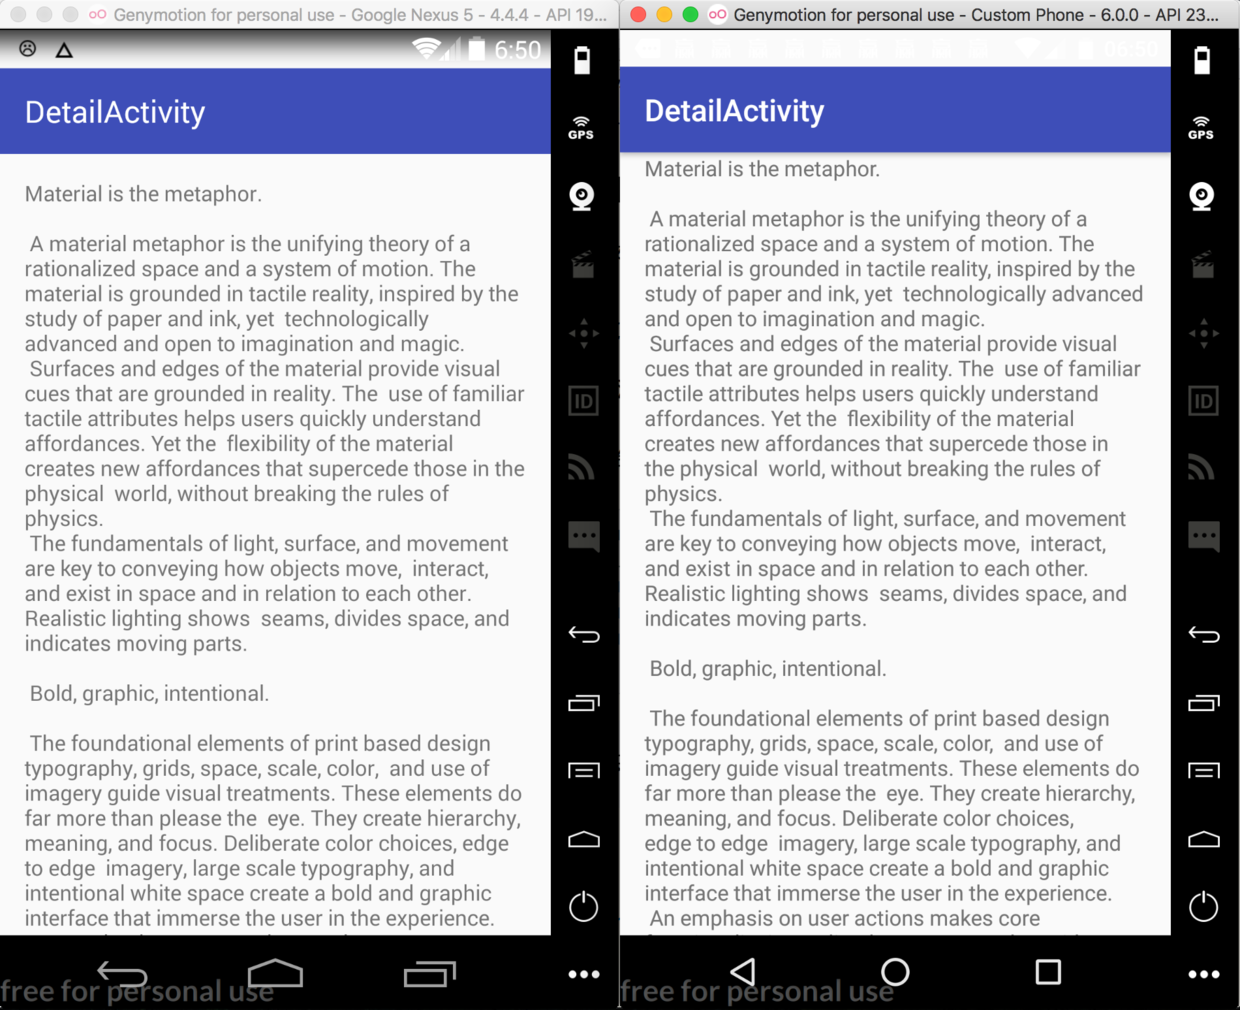
最終效果:
至此,完成狀態欄透明效果,網上有很多庫,實際上都是基于此原理,在此基礎上再自定義 View 做為狀態欄背景。
參考
本文來自網易實踐者社區,經作者黃仕彪授權發布。


)


計算距離的邏輯是從Android的提供的接口(Location.distanceBetween)中拔來的,應該是最精確的方法了...)
)


)

)
