前些天發現了一個巨牛的人工智能學習網站,通俗易懂,風趣幽默,忍不住分享一下給大家。點擊跳轉到教程。
上一篇介紹了Dockerfile中使用的指令,現在開始進行指令實踐
先查看下本地的鏡像,選一個作為base image:
[root@docker ~]# docker images
REPOSITORY             TAG                 IMAGE ID            CREATED             SIZE
wadeson/centos_nginx   v1                  210a202d37b8        2 hours ago         464MB
nginx                  latest              c59f17fe53b0        4 days ago          108MB
ubuntu                 latest              747cb2d60bbe        3 weeks ago         122MB
centos                 latest              196e0ce0c9fb        6 weeks ago         197MB
在某一個目錄下面創建一個專門存放此demo的目錄,也就是Dockerfile所在的context:
[root@docker ~]# mkdir docker_demo
[root@docker ~]# cd docker_demo/
[root@docker docker_demo]# touch Dockerfile
[root@docker docker_demo]# pwd
/root/docker_demo
[root@docker docker_demo]# ll
total 0
-rw-r--r--. 1 root root 0 Nov 1 04:34 Dockerfile
接下來就開始編寫Dockerfile文件了(注意Dockerfile的D需要大寫)
這里以編譯nginx提供web服務來構建新的鏡像
1、下載nginx源碼包到docker_demo這個目錄下:
[root@docker docker_demo]# ll
total 960
-rw-r--r--. 1 root root      0 Nov  1 04:34 Dockerfile
-rw-r--r--. 1 root root 981687 Oct 17 09:20 nginx-1.12.2.tar.gz
2、以下是編寫好的Dockerfile v1版:
[root@docker docker_demo]# cat Dockerfile?
# base image
FROM centos# MAINTAINER
MAINTAINER json_hc@163.com# put nginx-1.12.2.tar.gz into /usr/local/src and unpack nginx
ADD nginx-1.12.2.tar.gz /usr/local/src# running required command
RUN yum install -y gcc gcc-c++ glibc make autoconf openssl openssl-devel?
RUN yum install -y libxslt-devel -y gd gd-devel GeoIP GeoIP-devel pcre pcre-devel
RUN useradd -M -s /sbin/nologin nginx# change dir to /usr/local/src/nginx-1.12.2
WORKDIR /usr/local/src/nginx-1.12.2# execute command to compile nginx
RUN ./configure --user=nginx --group=nginx --prefix=/usr/local/nginx --with-file-aio --with-http_ssl_module --with-http_realip_module --with-http_addition_module --with-http_xslt_module --with-http_image_filter_module --with-http_geoip_module --with-http_sub_module --with-http_dav_module --with-http_flv_module --with-http_mp4_module --with-http_gunzip_module --with-http_gzip_static_module --with-http_auth_request_module --with-http_random_index_module --with-http_secure_link_module --with-http_degradation_module --with-http_stub_status_module && make && make installEXPOSE 80
3、查看docker_demo目錄情況:
[root@docker docker_demo]# ll
total 964
-rw-r--r--. 1 root root   1112 Nov  1 04:58 Dockerfile
-rw-r--r--. 1 root root 981687 Oct 17 09:20 nginx-1.12.2.tar.gz
4、執行docker build進行構建:
docker build -t centos_nginx:v1 .后面的.代表的是相對路徑的當前目錄,如果需要全路徑則為/root/docker_demo(就是找到Dockerfile文件)
構建成功后,查看新構建的鏡像:
[root@docker docker_demo]# docker images
REPOSITORY TAG IMAGE ID CREATED SIZE
centos_nginx v1 78d18f16e757 4 hours ago 464MB
wadeson/centos_nginx v1 210a202d37b8 7 hours ago 464MB
nginx latest c59f17fe53b0 4 days ago 108MB
ubuntu latest 747cb2d60bbe 3 weeks ago 122MB
centos latest 196e0ce0c9fb 6 weeks ago 197MB
5、然后使用構建的鏡像啟動一個container并開啟nginx服務:
[root@docker docker_demo]# docker run -d centos_nginx:v1 /usr/local/nginx/sbin/nginx -g "daemon off;"
ea5af922378356a5ebff60992f000b186b09d1e8d6a4915b0b8ccf997ca12404
然后查看啟動的container是否在運行:
[root@docker docker_demo]# docker ps -l
CONTAINER ID        IMAGE               COMMAND                  CREATED             STATUS              PORTS               NAMES
ea5af9223783        centos_nginx:v1     "/usr/local/nginx/..."   7 seconds ago       Up 6 seconds        80/tcp              flamboyant_carson
雖然nginx服務開啟了,但是port并沒有進行映射到本機host,所以這個container并不能進行訪問,重新啟動一個進行了映射端口的容器
[root@docker docker_demo]# docker run -d -p80:80 centos_nginx:v1 /usr/local/nginx/sbin/nginx -g "daemon off;"
e4b6e4846dedc6f130e028701c84828a635f3b367c0d500ebd947de16b1be0b2
再次查看端口映射信息:
[root@docker docker_demo]# docker port e4b6e4846ded
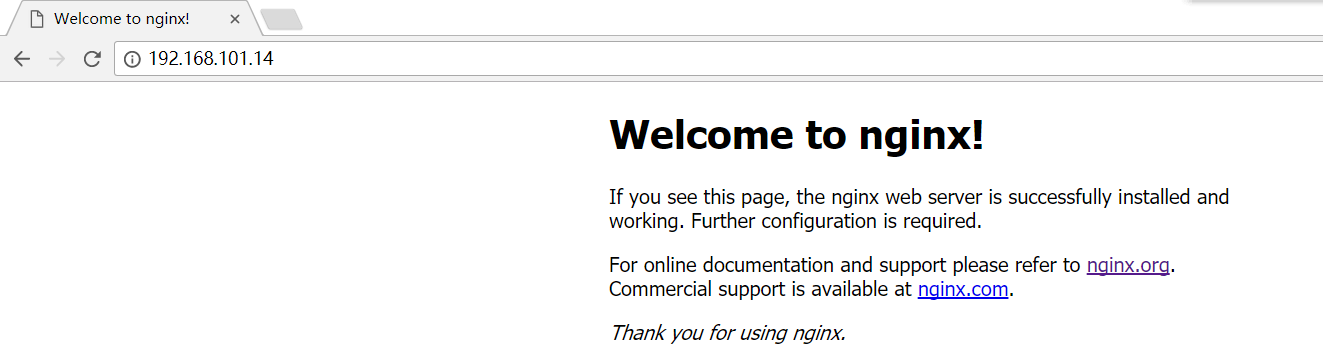
80/tcp -> 0.0.0.0:80于是進行訪問:
于是基于Dockerfile的一個簡單實例構建完成,現在基于這個Dockerfile文件依次添加其他的指令進行構建
添加ENV環境變量指令:
[root@docker docker_demo]# cat Dockerfile
# base image
FROM centos# MAINTAINER
MAINTAINER json_hc@163.com# put nginx-1.12.2.tar.gz into /usr/local/src and unpack nginx
ADD nginx-1.12.2.tar.gz /usr/local/src# running required command
RUN yum install -y gcc gcc-c++ glibc make autoconf openssl openssl-devel
RUN yum install -y libxslt-devel -y gd gd-devel GeoIP GeoIP-devel pcre pcre-devel
RUN useradd -M -s /sbin/nologin nginx# change dir to /usr/local/src/nginx-1.12.2
WORKDIR /usr/local/src/nginx-1.12.2# execute command to compile nginx
RUN ./configure --user=nginx --group=nginx --prefix=/usr/local/nginx --with-file-aio --with-http_ssl_module --with-http_realip_module --with-http_addition_module --with-http_xslt_module --with-http_image_filter_module --with-http_geoip_module --with-http_sub_module --with-http_dav_module --with-http_flv_module --with-http_mp4_module --with-http_gunzip_module --with-http_gzip_static_module --with-http_auth_request_module --with-http_random_index_module --with-http_secure_link_module --with-http_degradation_module --with-http_stub_status_module && make && make installENV PATH /usr/local/nginx/sbin:$PATHEXPOSE 80
然后進行構建:
root@docker docker_demo]# docker build -t centos_nginx:v2 .
Sending build context to Docker daemon 985.6kB
Step 1/10 : FROM centos
---> 196e0ce0c9fb
Step 2/10 : MAINTAINER json_hc@163.com
---> Using cache
---> cde1d7830106
Step 3/10 : ADD nginx-1.12.2.tar.gz /usr/local/src
---> Using cache
---> 1e4d16340af0
Step 4/10 : RUN yum install -y gcc gcc-c++ glibc make autoconf openssl openssl-devel
---> Using cache
---> 405835ad9b0b
Step 5/10 : RUN yum install -y libxslt-devel -y gd gd-devel GeoIP GeoIP-devel pcre pcre-devel
---> Using cache
---> 4002738cf7a6
Step 6/10 : RUN useradd -M -s /sbin/nologin nginx
---> Using cache
---> 02961c5c564d
Step 7/10 : WORKDIR /usr/local/src/nginx-1.12.2
---> Using cache
---> f1da71a93c5e
Step 8/10 : RUN ./configure --user=nginx --group=nginx --prefix=/usr/local/nginx --with-file-aio --with-http_ssl_module --with-http_realip_module --with-http_addition_module --with-http_xslt_module --with-http_image_filter_module --with-http_geoip_module --with-http_sub_module --with-http_dav_module --with-http_flv_module --with-http_mp4_module --with-http_gunzip_module --with-http_gzip_static_module --with-http_auth_request_module --with-http_random_index_module --with-http_secure_link_module --with-http_degradation_module --with-http_stub_status_module && make && make install
---> Using cache
---> cd2ad4c45004
Step 9/10 : ENV PATH /usr/local/nginx/sbin:$PATH
---> Running in 07ba2f7129bc
---> 9588fa1058aa
Removing intermediate container 07ba2f7129bc
Step 10/10 : EXPOSE 80
---> Running in 473cd847154a
---> 2031faf8894a
Removing intermediate container 473cd847154a
Successfully built 2031faf8894a
Successfully tagged centos_nginx:v2
由于在構建的過程中docker會采用緩存的機制,上面的構建過程中包含很多using cache,所以這次構建非常快,如果需要重新構建,不想使用cache需要添加--no-cache
--no-cache? ? ? ? ? ? ? ? ? ?Do not use cache when building the image
查看v2版本的鏡像:
[root@docker docker_demo]# docker images
REPOSITORY             TAG                 IMAGE ID            CREATED             SIZE
centos_nginx           v2                  2031faf8894a        2 minutes ago       464MB
使用v2版本的鏡像啟動一個container:
[root@docker docker_demo]# docker run -d -p81:80 centos_nginx:v2 nginx -g "daemon off;"
da48b465b1b1a14824497d724eee52b8408270b3b5223c5dd7094b7c0cef211d
查看container運行狀態:
[root@docker docker_demo]# docker ps -l
CONTAINER ID IMAGE COMMAND CREATED STATUS PORTS NAMES
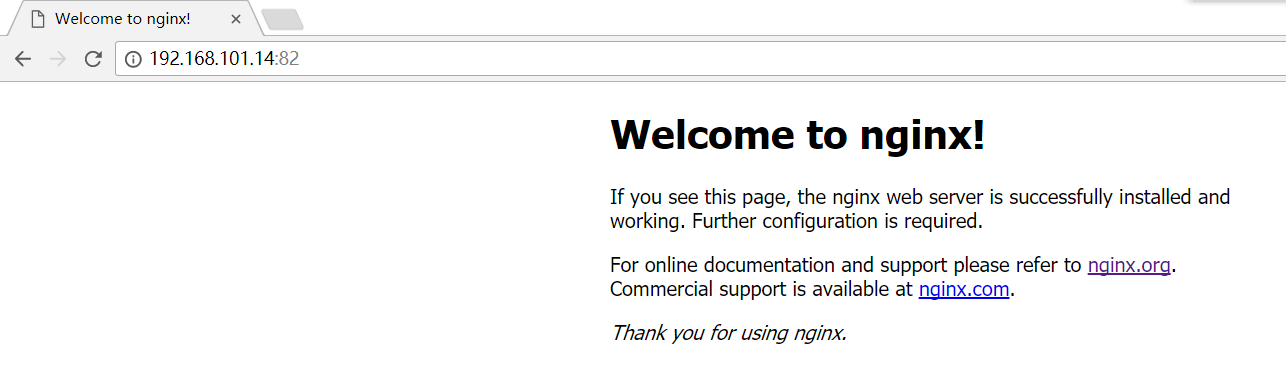
da48b465b1b1 centos_nginx:v2 "nginx -g 'daemon ..." 23 seconds ago Up 22 seconds 0.0.0.0:81->80/tcp determined_neumann進行訪問:

上述啟動容器的過程中使用的命令docker run -d -p81:80 centos_nginx:v2 nginx -g "daemon off;"為什么這里使用的nginx而不是
/usr/local/nginx/sbin/nginx,因為在Dockerfile文化中執行了PATH=/usr/local/nginx/sbin:$PATH,添加到了環境變量
?
添加指令CMD:
root@docker docker_demo]# cat Dockerfile
# base image
FROM centos# MAINTAINER
MAINTAINER json_hc@163.com# put nginx-1.12.2.tar.gz into /usr/local/src and unpack nginx
ADD nginx-1.12.2.tar.gz /usr/local/src# running required command
RUN yum install -y gcc gcc-c++ glibc make autoconf openssl openssl-devel
RUN yum install -y libxslt-devel -y gd gd-devel GeoIP GeoIP-devel pcre pcre-devel
RUN useradd -M -s /sbin/nologin nginx# change dir to /usr/local/src/nginx-1.12.2
WORKDIR /usr/local/src/nginx-1.12.2# execute command to compile nginx
RUN ./configure --user=nginx --group=nginx --prefix=/usr/local/nginx --with-file-aio --with-http_ssl_module --with-http_realip_module --with-http_addition_module --with-http_xslt_module --with-http_image_filter_module --with-http_geoip_module --with-http_sub_module --with-http_dav_module --with-http_flv_module --with-http_mp4_module --with-http_gunzip_module --with-http_gzip_static_module --with-http_auth_request_module --with-http_random_index_module --with-http_secure_link_module --with-http_degradation_module --with-http_stub_status_module && make && make installENV PATH /usr/local/nginx/sbin:$PATHEXPOSE 80CMD /bin/sh -c 'nginx -g "daemon off;"'
然后進行構建:
[root@docker docker_demo]# docker build -t centos_nginx:v3 .查看v3版本的鏡像:
[root@docker docker_demo]# docker images
REPOSITORY             TAG                 IMAGE ID            CREATED             SIZE
centos_nginx           v3                  0e49a2c0562f        11 seconds ago      464MB
然后基于v3版本的鏡像啟動一個container:
[root@docker docker_demo]# docker run -d -p82:80 centos_nginx:v3
d988c04d04f49b909f28e7b664be3959a0d51b951f1c1b04fcf5c716552b7c41
查看啟動的容器狀態:
[root@docker docker_demo]# docker ps -l
CONTAINER ID IMAGE COMMAND CREATED STATUS PORTS NAMES
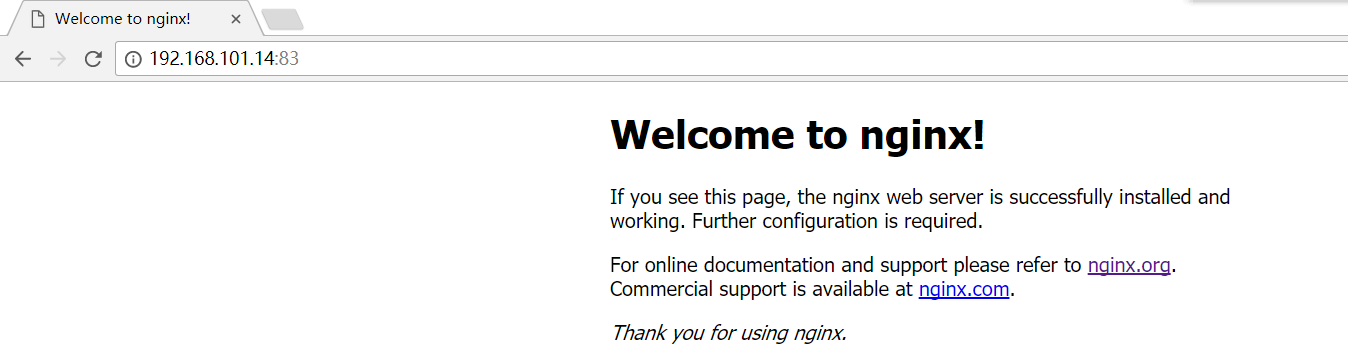
d988c04d04f4 centos_nginx:v3 "/bin/sh -c '/bin/..." 6 seconds ago Up 5 seconds 0.0.0.0:82->80/tcp optimistic_saha最后進行訪問:
新增加的CMD /bin/sh -c 'nginx -g "daemon off;"'表示
當啟動一個container時默認運行的命令,如果在啟動container時賦予了command的化,那么
定義的CMD中的命令將不會被執行,而會去執行command的命令
?
添加entrypoint指令:
root@docker docker_demo]# cat Dockerfile
# base image
FROM centos# MAINTAINER
MAINTAINER json_hc@163.com# put nginx-1.12.2.tar.gz into /usr/local/src and unpack nginx
ADD nginx-1.12.2.tar.gz /usr/local/src# running required command
RUN yum install -y gcc gcc-c++ glibc make autoconf openssl openssl-devel
RUN yum install -y libxslt-devel -y gd gd-devel GeoIP GeoIP-devel pcre pcre-devel
RUN useradd -M -s /sbin/nologin nginx# change dir to /usr/local/src/nginx-1.12.2
WORKDIR /usr/local/src/nginx-1.12.2# execute command to compile nginx
RUN ./configure --user=nginx --group=nginx --prefix=/usr/local/nginx --with-file-aio --with-http_ssl_module --with-http_realip_module --with-http_addition_module --with-http_xslt_module --with-http_image_filter_module --with-http_geoip_module --with-http_sub_module --with-http_dav_module --with-http_flv_module --with-http_mp4_module --with-http_gunzip_module --with-http_gzip_static_module --with-http_auth_request_module --with-http_random_index_module --with-http_secure_link_module --with-http_degradation_module --with-http_stub_status_module && make && make installENV PATH /usr/local/nginx/sbin:$PATHEXPOSE 80ENTRYPOINT ["nginx"]CMD ["-g","daemon off;"]
當ENTRYPOINT和CMD連用時,CMD的命令是ENTRYPOINT命令的參數,兩者連用相當于nginx -g "daemon off;"
而當一起連用的時候命令格式最好一致(這里選擇的都是json格式的是成功的,如果都是sh模式可以試一下)
開始進行構建v4版本:
[root@docker docker_demo]# docker build -t centos_nginx:v4 .查看新建的鏡像:
[root@docker docker_demo]# docker images
REPOSITORY             TAG                 IMAGE ID            CREATED             SIZE
centos_nginx           v4                  6c5128aaff05        4 minutes ago       464MB
為v4版本的鏡像啟動一個container:
[root@docker docker_demo]# docker run -d -p83:80 centos_nginx:v4
6933c78255f3cebe44d4d5d080caf8a2fde45ded2f9b333ec01cdfe98cd5f417
然后查看容器狀態:
[root@docker docker_demo]# docker ps -l
CONTAINER ID        IMAGE               COMMAND                  CREATED             STATUS              PORTS                NAMES
6933c78255f3        centos_nginx:v4     "nginx -g 'daemon ..."   6 seconds ago       Up 5 seconds        0.0.0.0:83->80/tcp   zealous_euclid
最后進行訪問:
這里增加一個案例,如果Dockerfile修改成下面:
root@docker docker_demo]# cat Dockerfile
# base image
FROM centos# MAINTAINER
MAINTAINER json_hc@163.com# put nginx-1.12.2.tar.gz into /usr/local/src and unpack nginx
ADD nginx-1.12.2.tar.gz /usr/local/src# running required command
RUN yum install -y gcc gcc-c++ glibc make autoconf openssl openssl-devel
RUN yum install -y libxslt-devel -y gd gd-devel GeoIP GeoIP-devel pcre pcre-devel
RUN useradd -M -s /sbin/nologin nginx# change dir to /usr/local/src/nginx-1.12.2
WORKDIR /usr/local/src/nginx-1.12.2# execute command to compile nginx
RUN ./configure --user=nginx --group=nginx --prefix=/usr/local/nginx --with-file-aio --with-http_ssl_module --with-http_realip_module --with-http_addition_module --with-http_xslt_module --with-http_image_filter_module --with-http_geoip_module --with-http_sub_module --with-http_dav_module --with-http_flv_module --with-http_mp4_module --with-http_gunzip_module --with-http_gzip_static_module --with-http_auth_request_module --with-http_random_index_module --with-http_secure_link_module --with-http_degradation_module --with-http_stub_status_module && make && make installENV PATH /usr/local/nginx/sbin:$PATHEXPOSE 80ENTRYPOINT ["nginx"]CMD ["-g","daemon on;"]
CMD的命令修改為了后臺,我們知道如果容器內的進程在后臺運行那么容器將不會運行,現在以此構建v5版本鏡像:
[root@docker docker_demo]# docker build -t centos_nginx:v5 .查看v5版本的新鏡像:
[root@docker docker_demo]# docker images
REPOSITORY             TAG                 IMAGE ID            CREATED             SIZE
centos_nginx           v5                  5c1131306686        29 seconds ago      464MB
現在利用v5版本鏡像啟動一個container,但是在啟動的時候添加后面的command:
[root@docker docker_demo]# docker run -d -p85:80 centos_nginx:v5 -g "daemon off;"
5e11edbbd2a0e184f1766c435c0d9b01ef5d74b57e2e2c3a1efed0cf2a2e037b
可以看見在后面新增了-g "daemon off;",前面說過如果增加了命令那么Dockerfile中的CMD中的命令將不會生效
查看容器運行狀態:
[root@docker docker_demo]# docker ps -l
CONTAINER ID IMAGE COMMAND CREATED STATUS PORTS NAMES
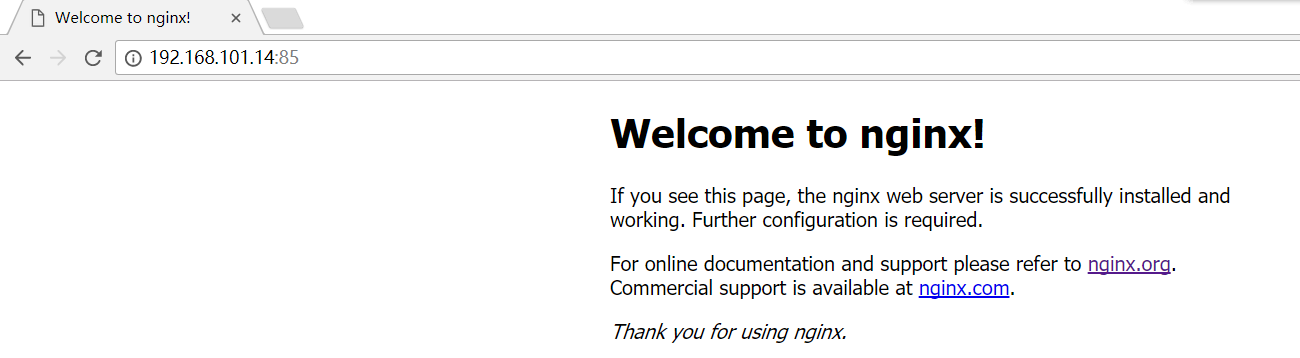
5e11edbbd2a0 centos_nginx:v5 "nginx -g 'daemon ..." 3 seconds ago Up 3 seconds 0.0.0.0:85->80/tcp nifty_bartik可以看見容器的運行絲毫沒有問題,于是nginx的服務依然還是在前臺運行,沒有被CMD影響,而新增加的command(-g "daemon off;")
將作為ENTRYPOINT的新的參數以此為準,于是進行訪問端口85
?添加VOLUME指令:
root@docker docker_demo]# cat Dockerfile
# base image
FROM centos# MAINTAINER
MAINTAINER json_hc@163.com# put nginx-1.12.2.tar.gz into /usr/local/src and unpack nginx
ADD nginx-1.12.2.tar.gz /usr/local/src# running required command
RUN yum install -y gcc gcc-c++ glibc make autoconf openssl openssl-devel
RUN yum install -y libxslt-devel -y gd gd-devel GeoIP GeoIP-devel pcre pcre-devel
RUN useradd -M -s /sbin/nologin nginx# mount a dir to container
VOLUME ["/data"]# change dir to /usr/local/src/nginx-1.12.2
WORKDIR /usr/local/src/nginx-1.12.2# execute command to compile nginx
RUN ./configure --user=nginx --group=nginx --prefix=/usr/local/nginx --with-file-aio --with-http_ssl_module --with-http_realip_module --with-http_addition_module --with-http_xslt_module --with-http_image_filter_module --with-http_geoip_module --with-http_sub_module --with-http_dav_module --with-http_flv_module --with-http_mp4_module --with-http_gunzip_module --with-http_gzip_static_module --with-http_auth_request_module --with-http_random_index_module --with-http_secure_link_module --with-http_degradation_module --with-http_stub_status_module && make && make install# setup PATH
ENV PATH /usr/local/nginx/sbin:$PATH# EXPOSE
EXPOSE 80# the command of entrypoint
ENTRYPOINT ["nginx"]CMD ["-g"]
開始進行構建:
[root@docker docker_demo]# docker build -t centos_nginx:v6 .查看v6版本的鏡像:
[root@docker ~]# docker images
REPOSITORY             TAG                 IMAGE ID            CREATED             SIZE
centos_nginx           v6                  959fdf4d4288        35 seconds ago      464MB
利用該鏡像啟動一個container:
[root@docker ~]# docker run -d -p 86:80 --name=nginx6 centos_nginx:v6 -g "daemon off;"
6c15a9e93fb1421bdb7eddaabe439996e97415e85a003f80c1d8b4b2c5ee3ffa
查看啟動的容器狀態:
[root@docker ~]# docker ps -l
CONTAINER ID        IMAGE               COMMAND                  CREATED             STATUS              PORTS                NAMES
6c15a9e93fb1        centos_nginx:v6     "nginx -g 'daemon ..."   4 seconds ago       Up 4 seconds        0.0.0.0:86->80/tcp   nginx6
利用docker exec進入到container中,查看是否存在卷/data:
[root@6c15a9e93fb1 /]# ll
total 16
-rw-r--r--.   8 root root 15836 Sep 11 15:53 anaconda-post.log
lrwxrwxrwx.   1 root root     7 Sep 11 15:51 bin -> usr/bin
drwxr-xr-x.   2 root root     6 Nov  2 01:42 data
這個/data掛載的目錄對應本機host的這個目錄:
[root@docker _data]# pwd
/var/lib/docker/volumes/3490a9b7f9773b020343e82c1c4236d976b69eb6a80121eb80612d8c39e02820/_data
現在在本機host上的這個目錄創建一個文件:
[root@docker _data]# touch wadeson.sh
[root@docker _data]# ll
total 0
-rw-r--r--. 1 root root 0 Nov  1 21:45 wadeson.sh
然后切換到container中查看是否存在這個文件:
[root@6c15a9e93fb1 /]# ll /data/
total 0
-rw-r--r--. 1 root root 0 Nov  2 01:45 wadeson.sh
添加ONBUILD指令:
Dockerfile1中base image為A鏡像,并在Dockerfile1中定義ONBUILD指令,構建成新鏡像B鏡像
Dockerfile2中base image為B鏡像,構建成新鏡像C
當使用鏡像B啟動的container1不會執行OBNUILD中定義的內容,而使用C鏡像啟動的container2則會執行ONBUILD定義的內容
root@docker docker_demo]# cat Dockerfile
# base image
FROM centos# MAINTAINER
MAINTAINER json_hc@163.com# put nginx-1.12.2.tar.gz into /usr/local/src and unpack nginx
ADD nginx-1.12.2.tar.gz /usr/local/src# running required command
RUN yum install -y gcc gcc-c++ glibc make autoconf openssl openssl-devel
RUN yum install -y libxslt-devel -y gd gd-devel GeoIP GeoIP-devel pcre pcre-devel
RUN useradd -M -s /sbin/nologin nginx# mount a dir to container
ONBUILD VOLUME ["/data"]# change dir to /usr/local/src/nginx-1.12.2
WORKDIR /usr/local/src/nginx-1.12.2# execute command to compile nginx
RUN ./configure --user=nginx --group=nginx --prefix=/usr/local/nginx --with-file-aio --with-http_ssl_module --with-http_realip_module --with-http_addition_module --with-http_xslt_module --with-http_image_filter_module --with-http_geoip_module --with-http_sub_module --with-http_dav_module --with-http_flv_module --with-http_mp4_module --with-http_gunzip_module --with-http_gzip_static_module --with-http_auth_request_module --with-http_random_index_module --with-http_secure_link_module --with-http_degradation_module --with-http_stub_status_module && make && make install# setup PATH
ENV PATH /usr/local/nginx/sbin:$PATH# EXPOSE
EXPOSE 80# the command of entrypoint
ENTRYPOINT ["nginx"]
CMD ["-g"]使用上面Dockerfile構建鏡像版本v7:
[root@docker docker_demo]# docker run -d -p 87:80 --name=nginx7 centos_nginx:v7 -g "daemon off;"
48f1fe5c71aefc0f9513e8085af8f5b7cdf14fa986fb3b11f2050f18ceefd26e
現在進入到容器內查看是否存在/data:
[root@docker ~]# docker exec -it nginx7 /bin/bash
[root@48f1fe5c71ae nginx-1.12.2]# ll /data
ls: cannot access /data: No such file or directory
現在修改上面Dockerfile的FROM基于的base image:
[root@docker docker_demo]# cat Dockerfile
# base image
FROM centos_nginx:v7# MAINTAINER
MAINTAINER json_hc@163.com
利用此Dockerfile構建鏡像v8:
[root@docker docker_demo]# docker build -t centos_nginx:v8 .
Sending build context to Docker daemon  986.6kB
Step 1/2 : FROM centos_nginx:v7
# Executing 1 build trigger...
Step 1/1 : VOLUME /data---> Running in a6187867513d---> 5ac07930be4c
Removing intermediate container a6187867513d
Step 2/2 : MAINTAINER json_hc@163.com---> Running in e02dbf8219cf---> 6f792dc07c35
Removing intermediate container e02dbf8219cf
Successfully built 6f792dc07c35
Successfully tagged centos_nginx:v8
可以看見卷/data已經執行了操作,現在啟動一個container:
[root@docker docker_demo]# docker run -d -p 88:80 --name=nginx8 centos_nginx:v8 -g "daemon off;"
6c2a847c5f6b59b02f91afecadbfc15c88d1217a477c0421a424bce6e5eb317a
查看容器狀態,并進入到容器驗證/data目錄:
[root@docker docker_demo]# docker ps -l
CONTAINER ID        IMAGE               COMMAND                  CREATED             STATUS              PORTS                NAMES
6c2a847c5f6b        centos_nginx:v8     "nginx -g 'daemon ..."   37 seconds ago      Up 37 seconds       0.0.0.0:88->80/tcp   nginx8
[root@docker docker_demo]# docker exec -it nginx8 /bin/bash
[root@6c2a847c5f6b nginx-1.12.2]# ll /data/
total 0
由此可見鏡像v8包含了v7 的所有內容,并且增加了ONBUILD的內容
?
轉自:https://www.cnblogs.com/jsonhc/p/7767669.html

 - 監督學習vs無監督學習)


)


)


)


