Linux系統之安裝my-mind思維導圖工具
- 一、my-mind介紹
- 二、本地環境介紹
- 2.1 本地環境規劃
- 2.2 本次實踐介紹
- 三、檢查本地環境
- 3.1 檢查本地操作系統版本
- 3.2 檢查系統內核版本
- 3.3 檢查端口占用情況
- 四、安裝httpd
- 4.1 檢查本地yum倉庫
- 4.2 安裝httpd
- 4.3 關閉防火墻和selinux
- 4.4 創建網站目錄
- 4.5 編輯httpd文件
- 4.6 啟動httpd服務
- 五、下載my-mind軟件包
- 5.1 下載my-mind
- 5.2 重啟httpd服務
- 5.3 查看監聽端口
- 六、訪問my-mind服務
一、my-mind介紹
- MyMind 是一個在線思維導圖編輯器。
二、本地環境介紹
2.1 本地環境規劃
本次實踐為個人測試環境,操作系統版本為centos7.6。
| hostname | 本地P地址 | 操作系統版本 | 內核版本 | python版本 |
|---|---|---|---|---|
| jeven | 192.168.3.166 | centos 7.6 | 3.10.0-957.el7.x86_64 v16.17.0 | 3.6.8 |
2.2 本次實踐介紹
1.本次實踐部署環境為個人測試環境;
2.在centos7.6環境下安裝my-mind思維導圖工具。
三、檢查本地環境
3.1 檢查本地操作系統版本
檢查本地操作系統版本
[root@jeven ~]# cat /etc/redhat-release
CentOS Linux release 7.6.1810 (Core)
3.2 檢查系統內核版本
檢查系統內核版本
[root@jeven ~]# uname -r
3.10.0-957.el7.x86_64
3.3 檢查端口占用情況
檢查默認的80端口,以及my-mind服務的自定義端口7899端口是否被占用。
- 例:檢查80端口
[root@jeven ~]# ss -tunlp |grep 80
udp    UNCONN     0      0      fe80::8a83:7297:7cb8:9934%ens33:546                  :::*                   users:(("dhclient",pid=119624,fd=5))
tcp    LISTEN     0      128    127.0.0.1:3880                  *:*                   users:(("fastgithub",pid=8948,fd=131))
tcp    LISTEN     0      128       *:6000                  *:*                   users:(("X",pid=10807,fd=6))
tcp    LISTEN     0      128     ::1:3880                 :::*                   users:(("fastgithub",pid=8948,fd=132))
tcp    LISTEN     0      128      :::6000                 :::*                   users:(("X",pid=10807,fd=5))
四、安裝httpd
4.1 檢查本地yum倉庫
- 配置阿里云的yum倉庫鏡像源
curl -o /etc/yum.repos.d/CentOS-Base.repo https://mirrors.aliyun.com/repo/Centos-7.repo
sed -i -e '/mirrors.cloud.aliyuncs.com/d' -e '/mirrors.aliyuncs.com/d' /etc/yum.repos.d/CentOS-Base.repo
- 檢查yum倉庫狀態
[root@jeven tmp]# yum repolist all |grep enable
!base/7/x86_64                               CentOS-7 - Base - m enabled: 10,072
!extras/7/x86_64                             CentOS-7 - Extras - enabled:    518
!mysql-connectors-community/x86_64           MySQL Connectors Co enabled:    227
!mysql-tools-community/x86_64                MySQL Tools Communi enabled:    100
!mysql80-community/x86_64                    MySQL 8.0 Community enabled:    425
!updates/7/x86_64                            CentOS-7 - Updates  enabled:  5,061
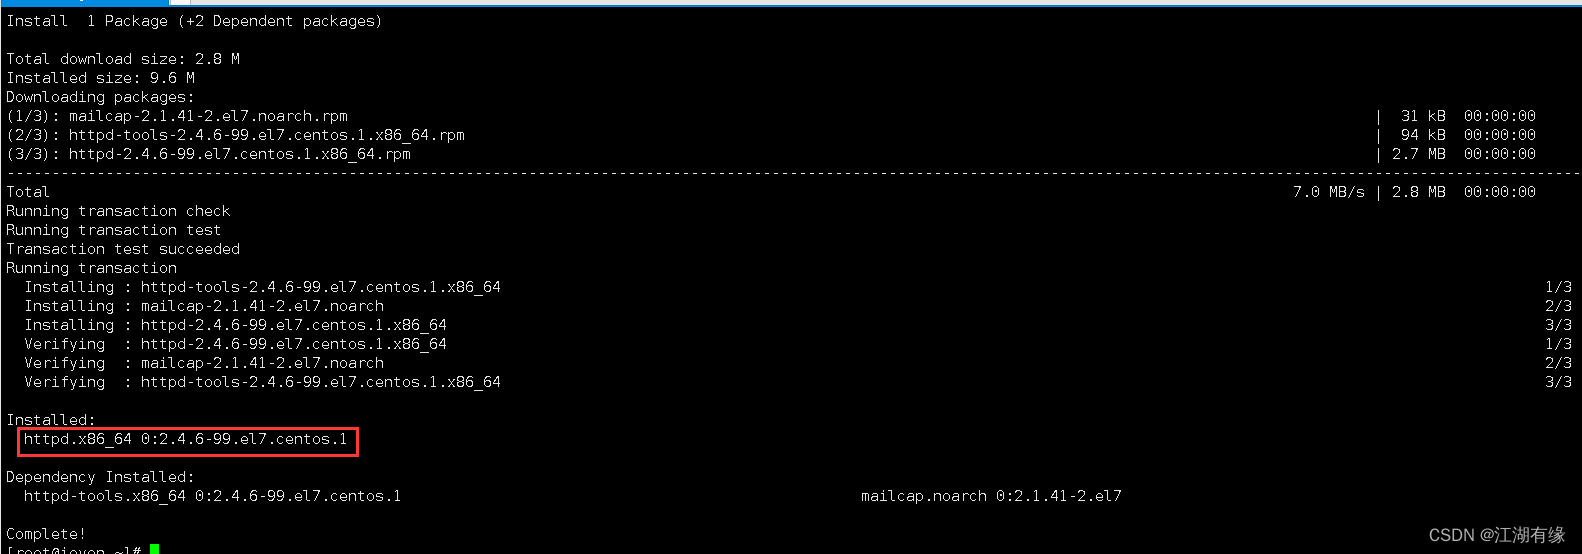
4.2 安裝httpd
使用yum直接安裝httpd服務
yum install httpd -y
4.3 關閉防火墻和selinux
- 關閉防火墻或放行相關監聽端口
systemctl disable firewalld && systemctl stop firewalld
- 關閉selinux
setenforce 0
sed -i 's/SELINUX=enforcing/SELINUX=disabled/' /etc/selinux/config
4.4 創建網站目錄
創建網站目錄
mkdir /var/www/myweb
4.5 編輯httpd文件
在/etc/httpd/conf.d/目錄下,新建mind.conf文件。編輯如下內容:
vim mind.conf
Listen 7899
<VirtualHost *:7899>
ServerName web2.mind.com
DocumentRoot /var/www/myweb
</VirtualHost>
4.6 啟動httpd服務
- 啟動httpd服務
systemctl enable --now httpd
- 重啟httpd服務
systemctl restart httpd
- 查看httpd服務狀態
[root@jeven conf.d]# systemctl status httpd
● httpd.service - The Apache HTTP ServerLoaded: loaded (/usr/lib/systemd/system/httpd.service; enabled; vendor preset: disabled)Active: active (running) since Fri 2023-08-18 18:17:16 CST; 15s agoDocs: man:httpd(8)man:apachectl(8)Main PID: 130731 (httpd)Status: "Total requests: 0; Current requests/sec: 0; Current traffic:   0 B/sec"Tasks: 6Memory: 2.9MCGroup: /system.slice/httpd.service├─130731 /usr/sbin/httpd -DFOREGROUND├─130734 /usr/sbin/httpd -DFOREGROUND├─130735 /usr/sbin/httpd -DFOREGROUND├─130736 /usr/sbin/httpd -DFOREGROUND├─130737 /usr/sbin/httpd -DFOREGROUND└─130738 /usr/sbin/httpd -DFOREGROUNDAug 18 18:17:16 jeven systemd[1]: Starting The Apache HTTP Server...
Aug 18 18:17:16 jeven systemd[1]: Started The Apache HTTP Server.
五、下載my-mind軟件包
5.1 下載my-mind
在網站根目錄/var/www/myweb/,下載my-mind
git clone https://github.com/ondras/my-mind.git
5.2 重啟httpd服務
重啟httpd服務
systemctl restart httpd
5.3 查看監聽端口
查看監聽端口7899
[root@jeven myweb]# ss -tunlp |grep 7899
tcp    LISTEN     0      128      :::7899                 :::*                   users:(("httpd",pid=130875,fd=6),("httpd",pid=130874,fd=6),("httpd",pid=130873,fd=6),("httpd",pid=130872,fd=6),("httpd",pid=130871,fd=6),("httpd",pid=130868,fd=6))
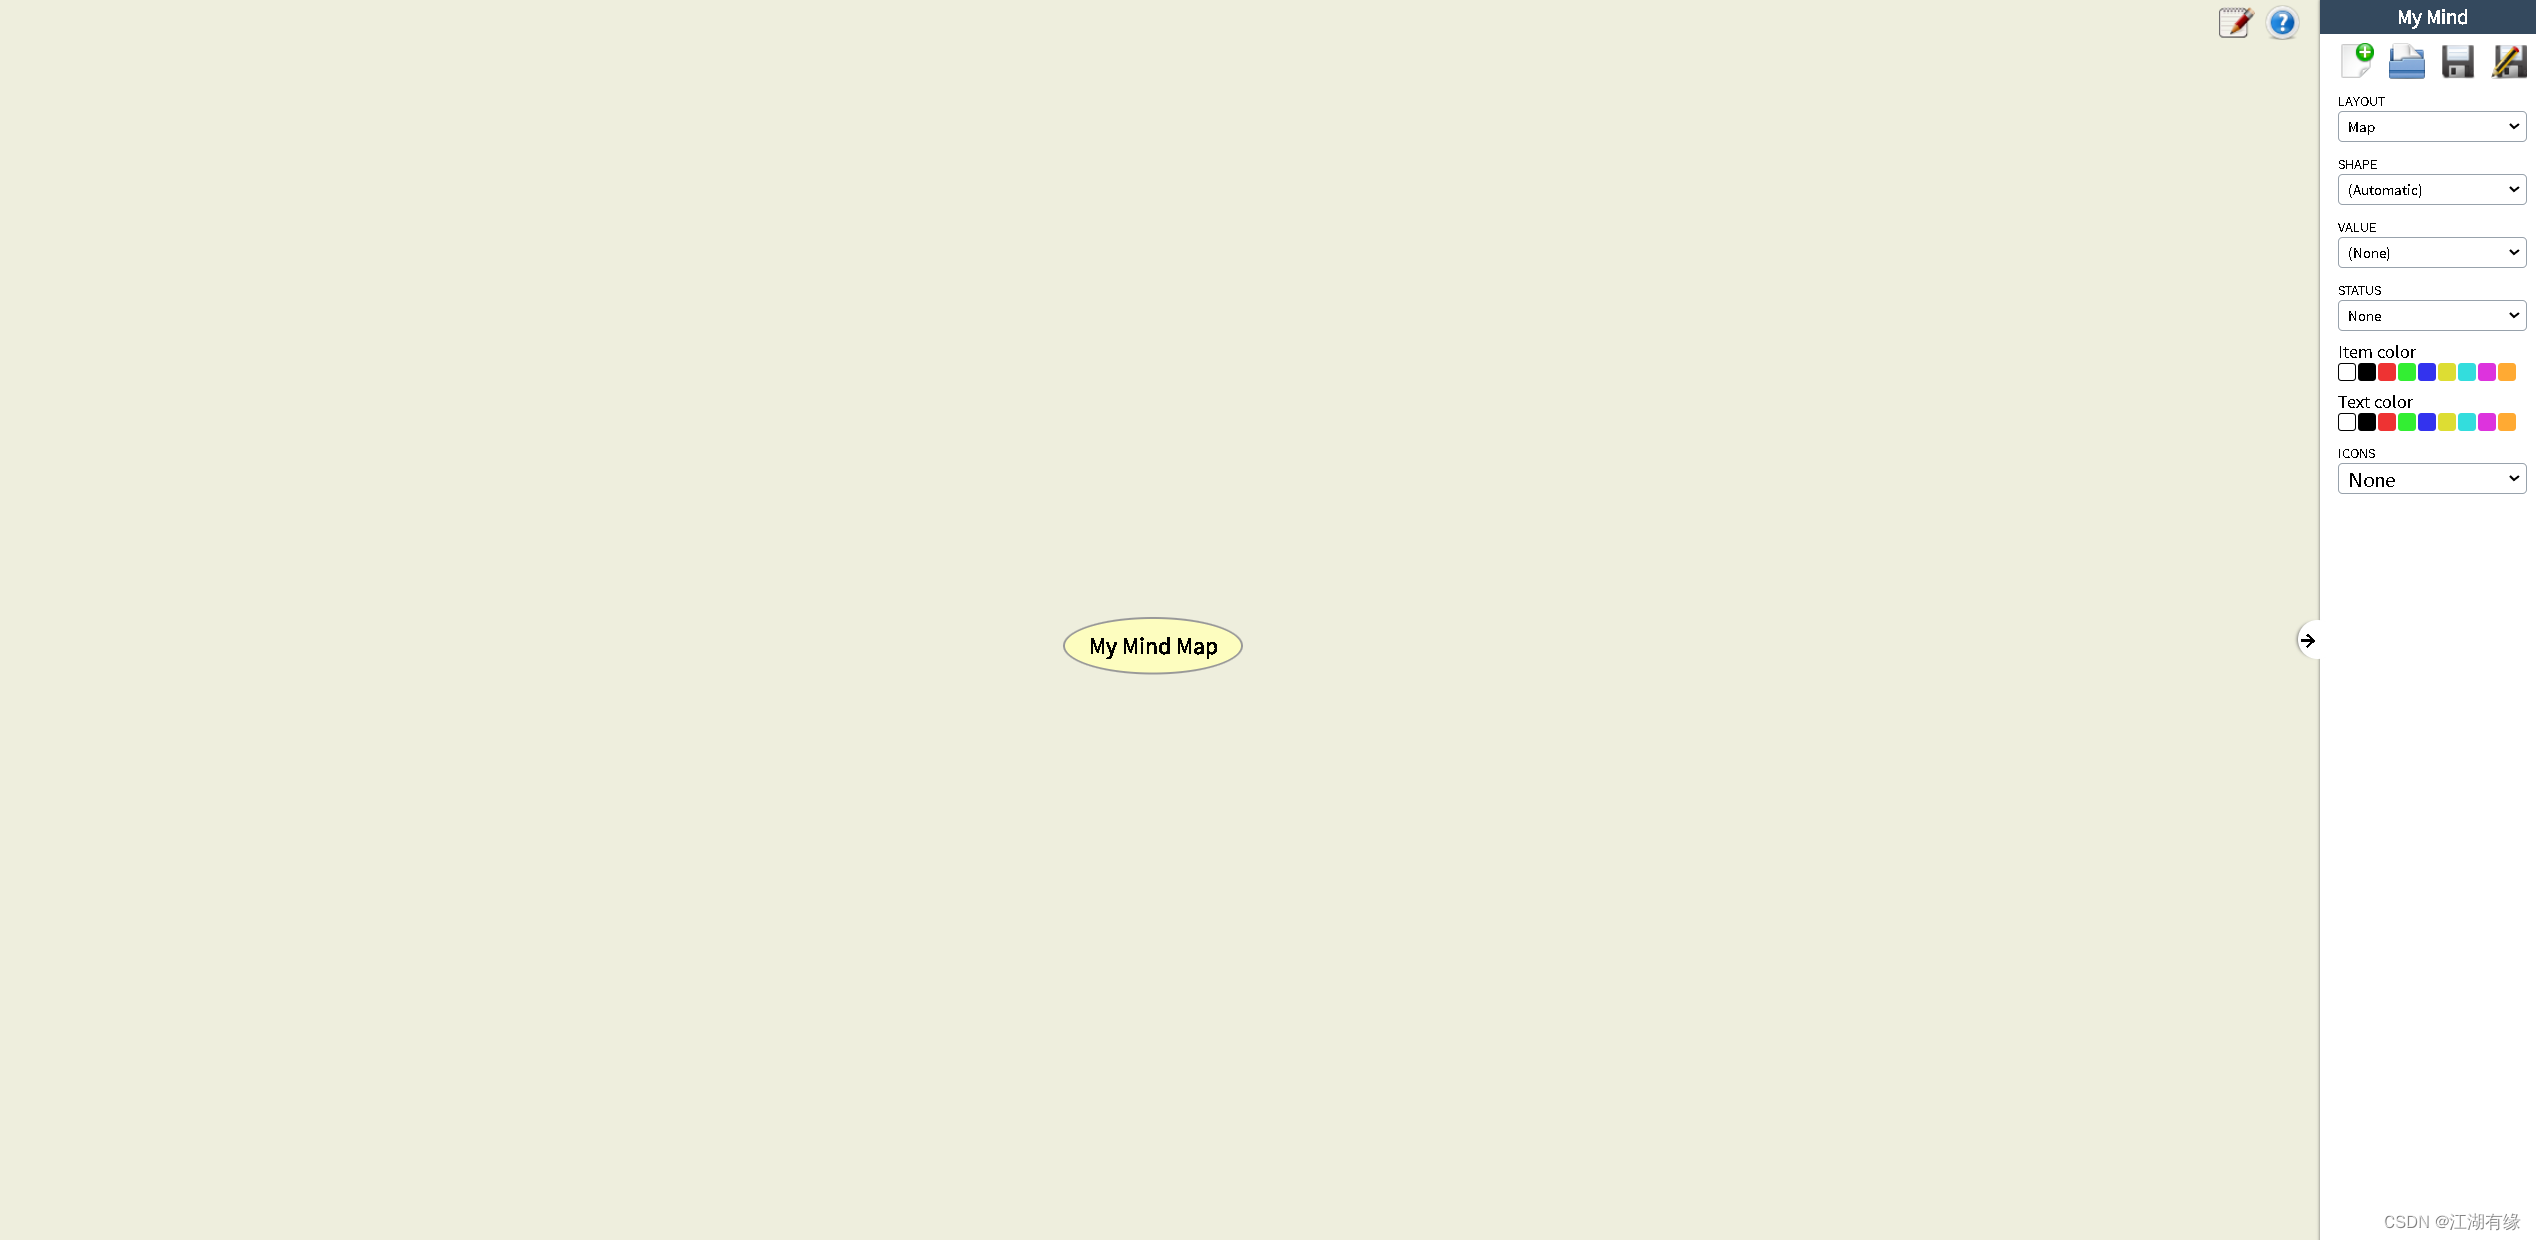
六、訪問my-mind服務
訪問地址:http://192.168.3.166:7899/my-mind/
將IP地址替換為自己服務器的IP地址

五(117))


及x = x.view(x.size(0), -1) 的理解說明)


)

)


)

