這里是建立建立web項目:Maven如何創建Java web項目(純干貨版)!!!_明天更新的博客-CSDN博客
我們主要演示如何連接數據庫驗證登錄。
1.在webapp目錄下創建我們的登錄頁面:index.jsp??? 還需要再寫一個驗證登錄成功的頁面(如果頁面跳轉成功就代表登錄成功)

?內容如下:(你可以簡單寫一下,我們的主要功能是驗證登錄)
<%--Created by IntelliJ IDEA.User: adminDate: 2023/8/14Time: 9:52To change this template use File | Settings | File Templates.
--%>
<%@ page contentType="text/html;charset=UTF-8" language="java" %>
<html>
<head><meta charset="utf-8" /><meta name="viewport" content="width=device-width,initial-scale=1.0" /><title>用戶登錄</title><link rel="stylesheet" href="index_log.css" /><link href="https:/cdn.staticfile.org/layui/2.8.0/css/layui.css" rel="stylesheet"><style type="text/css">* {/*初始化 清除頁面元素的內外邊距*/padding: 0;margin: 0;/*盒子模型*/box-sizing: border-box;}body {/*彈性布局 讓頁面元素垂直+水平居中*/display: flex;justify-content: center;align-items: center;/*讓頁面始終占瀏覽器可視區域總高度*/height: 100vh;/*背景漸變色*/background: linear-gradient(#141e30, #243b55);/* background-image: url("https://img0.baidu.com/it/u=2635618108,3973101288&fm=253&fmt=auto&app=120&f=JPEG?w=500&h=281"); */background-repeat: no-repeat;}.login {/*彈性布局 讓子元素稱為彈性項目*/display: flex;/*讓彈性項目垂直排列  原理是改變彈性盒子的主軸方向父元素就是彈性盒子  現在改變后的主軸方向是向下了*/flex-direction: column;/*讓彈性項目在交叉軸方向水平居中  現在主軸的方向是向下交叉軸的方向是與主軸垂直 交叉軸的方向是向右*/align-items: center;width: 400px;padding: 40px;background-color: rgba(0, 0, 0, 0.2);box-shadow: 0 15px 25px rgba(0, 0, 0, 0.4);}.login h2 {color: #fff;margin-bottom: 30px;}.login .login_box {/*相對定位*/position: relative;width: 100%;}.login .login_box input {/*清除input框自帶的邊框和輪廓*/outline: none;border: none;width: 100%;padding: 10px 0;margin-bottom: 30px;color: #fff;font-size: 16px;border-bottom: 1px solid #fff;/*背景顏色為透明色*/background-color: transparent;}.login .login_box label {position: absolute;top: 0;left: 0;padding: 10px 0;color: #fff;/*這個屬性的默認值是auto 默認是這個元素可以被點擊但是如果我們寫了none  就是這個元素不能被點擊,就好像它可見但是不能用可望而不可及*//*這個就是兩者的區別*/pointer-events: none;/*加個過度*/transition: all 0.5s;}/*: focus 選擇器是當input獲得焦點是觸發的樣式 + 是相鄰兄弟選擇器去找與input相鄰的兄弟label*//*:valid 選擇器是判斷input 框的內容是否合法,如果合法會執行下面的屬性代碼,不合法就不會執行,我們剛開始寫布局的時候給input框寫了required 我們刪掉看對比當沒有required的話   input框的值就會被認為一直合法,所以一直都是下方的樣式,但是密碼不會,密碼框的值為空,那么這句話就不合法,required不能為空當我們給密碼框寫點東西的時候才會執行以下代碼*/.login .login_box input:focus+label,.login .login_box input:valid+label {top: -20px;color: #03e9f4;font-size: 12px;}.login a {/*overflow: hidden;*/position: relative;padding: 10px 20px;color: #03e9f4;/*取消a表現原有的下劃線*/text-decoration: none;/*同樣加個過渡*/transition: all 0.5s;}.login a:hover {color: #fff;border-radius: 5px;background-color: #03e9f4;box-shadow: 0 0 5px #03e9f4, 0 0 25px #03e9f4, 0 0 50px #03e9f4, 0 0 100px #03e9f4;}.login a span {position: absolute;}.login a span:first-child {top: 0;left: -100%;width: 100%;height: 2px;/*to right 就是往右邊 下面的同理*/background: linear-gradient(to right, transparent, #03e9f4);/*動畫 名稱  時長 linear是勻速運動 infinite是無限次運動*/animation: move1 1s linear infinite;}.login a span:nth-child(2) {right: 0;top: -100%;width: 2px;height: 100%;background: linear-gradient(transparent, #03e6f4);/*這里多了個0.25s其實是延遲時間*/animation: move2 1s linear 0.25s infinite;}.login a span:nth-child(3) {right: -100%;bottom: 0;width: 100%;height: 2px;background: linear-gradient(to left, transparent, #03e9f4);animation: move3 1s linear 0.5s infinite;}.login a span:last-child {left: 0;bottom: -100%;width: 2px;height: 100%;background: linear-gradient(#03e9f4, transparent);animation: move4 1s linear 0.75s infinite;}/*寫一下動畫 */@keyframes move1 {0% {left: -100%;}50%,100% {left: 100%;}}@keyframes move2 {0% {top: -100%;}50%,100% {top: 100%;}}@keyframes move3 {0% {right: -100%;}50%,100% {right: 100%;}}@keyframes move4 {0% {bottom: -100%;}50%,100% {bottom: 100%;}}#mybutton {background: transparent;border-width: 0px;outline: none;font-size: 22px;color: white;}</style></head><body><form action="home.jsp" method="post"><div class="login"><h2>用戶登錄</h2><div class="login_box"><!-- required就是不能為空  必須在css效果中有很大的作用 --><input type="text" name='username' id='name' required /> <label for="name">用戶名</label></div><div class="login_box"><input type="password" name='password' id='pwd' required="required"><label for="pwd">密碼</label></div><div class="login_box"><img alt="" src="index.jsp" onclick="refresh()"><br></div><div class="layui-form-item"><div class="layui-row"><div class="layui-col-xs7"><div class="layui-input-wrap"><div class="layui-input-prefix"><i class="layui-icon layui-icon-vercode"></i></div><input type="text" name="captcha" value="" lay-verify="required" placeholder="驗證碼"lay-reqtext="請填寫驗證碼" autocomplete="off" class="layui-input" lay-affix="clear"style="color: white; background-color: #141f30;"></div></div><div class="layui-col-xs5"><div style="margin-left: 10px;"><img src="https://www.oschina.net/action/user/captcha"onclick="this.src='https://www.oschina.net/action/user/captcha?t='+ new Date().getTime();"></div></div></div></div><a href="后臺界面.html"> <input type="submit" value="登錄" id="mybutton" > <span></span><span></span> <span></span> <span></span></a></div></form>
<script>layui.use(function () {var form = layui.form;var layer = layui.layer;// 提交事件form.on('submit(demo-login)', function (data) {var field = data.field; // 獲取表單字段值// 顯示填寫結果,僅作演示用layer.alert(JSON.stringify(field), {title: '當前填寫的字段值'});// 此處可執行 Ajax 等操作// …return false; // 阻止默認 form 跳轉});});
</script>
</body></html>
?驗證登錄成功后的界面:
<!DOCTYPE html>
<html lang="en"><head><meta charset="UTF-8"><meta name="viewport" content="width=device-width, initial-scale=1.0"><title>Document</title><script src="./1.js"></script><!-- 引入 layui.css --><link href="https://unpkg.com/layui@2.8.0/dist/css/layui.css" rel="stylesheet"><!-- 引入 layui.js --><script src="https://unpkg.com/layui@2.8.0/dist/layui.js"></script><style>.main {/* display: flex; */border: 1px solid #000;height: 670px;width: 100%;background-image: -webkit-linear-gradient(left, #35283d, #cbac7a);justify-content: space-between;}.top {/* display: inline-block; */position: relative;display: block;border: 1px solid #aaa;height: 50px;width: 100%;display: flex;top: 0px;transition: all .3s linear;}.top:hover{top: -2px;box-shadow: 0 0 10px 0 #8aff54;}.top p {color: white;font-size: 25px;padding-top: 5px;}.tleft {height: 48px;/* border: 1px solid #c3ef3f; */width: 50%;}.tleft p {color: white;font-size: 25px;padding-top: 5px;}.tright {height: 48px;/* border: 1px solid #c3ef3f; */width: 50%;}.layui-form-item {padding-top: 5px;margin-left: 60%;}#i1 {padding-left: 20px;padding-top: 4px;}.down {position: relative;display: inline-block;/* position: relative;top: 53px; *//* border: 1px solid #f00; */height: 610px;width: 100%;display: flex;/* justify-content: center; */top: 0px;transition: all .3s linear;}.down:hover{top: -2px;box-shadow: 0 0 10px 0 #8aff54;}.left {position: relative;display: inline-block;border: 1px solid #666;height: 610px;width: 18%;top: 0px;transition: all .3s linear;}.left:hover{top: -2px;box-shadow: 0 0 10px 0 #8aff54;}.layui-collapse{border-bottom: 0px;border-top: 0px;border: 0px;}.right {display: inline-block;position: relative;top: 0px;width: 82%;height: 610px;/* border: 1px solid #0a0; */transition: all .3s linear;}.right:hover{top: -2px;box-shadow: 0 0 10px 0 #8aff54;}.rtop {display: flex;justify-content: space-around;margin-top: 10px;}.left1 {position: relative;top: 0px;/* border: 1px solid #000; */width: 20%;height: 200px;transition: all .3s linear;}.left1:hover{top: -2px;box-shadow: 0 0 10px 0 #8aff54;}.center {/* border: 1px solid #f0f; */height: 280px;}.center1 {/* border: 1px solid #f0f; */height: 310px;margin-top: 20px;}.left2 {position: relative;top: 0px;/* border: 1px solid #1ec431; */width: 30%;height: 250px;margin-top: 20px;background-color: #794e4d;transition: all .3s linear;}.left2:hover{top: -2px;box-shadow: 0 0 10px 0 #8aff54;}.small1 {/* border: 1px solid #ec2727; */height: 22%;background-color: #473c3b;}.small1 p {color: #aaa;font-size: 25px;padding-top: 5px;text-align: center;}.small2 {/* border: 1px solid #ec2727; */height: 56%;background-color: #3e3234;}.small2 .p1 {/* margin-top: 10px; */color: #999;font-size: 40px;padding-top: 5px;text-align: center;}.small2 .p2 {color: #aaa;font-size: 16px;padding-top: 5px;text-align: center;}.small3 {/* border: 1px solid #ec2727; */height: 22%;background-color: #352b2a;}.small3 p {color: #aaa;font-size: 16px;padding-top: 10px;/* text-align: center; */}.layui-input{background-color: #bea075;}</style>
</head><body>
<div class="main"><div class="top"><div class="tleft"><p>歡迎來到我的主場!!!</p></div><div class="tright"><div class="layui-form-item"><div class="layui-input-group"><input type="text" placeholder="帶任意后置內容" class="layui-input"><div class="layui-input-split layui-input-suffix" style="cursor: pointer;"><i class="layui-icon layui-icon-search"></i></div><i class="layui-icon layui-icon-tabs" id="i1"></i><i class="layui-icon layui-icon-user" id="i1"></i></div></div></div></div><div class="down"><div class="left"><div class="layui-collapse" style="height: 610px;"><div class="layui-colla-item"><div class="layui-colla-title" style="background-color: transparent; color: white;">CollapseTitle 1 <i class="layui-icon layui-icon-face-smile"></i> </div><div class="layui-colla-content"><p>Content 1</p></div></div><div class="layui-colla-item"><div class="layui-colla-title" style="background-color: transparent; color: white;">CollapseTitle 2</div><div class="layui-colla-content"><p>Content 2</p></div></div><div class="layui-colla-item"><div class="layui-colla-title" style="background-color: transparent; color: white;">CollapseTitle 3</div><div class="layui-colla-content"><ul><li>Content list</li><li>Content list</li></ul></div></div><div class="layui-colla-item"><div class="layui-colla-title" style="background-color: transparent; color: white;">折疊面板的標題</div><div class="layui-colla-content"><p>折疊面板的內容</p></div></div></div></div><div class="right"><div class="center"><div class="top" style="border: 0px;"><p>我做的還不錯吧!!!</p></div><div class="rtop"><div class="left1"><div class="small1"><p>One</p></div><div class="small2"><p class="p1">$21.5K</p><p class="p2">上升?3% form tengxun nwes</p></div><div class="small3"><p>Welocme to family</p></div></div><div class="left1"><div class="small1"><p class="p1">Two</p></div><div class="small2"><p class="p1">$30K</p><p class="p2">上升?5% form baidu nwes</p></div><div class="small3"><p>Welocme to family</p></div></div><div class="left1"><div class="small1"><p>Three</p></div><div class="small2"><p class="p1">$27K</p><p class="p2">上升?14% form huofu nwes</p></div><div class="small3"><p>Welocme to family</p></div></div><div class="left1"><div class="small1"><p>Four</p></div><div class="small2"><p class="p1">$25.5K</p><p class="p2">上升?8% form baidu nwes</p></div><div class="small3"><p>Welocme to family</p></div></div></div></div><div class="center1"><div class="rtop"><div class="left2" id="main"></div><script type="text/javascript">// 基于準備好的dom,初始化echarts實例var myChart = echarts.init(document.getElementById('main'));//*****從這開始復制粘貼*****// 指定圖表的配置項和數據option = {xAxis: {type: 'category',data: ['Mon', 'Tue', 'Wed', 'Thu', 'Fri', 'Sat', 'Sun']},yAxis: {type: 'value'},series: [{data: [150, 230, 224, 218, 135, 147, 260],type: 'line'}]};//結束位置// 使用剛指定的配置項和數據顯示圖表。myChart.setOption(option);</script><div class="left2" id="main1"></div><script type="text/javascript">// 基于準備好的dom,初始化echarts實例var myChart = echarts.init(document.getElementById('main1'));//*****從這開始復制粘貼*****// 指定圖表的配置項和數據option = {tooltip: {trigger: 'axis',axisPointer: {type: 'shadow'}},grid: {left: '3%',right: '4%',bottom: '3%',containLabel: true},xAxis: [{type: 'category',data: ['Mon', 'Tue', 'Wed', 'Thu', 'Fri', 'Sat', 'Sun'],axisTick: {alignWithLabel: true}}],yAxis: [{type: 'value'}],series: [{name: 'Direct',type: 'bar',barWidth: '60%',data: [10, 52, 200, 334, 390, 330, 220]}]};//結束位置// 使用剛指定的配置項和數據顯示圖表。myChart.setOption(option);</script><div class="left2" id="main2"></div><script type="text/javascript">// 基于準備好的dom,初始化echarts實例var myChart = echarts.init(document.getElementById('main2'));//*****從這開始復制粘貼*****// 指定圖表的配置項和數據option = {title: {text: 'Referer of a Website',subtext: 'Fake Data',left: 'center'},tooltip: {trigger: 'item'},legend: {orient: 'vertical',left: 'left'},series: [{name: 'Access From',type: 'pie',radius: '50%',data: [{ value: 1048, name: 'Search Engine' },{ value: 735, name: 'Direct' },{ value: 580, name: 'Email' },{ value: 484, name: 'Union Ads' },{ value: 300, name: 'Video Ads' }],emphasis: {itemStyle: {shadowBlur: 10,shadowOffsetX: 0,shadowColor: 'rgba(0, 0, 0, 0.5)'}}}]};//結束位置// 使用剛指定的配置項和數據顯示圖表。myChart.setOption(option);</script></div></div></div></div>
</div>
</body></html>2.建立Java文件繼承HttpServlet,利用jdbc連接數據庫。
這里有如何連接數據庫,可以作為參考:JDBC連接數據庫如何實現你會嗎???_明天更新的博客-CSDN博客
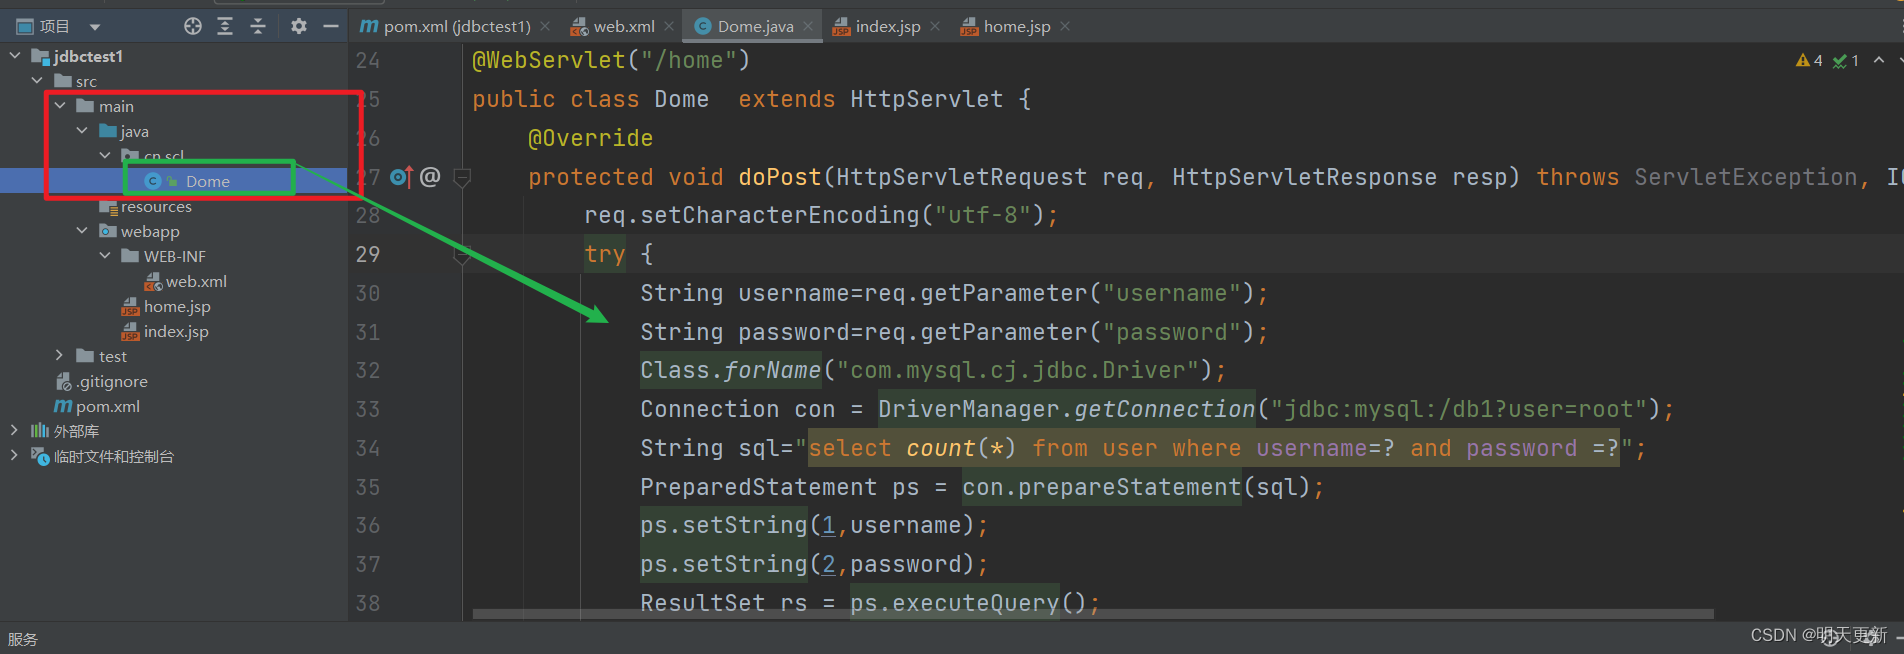
?代碼如下:
/** Copyright (c) 2020, 2023,  All rights reserved.**/
package cn.scl;import javax.servlet.ServletException;
import javax.servlet.annotation.WebServlet;
import javax.servlet.http.HttpServlet;
import javax.servlet.http.HttpServletRequest;
import javax.servlet.http.HttpServletResponse;
import java.io.IOException;
import java.sql.*;/*** <p>Project: jdbctest1 - Dome</p>* <p>Powered by scl On 2023-08-14 09:48:20</p>* <p>描述:<p>** @author 孫臣龍 [1846080280@qq.com]* @version 1.0* @since 17*/
@WebServlet("/home")
public class Dome  extends HttpServlet {@Overrideprotected void doPost(HttpServletRequest req, HttpServletResponse resp) throws ServletException, IOException {req.setCharacterEncoding("utf-8");try {String username=req.getParameter("username");String password=req.getParameter("password");Class.forName("com.mysql.cj.jdbc.Driver");Connection con = DriverManager.getConnection("jdbc:mysql:/db1?user=root");String sql="select count(*) from user where username=? and password =?";PreparedStatement ps = con.prepareStatement(sql);ps.setString(1,username);ps.setString(2,password);ResultSet rs = ps.executeQuery();rs.next();if (rs.getInt(1)>0){System.out.println("登錄成功");}} catch (ClassNotFoundException e) {throw new RuntimeException(e);} catch (SQLException e) {throw new RuntimeException(e);}}
}
?主要是將我們之前學習過的maven和連接數據庫結合起來使用。。
?


報錯問題解決)


