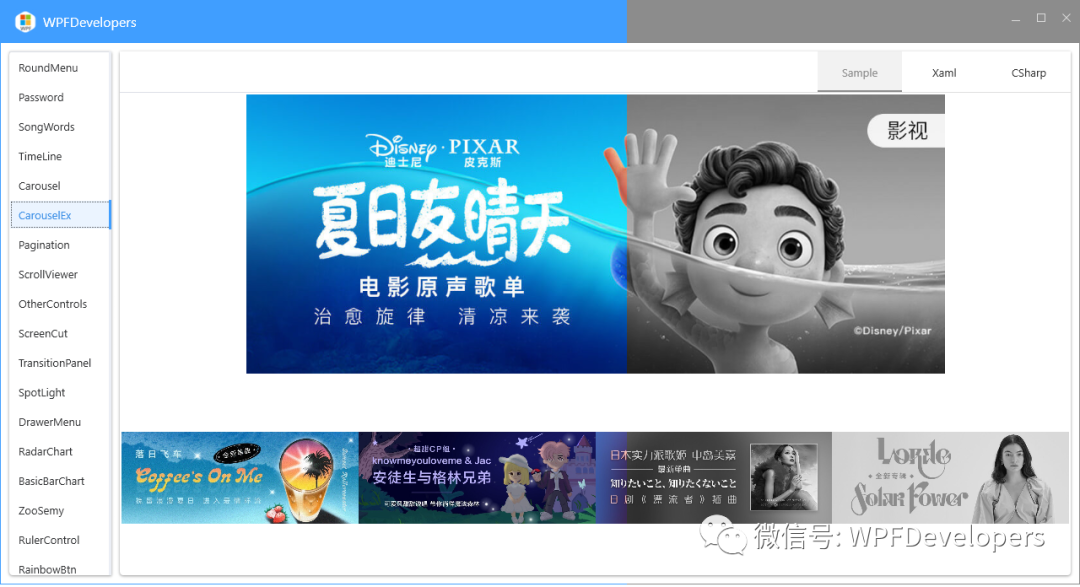
?如何對整個 WPF 應用程序進行灰度
控件名:GrayscaleEffect
作 ? 者:WPFDevelopersOrg - 驚鏵
原文鏈接[1]:https://github.com/WPFDevelopersOrg/WPFDevelopers 簡易源碼[2]
框架使用
.NET40;Visual Studio 2019;如果要實現灰度第一反是使用主題色更改,但是使用主題色需要重新配色比較慢,需
Effect類派生以實現自定義位圖效果,將使用ShaderEffect[3]進行更改灰度,從ShaderEffect類派生,以基于單個像素著色器實現自定義效果。必須安裝
.NET Framework 3.5 sp1或更高版本才能正常工作。
需要安裝
DirectX SDK才能編譯像素著色器效果。PixelShader[4]從預編譯的高級著色語言 (
HLSL) 字節代碼加載 。定義表示效果參數和基于表面輸入的
Brush依賴屬性。使用其中 RegisterPixelShaderSamplerProperty[5] 一個重載將這些輸入與HLSL字節碼中引用的寄存器號相關聯。DirectX SDK[6]
下載完成
DirectX SDK安裝完成。
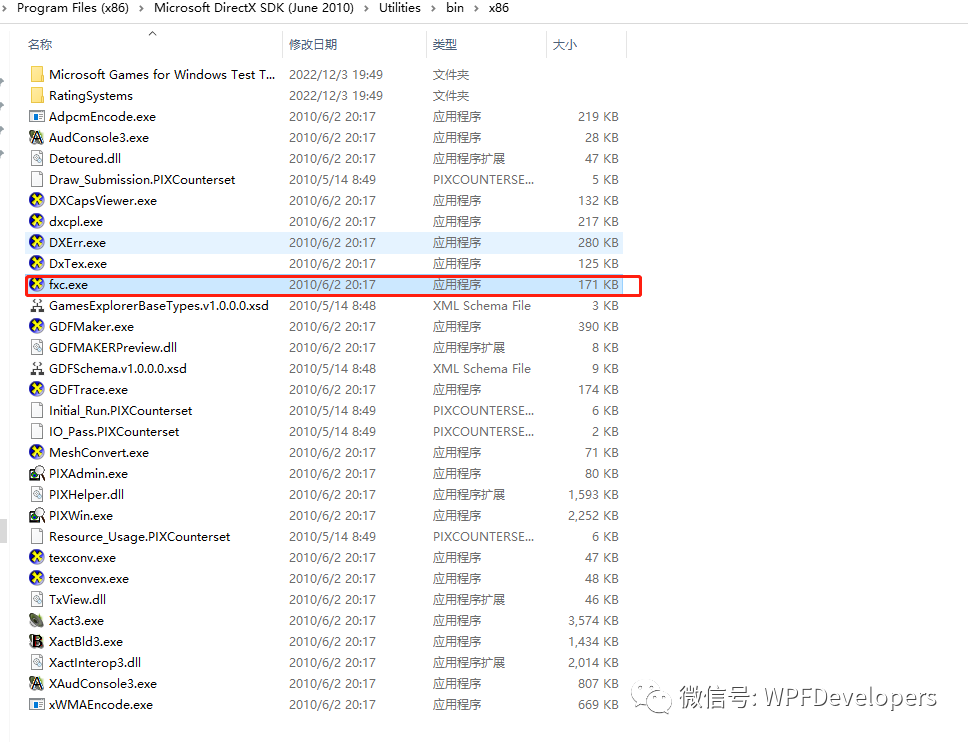
到安裝目錄下
\Utilities\bin\x86執行以下命令,就會輸出.ps文件。Nuget 最新[7]
Install-Package WPFDevelopers1.0.9.5-previewNuget 最新[8]
Install-Package WPFDevelopers.Minimal1.0.0.1-preview推薦使用Shazzam Shader Editor[9]進行編輯。
1) GrayscaleEffect.hlsl 代碼如下:
sampler2D?implicitInput?:?register(s0);
float?factor?:?register(c0);///?<summary>The?brightness?offset.</summary>
///?<minValue>-1</minValue>
///?<maxValue>1</maxValue>
///?<defaultValue>0</defaultValue>
float?brightness?:?register(c1);float4?main(float2?uv?:?TEXCOORD)?:?COLOR
{float4?pixelColor?=?tex2D(implicitInput,?uv);pixelColor.rgb?/=?pixelColor.a;//?Apply?brightness.pixelColor.rgb?+=?brightness;//?Return?final?pixel?color.pixelColor.rgb?*=?pixelColor.a;float4?color?=?pixelColor;float?pr?=?.299;float?pg?=?.587;float?pb?=?.114;float?gray?=?sqrt(color.r?*?color.r?*?pr?+?color.g?*?color.g?*?pg?+?color.b?*?color.b?*?pb);float4?result;????result.r?=?(color.r?-?gray)?*?factor?+?gray;result.g?=?(color.g?-?gray)?*?factor?+?gray;result.b?=?(color.b?-?gray)?*?factor?+?gray;result.a?=?color.a;return?result;
}2)執行命令 代碼如下:
fxc /T ps_2_0 /Fo E:\GrayscaleEffect\GrayscaleEffect.ps E:\GrayscaleEffect\GrayscaleEffect.hlsl
3)得到以下文件
4)新建GrayscaleEffect.cs 代碼如下:
using?System;
using?System.Windows;
using?System.Windows.Media;
using?System.Windows.Media.Effects;namespace?WPFDevelopers
{public?class?GrayscaleEffect?:?ShaderEffect{///?<summary>///?Identifies?the?Input?property.///?</summary>public?static?readonly?DependencyProperty?InputProperty?=?RegisterPixelShaderSamplerProperty("Input",?typeof(GrayscaleEffect),?0);///?<summary>///?Identifies?the?Factor?property.///?</summary>public?static?readonly?DependencyProperty?FactorProperty?=?DependencyProperty.Register("Factor",?typeof(double),?typeof(GrayscaleEffect),?new?UIPropertyMetadata(0D,?PixelShaderConstantCallback(0)));///?<summary>///?Identifies?the?Brightness?property.///?</summary>public?static?readonly?DependencyProperty?BrightnessProperty?=?DependencyProperty.Register("Brightness",?typeof(double),?typeof(GrayscaleEffect),?new?UIPropertyMetadata(0D,?PixelShaderConstantCallback(1)));///?<summary>///?Creates?a?new?instance?of?the?<see?cref="GrayscaleEffect"/>?class.///?</summary>public?GrayscaleEffect(){var?pixelShader?=?new?PixelShader();pixelShader.UriSource?=?new?Uri("WPFDevelopers;component/Effects/GrayscaleEffect.ps",?UriKind.Relative);PixelShader?=?pixelShader;UpdateShaderValue(InputProperty);UpdateShaderValue(FactorProperty);UpdateShaderValue(BrightnessProperty);}///?<summary>///?Gets?or?sets?the?<see?cref="Brush"/>?used?as?input?for?the?shader.///?</summary>public?Brush?Input{get?=>?((Brush)(GetValue(InputProperty)));set?=>?SetValue(InputProperty,?value);}///?<summary>///?Gets?or?sets?the?factor?used?in?the?shader.///?</summary>public?double?Factor{get?=>?((double)(GetValue(FactorProperty)));set?=>?SetValue(FactorProperty,?value);}///?<summary>///?Gets?or?sets?the?brightness?of?the?effect.///?</summary>public?double?Brightness{get?=>?((double)(GetValue(BrightnessProperty)));set?=>?SetValue(BrightnessProperty,?value);}}
}5)使用Window.Xaml 代碼如下,默認原色:
<wpfdev:Window?x:Class="WPFDevelopers.Samples.MainWindow"xmlns="http://schemas.microsoft.com/winfx/2006/xaml/presentation"xmlns:x="http://schemas.microsoft.com/winfx/2006/xaml"xmlns:d="http://schemas.microsoft.com/expression/blend/2008"xmlns:mc="http://schemas.openxmlformats.org/markup-compatibility/2006"xmlns:wpfdev="https://github.com/WPFDevelopersOrg/WPFDevelopers"><wpfdev:Window.Effect><wpfdev:GrayscaleEffect?x:Name="grayscaleEffect"?Factor="1"/></wpfdev:Window.Effect><TextBlock?Text="開啟程序灰度"?FontSize="20"?Margin="0,20,0,0"/><ToggleButton?Margin="10"?Name="tbGrayscale"?Checked="tbGrayscale_Checked"Unchecked="tbGrayscale_Unchecked"HorizontalAlignment="Left"/>6)使用Window.Xaml.cs 灰度代碼如下:
private?void?tbGrayscale_Checked(object?sender,?RoutedEventArgs?e){Create(0);}void?Create(double?to){var?sineEase?=?new?SineEase()?{?EasingMode?=?EasingMode.EaseOut?};var?doubleAnimation?=?new?DoubleAnimation{To?=?to,Duration?=?TimeSpan.FromMilliseconds(1000),EasingFunction?=?sineEase};grayscaleEffect.BeginAnimation(GrayscaleEffect.FactorProperty,?doubleAnimation);}private?void?tbGrayscale_Unchecked(object?sender,?RoutedEventArgs?e){Create(1);}
參考資料
[1]
原文鏈接: https://github.com/WPFDevelopersOrg/WPFDevelopers
[2]簡易源碼: https://github.com/yanjinhuagood/WPFApplicationGrayscale
[3]ShaderEffect: https://learn.microsoft.com/zh-cn/dotnet/api/system.windows.media.effects.shadereffect?view=windowsdesktop-7.0
[4]PixelShader: https://learn.microsoft.com/zh-cn/dotnet/api/system.windows.media.effects.pixelshader?view=windowsdesktop-7.0
[5]RegisterPixelShaderSamplerProperty: https://learn.microsoft.com/zh-cn/dotnet/api/system.windows.media.effects.shadereffect.registerpixelshadersamplerproperty?view=windowsdesktop-7.0
[6]DirectX SDK: https://www.microsoft.com/zh-cn/download/details.aspx?id=6812
[7]Nuget : https://www.nuget.org/packages/WPFDevelopers/
[8]Nuget : https://www.nuget.org/packages/WPFDevelopers.Minimal/
[9]Shazzam Shader Editor: https://github.com/JohanLarsson/Shazzam


![[轉載]unix環境高級編程備忘:理解保存的設置用戶ID,設置用戶ID位,有效用戶ID,實際用戶ID...](http://pic.xiahunao.cn/[轉載]unix環境高級編程備忘:理解保存的設置用戶ID,設置用戶ID位,有效用戶ID,實際用戶ID...)


)


