知己知彼百戰不殆
打算學習一下javascript
所以先從基礎的html語言開始
其實就是頭部 和身體
頭部控制整個 html的語言 title等
<html lang="en">
<head><meta charset="UTF-8"><meta name="viewport" content="width=device-width, initial-scale=1.0"><title>學習測試一下網站解法</title>
</head>
然后就是body
?????
<body><h1> 我需要學會html語言基本 </h1><h2> 基礎的東西我也要會</h2><p>  段落和標題的區別就是這個 其實我就是正文 </p><p> 不同段落需要 重新獲取p標簽</p><a href="http://47.115.211.64:8000/login">這是一個木馬鏈接</a><img src="帥照.jpg" width=1280  height="100"    alt="網速太慢">
</body>
</html>
這里有
h標簽 : 標題p標簽 : 段落a標簽 : 跳轉img標簽 : 導入圖片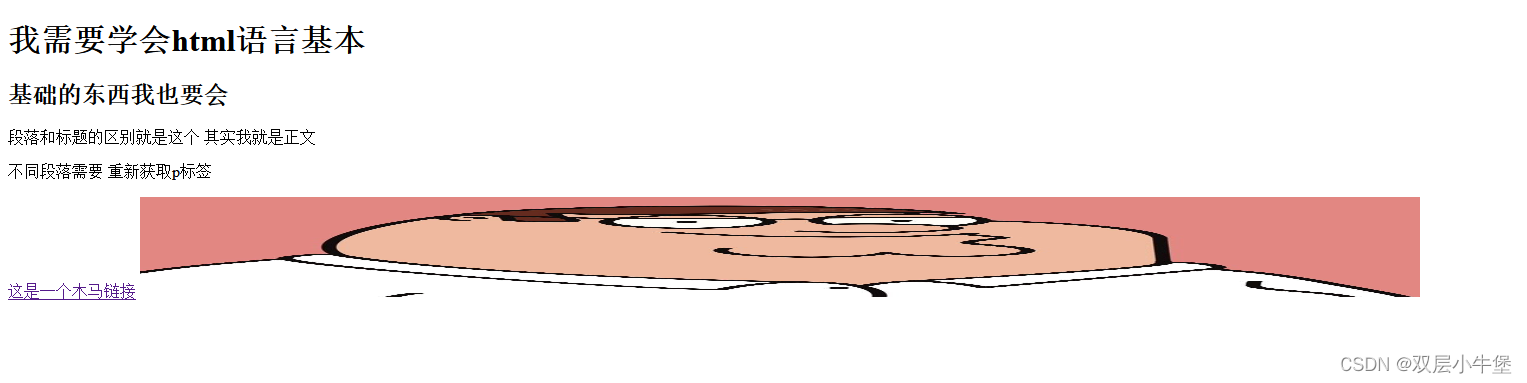
內容就是如圖所示
HTML 標簽對大小寫不敏感 所以 <P> = <p>
HTML屬性
其實就是可以附加東西的標簽
如果我們想對文本進行操作
<!DOCTYPE html>
<html>
<head>
<meta charset="utf-8">
<title>菜鳥教程(runoob.com)</title>
</head><body><b>這個文本是加粗的</b><br /><strong>這個文本是加粗的</strong><br /><big>這個文本字體放大</big><br /><em>這個文本是斜體的</em><br /><i>這個文本是斜體的</i><br /><small>這個文本是縮小的</small><br />這個文本包含
<sub>下標</sub><br />這個文本包含
<sup>上標</sup></body>
</html>
a標簽的屬性
href:url地址target : _blank _self 從本頁面跳轉 還是從新開一個頁面跳轉這里可以通過嵌套的方式將圖片設置為跳轉
<a href="http://47.115.211.64:8000/login" ><img src="帥照.jpg" alt=""></a>然后我們通過點擊圖片就可以進行跳轉了
這里還有一個錨點
<a href="#section2">跳轉到第二部分</a>
<!-- 在頁面中的某個位置 -->
<a name="section2"></a>
通過點擊 就可以進入到 下面那個a標簽所在的位置
如果是想下載 指定download即可
id屬性
id 屬性可用于創建一個 HTML 文檔書簽。提示: 書簽不會以任何特殊方式顯示,即在 HTML 頁面中是不顯示的,所以對于讀者來說是隱藏的。
實例在HTML文檔中插入ID:<a id="tips">有用的提示部分</a>在HTML文檔中創建一個鏈接到"有用的提示部分(id="tips")":<a href="#tips">訪問有用的提示部分</a>或者,從另一個頁面創建一個鏈接到"有用的提示部分(id="tips")":<a href="https://www.runoob.com/html/html-links.html#tips">
訪問有用的提示部分</a>
我覺得寫的很好了 菜鳥教程 就是 通過一個占位符 然后可以通過a標簽 訪問占位符
頭標簽
這里介紹一下 link 就是用于鏈接外部資源
介紹一下html設置表格
<p> 這里介紹一下表格</p><table border="12"><thead><tr><th> id</th><th> name</th><th> passwd</th></tr></thead><tbody><tr><td> 1</td><td> admin</td><td> admin123</td></tr></tbody></table>       <p> 這里介紹一下列表</p><ul><li>1111111:</li><li>2222222:</li></ul></body>
</html>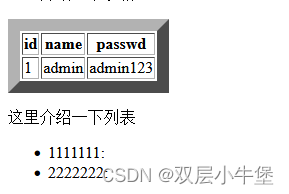
div的布局
<div id="menu" style="background-color:#FFD700;height:200px;width:100px;float:left;">
<b>菜單</b><br>
HTML<br>
CSS<br>
JavaScript</div><div id="content" style="background-color:#EEEEEE;height:200px;width:400px;float:left;">
內容在這里</div><div id="footer" style="background-color:#FFA500;clear:both;text-align:center;">
版權 ? runoob.com</div>
這里我們其實運行后可以發現 就是通過 <div id="名字" style 中的style進行布局控制
★★HTML的表單
這個要好好看一下
是參數傳遞的功能
表單是收集用戶信息<form> 是創建表單的 參數包括 action: 提交的url method:提交的方式 POST/GET/PUT等<input> 創建文本框 type 定義輸入框類型 id 用于關聯 table 元素name 用于標識
<!DOCTYPE html>
<html lang="en">
<head><meta charset="UTF-8"><meta name="viewport" content="width=device-width, initial-scale=1.0"><title>登入界面</title>
</head>
<body><form action="/test-web/dir.php" method="post"><label for="name">用戶名:</label><input type="text" name="name" id="name" required><br><label for="passwd">密碼:</label><input type="password" name="passwd" id="passwd" required><br><input type="submit" value="提交"></form></body>
</html>
最基本的寫法
差不多會了 寫個登入查詢是否存在用戶的網站吧
index.html
<<!DOCTYPE html>
<html lang="en">
<!---flag{fuc3-yo3}-->
<head><meta charset="UTF-8"><meta name="viewport" content="width=device-width, initial-scale=1.0"><title>學習測試一下網站解法</title>
</head>
<body><h1> 我需要學會html語言基本 </h1><hr><h2> 基礎的東西我也要會</h2><p>  段落和標題的區別就是這個 其實我就是正文 </p><hr><p> 不同段落需要 重新獲取p標簽</p><a href="帥照.jpg" download>下載帥照</a><p>這是一個段落標簽<br>但是我使用br分段</p><p> 這里介紹一下表格</p><table border="12"><thead><tr><th> id</th><th> name</th><th> passwd</th></tr></thead><tbody><tr><td> 1</td><td> admin</td><td> admin123</td></tr></tbody></table>       <p> 這里介紹一下列表</p><ul><li>1111111:</li><li>2222222:</li></ul><form action="/test-web/dir.php" method="post"> <label for="name">用戶名</label><input type="text" name="name" id="name"><br><label for="passwd">密碼:</label><input type="password" name="passwd" id="passwd"><br><input type="submit" value="提交"><a href="http://127.0.0.1:3000/zhuce.php">注冊</a>
</form></body>
</html>
dir.php
<?php
// highlight_file(__FILE__);
$m = new MongoDB\Driver\Manager("mongodb://127.0.0.1:27017/?compressors=disabled&gssapiServiceName=mongodb");
$name = $_POST['name'];
$passwd = $_POST['passwd'];
$id = $_POST['id'];
if(!$id){$query = new MongoDB\Driver\Query(['name'=>$name,'password'=>$passwd]);$res = $m -> executeQuery('test.admin',$query)->toArray();$count = count($res);// $queryString = json_encode($res);// echo '查詢結果: ' . $queryString . '<br>';if($count>0){foreach($res as $a){$a = (array)$a;echo '====Login Success====<br>';echo 'username: ' . $a['name'] . '<br>'; }}else{echo '<script>alert("賬號密碼錯誤"); window.location="index.html";</script>';}
}else{
$bulk = new MongoDB\Driver\BulkWrite();// 創建要插入的文檔
$document = ['_id' => new MongoDB\BSON\ObjectID(),'id' => $id,'name' => $name,'password' => $passwd
];// 添加插入操作
$bulk->insert($document);// 指定數據庫和集合名稱
$database = 'test';
$collection = 'admin';// 執行寫入操作
$writeConcern = new MongoDB\Driver\WriteConcern(MongoDB\Driver\WriteConcern::MAJORITY, 1000);
$result = $m->executeBulkWrite("$database.$collection", $bulk, $writeConcern);if ($result->getInsertedCount() > 0) {echo "注冊成功";
} else {echo "注冊失敗";
}
}
zhuce.php
<!DOCTYPE html>
<html lang="en">
<head><meta charset="UTF-8"><meta name="viewport" content="width=device-width, initial-scale=1.0"><title>注冊界面</title>
</head>
<body><form action="/test-web/dir.php" method="post"><label for="id">ID值</label><input type="id" name="id" id='id'><br><label for="name">用戶名</label><input type="text" name='name' id ='name'><br><label for="passwd">密碼</label><input type="password" name="passwd" id="passwd"><input type="submit" value="注冊"><a href="http://127.0.0.1:3000/index.html">返回</a></form></body>
</html>
?最基本的查詢網站 加入了注冊界面


)


)


】功能)
