視頻講解:RISC-V 開發板 MUSE Pi Pro OpenCV結合Gstreamer實時顯示CSI攝像頭_嗶哩嗶哩_bilibili
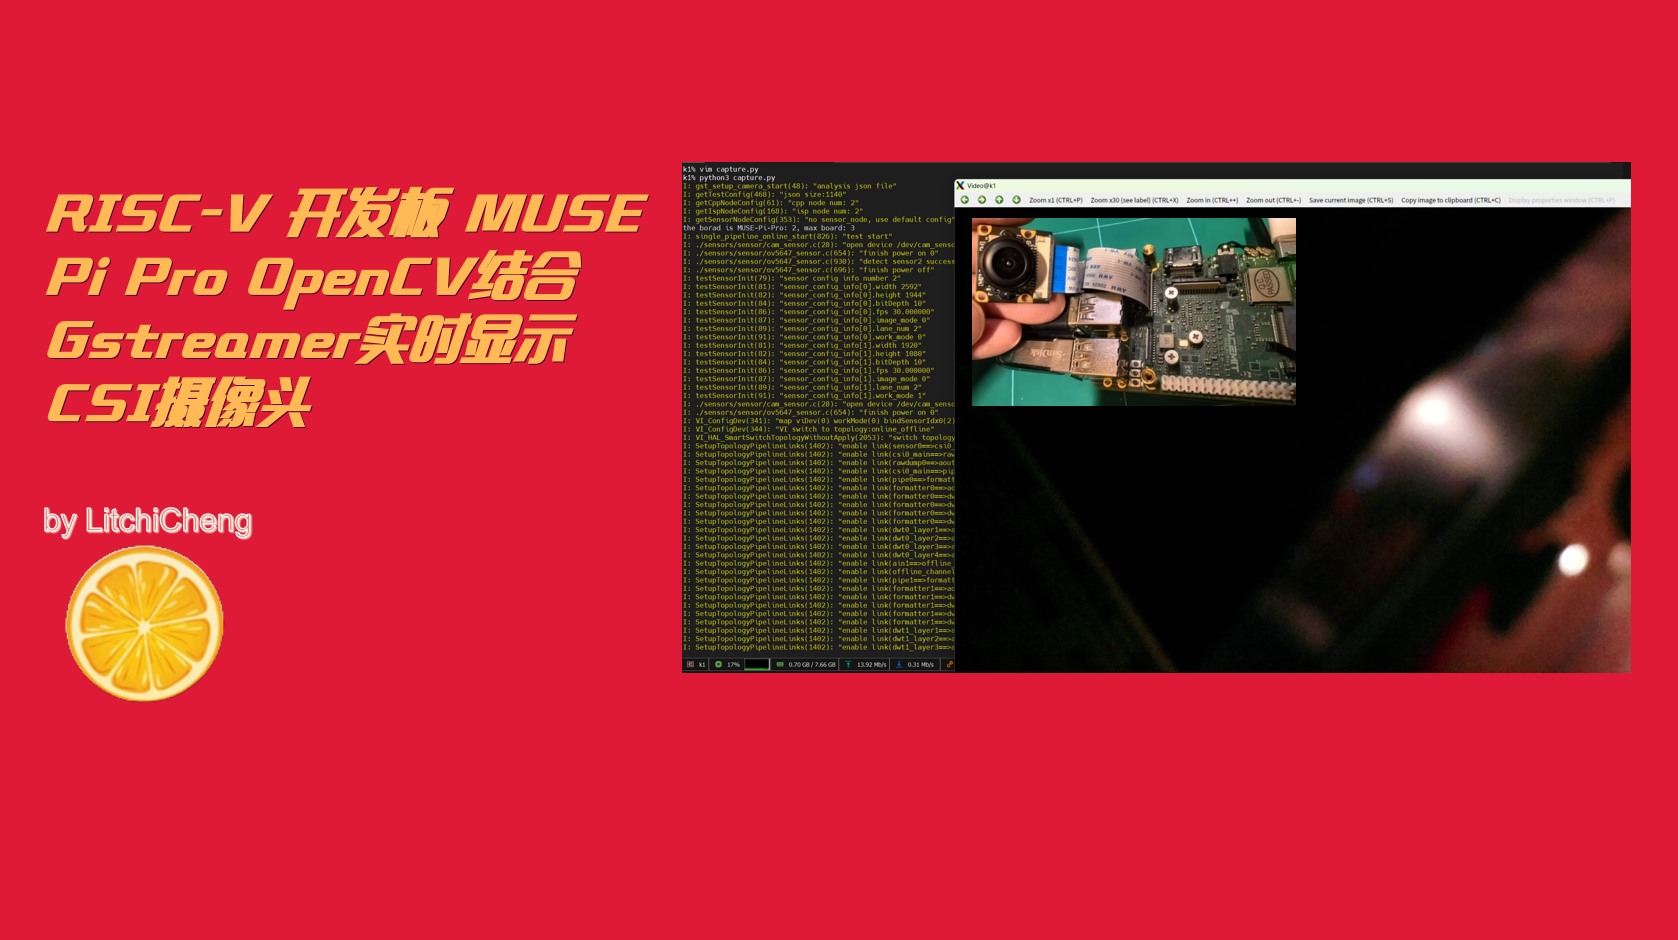
RISC-V 開發板 MUSE Pi Pro OpenCV結合Gstreamer實時顯示CSI攝像頭
安裝opencv相關庫
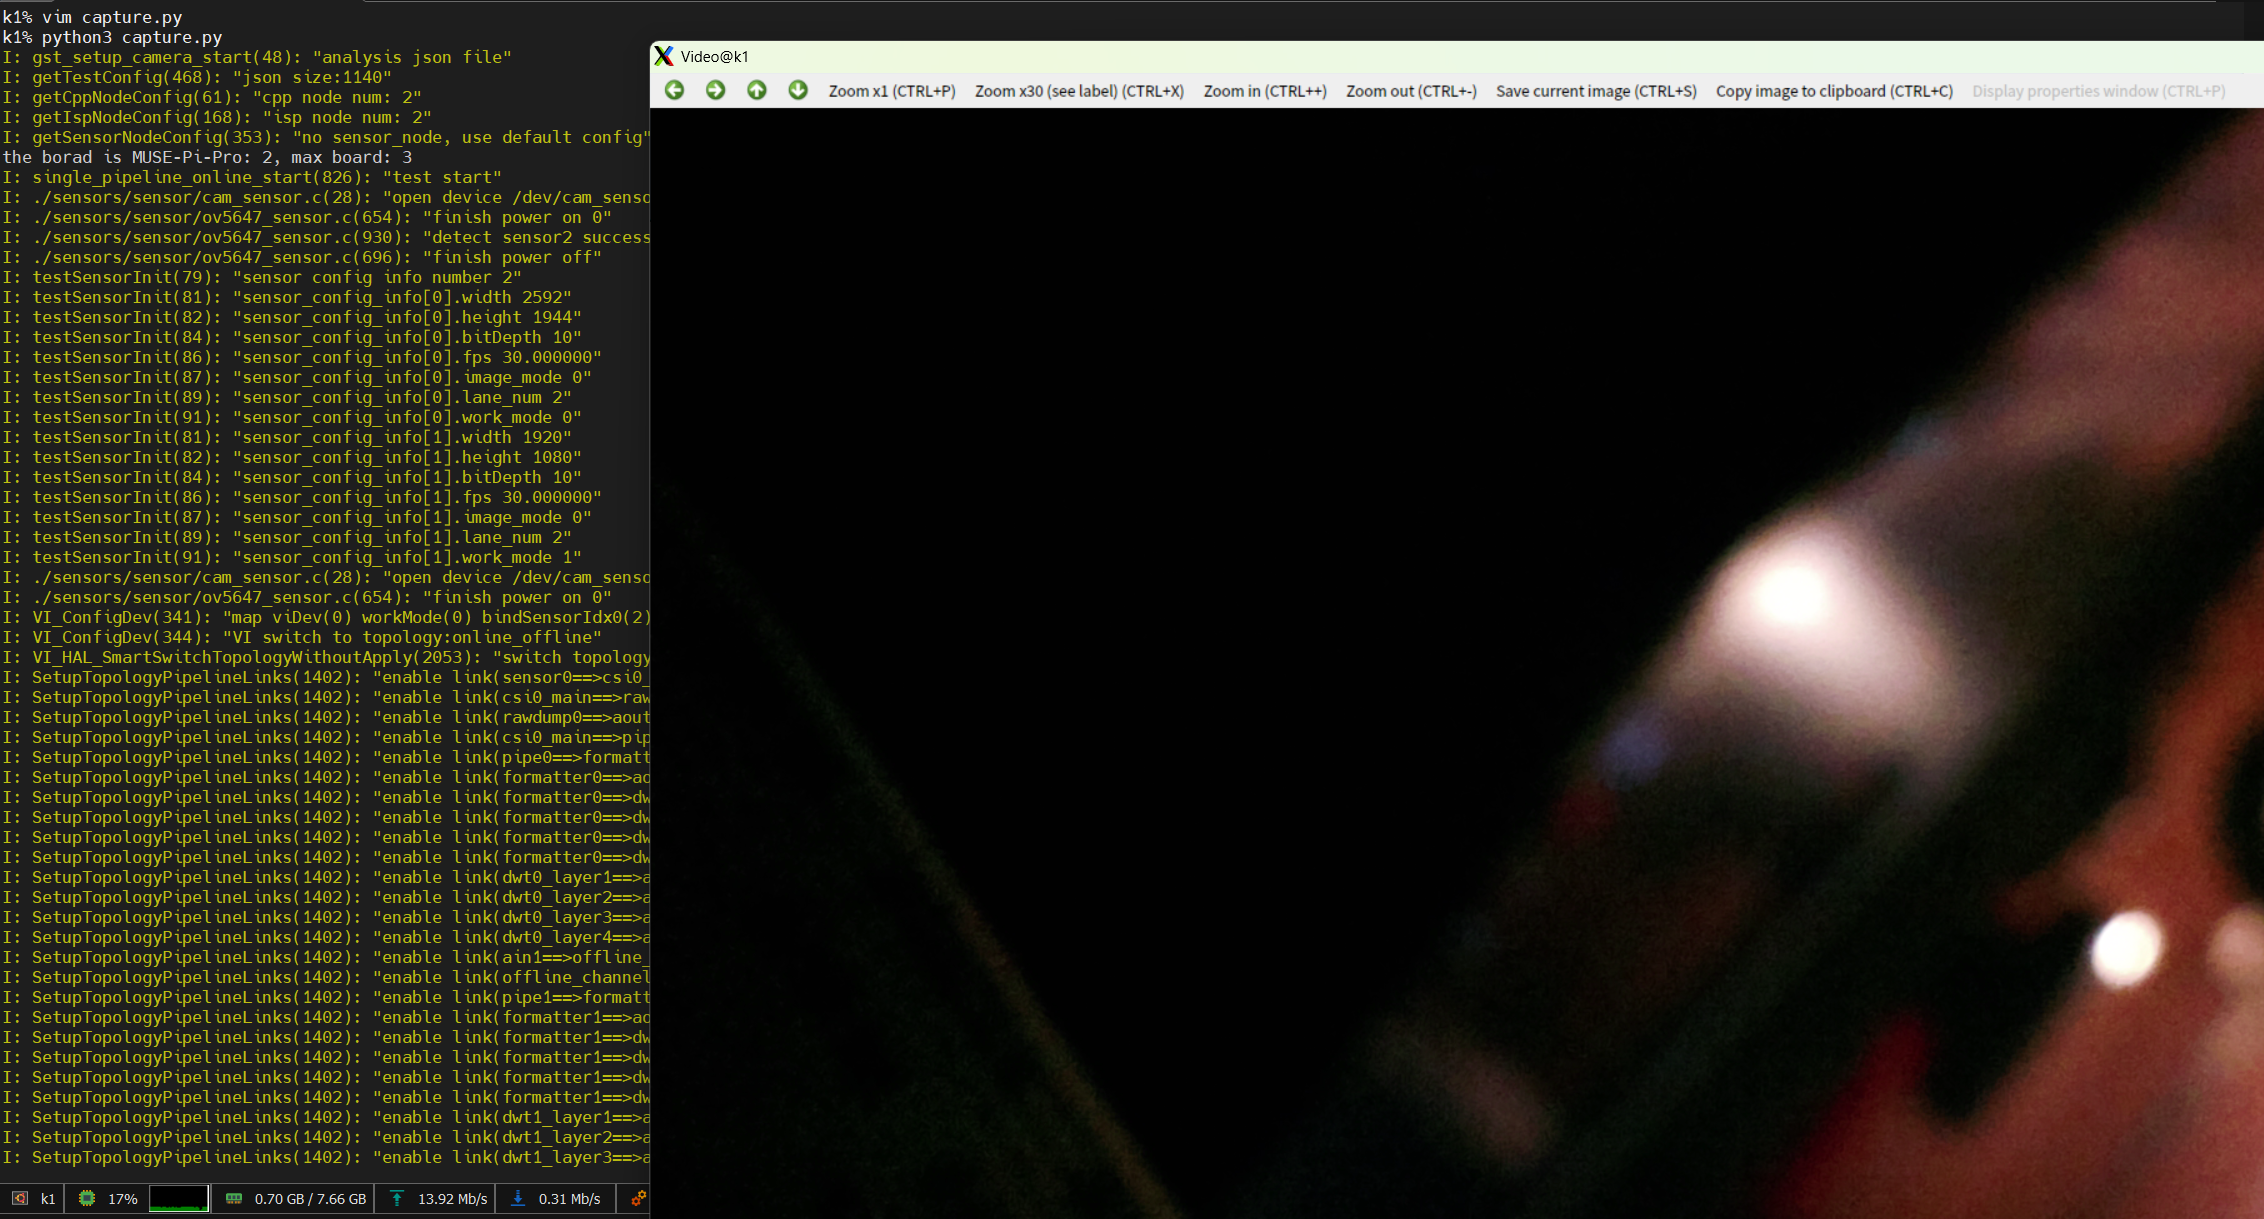
sudo apt install libopencv-dev python3 python3-opencv測試使用的CSI攝像頭為ov5647,官方示例如下,其中json包括csi型號不同需要修改下
import cv2gst_str = 'spacemitsrc location=/home/bianbu/camtest_ov16a10.json close-dmabuf=1 ! video/x-raw,format=NV12,width=1280,height=720 ! appsink'cap = cv2.VideoCapture(gst_str, cv2.CAP_GSTREAMER)  # 打開默認的攝像頭while True:ret, frame = cap.read()  # 讀取視頻幀frame = cv2.cvtColor(frame, cv2.COLOR_YUV2BGR_NV12)cv2.imshow('Video', frame)  # 顯示視頻幀if cv2.waitKey(1) & 0xFF == ord('q'):  # 按下 'q' 鍵退出循環breakcap.release()  # 釋放攝像頭
cv2.destroyAllWindows()  # 關閉所有窗口
需要將gst_str中json文件的位置修改為如下:
gst_str = 'spacemitsrc location=/usr/share/camera_json/csi3_camera_auto.json close-dmabuf=1 ! video/x-raw,format=NV12,width=1920,height=1080 ! appsink'完整修改如下:
import cv2gst_str = 'spacemitsrc location=/usr/share/camera_json/csi3_camera_auto.json close-dmabuf=1 ! video/x-raw,format=NV12,width=1920,height=1080 ! appsink'cap = cv2.VideoCapture(gst_str, cv2.CAP_GSTREAMER)  # 打開默認的攝像頭while True:ret, frame = cap.read()  # 讀取視頻幀frame = cv2.cvtColor(frame, cv2.COLOR_YUV2BGR_NV12)cv2.imshow('Video', frame)  # 顯示視頻幀if cv2.waitKey(1) & 0xFF == ord('q'):  # 按下 'q' 鍵退出循環breakcap.release()  # 釋放攝像頭
cv2.destroyAllWindows()  # 關閉所有窗口
非桌面段的話,會起一個Remote X窗口用來顯示,雖然有點卡


 K8S)
:初始界面的事件處理;按照配置文件初始化界面的內容)

![[20250522]目前市場上主流AI開發板及算法盒子的芯片配置、架構及支持的AI推理框架的詳細梳理](http://pic.xiahunao.cn/[20250522]目前市場上主流AI開發板及算法盒子的芯片配置、架構及支持的AI推理框架的詳細梳理)


)


 2-7-3 GB/T 25058—2019 第7章 安全設計與實施)