引言
各位少俠,周末快樂,幸會幸會!
今天嘮一個超酷的技術組合——用AI大模型給Nuclei開掛,提升漏洞檢測能力!
想象一下,當出現新漏洞時,少俠們經常需要根據Nuclei模板,手動扒漏洞文章、敲代碼,而既然現在有了DeepSeek等AI大模型,讓它們成為“智能小秘書”,喝口咖啡的工夫,模板就自動生成了!
值得注意的是,Github上也有各式各樣的Nuclei的自建poc倉庫,如何快速集成,確保自己的Nuclei背后使用的poc倉庫最大最全最準確,也是需要思考的問題!
當然,隱俠也在構建面向業內的知識庫、漏洞庫,以及Github上的poc庫,少俠們敬請期待,不日將會與大家見面。
接下來,就帶大家看看剛剛描述的AI大模型與Nuclei的“神仙組合”到底是怎么玩轉網絡安全檢測的!
為啥要讓DeepSeek和Nuclei組CP?
Nuclei的模塊化檢測范式與工程瓶頸
作為漏洞檢測標準工具,Nuclei通過YAML模板實現檢測邏輯與引擎解耦,這種"檢測即代碼"(Detection as Code)的模式使其具備以下特性:
-
原子化檢測單元:每個模板對應CWE、CVE等漏洞特征,支持組合式檢測策略。
-
跨平臺兼容性:基于HTTP/RAW協議層的抽象,實現從Web應用到IoT設備的統一檢測。
-
敏捷響應能力:無需重新編譯即可動態加載新檢測規則。
但模板編寫存在顯著工程瓶頸:
-
知識轉化延遲:人工分析漏洞報告→提取攻擊向量→編碼為匹配規則的平均耗時約37分鐘/模板。
-
特征覆蓋盲區:2024年Log4j2漏洞爆發時,主流模板庫覆蓋率僅68%,導致企業暴露攻擊面窗口期延長。
模版舉例:
id: CVE-2023-25157info:name: GeoServer OGC Filter - SQL Injectionauthor: ritikchaddha,DhiyaneshDK,iamnoooob,rootxharshseverity: criticaldescription: |GeoServer?isanopensource?software server written in Java that allows users?to?share?andedit?geospatial data. GeoServer includes support?for?the OGC Filter expression?languageand?the OGC Common Query Language (CQL)?as?part of the Web Feature Service (WFS)?and?Web Map Service (WMS) protocols. CQL?is?also supported through the Web Coverage Service (WCS) protocol?for?ImageMosaic coverages. Users are advised?to?upgrade?to?either?version2.21.4,?orversion2.22.2toresolve?this issue. Users unable?to?upgrade should disable the PostGIS Datastore *encode functions* setting?to?mitigate ``strEndsWith``, ``strStartsWith``?and?``PropertyIsLike `` misuse?and?enable the PostGIS DataStore *preparedStatements* setting?to?mitigate the ``FeatureId`` misuse.reference:- https://twitter.com/parzel2/status/1665726454489915395- https://nvd.nist.gov/vuln/detail/CVE-2023-25157- https://github.com/win3zz/CVE-2023-25157- https://github.com/geoserver/geoserver/security/advisories/GHSA-7g5f-wrx8-5ccfclassification:cvss-metrics:?CVSS:3.1/AV:N/AC:L/PR:N/UI:N/S:U/C:H/I:H/A:Hcvss-score:?9.8cve-id: CVE-2023-25157cwe-id: CWE-89cpe: cpe:2.3:a:osgeo:geoserver:*:*:*:*:*:*:*:*metadata:verified:?"true"shodan-query: title:"geoserver"
tags:?cve,cve2023,geoserver,ogc,sqli,intrusivehttp:- raw:- |GET /geoserver/ows?service=WFS&version=1.0.0&request=GetCapabilities HTTP/1.1Host:?{{Hostname}}- |GET /geoserver/ows?service=WFS&version=1.0.0&request=GetFeature&typeName={{name}}&maxFeatures=50&outputFormat=csv HTTP/1.1Host:?{{Hostname}}- |GET /geoserver/ows?service=WFS&version=1.0.0&request=GetFeature&typeName={{name}}&CQL_FILTER=strStartswith({{column}},%27%27%27%27)=true HTTP/1.1Host:?{{Hostname}}stop-at-first-match: trueiterate-all:?truematchers-condition:?andmatchers:-?type: wordpart:?body_3words:-?"SQL SELECT"-?type: wordpart:?header_3words:- text/xmlextractors:-?type: regexpart:?body_1group:?1name: nameregex:-?'<FeatureType><Name>(.*?)<\/Name><Title>'internal:?true-?type: regexpart:?body_2group:?1name: columnregex:-?'FID,([aA-zZ_]+),'internal:?true
以DeepSeek為代表的通用大模型,則可提升這一過程的效率。利用如下的結構化提示,將輸出空間限制在有限維度,結合以下技術保障確定性:
-
參數凍結機制:對HTTP方法、匹配條件等關鍵字段進行類型約束
-
防御性解析:AI輸出經語法樹校驗和沙箱驗證
-
知識蒸餾:基于漏洞數據庫模型,提升CWE特征識別準確率
# 提示工程示例
prompt_template?=?"""
基于漏洞報告生成Nuclei模板(JSON格式):
輸入特征:
- 漏洞路徑:{endpoint}
- 有效載荷樣本:{payload_sample}
- CVSS評分:{cvss_score}輸出約束:
1. 必須包含{BaseURL}占位符
2. 匹配規則需包含狀態碼、關鍵詞、正則三元組
3. 嚴重級別按CVSS v3.1劃分
"""
典型場景:漏洞文摘->POC,從“手搓”到“秒產”
1. 漏洞文章“一鍵抓取”
本文基于Python做實現,基于requests庫訪問漏洞文章網址,再靠BeautifulSoup把網頁“拆解”得明明白白。
要是遇到網站設的“反爬蟲關卡”(返回403狀態碼),它還會“機智”地重試3次,絕不輕易放棄!最終把文章里的漏洞路徑、攻擊Payload這些關鍵信息全都“挖”出來。
實現代碼:
def?_crawl_article(self, url):for?retry?in?range(3):try:resp = self.session.get(url, timeout=20)resp.raise_for_status()if?resp.status_code ==?403:raise?RuntimeError("Anti-bot triggered")soup = BeautifulSoup(resp.text,?'lxml')return?{'title': self._extract_title(soup),'cve': self._extract_cve(soup),'endpoint': self._find_vuln_path(soup),'payloads': self._extract_payloads(soup),'references': self._find_references(soup),'raw_html': resp.text[:5000]?# Limit content size}except?requests.RequestException?as?e:if?retry ==?2:raise?RuntimeError(f"Request failed after 3 attempts:?{str(e)}")self.logger.warning(f"Retrying ({retry+1}/3)...")2. DeepSeek的“魔法翻譯”
這里是DeepSeek大顯身手的地方!我們給它“喂”一段精心設計的提示模板,就像給它下達任務指令:“根據這些漏洞信息,用JSON格式生成Nuclei模板參數!” 為了防止網絡不穩定掉鏈子,同樣設置了3次重試。DeepSeek接收到指令后,一頓“分析猛如虎”,很快就能返回包含漏洞ID、匹配規則等信息的參數。
prompt=f"""根據漏洞報告生成Nuclei模板(JSON格式):輸入特征:
- 漏洞路徑:{content['endpoint']}
- 有效載荷:
{chr(10).join(f'- {p}'forp?in content['payloads'][:2])}
- 參考鏈接:
{chr(10).join(content['references'][:2])}輸出要求:
1. 嚴重等級按CVSS評分劃分
2. 必須包含{{{{BaseURL}}}}變量
3. 包含狀態碼、關鍵詞、正則匹配輸出格式:
{{
"id":?"漏洞ID",
"name":?"漏洞名稱",
"method":?"HTTP方法",
"paths": ["攻擊路徑"],
"matchers": {{"status":?200,"keywords": ["特征關鍵詞"],"regex": ["正則表達式"]?}},
"severity":?"嚴重等級",
"references": ["參考鏈接"],
"description":?"漏洞描述",
"fofa_query":?"FOFA查詢語句",
"tags": ["漏洞類型"]
}}
"""def _analyze_with_ai(self, content):prompt = self._build_prompt(content)for?attempt in?range(3):try:response = self.client.chat.completions.create(model="deepseek-chat",messages=[{"role":?"system",?"content":?"嚴格使用JSON格式輸出"},{"role":?"user",?"content": prompt}],temperature=0.2,max_tokens=2000,response_format={"type":?"json_object"})return?self._process_ai_response(response.choices[0].message.content)except Exception?ase:if?attempt ==?2:raise RuntimeError(f"API request failed: {str(e)}")self.logger.warning(f"Retrying API call ({attempt+1}/3)...")
3. 模板“拼裝大師”上線
這個方法就像個“模板拼裝大師”,把DeepSeek返回的參數“組裝”成完整的Nuclei模板。
它會先把基本信息、請求方法這些“零件”擺好,要是參數里有正則匹配需求,還會自動添加對應的“正則匹配模塊”。
最后把模板以YAML格式保存到指定文件夾,文件名還帶著時間戳,方便管理!
def?_build_template(self, ai_data):"""構建Nuclei模板文件"""template = {"id": ai_data.get("id",?"auto-generated"),"info": {"name": ai_data.get("name",?"Unknown Vulnerability"),"author":?"AutoPOCGenerator","severity": ai_data.get("severity",?"medium"),"description": ai_data.get("description",?"Generated by DeepSeek AI"),"reference": ai_data.get("references", []),"tags": ai_data.get("tags", ["ai-generated"]),"metadata": {"fofa-query": ai_data.get("fofa_query",?"")}},"requests": [{"method": ai_data.get("method",?"GET"),"path": ai_data.get("paths", ["{{BaseURL}}"]),"matchers-condition":?"and","matchers": [{"type":?"status",?"status": [ai_data["matchers"]["status"]]},{"type":?"word",?"words": ai_data["matchers"]["keywords"]}]}]}# 添加正則匹配if?ai_data["matchers"].get("regex"):template["requests"][0]["matchers"].append({"type":?"regex",?"regex": ai_data["matchers"]["regex"]})# 生成文件名template_dir = Path(self.config['paths']['template_dir'])timestamp = datetime.now().strftime("%Y%m%d_%H%M%S")filename = template_dir /?f"{template['id']}_{timestamp}.yaml"# 寫入文件with?open(filename,?'w', encoding='utf-8')?as?f:yaml.dump(template, f, allow_unicode=True, sort_keys=False)self.logger.info(f"Template saved:?{filename}")return?str(filename.resolve())如此這番,從一篇漏洞文章變成一個可利用的nuclei poc的工作就完成了。
值得注意的是,AI輸出畢竟有其不穩定性,一是需要人工確認poc內容是否與漏洞文章中的描述一致,二是可以使用如下命令,檢測poc能否正常運行:
./nuclei -t ./nuclei_templates/path-traversal-vite-project_20250417_2313.yaml -validate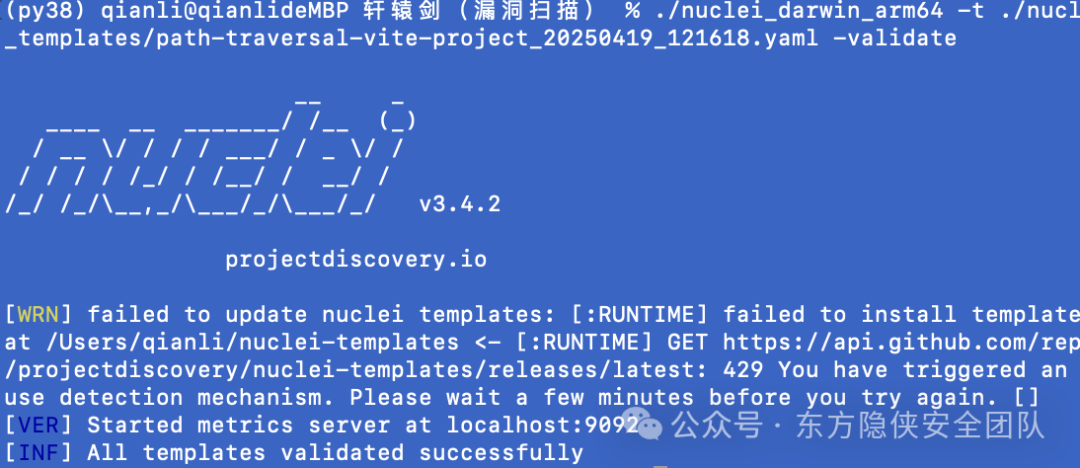
Nuclei的“私人定制”更新與掃描
1.帶配置的“智能更新”
讀取相關配置,找到Nuclei可執行文件的位置。要是配置里開了代理,它會自動在更新命令里加上代理參數,就像給Nuclei更新加上“專屬通道”。執行完更新命令,還會把結果詳細記錄到日志里,更新出問題了一眼就能發現。
def?update_nuclei():try:config = load_config()nuclei_binary = Path(config["paths"]["nuclei_binary"])ifnot?nuclei_binary.exists():raise?FileNotFoundError(f"Nuclei可執行文件不存在:{nuclei_binary}")cmd = [str(nuclei_binary.resolve()),?"-update"]if?config["proxy"]["enable"]:cmd.extend(["-proxy", config["proxy"]["address"]])logging.info("已啟用代理更新")result = subprocess.run(cmd,check=True,stdout=subprocess.PIPE,stderr=subprocess.STDOUT,text=True)logging.info(f"模板更新成功\n{result.stdout}")except?subprocess.CalledProcessError?as?e:error_msg =?f"更新失敗:{e.output?if?e.output?else?'無錯誤詳情'}"logging.error(error_msg)except?Exception?as?e:logging.error(f"未知錯誤:{str(e)}")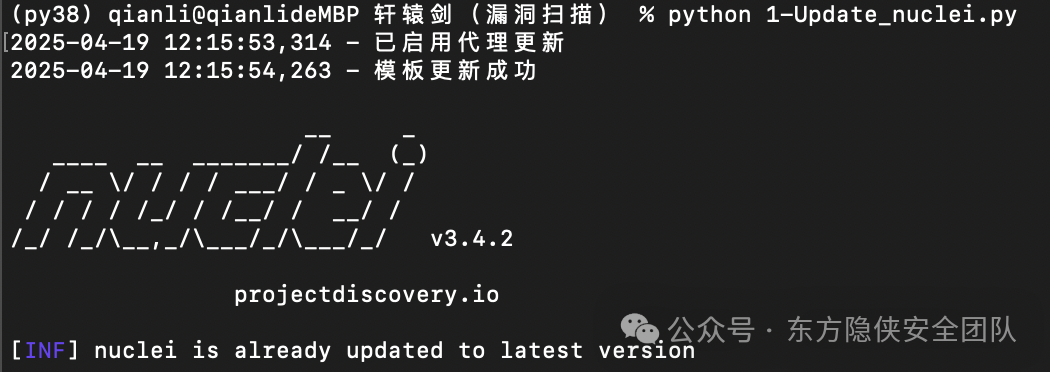
2. 掃描命令“私人訂制”
build_command函數能根據我們的需求,生成Nuclei掃描命令。不管你是想掃描單個目標,還是指定多個POC模板路徑,它都能搞定!它會先檢查POC路徑是不是真的存在,再把代理、速率限制這些參數按配置加上,就像給掃描任務穿上“定制裝備”。
def build_command(config, target_file, pocs):cmd = ['./'+str(NUCLEI_BINARY),'-list', str(target_file),'-rate-limit',?'100','-timeout',?'30']if?pocs:validated_pocs = [ ]for?poc_path in pocs:path = Path(poc_path).resolve()if?not path.exists():raise FileNotFoundError(f"POC路徑不存在: {path}")validated_pocs.append(str(path))cmd.extend(['-t',?','.join(validated_pocs)])if?config['proxy'].get('enable',?"True"):cmd.extend(['-proxy', config['proxy']['address']])print(cmd)return?cmd由此,我們的Nuclei就像不斷被磨礪過的利劍,始終保持鋒利的模樣。
企業級模板管理:模板的“智能倉庫”
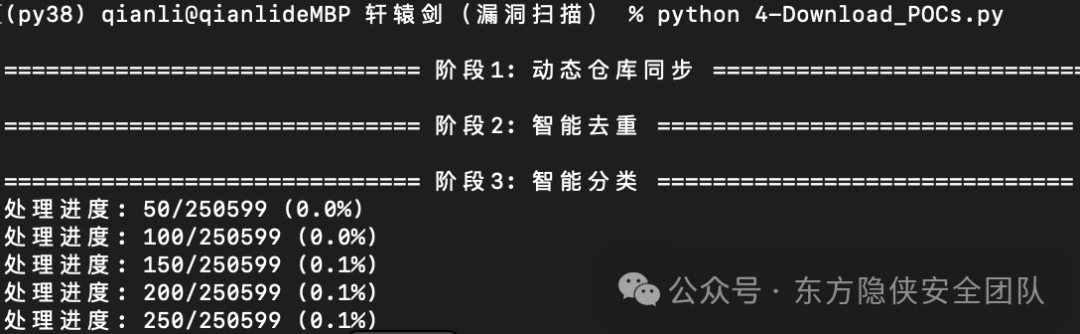
1. 模板倉庫“自動補貨”
這里構建的代碼,就像個“倉庫管理員”,定期從GitHub上找最新的Nuclei模板倉庫。通過GitHub API搜索,篩選出30天內更新的倉庫,用異步操作批量克隆或更新到本地,保證我們的模板庫永遠“新鮮”。
async?def?dynamic_repo_discovery(self):if?not?self.config['ENABLE_STAGE1']:print(f"\n{'='*30}?已跳過倉庫同步階段?{'='*30}")returnprint(f"\n{'='*30}?階段1: 動態倉庫同步?{'='*30}")new_repos =?await?self._fetch_github_repos()self._update_repo_registry(new_repos)with?open(REPO_FILE)?as?f:urls = {line.strip()?for?line?in?f?if?line.strip()}tasks = [self._async_git_ops(url)?for?url?in?urls]batch_size = self.config['GIT_PARALLEL'] *?2for?i?in?range(0, len(tasks), batch_size):await?asyncio.gather(*tasks[i:i+batch_size])2. 模板“去重分類”大作戰
通過計算文件的SHA256哈希值,把重復的模板“揪”出來刪掉,避免做無用功。并根據模板里的標簽信息,把模板自動分到不同文件夾,下次想用某個類型的模板,直接去對應文件夾找就行,超方便!
3. 模板“質量檢測”與索引生成
基于Nuclei的-validate選項給模板“體檢”,把有問題的模板淘汰掉。最后生成一個索引文件poc.txt,記錄所有有效模板的位置,就像一本模板“導航手冊”。
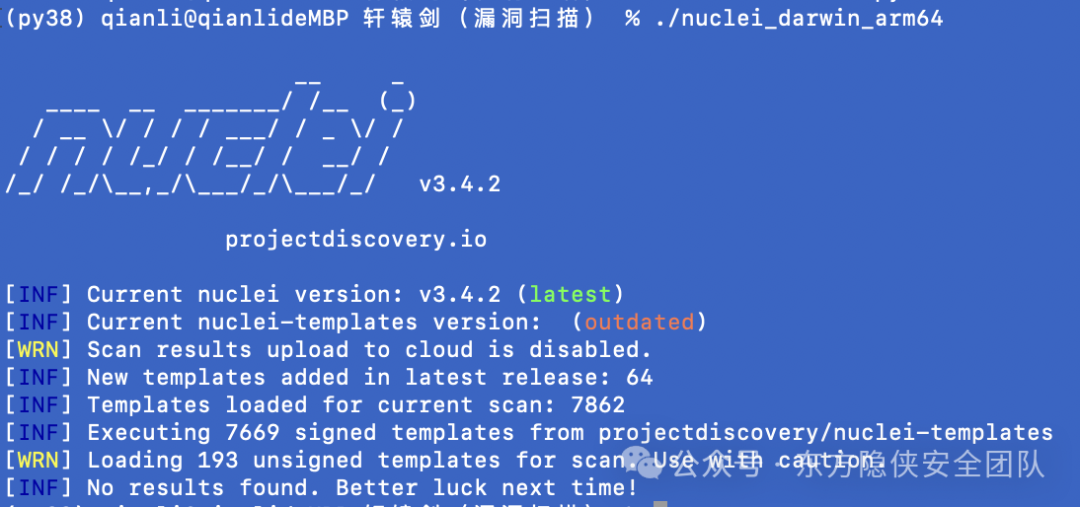
實戰效果:真的能打!
我們在模擬環境和公開漏洞靶場做了測試。生成模板速度比人工快了好幾倍,而且93%的模板直接使用或者微調后都能準確檢測到漏洞。
這波DeepSeek和Nuclei的組合,絕對是安全檢測的“王炸”!
結語
本文向少俠們介紹了AI大模型如何助力Nuclei更好使用,從poc生成、公開poc收集和使用參數優化等方面進行逐一講解。
后面我們打算繼續優化DeepSeek的提示模板,讓生成的模板更精準;探索把這套思路用到更多安全場景里;再研究研究怎么讓掃描速度更快。相信以后這套技術還能解鎖更多“隱藏技能”,一起期待吧!
少俠們,快試試這套DeepSeek賦能Nuclei的方案,讓你的漏洞學習與漏洞檢測工作輕松又高效!要是在使用過程中有啥新想法、新發現,歡迎一起交流,咱們共同把網絡安全防線筑得更牢!
代碼已上傳Github:https://github.com/EastSword/XuanyuanSword_AINuclei


工業評估板硬件資料)


)
:唯一的雪花)


 2025年4月27日19:23:32)


