目錄
- 1. 基本知識
- 2. 用法
- 3. Demo
1. 基本知識
reactive 是一個函數,用于將一個普通的 JavaScript 對象轉換為響應式對象
當對象的屬性發生變化時,Vue 會自動追蹤這些變化,并觸發相應的更新
Vue2沒有,而Vue3中有,為啥使用這個reactive呢?
- 響應式數據綁定:Vue 3 通過 reactive 實現了更高效的響應式系統
- 組合式 API:相比于 Vue 2 的選項式 API,組合式 API 提供了更好的邏輯復用和代碼組織方式
- 更細粒度的 reactivity:通過 reactive,可以實現更細粒度的響應式數據追蹤
基本的用法如下:
import { reactive } from 'vue';const state = reactive({count: 0
});function increment() {state.count++;
}
2. 用法
詳細用法有如下:
- 創建響應式對象:
import { reactive } from 'vue';const state = reactive({message: 'Hello Vue 3!'
});console.log(state.message); // 輸出: Hello Vue 3!
state.message = 'Hello World!';
console.log(state.message); // 輸出: Hello World!
- 嵌套對象:
const state = reactive({user: {name: 'Alice',age: 25},items: ['item1', 'item2']
});state.user.age = 26; // 追蹤變化
state.items.push('item3'); // 追蹤變化
- 與 computed 結合使用:
import { reactive, computed } from 'vue';const state = reactive({count: 1
});const doubleCount = computed(() => state.count * 2);console.log(doubleCount.value); // 輸出: 2
state.count++;
console.log(doubleCount.value); // 輸出: 4
- 與 watch 結合使用:
import { reactive, watch } from 'vue';const state = reactive({count: 1
});watch(() => state.count, (newValue, oldValue) => {console.log(`count changed from ${oldValue} to ${newValue}`);
});state.count++; // 控制臺輸出: count changed from 1 to 2
3. Demo
總體Demo如下:
# 使用 Vue CLI
vue create my-vue3-app# 使用 Vite
npm init vite@latest my-vue3-app -- --template vue
cd my-vue3-app
npm install
編寫組件:
<template><div><p>Count: {{ state.count }}</p><button @click="increment">Increment</button></div>
</template><script>
import { reactive } from 'vue';export default {setup() {const state = reactive({count: 0});function increment() {state.count++;}return {state,increment};}
};
</script><style scoped>
button {margin-top: 10px;
}
</style>
使用組件:
<template><div id="app"><Counter /></div>
</template><script>
import Counter from './components/Counter.vue';export default {components: {Counter}
};
</script><style>
#app {font-family: Avenir, Helvetica, Arial, sans-serif;text-align: center;color: #2c3e50;margin-top: 60px;
}
</style>
運行項目:npm run dev
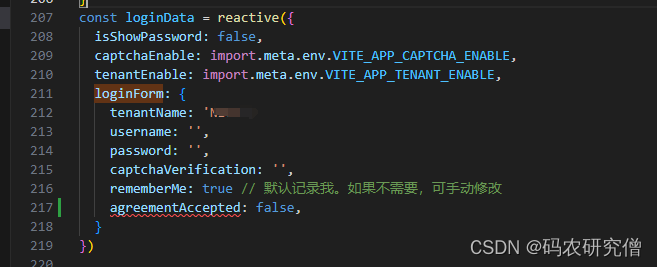
在實戰中截圖如下:


Python復賽編程真題模擬試卷包含答案)

)
)

)


