文章目錄
- 1 大模型基本原理
- 1.1 model_context_tokens、max_tokens和prompt_tokens
- 1.1.1 三者之間的關系
- 1.1.2 總結對比
- 2 Dify源代碼
- 2.0 前后端代碼跑起來
- 【0】準備開發環境
- 【1】下載代碼
- 【2】運行后端
- (1)Start the docker-compose stack
- (2) Copy `.env.example` to `.env`
- (3)Generate a `SECRET_KEY` in the `.env` file.
- (4)Create environment.
- (5)Install dependencies
- (6)Run migrate
- (7)Start backend
- 【3 運行前端】
- (0)環境要求
- (1)安裝前端依賴庫
- (2)創建一個配置文件
- (3)跑起來
- (4)看效果
- 2.1 后端
- 2.2 前端
1 大模型基本原理
1.1 model_context_tokens、max_tokens和prompt_tokens
- prompt_tokens
- 含義:
輸入給模型的 ** 提示文本(Prompt)** 所包含的 token 數量。Token 是模型處理文本的基本單位(例如,一個英文單詞可能被拆分為多個 tokens,中文可能按字符或詞語拆分)。 - 作用:
計算費用:大多數 LLM 按 輸入 token 數 + 輸出 token 數 計費,prompt_tokens 直接影響成本。
上下文長度限制:prompt_tokens 必須小于等于 model_context_tokens,否則會導致截斷或錯誤。
- max_tokens
- 含義:
模型生成的最大輸出 token 數量。例如,設置 max_tokens=200,則模型最多生成 200 個 tokens 的回復。 - 作用:
控制響應長度:避免生成過長的內容(如無限循環或冗余回答)。
限制費用:減少不必要的 token 消耗。
- model_context_tokens
- 含義:
模型支持的最大上下文窗口大小,即輸入(prompt_tokens)和輸出(max_tokens)的總 token 數上限。 - 示例:
GPT-4 的 model_context_tokens 通常為 8192 或 32768(取決于版本)。
如果 prompt_tokens = 4000,則 max_tokens 最大只能設置為 8192 - 4000 = 4192。
1.1.1 三者之間的關系
prompt_tokens + max_tokens ≤ model_context_tokens
如果``prompt_tokens + max_tokens > model_context_tokens ,請求會失敗(例如報錯 “上下文長度超出限制”)。
1.1.2 總結對比
| 參數 | 含義 | 示例(GPT-4 8K) |
|---|---|---|
| prompt_tokens | 輸入提示的 token 數量 | 例如:4000 tokens |
| max_tokens | 輸出結果的最大 token數量 | 設置為 ≤ 4192 tokens |
| model_context_tokens | 模型支持的總上下文長度上限 | 固定值:8192 tokens |
2 Dify源代碼
2.0 前后端代碼跑起來
【0】準備開發環境
【Windows開發】
1、 安裝并啟用WSL2.
2、 安裝Docker Desktop
3、 安裝python 3.12或者以上的版本, 這個是dify源碼的要求,源碼中大量使用了高版本的Python才支持的一些特性。 為pip配置清華的源。
【1】下載代碼
gitee下載地址:https://gitee.com/dify_ai/dify
【2】運行后端
無他, 總體思路就是按照api目錄中的readme進行操作。
(1)Start the docker-compose stack
The backend require some middleware, including PostgreSQL, Redis, and Weaviate, which can be started together using docker-compose.
cd ../dockercp middleware.env.example middleware.env# change the profile to other vector database if you are not using weaviatedocker compose -f docker-compose.middleware.yaml --profile weaviate -p dify up -dcd ../api
這一步牽扯到docker,最容易出問題。 但是這里也牽扯到了docker的好處,正是因為用了docker,才會保持環境一直, 基本上也不用考慮這么多中間件的安裝。
【第一個問題: docker環境問題(個人認為這個問題是最常見的,我自己幾臺電腦中都有這個問題,這個不可回避也不能回避)】
問題:
Error response from daemon: Get "https://registry-1.docker.io/v2/": net/http: request canceled while waiting for connection (Client.Timeout exceeded while awaiting headers)
解決辦法:
《1》為 docker desktop配置鏡像源。我這里給出我的配置文件(雖然也是從網上copy過來的)。
{"builder": {"gc": {"defaultKeepStorage": "20GB","enabled": true}},"experimental": false,"registry-mirrors": ["https://docker.m.daocloud.io/","https://docker.mirrors.ustc.edu.cn","https://huecker.io/","https://registry.docker-cn.com","http://hub-mirror.c.163.com","https://mirror.ccs.tencentyun.com","https://dockerhub.timeweb.cloud","https://noohub.ru/","https://dockerproxy.com","https://docker.mirrors.ustc.edu.cn","https://docker.nju.edu.cn","https://xx4bwyg2.mirror.aliyuncs.com","http://f1361db2.m.daocloud.io","https://registry.docker-cn.com","https://docker.mirrors.ustc.edu.cn"]}
《2》增加請求超時時間:可以嘗試增加 Docker 的默認超時時間。例如在 WSL 的 Ubuntu 環境下,可以增加 Docker 的客戶端超時時間. 進入虛擬出來的Ubuntu系統(我這里是Ubuntu系統,因人而異,可能是Debian系統等), 執行如下命令:
export DOCKER_CLIENT_TIMEOUT=600
export COMPOSE_HTTP_TIMEOUT=600
參考:
https://www.cnblogs.com/OneSeting/p/18532166
(2) Copy .env.example to .env
注意,這一步的執行是在api目錄下面。 不是在docker目錄下執行的。 否則會遇到問題,非常坎坷,還有一些些問題。
cp .env.example .env
(3)Generate a SECRET_KEY in the .env file.
bash for Linux
sed -i "/^SECRET_KEY=/c\SECRET_KEY=$(openssl rand -base64 42)" .env
bash for Mac
secret_key=$(openssl rand -base64 42)sed -i '' "/^SECRET_KEY=/c\\SECRET_KEY=${secret_key}" .env
如果是Windows系統的話,可以利用Git Bash,git bash里面是可以執行Linux命令的,直接執行上述的Linux命令即可。
(4)Create environment.
Dify API service uses UV to manage dependencies.
First, you need to add the uv package manager, if you don’t have it already.
pip install uv# Or on macOSbrew install uv
這里需要注意, 最好為pip配置一下清華的源。 否則會很慢很慢。
(5)Install dependencies
uv sync --dev
這一步也最容易出錯,因為要安裝好多好多的第三方的依賴庫,很容易出問題。
【第一個問題:本地需要VC++的環境】
[stderr]error: Microsoft Visual C++ 14.0 or greater is required. Get it with "Microsoft C++ Build Tools": https://visualstudio.microsoft.com/visual-cpp-build-tools/hint: This usually indicates a problem with the package or the build environment.help: `chroma-hnswlib` (v0.7.6) was included because `dify-api:vdb` depends on `chromadb` (v0.5.20) which depends on `chroma-hnswlib`
解決辦法:
就是下載相應的VC庫。 我這里和參考文件中不一樣的是,除了文檔中說明的兩個庫之外,.net開發和C++桌面開發常用的開發庫全部安裝到位。(因為我本身有可能還是需要進行一些C#或者C++開發, 最起碼是要看一些源代碼的,需要這個環境,要方便一些)
參考:
https://zhuanlan.zhihu.com/p/165008313
(6)Run migrate
Before the first launch, migrate the database to the latest version.
uv run flask db upgrade
這一步我也是遇到了問題的。 不確定是什么原因(不知道是不是gitee的代碼還是不太行,應該用github的。還是我追求了比較新的版本)。
【第一個問題:訪問數據庫的url路徑沒有密碼】
問題:
Traceback (most recent call last):File "<frozen runpy>", line 198, in _run_module_as_mainFile "<frozen runpy>", line 88, in _run_codeFile "E:\dify\api\.venv\Scripts\flask.exe\__main__.py", line 10, in <module>File "E:\dify\api\.venv\Lib\site-packages\flask\cli.py", line 1129, in maincli.main()File "E:\dify\api\.venv\Lib\site-packages\click\core.py", line 1363, in mainrv = self.invoke(ctx)^^^^^^^^^^^^^^^^File "E:\dify\api\.venv\Lib\site-packages\click\core.py", line 1830, in invokereturn _process_result(sub_ctx.command.invoke(sub_ctx))^^^^^^^^^^^^^^^^^^^^^^^^^^^^^^^File "E:\dify\api\.venv\Lib\site-packages\click\core.py", line 1830, in invokereturn _process_result(sub_ctx.command.invoke(sub_ctx))^^^^^^^^^^^^^^^^^^^^^^^^^^^^^^^File "E:\dify\api\.venv\Lib\site-packages\click\core.py", line 1226, in invokereturn ctx.invoke(self.callback, **ctx.params)^^^^^^^^^^^^^^^^^^^^^^^^^^^^^^^^^^^^^^^File "E:\dify\api\.venv\Lib\site-packages\click\core.py", line 794, in invokereturn callback(*args, **kwargs)^^^^^^^^^^^^^^^^^^^^^^^^^File "E:\dify\api\.venv\Lib\site-packages\click\decorators.py", line 34, in new_funcreturn f(get_current_context(), *args, **kwargs)^^^^^^^^^^^^^^^^^^^^^^^^^^^^^^^^^^^^^^^^^File "E:\dify\api\.venv\Lib\site-packages\flask\cli.py", line 400, in decoratorreturn ctx.invoke(f, *args, **kwargs)^^^^^^^^^^^^^^^^^^^^^^^^^^^^^^File "E:\dify\api\.venv\Lib\site-packages\click\core.py", line 794, in invokereturn callback(*args, **kwargs)^^^^^^^^^^^^^^^^^^^^^^^^^File "E:\dify\api\.venv\Lib\site-packages\flask_migrate\cli.py", line 154, in upgrade_upgrade(directory, revision, sql, tag, x_arg)File "E:\dify\api\.venv\Lib\site-packages\flask_migrate\__init__.py", line 111, in wrappedf(*args, **kwargs)File "E:\dify\api\.venv\Lib\site-packages\flask_migrate\__init__.py", line 200, in upgradecommand.upgrade(config, revision, sql=sql, tag=tag)File "E:\dify\api\.venv\Lib\site-packages\alembic\command.py", line 408, in upgradescript.run_env()File "E:\dify\api\.venv\Lib\site-packages\alembic\script\base.py", line 586, in run_envutil.load_python_file(self.dir, "env.py")File "E:\dify\api\.venv\Lib\site-packages\alembic\util\pyfiles.py", line 95, in load_python_filemodule = load_module_py(module_id, path)^^^^^^^^^^^^^^^^^^^^^^^^^^^^^^^File "E:\dify\api\.venv\Lib\site-packages\alembic\util\pyfiles.py", line 113, in load_module_pyspec.loader.exec_module(module)  # type: ignore^^^^^^^^^^^^^^^^^^^^^^^^^^^^^^^File "<frozen importlib._bootstrap_external>", line 994, in exec_moduleFile "<frozen importlib._bootstrap>", line 488, in _call_with_frames_removedFile "E:\dify\api\migrations\env.py", line 109, in <module>run_migrations_online()File "E:\dify\api\migrations\env.py", line 93, in run_migrations_onlinewith connectable.connect() as connection:^^^^^^^^^^^^^^^^^^^^^File "E:\dify\api\.venv\Lib\site-packages\sqlalchemy\engine\base.py", line 3278, in connectreturn self._connection_cls(self)^^^^^^^^^^^^^^^^^^^^^^^^^^File "E:\dify\api\.venv\Lib\site-packages\sqlalchemy\engine\base.py", line 148, in __init__Connection._handle_dbapi_exception_noconnection(File "E:\dify\api\.venv\Lib\site-packages\sqlalchemy\engine\base.py", line 2442, in _handle_dbapi_exception_noconnectionraise sqlalchemy_exception.with_traceback(exc_info[2]) from eFile "E:\dify\api\.venv\Lib\site-packages\sqlalchemy\engine\base.py", line 146, in __init__self._dbapi_connection = engine.raw_connection()^^^^^^^^^^^^^^^^^^^^^^^File "E:\dify\api\.venv\Lib\site-packages\sqlalchemy\engine\base.py", line 3302, in raw_connectionreturn self.pool.connect()^^^^^^^^^^^^^^^^^^^File "E:\dify\api\.venv\Lib\site-packages\sqlalchemy\pool\base.py", line 449, in connectreturn _ConnectionFairy._checkout(self)^^^^^^^^^^^^^^^^^^^^^^^^^^^^^^^^File "E:\dify\api\.venv\Lib\site-packages\sqlalchemy\pool\base.py", line 1263, in _checkoutfairy = _ConnectionRecord.checkout(pool)^^^^^^^^^^^^^^^^^^^^^^^^^^^^^^^^File "E:\dify\api\.venv\Lib\site-packages\sqlalchemy\pool\base.py", line 712, in checkoutrec = pool._do_get()^^^^^^^^^^^^^^File "E:\dify\api\.venv\Lib\site-packages\sqlalchemy\pool\impl.py", line 179, in _do_getwith util.safe_reraise():File "E:\dify\api\.venv\Lib\site-packages\sqlalchemy\util\langhelpers.py", line 146, in __exit__raise exc_value.with_traceback(exc_tb)File "E:\dify\api\.venv\Lib\site-packages\sqlalchemy\pool\impl.py", line 177, in _do_getreturn self._create_connection()^^^^^^^^^^^^^^^^^^^^^^^^^File "E:\dify\api\.venv\Lib\site-packages\sqlalchemy\pool\base.py", line 390, in _create_connectionreturn _ConnectionRecord(self)^^^^^^^^^^^^^^^^^^^^^^^File "E:\dify\api\.venv\Lib\site-packages\sqlalchemy\pool\base.py", line 674, in __init__self.__connect()File "E:\dify\api\.venv\Lib\site-packages\sqlalchemy\pool\base.py", line 900, in __connectwith util.safe_reraise():File "E:\dify\api\.venv\Lib\site-packages\sqlalchemy\util\langhelpers.py", line 146, in __exit__raise exc_value.with_traceback(exc_tb)File "E:\dify\api\.venv\Lib\site-packages\sqlalchemy\pool\base.py", line 896, in __connectself.dbapi_connection = connection = pool._invoke_creator(self)^^^^^^^^^^^^^^^^^^^^^^^^^^File "E:\dify\api\.venv\Lib\site-packages\sqlalchemy\engine\create.py", line 643, in connectreturn dialect.connect(*cargs, **cparams)^^^^^^^^^^^^^^^^^^^^^^^^^^^^^^^^^^File "E:\dify\api\.venv\Lib\site-packages\sqlalchemy\engine\default.py", line 621, in connectreturn self.loaded_dbapi.connect(*cargs, **cparams)^^^^^^^^^^^^^^^^^^^^^^^^^^^^^^^^^^^^^^^^^^^^File "E:\dify\api\.venv\Lib\site-packages\psycopg2\__init__.py", line 122, in connectconn = _connect(dsn, connection_factory=connection_factory, **kwasync)^^^^^^^^^^^^^^^^^^^^^^^^^^^^^^^^^^^^^^^^^^^^^^^^^^^^^^^^^^^^^^^
sqlalchemy.exc.OperationalError: (psycopg2.OperationalError) connection to server at "localhost" (::1), port 5432 failed: fe_sendauth: no password supplied(Background on this error at: https://sqlalche.me/e/20/e3q8)
解決辦法:
我沒有定位到原因, 但是我可以提供一個簡單的規避方案:
在api/configs/middleware/__init__.py文件中的數據庫相關的配置類中,直接設置數據庫的密碼,這個密碼就是.env文件里面的。
class DatabaseConfig(BaseSettings):DB_HOST: str = Field(description="Hostname or IP address of the database server.",default="localhost",)DB_PORT: PositiveInt = Field(description="Port number for database connection.",default=5432,)DB_USERNAME: str = Field(description="Username for database authentication.",default="postgres",)DB_PASSWORD: str = Field(description="Password for database authentication.",# 這里就是我修改的內容default="difyai123456",)
(7)Start backend
uv run flask run --host 0.0.0.0 --port=5001 --debug
這里我也是遇到了問題的,不知道是不是下載的代碼的問題,還是windows的原因還是我本地環境的原因, 這些不可考。
【第一個問題:】
問題現象:
(.venv) PS E:\dify\api> uv run flask run --host 0.0.0.0 --port=5001 --debug
warning: `VIRTUAL_ENV=E:\dify\.venv` does not match the project environment path `.venv` and will be ignored; use `--active` to target the active environment instead
2025-05-24 07:25:11,817.817 INFO [MainThread] [utils.py:149] - Note: NumExpr detected 22 cores but "NUMEXPR_MAX_THREADS" not set, so enforcing safe limit of 16.
2025-05-24 07:25:11,817.817 INFO [MainThread] [utils.py:162] - NumExpr defaulting to 16 threads.
Traceback (most recent call last):File "<frozen runpy>", line 198, in _run_module_as_mainFile "<frozen runpy>", line 88, in _run_codeFile "E:\dify\api\.venv\Scripts\flask.exe\__main__.py", line 10, in <module>File "E:\dify\api\.venv\Lib\site-packages\flask\cli.py", line 1129, in maincli.main()File "E:\dify\api\.venv\Lib\site-packages\click\core.py", line 1363, in mainrv = self.invoke(ctx)^^^^^^^^^^^^^^^^File "E:\dify\api\.venv\Lib\site-packages\click\core.py", line 1830, in invokereturn _process_result(sub_ctx.command.invoke(sub_ctx))^^^^^^^^^^^^^^^^^^^^^^^^^^^^^^^File "E:\dify\api\.venv\Lib\site-packages\click\core.py", line 1226, in invokereturn ctx.invoke(self.callback, **ctx.params)^^^^^^^^^^^^^^^^^^^^^^^^^^^^^^^^^^^^^^^File "E:\dify\api\.venv\Lib\site-packages\click\core.py", line 794, in invokereturn callback(*args, **kwargs)^^^^^^^^^^^^^^^^^^^^^^^^^File "E:\dify\api\.venv\Lib\site-packages\click\decorators.py", line 93, in new_funcreturn ctx.invoke(f, obj, *args, **kwargs)^^^^^^^^^^^^^^^^^^^^^^^^^^^^^^^^^^^File "E:\dify\api\.venv\Lib\site-packages\click\core.py", line 794, in invokereturn callback(*args, **kwargs)^^^^^^^^^^^^^^^^^^^^^^^^^File "E:\dify\api\.venv\Lib\site-packages\flask\cli.py", line 977, in run_commandraise e from NoneFile "E:\dify\api\.venv\Lib\site-packages\flask\cli.py", line 961, in run_commandapp: WSGIApplication = info.load_app()  # pyright: ignore^^^^^^^^^^^^^^^File "E:\dify\api\.venv\Lib\site-packages\flask\cli.py", line 353, in load_appapp = locate_app(import_name, None, raise_if_not_found=False)^^^^^^^^^^^^^^^^^^^^^^^^^^^^^^^^^^^^^^^^^^^^^^^^^^^^^^^File "E:\dify\api\.venv\Lib\site-packages\flask\cli.py", line 245, in locate_app__import__(module_name)File "E:\dify\api\app.py", line 37, in <module>app = create_app()^^^^^^^^^^^^File "E:\dify\api\app_factory.py", line 32, in create_appinitialize_extensions(app)File "E:\dify\api\app_factory.py", line 96, in initialize_extensionsext.init_app(app)File "E:\dify\api\extensions\ext_storage.py", line 113, in init_appstorage.init_app(app)File "E:\dify\api\extensions\ext_storage.py", line 19, in init_appself.storage_runner = storage_factory()^^^^^^^^^^^^^^^^^File "E:\dify\api\extensions\ext_storage.py", line 31, in <lambda>return lambda: OpenDALStorage(dify_config.OPENDAL_SCHEME)^^^^^^^^^^^^^^^^^^^^^^^^^^^^^^^^^^^^^^^^^^File "E:\dify\api\extensions\storage\opendal_storage.py", line 37, in __init__self.op = opendal.Operator(scheme=scheme, **kwargs)  # type: ignore^^^^^^^^^^^^^^^^^^^^^^^^^^^^^^^^^^^^^^^^^
opendal.exceptions.ConfigInvalid: ConfigInvalid (permanent) at  => root is not specified
解決辦法:
我也不是很了解, 我目前能給出一個規避辦法,先讓程序能run起來。在api/extensions/ext_storage.py文件中,在創建OpenDALStorage實例的時候,直接指定root。
@staticmethoddef get_storage_factory(storage_type: str) -> Callable[[], BaseStorage]:match storage_type:case StorageType.S3:from extensions.storage.aws_s3_storage import AwsS3Storagereturn AwsS3Storagecase StorageType.OPENDAL:from extensions.storage.opendal_storage import OpenDALStorage# 指定名為shankai的目錄作為根目錄return lambda: OpenDALStorage(scheme = dify_config.OPENDAL_SCHEME, root = "shankai")
至此,終于運行起來了。 效果如下:
(.venv) PS E:\dify\api> uv run flask run --host 0.0.0.0 --port=5001 --debug
warning: `VIRTUAL_ENV=E:\dify\.venv` does not match the project environment path `.venv` and will be ignored; use `--active` to target the active environment instead
2025-05-24 07:39:49,895.895 INFO [MainThread] [utils.py:149] - Note: NumExpr detected 22 cores but "NUMEXPR_MAX_THREADS" not set, so enforcing safe limit of 16.
2025-05-24 07:39:49,895.895 INFO [MainThread] [utils.py:162] - NumExpr defaulting to 16 threads.
E:\dify\api\controllers\web\remote_files.py:7: UserWarning: To use python-magic guess MIMETYPE, you need to run `pip install python-magic-bin`from controllers.common import helpers* Debug mode: on
2025-05-24 07:39:56,383.383 INFO [MainThread] [_internal.py:97] - WARNING: This is a development server. Do not use it in a production deployment. Use a production WSGI server instead.* Running on all addresses (0.0.0.0)* Running on http://127.0.0.1:5001* Running on http://192.168.31.176:5001
2025-05-24 07:39:56,383.383 INFO [MainThread] [_internal.py:97] - Press CTRL+C to quit
2025-05-24 07:39:56,392.392 INFO [MainThread] [_internal.py:97] -  * Restarting with stat
2025-05-24 07:39:58,569.569 INFO [MainThread] [utils.py:149] - Note: NumExpr detected 22 cores but "NUMEXPR_MAX_THREADS" not set, so enforcing safe limit of 16.
2025-05-24 07:39:58,569.569 INFO [MainThread] [utils.py:162] - NumExpr defaulting to 16 threads.
E:\dify\api\controllers\web\remote_files.py:7: UserWarning: To use python-magic guess MIMETYPE, you need to run `pip install python-magic-bin`from controllers.common import helpers
2025-05-24 07:40:00,606.606 WARNING [MainThread] [_internal.py:97] -  * Debugger is active!
2025-05-24 07:40:00,629.629 INFO [MainThread] [_internal.py:97] -  * Debugger PIN: 797-179-235
【3 運行前端】
(0)環境要求
Before starting the web frontend service, please make sure the following environment is ready.
- Node.js >= v22.11.x
- pnpm v10.x
(1)安裝前端依賴庫
First, install the dependencies:
pnpm install
(2)創建一個配置文件
Then, configure the environment variables. Create a file named .env.local in the current directory and copy the contents from .env.example. Modify the values of these environment variables according to your requirements:
cp .env.example .env.local
配置文件中一些比較關鍵的配置項
# For production release, change this to PRODUCTION
NEXT_PUBLIC_DEPLOY_ENV=DEVELOPMENT
# The deployment edition, SELF_HOSTED
NEXT_PUBLIC_EDITION=SELF_HOSTED
# The base URL of console application, refers to the Console base URL of WEB service if console domain is
# different from api or web app domain.
# example: http://cloud.dify.ai/console/api
NEXT_PUBLIC_API_PREFIX=http://localhost:5001/console/api
NEXT_PUBLIC_WEB_PREFIX=http://localhost:3000
# The URL for Web APP, refers to the Web App base URL of WEB service if web app domain is different from
# console or api domain.
# example: http://udify.app/api
NEXT_PUBLIC_PUBLIC_API_PREFIX=http://localhost:5001/api
NEXT_PUBLIC_PUBLIC_WEB_PREFIX=http://localhost:3000# SENTRY
NEXT_PUBLIC_SENTRY_DSN=
(3)跑起來
Finally, run the development server:
pnpm run dev
(4)看效果
Open http://localhost:3000 with your browser to see the result.
You can start editing the file under folder app. The page auto-updates as you edit the file.
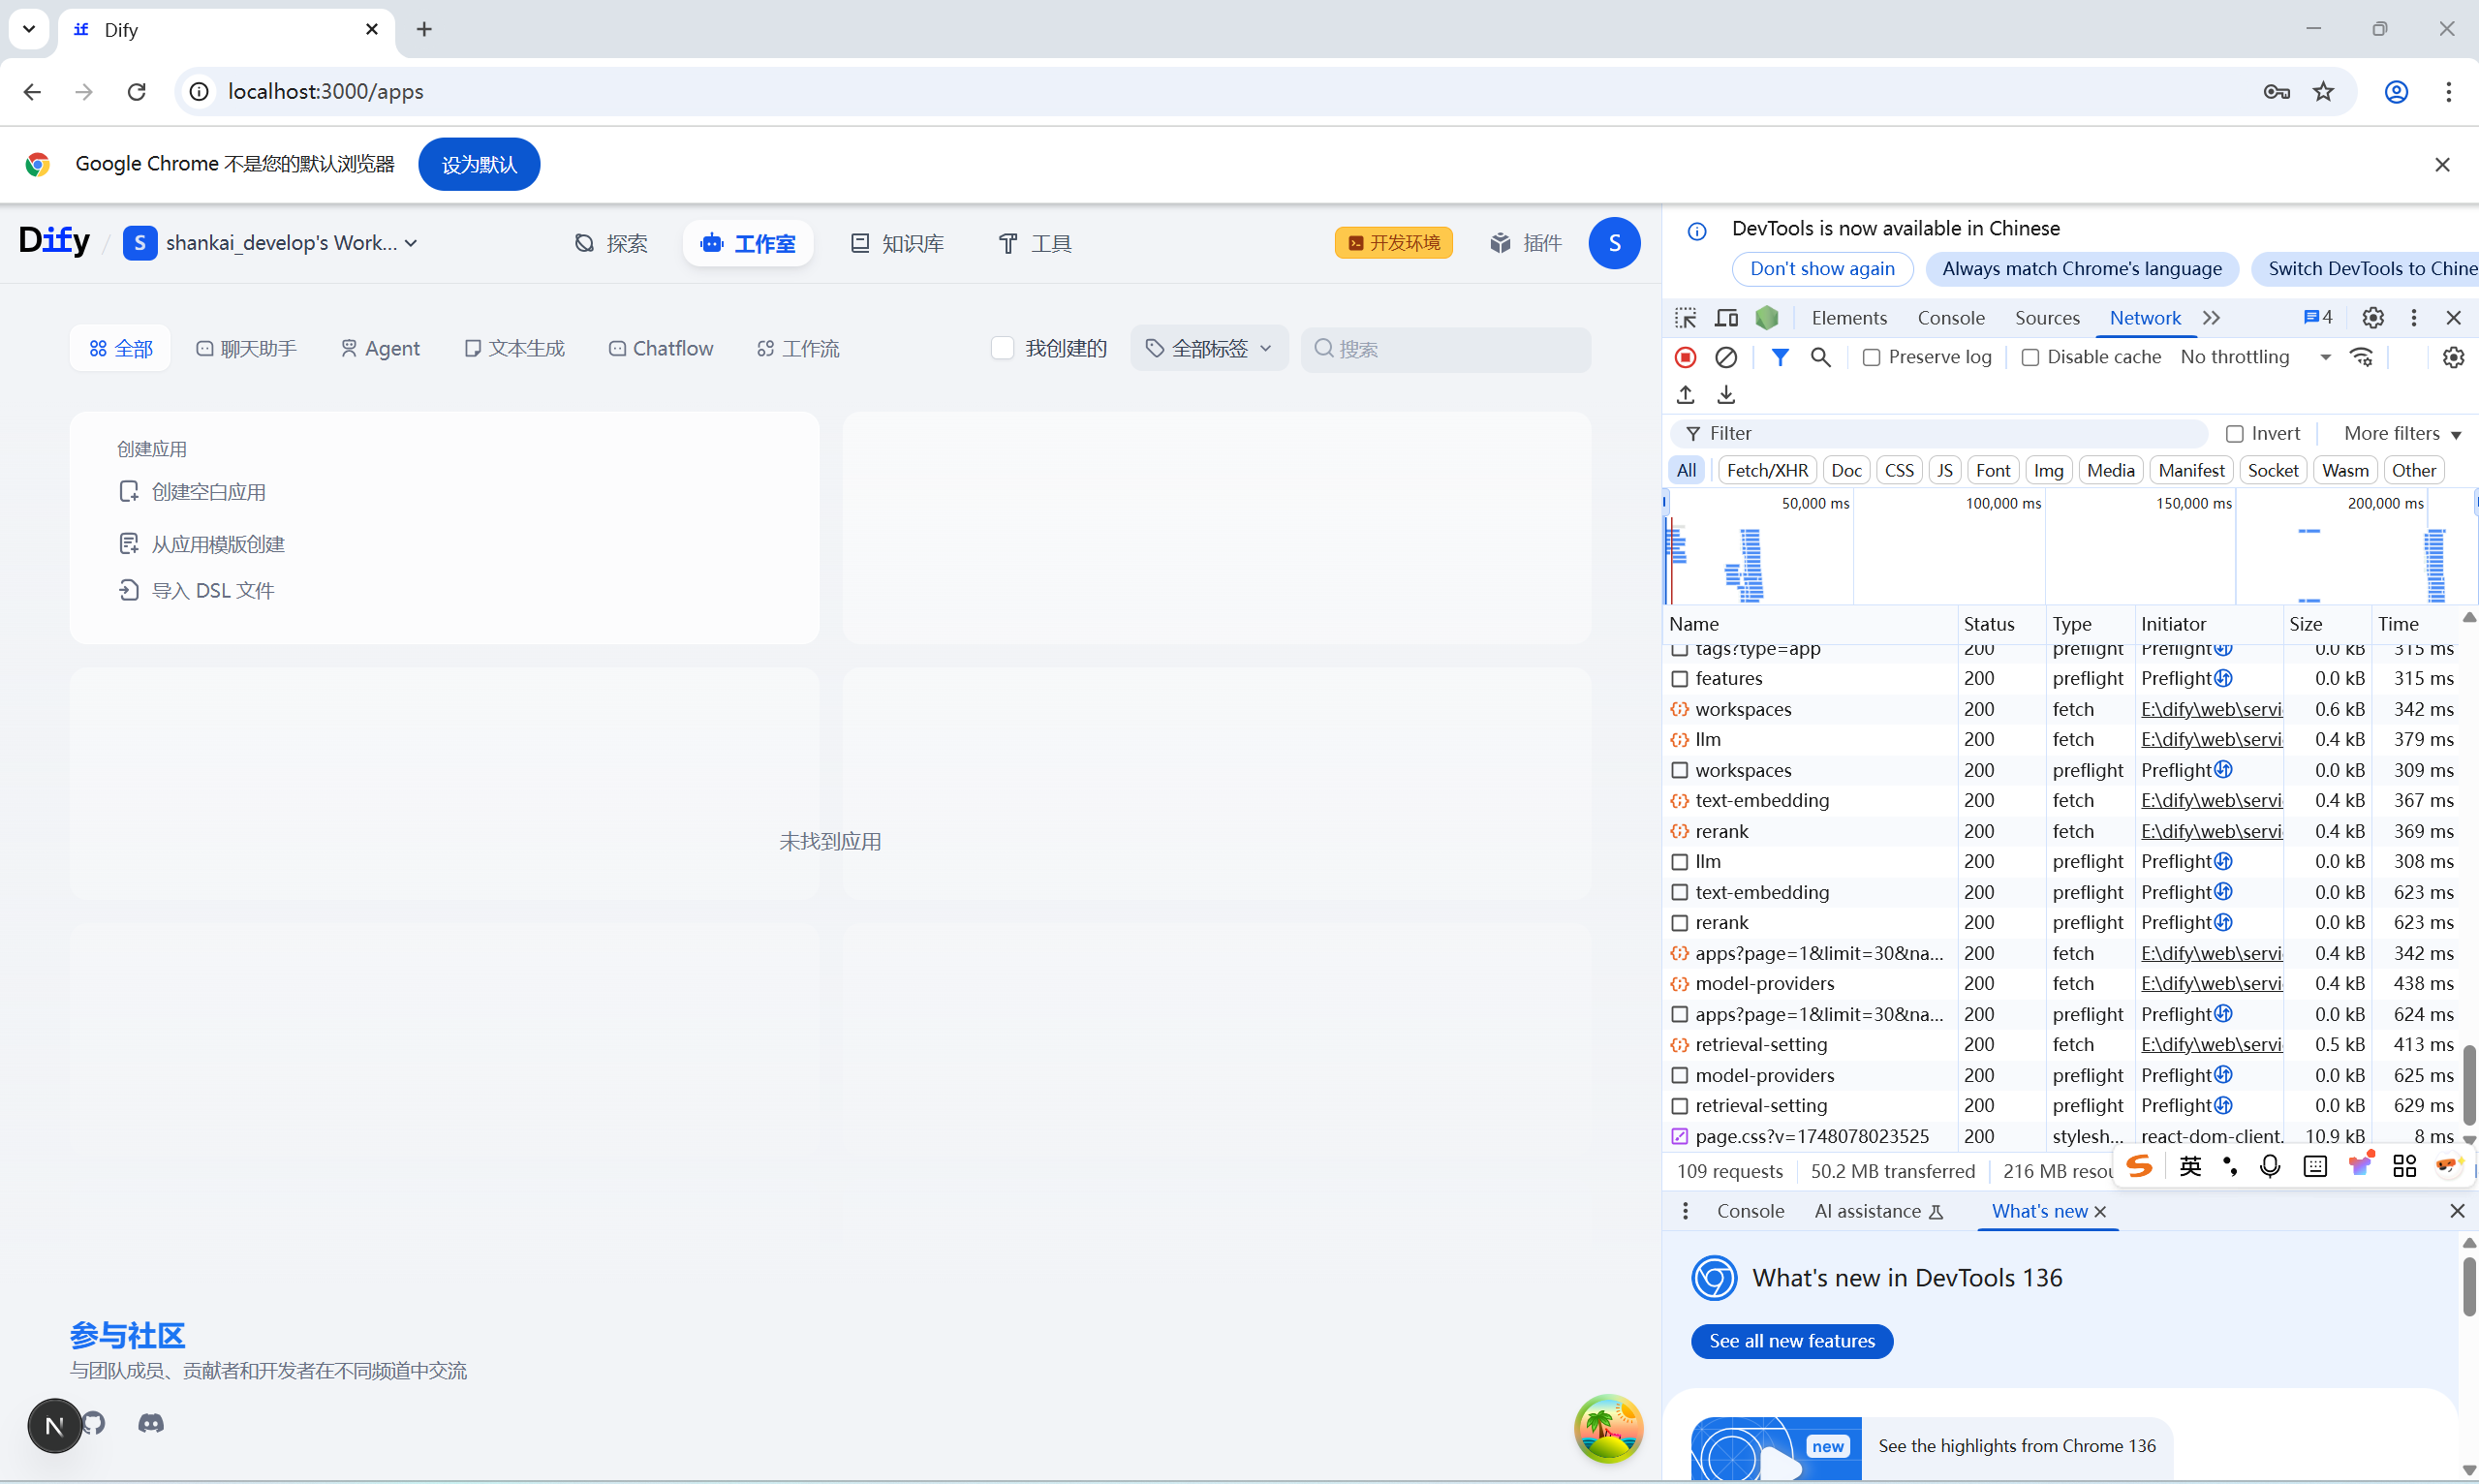
很明顯的,有一個開發環境的標志。


)


