本期是多線程初階的最后一篇文章了,下一篇就是多線程進階的文章了,大家加油!
一,模擬實現線程池
我們上期說過線程池類似一個數組,我們有任務就放到線程池中,讓線程池幫助我們完成任務,我們該如何實現線程池呢,我們來想一想線程的構造方法,第一個參數是核心線程數,第二個是最大線程數,這個我們不考慮,第三個是最大空閑時間,第四個事枚舉的時間類型,第五個是阻塞隊列,完了是工廠模式,之后是拒絕策略;
我們來模擬一下;
package Demo1;import java.util.concurrent.ArrayBlockingQueue;
import java.util.concurrent.BlockingQueue;public class MyThreadPool {private BlockingQueue<Runnable> queue = null;public MyThreadPool(int n){queue = new ArrayBlockingQueue<>(n);for (int i = 0; i < n; i++) {Thread t  = new Thread(()->{while(true){try {queue.take().run();} catch (InterruptedException e) {throw new RuntimeException(e);}}});t.start();}}public void submit(Runnable runnable) throws InterruptedException {queue.put(runnable);}
}
我們先來看這段代碼,我們先起了類名MyThreadPool,在類中先弄了一個未初始化的阻塞隊列,在創建構造方法,由傳入的數字來創建阻塞隊列的容量也就是線程池中有幾個線程,我們根據傳入的數字n來創建n個線程,讓n個線程循環往復的到阻塞隊列中去哪任務,還有submit方法,我們讓將拿到的任務添加到阻塞隊列中去,我們來測試代碼;?
public class test {public static void main(String[] args) throws InterruptedException {MyThreadPool pool = new MyThreadPool(4);for (int i = 0; i < 50; i++) {int id = i;pool.submit(()->{System.out.println(id + " and " + 123456);});}}
}
我們創建了50個任務,讓線程池來完成,我們看看運行結果;
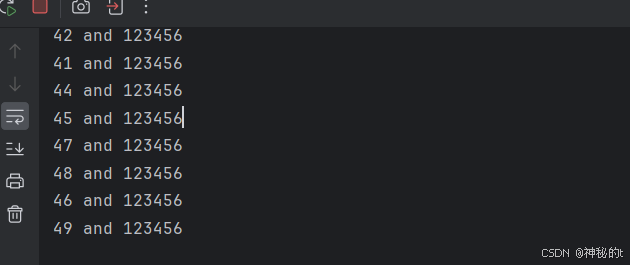
我們看到線程隨機執行了我們的任務;
最后是沒有結束的啊,沒有正常的返回值,這是因為我new thread創建的線程是前臺線程,那幾個線程還在阻塞著等待任務呢,我們想要結束應該把他們設置為后臺線程才行;
———————————————————————————————————————————
二,定時器詳解
定時器是什么,定時器也是軟件開發中的一個重要組件,它有什么用的,大家使用瀏覽器的時候有沒有發生過連接斷開或者未響應之類的情況,其實這就是定時器在發揮,如果沒有定時器的話就會一直請求,但是沒準這次的請求就不會得到響應,為了不發生無休止的等待,我們就使用定時器來中斷這次請求,既然響應不了那就直接結束;
那么我們如何使用定時器呢?
標準庫中提供了Timer類,Timer類中包含一個schedule方法,我們使用schedule方法來使用定時器功能,schedule方法中有兩個參數,一個是需要執行的任務;
schedule(new TimerTask(抽象類,繼承了Runnable接口),時間);
我們來用代碼展示一下;
import java.util.Timer;
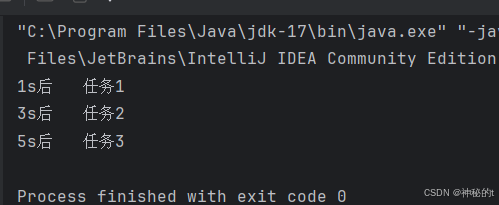
import java.util.TimerTask;public class test {public static void main(String[] args) throws InterruptedException {Timer timer = new Timer();timer.schedule(new TimerTask() {@Overridepublic void run() {System.out.println("1s后 任務1");}},1000);timer.schedule(new TimerTask() {@Overridepublic void run() {System.out.println("3s后 任務2");}},3000);timer.schedule(new TimerTask() {@Overridepublic void run() {System.out.println("5s后 任務3");}},5000);Thread.sleep(7000);timer.cancel();}
}
?我們給Timer三個任務讓他在規定時間段運行,并最終終止Timer線程,我們來看運行效果;
 ? ? ? ? ? ? ? ? ? ? ? ? ? ? ? ? ? ? ? ? ? ? ? ? ? ? ? ? ? ? ? ? ? ? ? ? ? ? ? ? ? ? ? ? ? ? ? ? ? ? ? ? ? ? ? ? ? ?
另外,Timer其實已經過時,
我推薦使用更強的scheduledExecutorService,Timer是單線程的,但是scheduledExecutorService是線程池,功能更強,我們來說說用法;
1,延遲執行任務
schedule(Runnable command,long delay,TimeUnit unit)
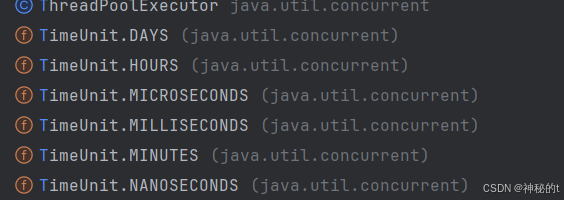
第一個參數是任務,就是接口就行,第二個參數是時間,意思是多長時間執行任務,達到延遲效果,第三個參數是時間類型,也就是枚舉類型;
我們來上代碼;
這是第三個參數枚舉類型,提供了很多的枚舉;
?
public class Test2 {public static void main(String[] args) {ScheduledExecutorService sr = Executors.newScheduledThreadPool(1);sr.schedule(()->{System.out.println("2秒后    打印");},2, TimeUnit.SECONDS);sr.schedule(()->{System.out.println("4秒后    打印");},4,TimeUnit.SECONDS);sr.shutdown();}
}
我們使用shutdown方法來關閉調度器,來看運行結果;
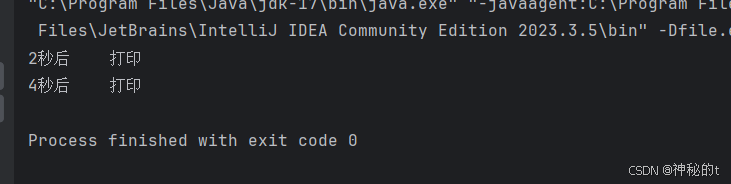
程序正常結束了;
2,定期執行任務
scheduleAtFixedRate(Runnable command,long initialDelay,long period,TimeUnit unit)
第一個參數還是接口任務,第二個參數是初始延遲時間,第三個參數是任務執行的時間間隔,最后一個參數還是時間的枚舉類型;
我們來上代碼;
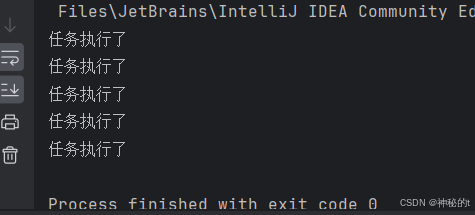
public class Demo2 {public static void main(String[] args) throws InterruptedException {ScheduledExecutorService service = Executors.newScheduledThreadPool(1);service.scheduleAtFixedRate(()->{System.out.println("任務執行了");},1,2, TimeUnit.SECONDS);Thread.sleep(10000);service.shutdown();}
}
??
還有一種固定時間延遲執行任務,跟這個是基本一樣的,
schedulewithFixedDelay(Runnable command,long initialDelay,long delay,TimeUnit unit)
第一個參數還是接口任務,第二個參數是初始延遲時間,第三個參數是任務執行的延遲時間,最后一個參數還是時間的枚舉類型;
?
public class Demo3 {public static void main(String[] args) throws InterruptedException {ScheduledExecutorService service = Executors.newScheduledThreadPool(1);service.scheduleWithFixedDelay(()->{System.out.println("任務執行了");},1,2, TimeUnit.SECONDS);Thread.sleep(10000);service.shutdown();}
}
?這兩個有啥區別呢,感覺是很像的,第一個scheduleAtFixedRate是延遲一定時間后按固定的時間來執行,這個是嚴格執行的,不會根據任務執行的時間來往后推,如果這個任務執行了1s那么距離規定的時間就還剩1s了,如果使用schedulewithFixedDelay的就是延遲執行,如果我們這個任務執行了1s那么距離執行下一個任務的時間還是2s,另外scheduledExecutorService因為是基于線程池實現,所以在發生異常時是不會終止的,而單線程的Timer是會隨著異常而終止的;
講了這么多了,我們來模擬實現一下定時器吧,
首先為我們來思考一下怎么實現呢,我們要創建一個MyTimer類,其中包含我們要使用的優先級隊列,我們來實現Schedule方法,實現將任務和要執行的時間,還要實現Mytimer中有線程來執行任務,之后還有實現任務類,我們來試試;
1,先來任務類:
public class TimerTask implements Comparable<TimerTask>{private long time;private Runnable task;public TimerTask(long time,Runnable runnable){this.time = time;this.task = runnable;}@Overridepublic int compareTo(TimerTask o) {return (int)(this.time-o.time);}public void run(){task.run();}public long getTime(){return time;}
}
任務類中有記錄的時間long類型的time,一個Runnable任務,在任務初始化的時候把時間和任務都初始化了,實現run方法和getTime方法,在實現comparable接口為了優先級隊列做準備,我們想要把小的時間先執行,再來MyTimer
public class MyTimer {private PriorityQueue<TimerTask> priorityQueue = new PriorityQueue<>();Object locker = new Object();public void schedule(Runnable runnable,long time){TimerTask timerTask = new TimerTask(System.currentTimeMillis()+time,runnable);synchronized (locker){priorityQueue.offer(timerTask);locker.notify();}}public MyTimer(){Thread t = new Thread(()->{while(true){synchronized (locker){while(priorityQueue.isEmpty()){try {locker.wait();} catch (InterruptedException e) {throw new RuntimeException(e);}}TimerTask task = priorityQueue.peek();if (task.getTime()>System.currentTimeMillis()){try {locker.wait(task.getTime()-System.currentTimeMillis());} catch (InterruptedException e) {throw new RuntimeException(e);}}else{task.run();priorityQueue.poll();}}}});t.start();}
}
初始化一個優先級隊列,大堆還是小堆要在TimerTask中的compareTo中修改,實現schedule方法,創建一個任務對象,參數的任務用傳入的,時間用當前入隊列的時間戳加上傳入的時間,之后將任務放到隊列中去,因為優先級隊列是不安全的,我們要在入隊列的時候加鎖,接下來就是線程,我們在MyTimer構造方法中,創建一個線程,之后讓線程循環的去隊列中取得任務,這里因為還是涉及優先級隊列,所以我們還是要加鎖,我們要循環判斷隊列是否為空,為啥要使用循環,因為要避免入隊列操作的notify喚醒當前的wait之后,另一個線程搶先執行了任務,但是當前的線程就會去peek空的隊列了,所以我們循環判斷,就是為了要避免誤喚醒,我們在拿到了任務之后,如果當前時間還沒到我們要執行的時間我們就用wait(定時)來等待指定時間來繼續執行,我們這里不用sleep,之前說過,我們基本是不會使用sleep的因為sleep會抱著鎖睡,雖然不占用Cpu資源了,但是就這么停著,不符合我們預期的;
public class test {public static void main(String[] args) throws InterruptedException {MyTimer myTimer = new MyTimer();myTimer.schedule(()->{System.out.println("已經過了2秒 執行任務");},2000);myTimer.schedule(()->{System.out.println("已經過了5秒 執行任務");},5000);}
}
我們來測試一下;
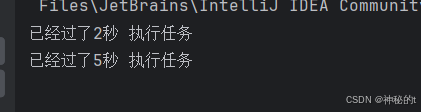
自己觀察一下,會根據時間來運行的,本期文章就到這里啦;
大家繼續加油!

:temperature設置)


算法淺析)


:功能特點)


)