1、UploadService
public interface UploadService {//上傳圖片String uploadImage(MultipartFile file, String type);
}
upload.location = D:/upload
@Value("${upload.location}")private String uploadLocation;//文件上傳路徑@Overridepublic String uploadImage(MultipartFile file, String type) {//1.創建目錄File dir = new File(uploadLocation + "/images/" + type);if (!dir.exists()) {boolean b = dir.mkdirs();//級聯創建目錄if (!b) {throw new F1Exception("級聯創建目錄異常");}}//2.給上傳的文件起名LocalDateTime now = LocalDateTime.now();String fileName = now.format(DateTimeFormatter.ofPattern("yyyyMMddHHmmss"));Random random = new Random();int sid = random.nextInt(1000);//0~999fileName = fileName + "-" + sid;//3.拼擴展名String originalFileName = file.getOriginalFilename();//上傳文件名//assert originalFileName != null;int idx = originalFileName.lastIndexOf(".");String ext = originalFileName.substring(idx);fileName = fileName + ext;//完整的文件名String fullName = dir.getAbsolutePath() + "/" + fileName;//要存儲的目標文件File target = new File(fullName);//4.存儲文件try {file.transferTo(target);} catch (IOException e) {throw new RuntimeException("保存文件失敗");}//5.返回訪問地址和存儲地址return "/images/" + type + "/" + fileName;}
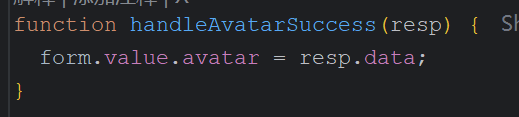

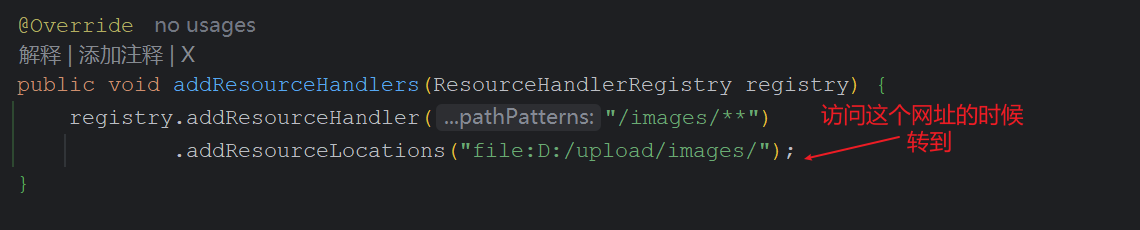
修正:圖片中的回顯操作并非通過interceptor,而是通過資源定位實現的
后記:這里的D:/upload完全可以用@Value注入
思路就是:
通過組件的action操作—后端api調用service操作—保存文件—前端回顯訪問baseUrl + /image/xxx這個鏈接 — 后端通過資源定位,將該鏈接定位到存放資源的位置


 -- 文件操作篇)


 訪問)


