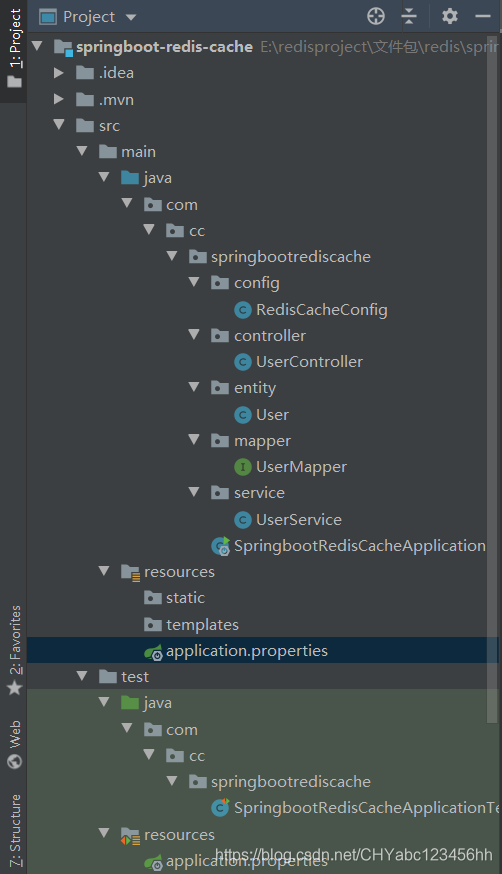
代碼的整體結構
配置文件
<?xml version="1.0" encoding="UTF-8"?>
<project xmlns="http://maven.apache.org/POM/4.0.0" xmlns:xsi="http://www.w3.org/2001/XMLSchema-instance"xsi:schemaLocation="http://maven.apache.org/POM/4.0.0 http://maven.apache.org/xsd/maven-4.0.0.xsd"><modelVersion>4.0.0</modelVersion><groupId>com.cc</groupId><artifactId>springboot-redis-cache</artifactId><version>0.0.1-SNAPSHOT</version><packaging>jar</packaging><name>springboot-redis-cache</name><description>Demo project for Spring Boot</description><parent><groupId>org.springframework.boot</groupId><artifactId>spring-boot-starter-parent</artifactId><version>1.5.13.RELEASE</version><relativePath/> <!-- lookup parent from repository --></parent><properties><project.build.sourceEncoding>UTF-8</project.build.sourceEncoding><project.reporting.outputEncoding>UTF-8</project.reporting.outputEncoding><java.version>1.8</java.version></properties><dependencies><dependency><groupId>org.springframework.boot</groupId><artifactId>spring-boot-starter-data-redis</artifactId></dependency><dependency><groupId>org.springframework.boot</groupId><artifactId>spring-boot-starter-web</artifactId></dependency><dependency><groupId>org.mybatis.spring.boot</groupId><artifactId>mybatis-spring-boot-starter</artifactId><version>1.3.2</version></dependency><dependency><groupId>org.apache.commons</groupId><artifactId>commons-pool2</artifactId><version>2.4.2</version></dependency><dependency><groupId>com.fasterxml.jackson.core</groupId><artifactId>jackson-databind</artifactId><version>2.8.0</version></dependency><dependency><groupId>mysql</groupId><artifactId>mysql-connector-java</artifactId><scope>runtime</scope></dependency><dependency><groupId>com.h2database</groupId><artifactId>h2</artifactId><scope>runtime</scope></dependency><dependency><groupId>org.projectlombok</groupId><artifactId>lombok</artifactId><optional>true</optional></dependency><dependency><groupId>org.springframework.boot</groupId><artifactId>spring-boot-starter-test</artifactId><scope>test</scope></dependency></dependencies><build><plugins><plugin><groupId>org.springframework.boot</groupId><artifactId>spring-boot-maven-plugin</artifactId></plugin></plugins></build></project>
?創建實體類
- 這里使用的@Getter和@Setter注解,可以避免寫一大堆的get和set方法
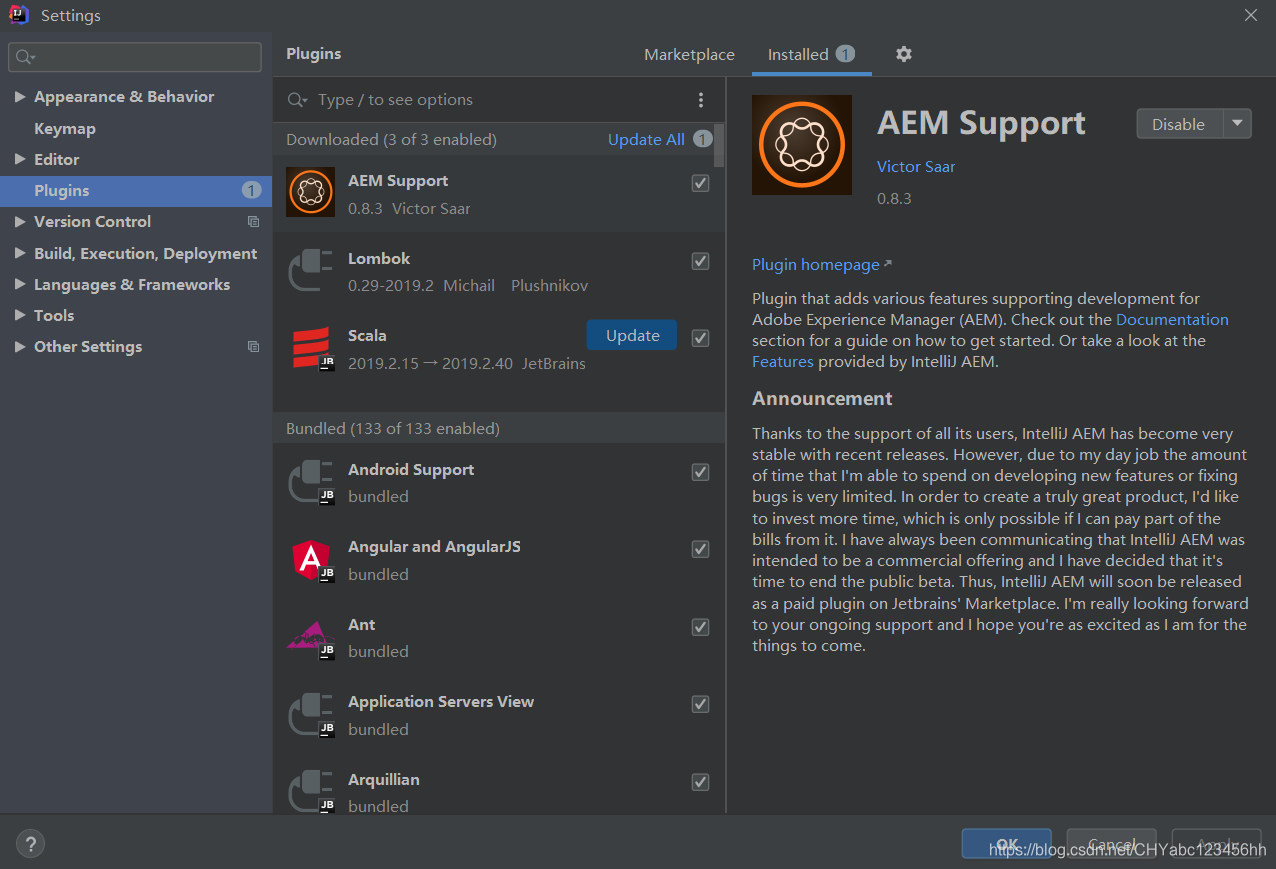
- 需要引入Lombak,在file->settings->plugins里面查找
package com.cc.springbootrediscache.entity;import lombok.AllArgsConstructor;
import lombok.Getter;
import lombok.NoArgsConstructor;
import lombok.Setter;@Getter
@Setter
@AllArgsConstructor
@NoArgsConstructor
public class User {private Integer id;private String username;private String password;private Integer status;public User(String username, String password, Integer status) {this.username = username;this.password = password;this.status = status;}public Integer getId() {return id;}public void setId(Integer id) {this.id = id;}public String getUsername() {return username;}public void setUsername(String username) {this.username = username;}public String getPassword() {return password;}public void setPassword(String password) {this.password = password;}public Integer getStatus() {return status;}public void setStatus(Integer status) {this.status = status;}
}
UserMapper
package com.cc.springbootrediscache.mapper;import com.cc.springbootrediscache.entity.User;
import org.apache.ibatis.annotations.*;import java.util.List;public interface UserMapper {@Options(useGeneratedKeys = true, keyProperty = "id")@Insert("insert into user (username,password,status) values (#{username}, #{password}, #{status})")Integer addUser(User user);@Delete("delete from user where id=#{0}")Integer deleteUserById(Integer id);@Update("update user set username=#{username}, password=#{password}, status=#{status}")Integer updateUser(User user);@Select("select * from user where id=#{0}")User getById(Integer id);@Select("select * from user")List<User> queryUserList();}
UserService?
package com.cc.springbootrediscache.service;import com.cc.springbootrediscache.entity.User;
import com.cc.springbootrediscache.mapper.UserMapper;
import org.springframework.cache.annotation.CacheEvict;
import org.springframework.cache.annotation.CachePut;
import org.springframework.cache.annotation.Cacheable;
import org.springframework.stereotype.Service;import javax.annotation.Resource;@Service
public class UserService {@Resourceprivate UserMapper userMapper;/*** 添加和更新都調用這個方法* @param user* @return user_1*/@CachePut(value = "usercache", key = "'user_' + #user.id.toString()", unless = "#result eq null")public User save(User user) {if (null != user.getId()) {userMapper.updateUser(user);} else {userMapper.addUser(user);}return user;}@Cacheable(value = "usercache", key = "'user_' + #id", unless = "#result eq null")public User findUser(Integer id) {return userMapper.getById(id);}@CacheEvict(value = "usercache", key = "'user_' + #id", condition = "#result eq true")public boolean delUser(Integer id) {return userMapper.deleteUserById(id) > 0;}
}
?UserController
package com.cc.springbootrediscache.controller;import com.cc.springbootrediscache.entity.User;
import com.cc.springbootrediscache.service.UserService;
import org.springframework.web.bind.annotation.*;import javax.annotation.Resource;@RestController
@RequestMapping("/user")
public class UserController {@Resourceprivate UserService userService;@PutMappingpublic User add(@RequestBody User user) {return userService.save(user);}@DeleteMapping("{id}")public boolean delete(@PathVariable Integer id) {return userService.delUser(id);}@GetMapping("{id}")public User getUser(@PathVariable Integer id) {return userService.findUser(id);}@PostMappingpublic User update(@RequestBody User user) {return userService.save(user);}
}
使用MapperScan添加對于mapper的掃描
package com.cc.springbootrediscache;import org.mybatis.spring.annotation.MapperScan;
import org.springframework.boot.SpringApplication;
import org.springframework.boot.autoconfigure.SpringBootApplication;@SpringBootApplication
@MapperScan("com.cc.springbootrediscache.mapper")
public class SpringbootRedisCacheApplication {public static void main(String[] args) {SpringApplication.run(SpringbootRedisCacheApplication.class, args);}
}
?配置文件
server.port= 8099spring.datasource.driverClassName=com.mysql.jdbc.Driver
#spring.datasource.url=jdbc://mysql.rds.aliyuncs.com:3306/login?serverTimezone=UTC&useSSL=false&useUnicode=true&characterEncoding=UTF8
spring.datasource.url=jdbc:mysql://192.168.133.130:3306/usr?serverTimezone=UTC&useSSL=false&useUnicode=true&characterEncoding=UTF8
spring.datasource.username=
spring.datasource.password=########################################################
###REDIS (RedisProperties) redis基本配置;
########################################################
# database name
spring.redis.database=0
# server host1 單機使用,對應服務器ip
spring.redis.host=192.168.133.130
# server password 密碼,如果沒有設置可不配
#spring.redis.password=
#connection port  單機使用,對應端口號
spring.redis.port=10190
# pool settings ...池配置
spring.redis.pool.max-idle=8
spring.redis.pool.min-idle=0
spring.redis.pool.max-active=8
spring.redis.pool.max-wait=-1logging.level.com.cc.springbootrediscache.mapper=debug
?RedisCacheConfig
package com.cc.springbootrediscache.config;import com.fasterxml.jackson.annotation.JsonAutoDetect;
import com.fasterxml.jackson.annotation.PropertyAccessor;
import com.fasterxml.jackson.databind.ObjectMapper;
import org.springframework.cache.CacheManager;
import org.springframework.cache.annotation.CachingConfigurerSupport;
import org.springframework.cache.annotation.EnableCaching;
import org.springframework.context.annotation.Bean;
import org.springframework.context.annotation.Configuration;
import org.springframework.data.redis.cache.RedisCacheManager;
import org.springframework.data.redis.connection.RedisConnectionFactory;
import org.springframework.data.redis.core.RedisTemplate;
import org.springframework.data.redis.core.StringRedisTemplate;
import org.springframework.data.redis.serializer.Jackson2JsonRedisSerializer;@Configuration
@EnableCaching
public class RedisCacheConfig extends CachingConfigurerSupport {@Beanpublic CacheManager cacheManager(RedisTemplate redisTemplate) {RedisCacheManager redisCacheManager = new RedisCacheManager(redisTemplate);redisCacheManager.setDefaultExpiration(360);return redisCacheManager;}@Beanpublic RedisTemplate redisTemplate(RedisConnectionFactory redisConnectionFactory) {StringRedisTemplate template = new StringRedisTemplate(redisConnectionFactory);Jackson2JsonRedisSerializer jackson2JsonRedisSerializer = new Jackson2JsonRedisSerializer(Object.class);ObjectMapper objectMapper = new ObjectMapper();objectMapper.setVisibility(PropertyAccessor.ALL, JsonAutoDetect.Visibility.ANY);objectMapper.enableDefaultTyping(ObjectMapper.DefaultTyping.NON_FINAL);jackson2JsonRedisSerializer.setObjectMapper(objectMapper);template.setValueSerializer(jackson2JsonRedisSerializer);template.afterPropertiesSet();return template;}
}
?


)
解決阻止程序運行“macOS無法驗證此App不包含惡意軟件”)


)


