When you add pictures to your Office documents you might need to crop them to remove unwanted areas, or isolate a specific part. Today we’ll take a look at how to crop images in Office 2010.
將圖片添加到Office文檔時,可能需要裁剪它們以刪除不需要的區域或隔離特定部分。 今天,我們將看看如何在Office 2010中裁剪圖像。
Note: We will show you examples in Word, but you can crop images in Word, Excel, and PowerPoint.
注意:我們將向您展示Word中的示例,但您可以在Word,Excel和PowerPoint中裁剪圖像。
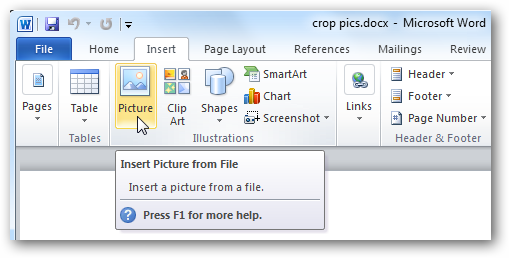
To insert a picture into your Office document, click the Picture button on the Insert tab.
要將圖片插入Office文檔中,請單擊“插入”選項卡上的“圖片”按鈕。
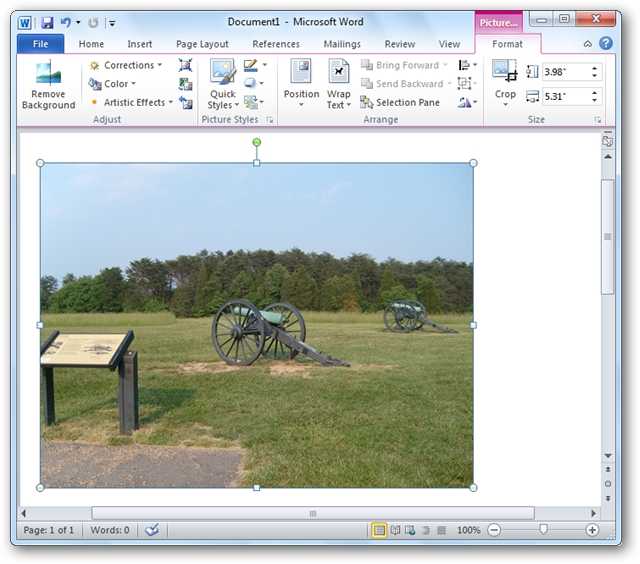
The Picture Tools format ribbon should now be active. If not, click on the image.
圖片工具格式功能區現在應該處于活動狀態。 如果沒有,請單擊圖像。
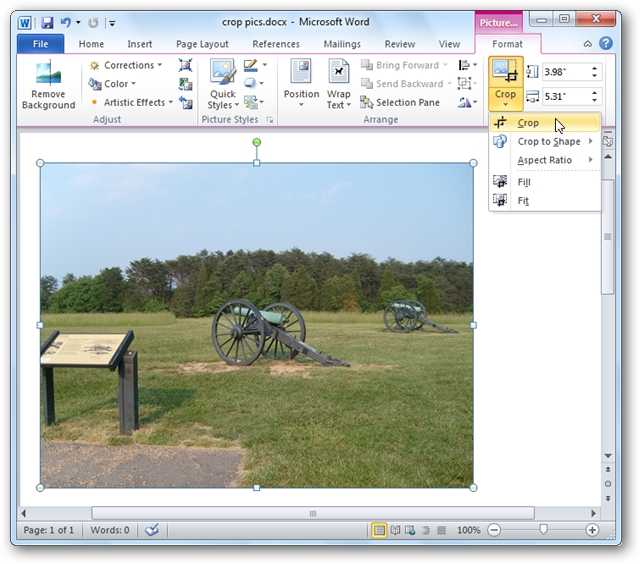
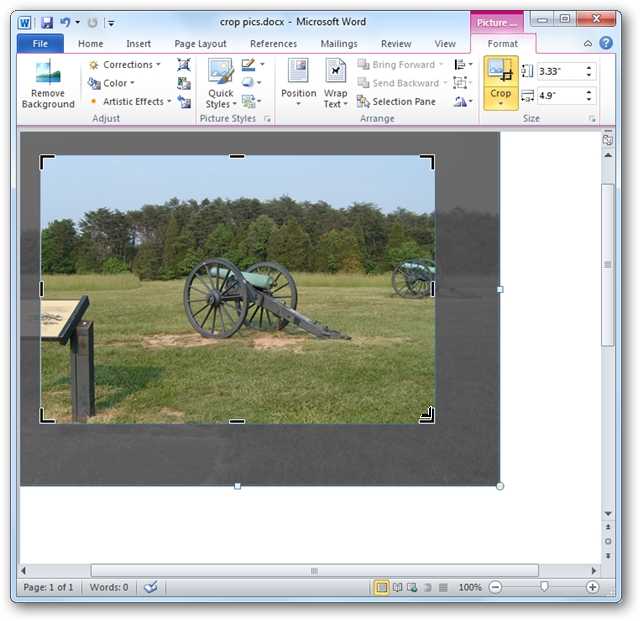
New in Office 2010 is the ability to see the area of the photo that you are keeping in addition to what will be cropped out. On the Format tab, click Crop.
Office 2010的新增功能是除了裁切出的內容之外,還可以查看您保留的照片區域。 在格式選項卡上,單擊裁剪。
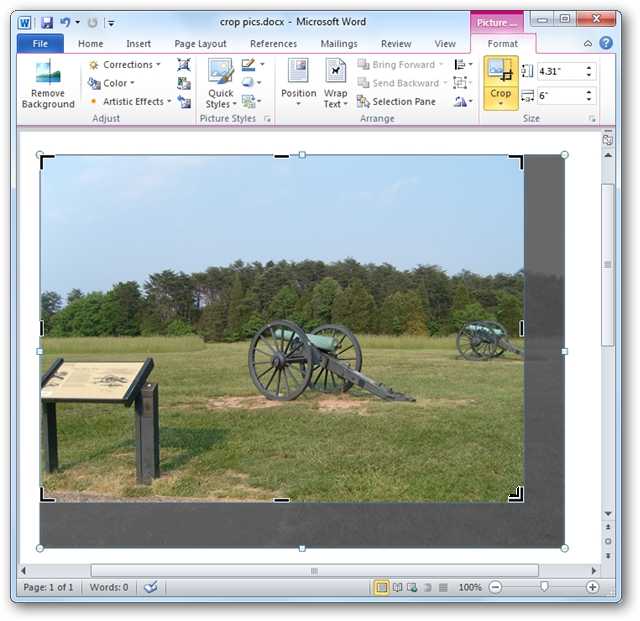
Click and drag inward any of the four corners to crop from any one side. Notice you can still see the area to be cropped out is show in translucent gray.
單擊并向內拖動四個角中的任意一個,以從任一側進行裁剪。 注意,您仍然可以看到要裁剪的區域以半透明的灰色顯示。
Press and hold the CTRL key while you drag a corner cropping handle inward to crop equally on all four sides.
向內拖動邊角修剪手柄時,按住CTRL鍵可以在所有四個側面上均勻修剪。
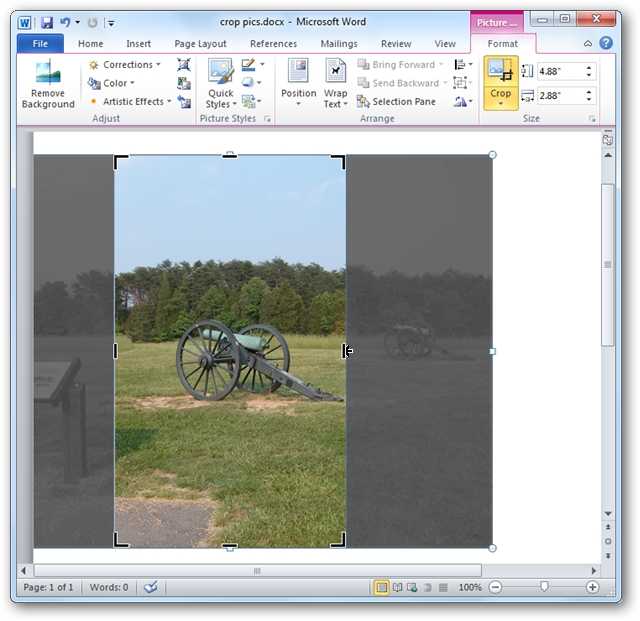
To crop equally on right and left or the top and bottom, press and hold down the CTRL key while you drag the center cropping handle on either side inward.
要在左右或頂部和底部均等地進行裁剪,請在按住CTRL鍵的同時向內拖動兩側的中央裁剪手柄。
You can further adjust the cropping area by clicking and dragging the picture behind the cropping area.
您可以通過單擊并拖動圖片到裁剪區域的后面來進一步調整裁剪區域。
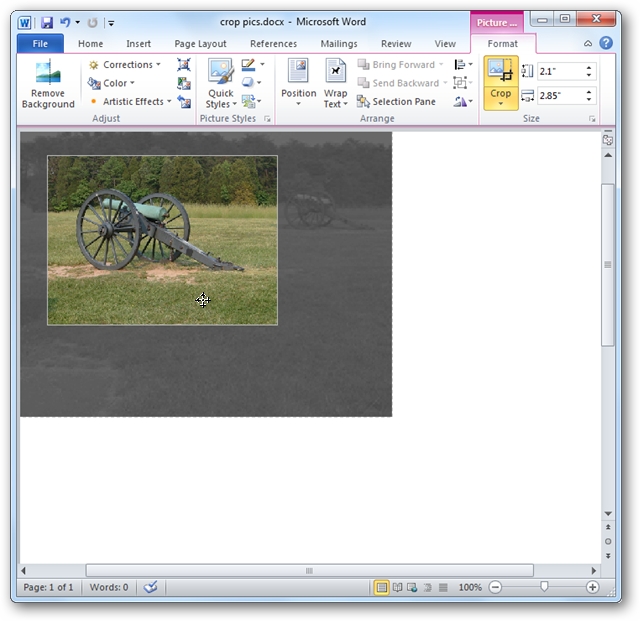
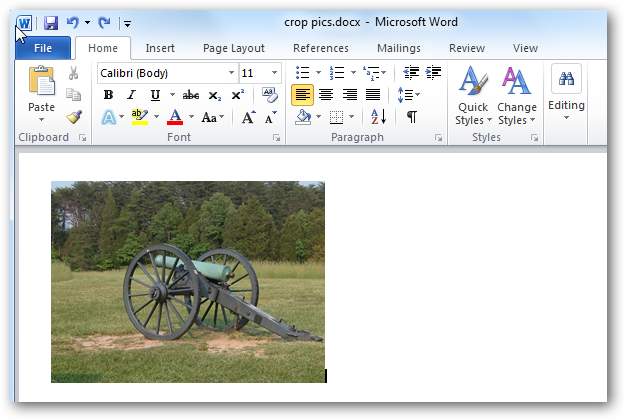
To accept the current dimensions and crop the photo, press escape or click anywhere outside the cropping area.
要接受當前尺寸并裁剪照片,請按Escape鍵或單擊裁剪區域以外的任何位置。
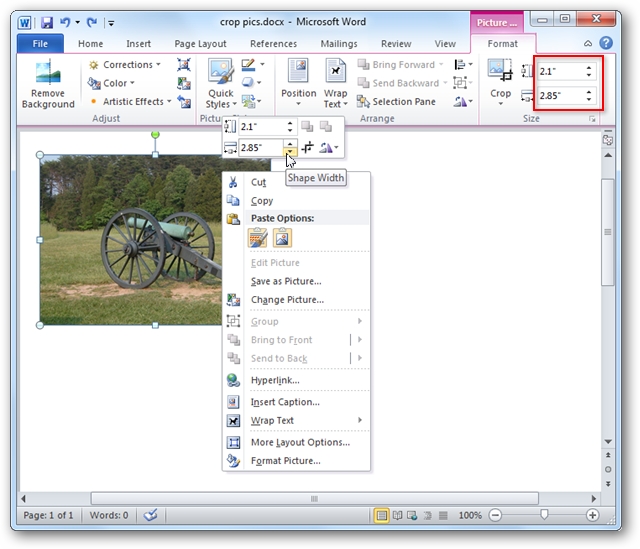
You can manually crop the image to exact dimensions. This can be done by right clicking on the image and entering the dimensions in the Width and Height boxes, or in the Size group on the Format tab.
您可以手動將圖像裁剪為確切的尺寸。 可以通過右鍵單擊圖像并在“寬度”和“高度”框中,或在“格式”選項卡上的“尺寸”組中輸入尺寸來完成。
Crop to a Shape
裁剪成形狀
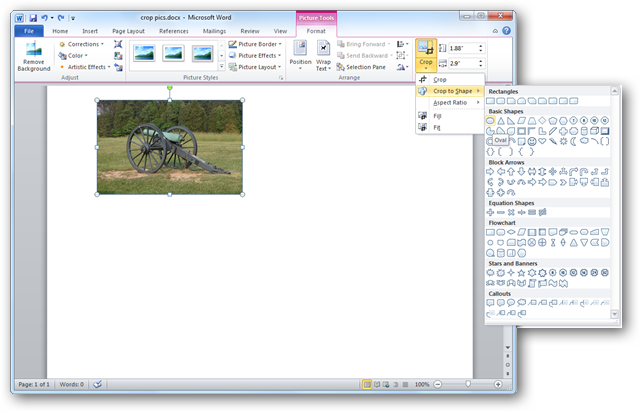
Select your photo and click Crop from the Size group on the Format tab. Select Crop to Shape and choose any of the available shapes.
選擇您的照片,然后從“格式”選項卡上的“尺寸”組中單擊“裁剪”。 選擇“裁剪為形狀”,然后選擇任何可用的形狀。
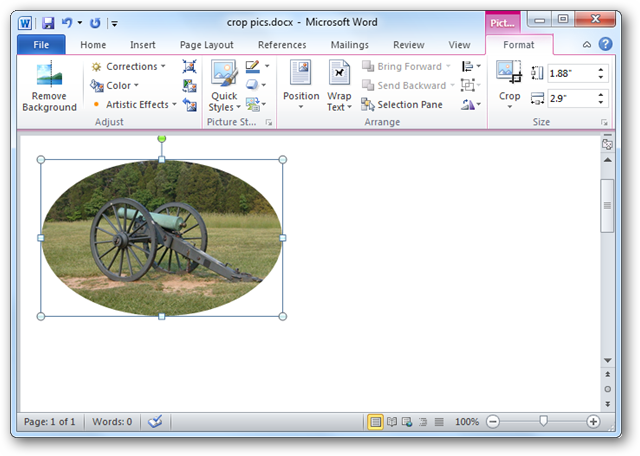
You photo will be cropped into that shape.
您的照片將被裁剪為該形狀。
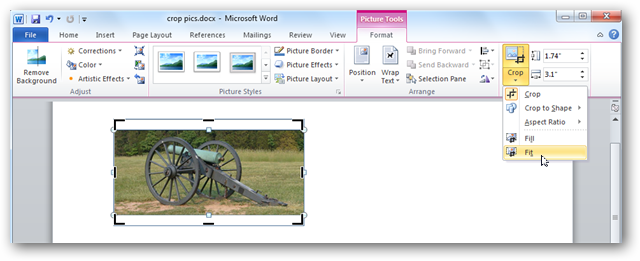
Using Fit and Fill
使用擬合和填充
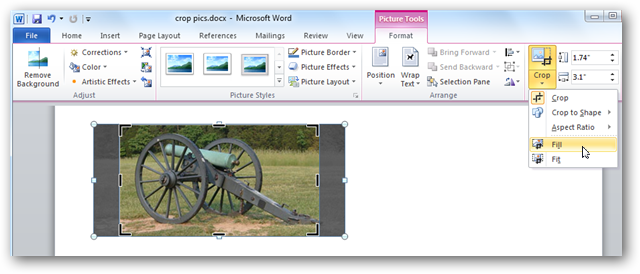
If you wish to crop a photo but fill the shape, select Fill. When you choose this option, some edges of the picture might not display but the original picture aspect ratio is maintained.
如果希望裁剪照片但填充形狀,請選擇“填充”。 選擇此選項時,圖片的某些邊緣可能不會顯示,但會保持原始圖片的縱橫比。
If you wish to have all of the picture fit within a shape, choose Fit. The original picture aspect ratio will be maintained.
如果希望使所有圖片適合形狀,請選擇適合。 原始圖片的縱橫比將保持不變。
Conclusion
結論
Users moving from previous versions of Microsoft Office are sure to appreciate the improved cropping abilities in Office 2010, especially the ability to see what will and won’t be kept when you crop a photo.
從早期版本的Microsoft Office遷移過來的用戶一定會欣賞Office 2010中改進的裁剪功能,尤其是查看裁剪照片時將保留和不保留的功能。
翻譯自: https://www.howtogeek.com/howto/18789/how-to-crop-pictures-in-word-excel-and-powerpoint-2010/


WebSphere的web工程中怎么獲取數據源)


)
 HelloWorld)
