-
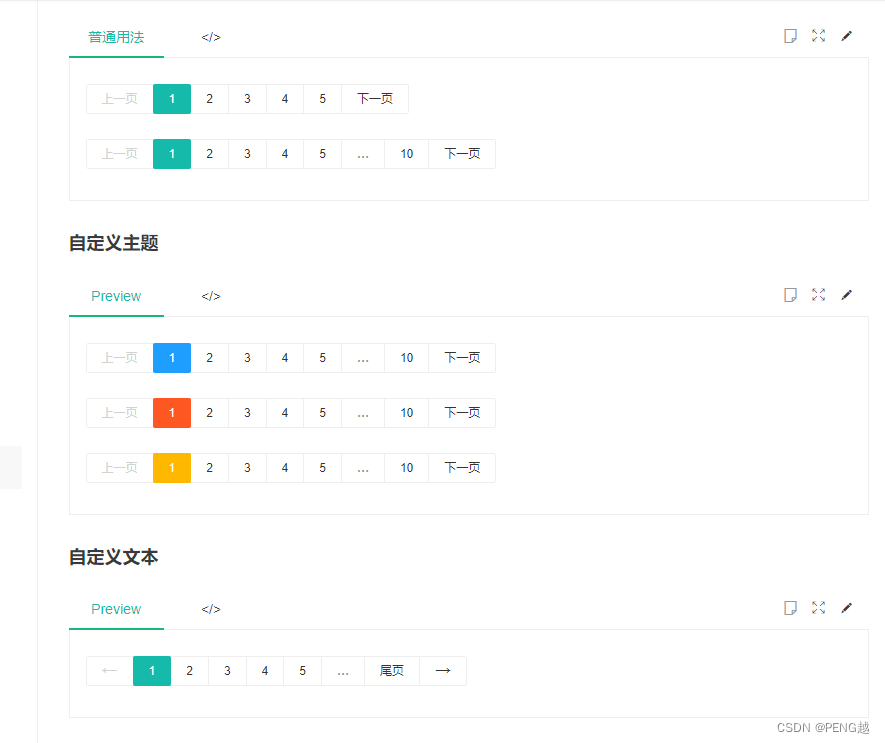
Layui2.0普通用法
<!DOCTYPE html>
<html>
<head><meta charset="utf-8"><meta name="viewport" content="width=device-width, initial-scale=1"><title>Demo</title><!-- 請勿在項目正式環境中引用該 layui.css 地址 --><link href="//unpkg.com/layui@2.9.0/dist/css/layui.css" rel="stylesheet">
</head>
<body>
<div id="demo-laypage-normal-1"></div>
<div id="demo-laypage-normal-2"></div><!-- 請勿在項目正式環境中引用該 layui.js 地址 -->
<script src="//unpkg.com/layui@2.9.0/dist/layui.js"></script>
<script>
layui.use(function(){var laypage = layui.laypage;// 普通用法laypage.render({elem: 'demo-laypage-normal-1',count: 50 // 數據總數});laypage.render({elem: 'demo-laypage-normal-2',count: 100 // 數據總數});
});
</script></body>
</html>
僅需要laypage.render就可以實現分頁UI+邏輯回調的實現,此時可以看到后面的屬性部分發現一個和重要的回調jump

定義了這個回調后,可以發現點擊上一頁下一頁就能拿到你點擊最終當前頁以及每頁顯示的條書。每個后端去實現的邏輯大同小異,如果用flask的話,如果要用url_for去做的話,這個obj.curr無法傳進去,只能使用瀏覽器的方法進行路由跳轉。
Flask+Jinja2實現laypage步驟:
1.渲染頁碼
例如我的Flask路由是這樣定義的:
bp = Blueprint('blog', __name__, url_prefix='/blog', template_folder='templates', static_folder='static')@bp.route('/index/<int:page>')
def index(page=1):post_pg = Post.query.paginate(page=page, per_page=5)count = post_pg.totalreturn render_template('index.html', **locals())
那么我要訪問此路由的URL應該是這種格式: http://127.0.0.1:8000/blog/index/1
首先第一點就是,后端返回模板的值中得帶有 count,供laypage組件去進行具體頁數的邏輯渲染
<script>layui.use(function () {let $ = layui.jquerylet laypage = layui.laypage;laypage.render({elem: 'demo-laypage-theme-1',count: '{{ count }}',theme: '#1E9FFF',limit: 5});});</script>
已知這幾點后,我們可以去jump回調那塊實現整體邏輯
JS中可以使用Flask返回給模板的count,組件根據返回的值進行賦值即可,效果如下

其他語言頁面數據初始化的時候把count一起返回即可
2.定義回調
首先我的limit是定死的,你們可以根據自己需求做去進行修改。邏輯是點擊了分頁跳轉的任意事件,例如具體某一頁,上一頁下一頁等,都會觸發jump方法,此時僅需要利用window.location.href配合obj.curr就能跳轉到具體的某一頁
<script>layui.use(function () {let $ = layui.jquerylet laypage = layui.laypage;laypage.render({elem: 'demo-laypage-theme-1',curr: '{{ page }}',count: '{{ count }}',theme: '#1E9FFF',limit: 5,jump: (obj, first) => {// 首次不執行if (!first) {window.location.href = `/blog/index/${obj.curr}`console.log(obj.curr)console.log(obj.limit)}}});});
</script>
此時點擊事件觸發后,可以發現URL進行了跳轉
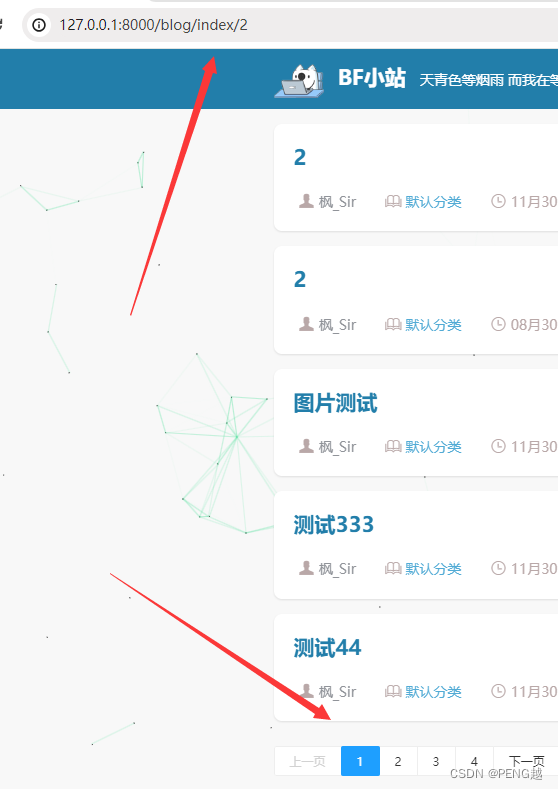
但是此時可以發現一個問題,URL雖然是變了,頁面數據也拿到了,但是分頁欄的當前頁沒有進行同步,此時去看文檔可以發現一個關鍵參數 curr

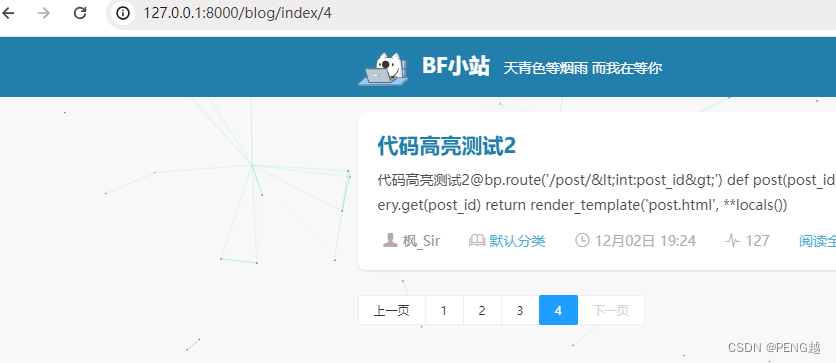
如果你也是Flask+Jinja2的話你就可以和和我一樣,繼續使用插值渲染Flask提供的值,因為我的index路由是有一個page參數的,每次訪問那個路由page就是我要獲取的具體頁,拿到具體頁后渲染頁面后,也需要同步進行分頁組件的當前頁更新,你只需要進行curr 的定義即可
<script>layui.use(function () {let $ = layui.jquerylet laypage = layui.laypage;laypage.render({elem: 'demo-laypage-theme-1',curr: '{{ page }}',count: '{{ count }}',theme: '#1E9FFF',limit: 5,jump: (obj, first) => {// 首次不執行if (!first) {window.location.href = `/blog/index/${obj.curr}`console.log(obj.curr)console.log(obj.limit)}}});});</script>
最終效果:
PS:實現思路大致差不多,Layui提供的僅是部分回調介紹,以及他能用的屬性以及方法,對照著租用自己去組裝就好,覺得有用能實現的點個贊,有問題留言😉


![Electron[5] 渲染進程和主進程](http://pic.xiahunao.cn/Electron[5] 渲染進程和主進程)
)
-k8s核心概念label和label selector)


)
)


- 第5章 數學趣題(一))
L. 怎么走啊(最短路+二分 分段函數))
及對應的網絡協議)
