- 操作系統:ubuntu22.04
- OpenCV版本:OpenCV4.9
- IDE:Visual Studio Code
- 編程語言:C++11
算法描述
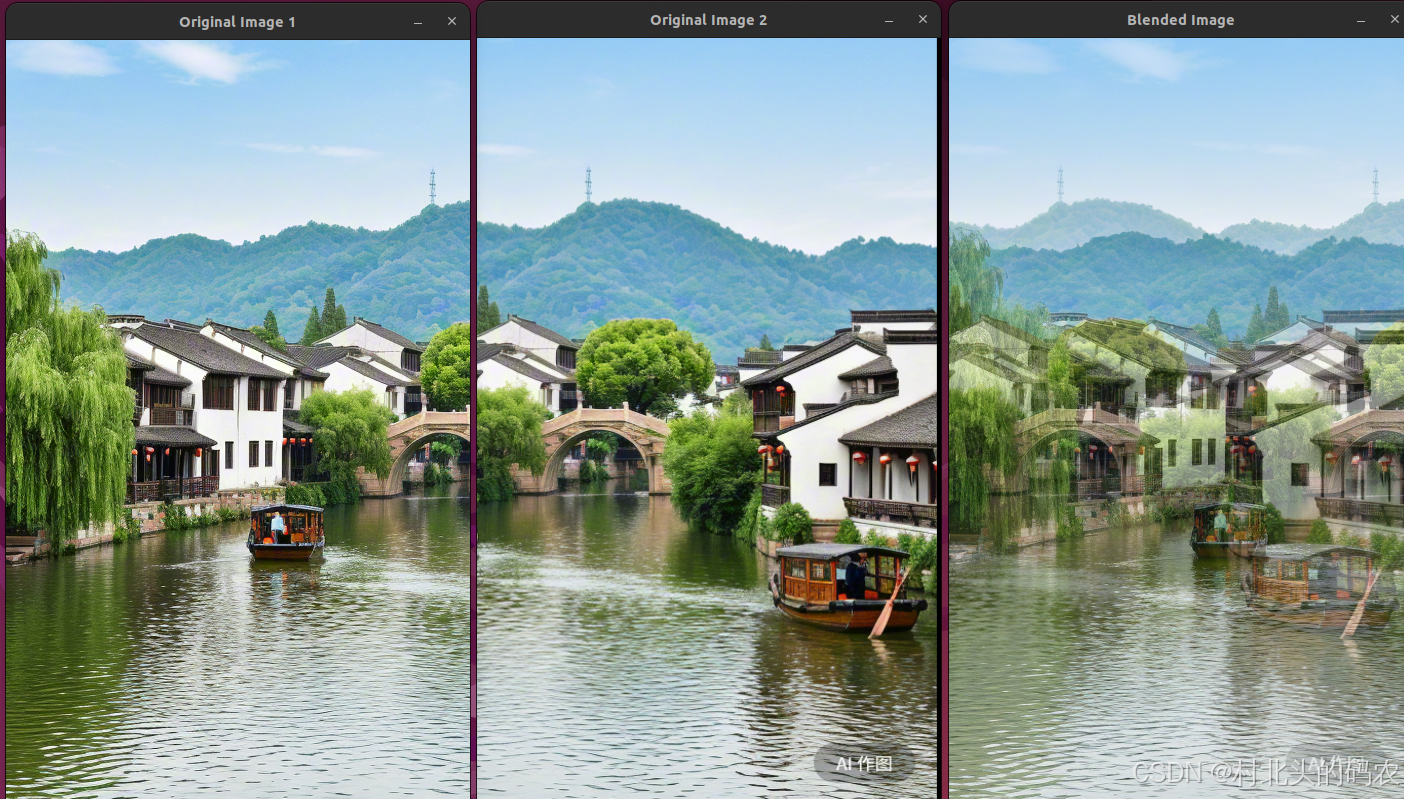
該函數執行 線性融合(加權平均) 兩個圖像 img1 和 img2,使用對應的權重圖 weights1 和 weights2。
融合公式如下:
r e s u l t ( x , y ) = i m g 1 ( x , y ) ? w e i g h t s 1 ( x , y ) + i m g 2 ( x , y ) ? w e i g h t s 2 ( x , y ) result(x,y)=img1(x,y)?weights1(x,y)+img2(x,y)?weights2(x,y) result(x,y)=img1(x,y)?weights1(x,y)+img2(x,y)?weights2(x,y)
每個像素點根據各自的權重進行線性組合。
函數原型
void cv::cuda::blendLinear
(InputArray  	img1,InputArray  	img2,InputArray  	weights1,InputArray  	weights2,OutputArray  	result,Stream &  	stream = Stream::Null()
)
參數
| 參數名 | 說明 |
|---|---|
| img1 | 輸入圖像 1 第一幅輸入圖像 |
| img2 | 輸入圖像 2 第二幅輸入圖像,必須與 img1 尺寸和類型相同 |
| weights1 | 權重圖 1 與 img1 對應的權重圖,單通道浮點型(CV_32F) |
| weights2 | 權重圖 2 與 img2 對應的權重圖,單通道浮點型(CV_32F) |
| result | 輸出圖像 輸出結果,與輸入圖像大小和類型一致 |
| stream | 流對象 用于異步執行的 CUDA 流。默認為 Stream::Null(),即同步執行 |
代碼示例
#include <opencv2/opencv.hpp>
#include <opencv2/cudaimgproc.hpp>int main() {// Step 1: 加載兩幅圖像cv::Mat img1 = cv::imread("/media/dingxin/data/study/OpenCV/sources/images/stich1.png");cv::Mat img2 = cv::imread("/media/dingxin/data/study/OpenCV/sources/images/stich2.png");if (img1.empty() || img2.empty()) {std::cerr << "Failed to load images!" << std::endl;return -1;}// Step 2: 確保圖像尺寸一致cv::resize(img2, img2, img1.size());// Step 3: 創建權重圖(例如:漸變效果)cv::Mat weight1(img1.size(), CV_32F, 0.5f);  // 全圖權重 0.5cv::Mat weight2 = 1.0f - weight1;             // 反向權重圖// Step 4: 上傳數據到 GPUcv::cuda::GpuMat d_img1, d_img2, d_weight1, d_weight2, d_result;d_img1.upload(img1);d_img2.upload(img2);d_weight1.upload(weight1);d_weight2.upload(weight2);d_result.create(img1.size(), img1.type());// Step 5: 執行線性融合cv::cuda::blendLinear(d_img1, d_img2, d_weight1, d_weight2, d_result);// Step 6: 下載并顯示結果cv::Mat result;d_result.download(result);cv::imshow("Original Image 1", img1);cv::imshow("Original Image 2", img2);cv::imshow("Blended Image", result);cv::waitKey(0);return 0;
}
運行結果


)


)


