視頻講解:
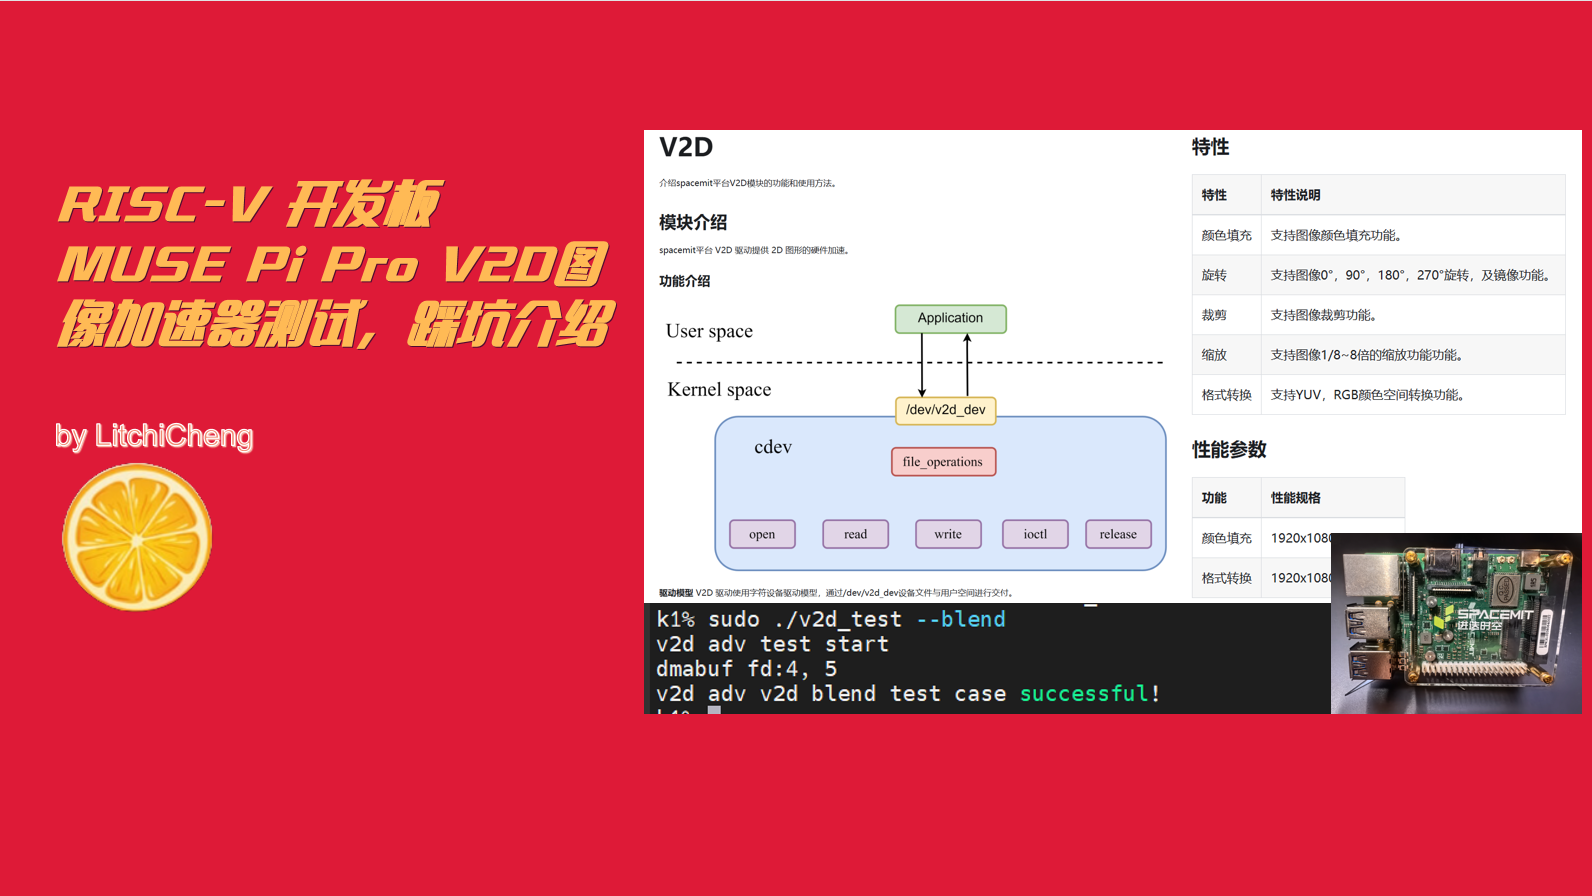
RISC-V 開發板 MUSE Pi Pro V2D圖像加速器測試,踩坑介紹
今天測試下V2D,這是K1特有的硬件級別的2D圖像加速器,參考如下文檔,但文檔中描述的部分有不少問題,后面會講下
https://bianbu-linux.spacemit.com/device/peripheral_driver/V2D
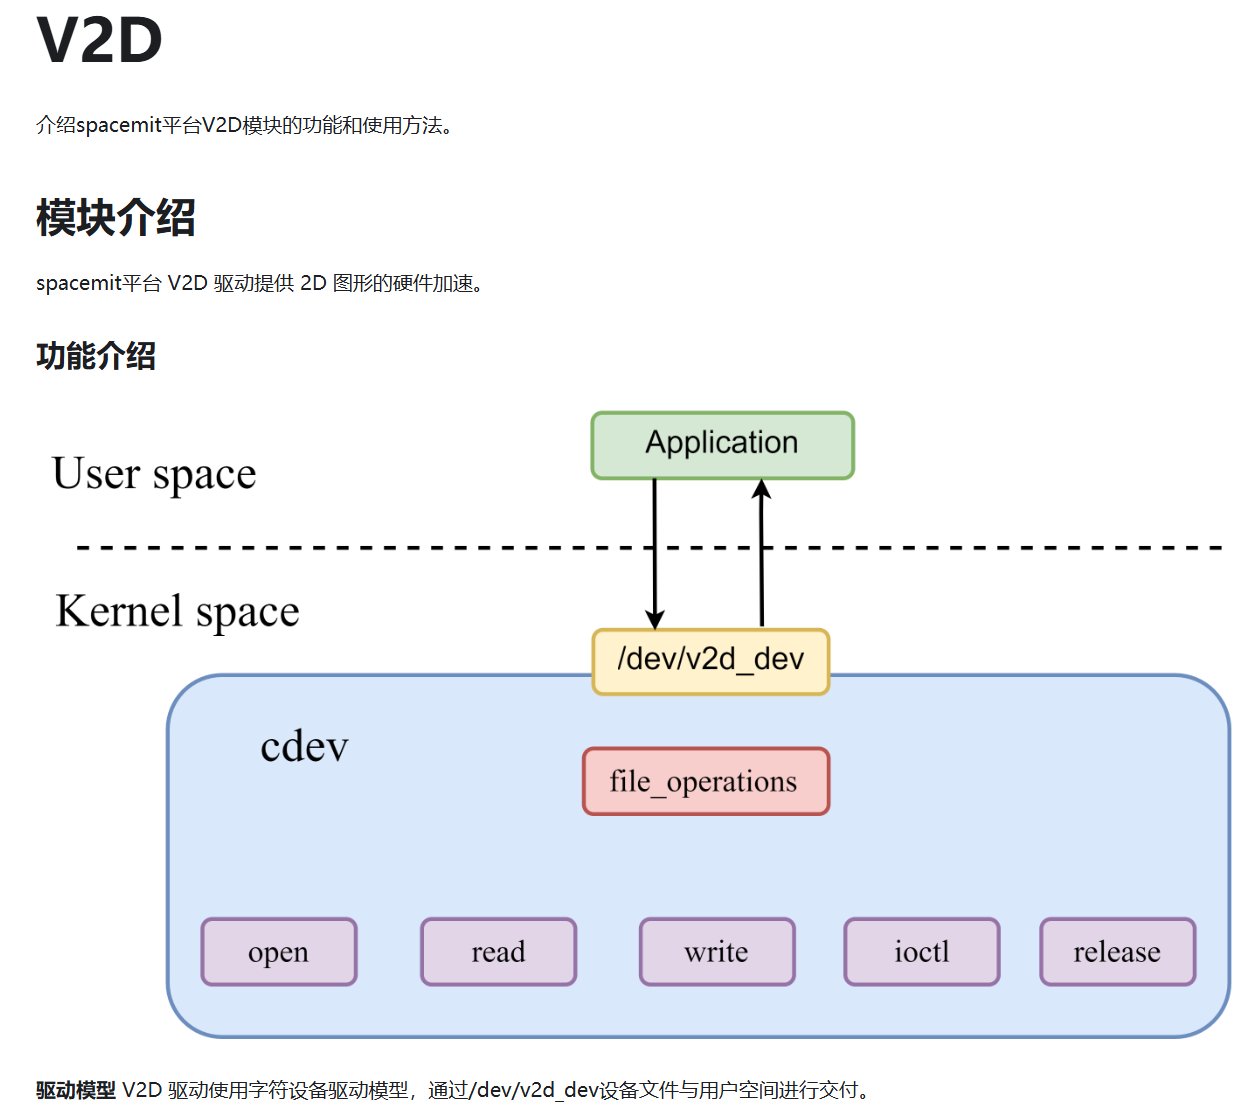
一般像下面的功能會有opencv進行處理,但cv處理還是會耗費cpu處理時間,用v2d處理就比較節省資源了
ls看下是否已經有這個設備

頻率調節,204800000 HZ,307200000 HZ,409600000 HZ,文檔里寫錯了,就三種擋位

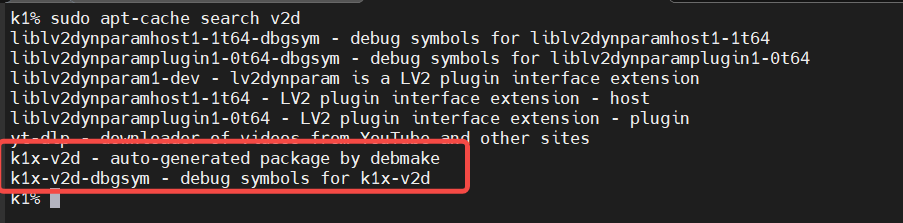
echo 409600000 /sys/bus/platform/devices/c0100000.v2d/clkrate發現沒有/usr/share/v2d,看看apt里面有沒有,安裝完還是沒有
全局搜一下,這個內置的v2d_test功能也是不對的

找到github上的倉庫,https://github.com/opirg-k1/v2d-test,gittee上面也有 https://gitee.com/bianbu-linux/v2d-test
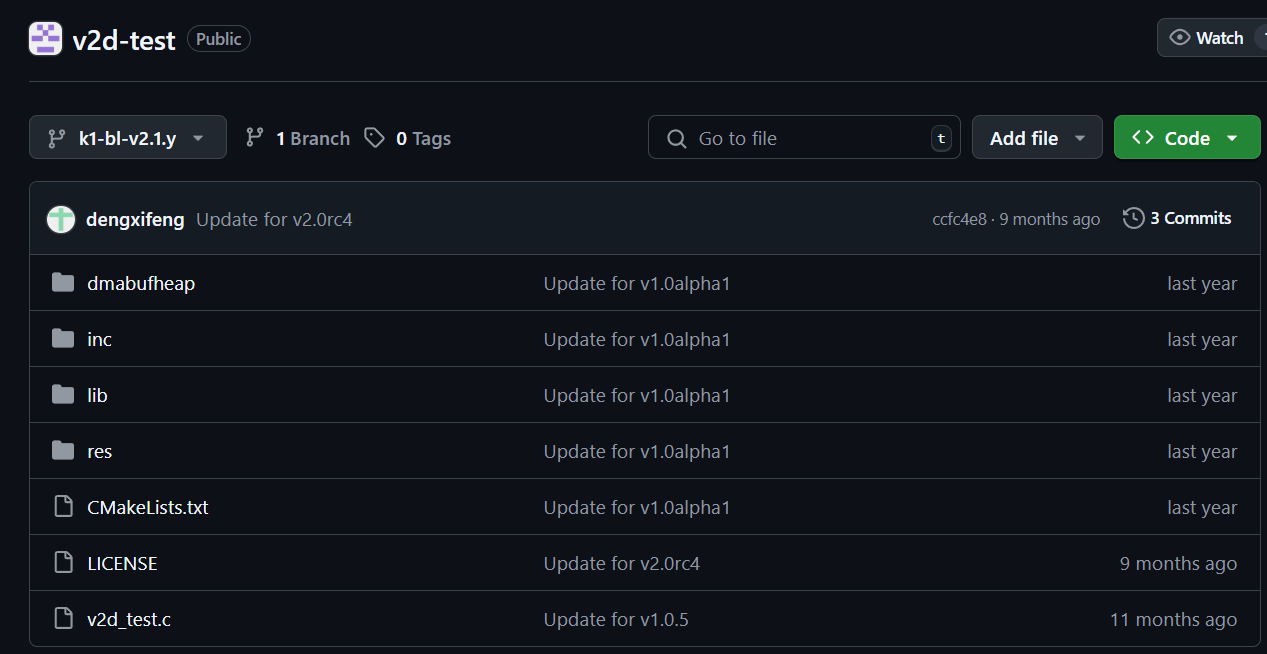
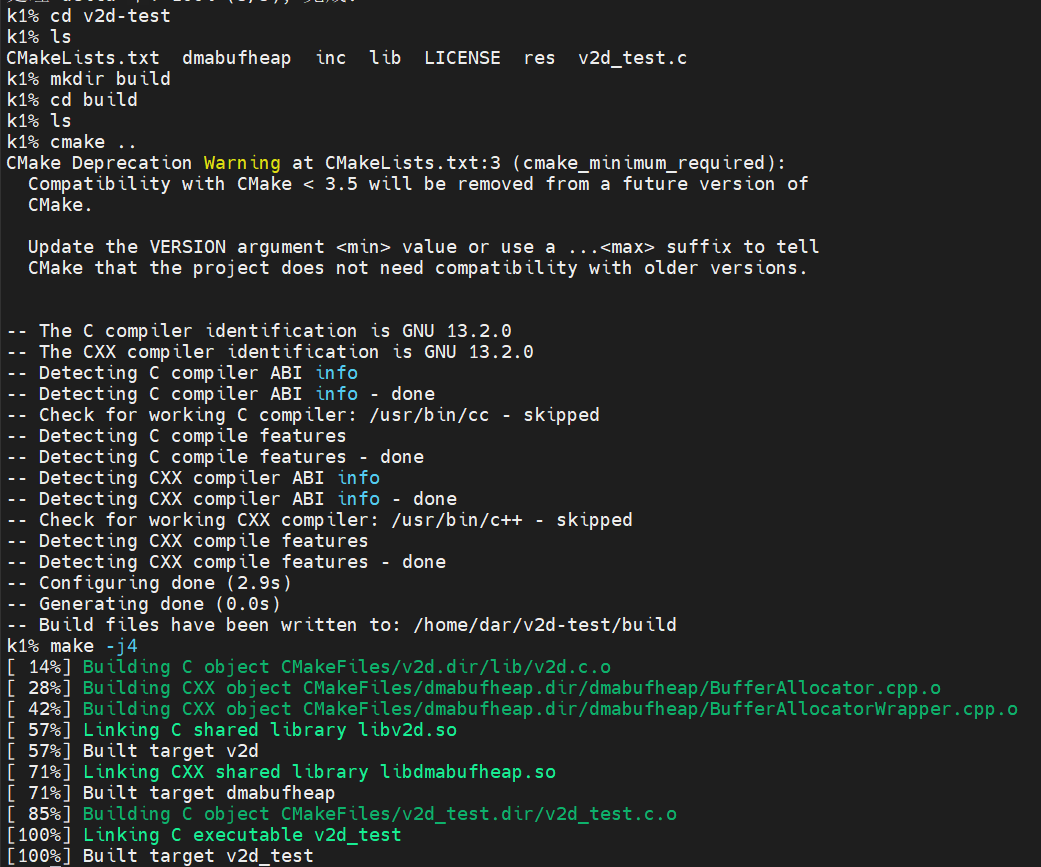
git clone后,直接進行cmake build
其中blend中的部分代碼解釋
stBackGround.fbc_enable = 1;      // 開啟幀緩沖壓縮(FBC)
stBackGround.fd         = 0;      // 文件描述符(可能指向輸入緩沖區)
stBackGround.offset     = 0;      // 緩沖區偏移量
stBackGround.w          = 320;    // 寬度為320像素
stBackGround.h          = 240;    // 高度為240像素
stBackGround.stride     = 320;    // 行寬(字節)
stBackGround.format     = V2D_COLOR_FORMAT_NV12;  // 顏色格式為NV12(YUV420SP)
// 背景層矩形區域
stBackGroundRect.x      = 0;
stBackGroundRect.y      = 0;
stBackGroundRect.w      = 320;
stBackGroundRect.h      = 240;stBackGround.fbcDecInfo.fd          = in.fd;    // FBC壓縮數據的文件描述符
stBackGround.fbcDecInfo.bboxLeft    = 0;        // 邊界框左坐標
stBackGround.fbcDecInfo.bboxTop     = 0;        // 邊界框上坐標
stBackGround.fbcDecInfo.bboxRight   = 319;      // 邊界框右坐標
stBackGround.fbcDecInfo.bboxBottom  = 239;      // 邊界框下坐標
stBackGround.fbcDecInfo.enFbcdecFmt = FBC_DECODER_FORMAT_NV12;  // 解碼格式為NV12
stBackGround.fbcDecInfo.is_split    = 0;        // 不使用分割模式
stBackGround.fbcDecInfo.enFbcdecMode= FBC_DECODER_MODE_SCAN_LINE;  // 掃描線解碼模式enForeRotate  = V2D_ROT_0;          // 前景不旋轉
enForeCSCMode = V2D_CSC_MODE_BUTT;  // 不進行顏色空間轉換dither        = V2D_NO_DITHER;      // 不使用抖動算法
memset(&stDst, 0, sizeof(V2D_SURFACE_S));  // 初始化目標表面
stDst.fbc_enable = 0;               // 關閉輸出的FBC壓縮
stDst.fd         = out.fd;          // 輸出緩沖區的文件描述符
stDst.offset     = 0x00;            // 輸出緩沖區偏移量
stDst.w          = 320;             // 輸出寬度
stDst.h          = 240;             // 輸出高度
stDst.stride     = 320*3;           // 輸出行寬(RGB888格式,每個像素3字節)
stDst.format     = V2D_COLOR_FORMAT_RGB888;  // 輸出格式為RGB888
// 輸出矩形區域
stDstRect.x      = 0;
stDstRect.y      = 0;
stDstRect.w      = 320;
stDstRect.h      = 240;memset(&stBlendConf, 0, sizeof(V2D_BLEND_CONF_S));  // 初始化混合配置
stBlendConf.blendlayer[0].blend_area.x = 0;          // 混合區域左上角x坐標
stBlendConf.blendlayer[0].blend_area.y = 0;          // 混合區域左上角y坐標
stBlendConf.blendlayer[0].blend_area.w = 320;        // 混合區域寬度
stBlendConf.blendlayer[0].blend_area.h = 240;        // 混合區域高度
sudo ./v2d_test --blend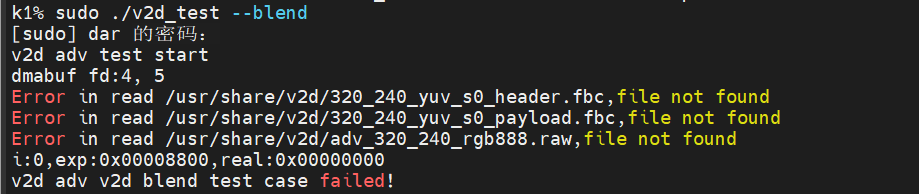
sudo mkdir /usr/share/v2d
sudo cp * /usr/share/v2d可以看到測試成功了


)


?)


