1 準備工作
需要安裝并啟動nacos,作為服務注冊中心。地址:https://nacos.io/
2 項目結構
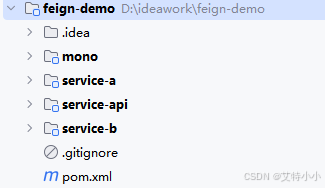
parent的pom.xml聲明依賴:
<dependencyManagement><dependencies><dependency><groupId>org.springframework.boot</groupId><artifactId>spring-boot-dependencies</artifactId><version>3.2.12</version><type>pom</type><scope>import</scope></dependency><dependency><groupId>org.springframework.cloud</groupId><artifactId>spring-cloud-dependencies</artifactId><version>2023.0.6</version><type>pom</type><scope>import</scope></dependency><dependency><groupId>com.alibaba.cloud</groupId><artifactId>spring-cloud-alibaba-dependencies</artifactId><version>2023.0.1.0</version><type>pom</type><scope>import</scope></dependency></dependencies>
</dependencyManagement>
2.1 服務service-a
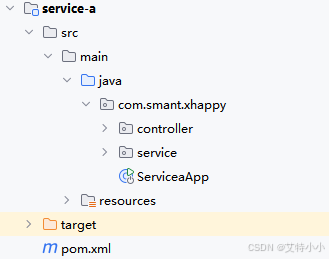
在pom.xml中引入依賴:
<dependencies><dependency><groupId>org.springframework.boot</groupId><artifactId>spring-boot-starter-web</artifactId></dependency><dependency><groupId>com.alibaba.cloud</groupId><artifactId>spring-cloud-starter-alibaba-nacos-discovery</artifactId></dependency><dependency><groupId>com.smant.xhappy</groupId><artifactId>service-api</artifactId><version>1.0-SNAPSHOT</version></dependency>
</dependencies>
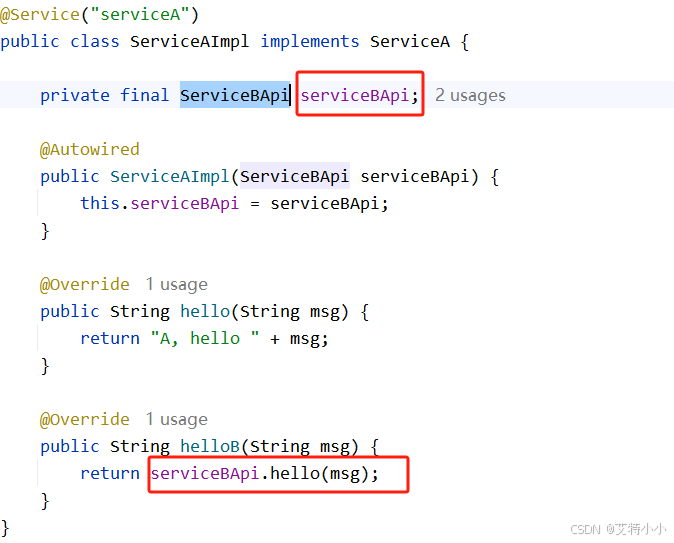
在service-a中通過feign調用service-b的hello方法:
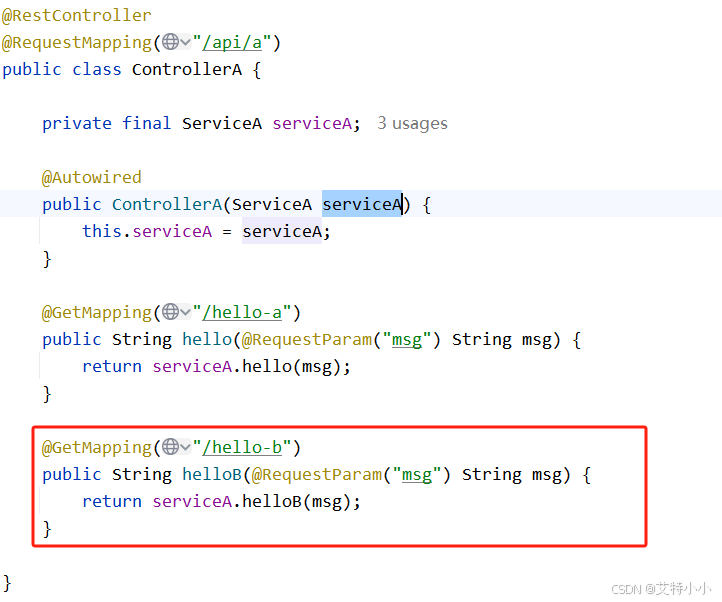
在controller中定義調用service-b中hello方法的接口:
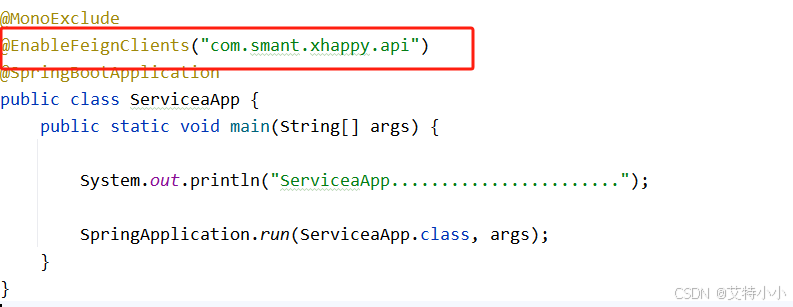
在啟動類上開啟feign接口掃描:service-a需要調用service-b的接口,要在service-a的啟動類上加@EnableFeignClients 注解,也就是服務調用方要加上@EnableFeignClients注解。
在application.yml中配置nacos地址:
server:port: 7515
spring:cloud:nacos:discovery:server-addr: localhost:8848application:name: service-a
2.2 服務service-b
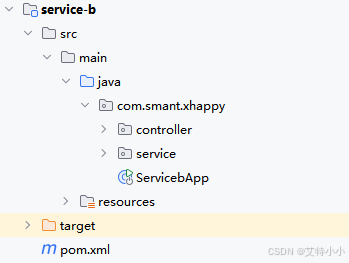
和service-a的結構代碼都差不多,不在贅述。
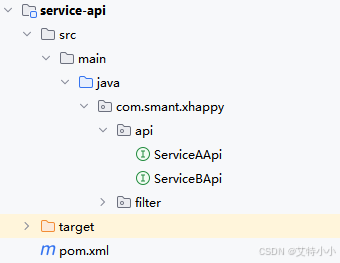
2.2 feign接口
在pom.xml引入依賴:
<dependencies><dependency><groupId>org.springframework.cloud</groupId><artifactId>spring-cloud-starter-openfeign</artifactId></dependency><dependency><groupId>org.springframework.cloud</groupId><artifactId>spring-cloud-starter-loadbalancer</artifactId></dependency>
</dependencies>
聲明service-b的hello方法,給別的服務調用。

3 啟動測試
啟動service-a和service-b,然后請求地址:
http://localhost:7515/api/a/hello-a?msg=world
響應:A, hello world
http://localhost:7515/api/a/hello-b?msg=world
響應:B, hello world
這樣一個簡單的通過feign進行服務間調用的流程的就通了!!!


 linux 同步)


詳細筆記(理論篇))


