1.配置tensorflow的環境
(我是安裝GPU版本的)
????????建議參考這個博主的文章,確實非常快速!
十分鐘安裝Tensorflow-gpu2.6.0+本機CUDA12 以及numpy+matplotlib各包版本協調問題_tensorflow cuda12-CSDN博客
2.學習自制數據集
(我這里的模型是用來做目標檢測的,所以就先使用labelimg制作了YOLO型的數據集,再使用Python進行格式轉換的)?
????????首先,使用檢測的攝像頭拍攝視頻。然后用Python代碼處理視頻,生成圖像數據:
import cv2
import os# 配置參數
video_path = r"D:\\TC264_Library-master(ADS1.9.4)\\SHangWeiJi\\tf_datas_01.avi"
output_dir = r"E:\\YOLO01\\img_Origin"
desired_fps = 10  # 目標提取幀率# 創建輸出目錄(如果不存在)
os.makedirs(output_dir, exist_ok=True)# 打開視頻文件
cap = cv2.VideoCapture(video_path)
if not cap.isOpened():raise Exception(f"無法打開視頻文件:{video_path}")# 獲取視頻原始屬性
original_fps = cap.get(cv2.CAP_PROP_FPS)
total_frames = int(cap.get(cv2.CAP_PROP_FRAME_COUNT))
video_duration = total_frames / original_fpsprint(f"視頻信息:")
print(f"原始幀率:{original_fps:.2f} FPS")
print(f"總幀數:{total_frames}")
print(f"持續時間:{video_duration:.2f} 秒")# 計算幀間隔(根據原始幀率和目標幀率)
frame_interval = int(round(original_fps / desired_fps))
print(f"采樣間隔:每 {frame_interval} 幀保存一次")# 初始化計數器
count = 0
saved_count = 0while True:ret, frame = cap.read()if not ret:break# 按間隔保存幀if count % frame_interval == 0:# 生成帶序號的文件名(4位數字補零)filename = f"frame_{saved_count:04d}.jpg"output_path = os.path.join(output_dir, filename)# 保存圖像(質量參數75,可根據需要調整)cv2.imwrite(output_path, frame, [cv2.IMWRITE_JPEG_QUALITY, 75])saved_count += 1count += 1# 釋放資源
cap.release()
print(f"\n處理完成!共保存 {saved_count} 張圖像到:{output_dir}")
接著,進入labelimg進行標注。YOLO型數據變為TFRecord型數據的轉換代碼如下所示:?
import tensorflow as tfdef parse_tfrecord(example_proto):"""解析TFRecord特征描述"""feature_description = {'image': tf.io.FixedLenFeature([], tf.string),'bboxes': tf.io.VarLenFeature(tf.float32),'points': tf.io.VarLenFeature(tf.float32),'num_bboxes': tf.io.FixedLenFeature([], tf.int64),'num_points': tf.io.FixedLenFeature([], tf.int64)}parsed = tf.io.parse_single_example(example_proto, feature_description)# 解碼圖像image = tf.io.decode_raw(parsed['image'], tf.uint8)image = tf.reshape(image, [224, 224, 1])image = tf.cast(image, tf.float32) / 255.0# 解碼邊界框bboxes = tf.sparse.to_dense(parsed['bboxes'])bboxes = tf.reshape(bboxes, [parsed['num_bboxes'], 4])# 解碼關鍵點points = tf.sparse.to_dense(parsed['points'])points = tf.reshape(points, [parsed['num_points'], 4])return image, {'bbox': bboxes, 'points': points}def load_dataset(subset, batch_size=32):"""加載TFRecord數據集"""pattern = f"E:/TFRecordData/{subset}/{subset}_*.tfrecord"files = tf.data.Dataset.list_files(pattern)dataset = files.interleave(lambda x: tf.data.TFRecordDataset(x),cycle_length=tf.data.AUTOTUNE,num_parallel_calls=tf.data.AUTOTUNE)dataset = dataset.map(parse_tfrecord,num_parallel_calls=tf.data.AUTOTUNE)dataset = dataset.padded_batch(batch_size,padded_shapes=([224, 224, 1],{'bbox': [None, 4],'points': [None, 4]})).prefetch(tf.data.AUTOTUNE)return dataset# 使用示例
train_dataset = load_dataset("train")
val_dataset = load_dataset("val")
test_dataset = load_dataset("test")
3.模型訓練
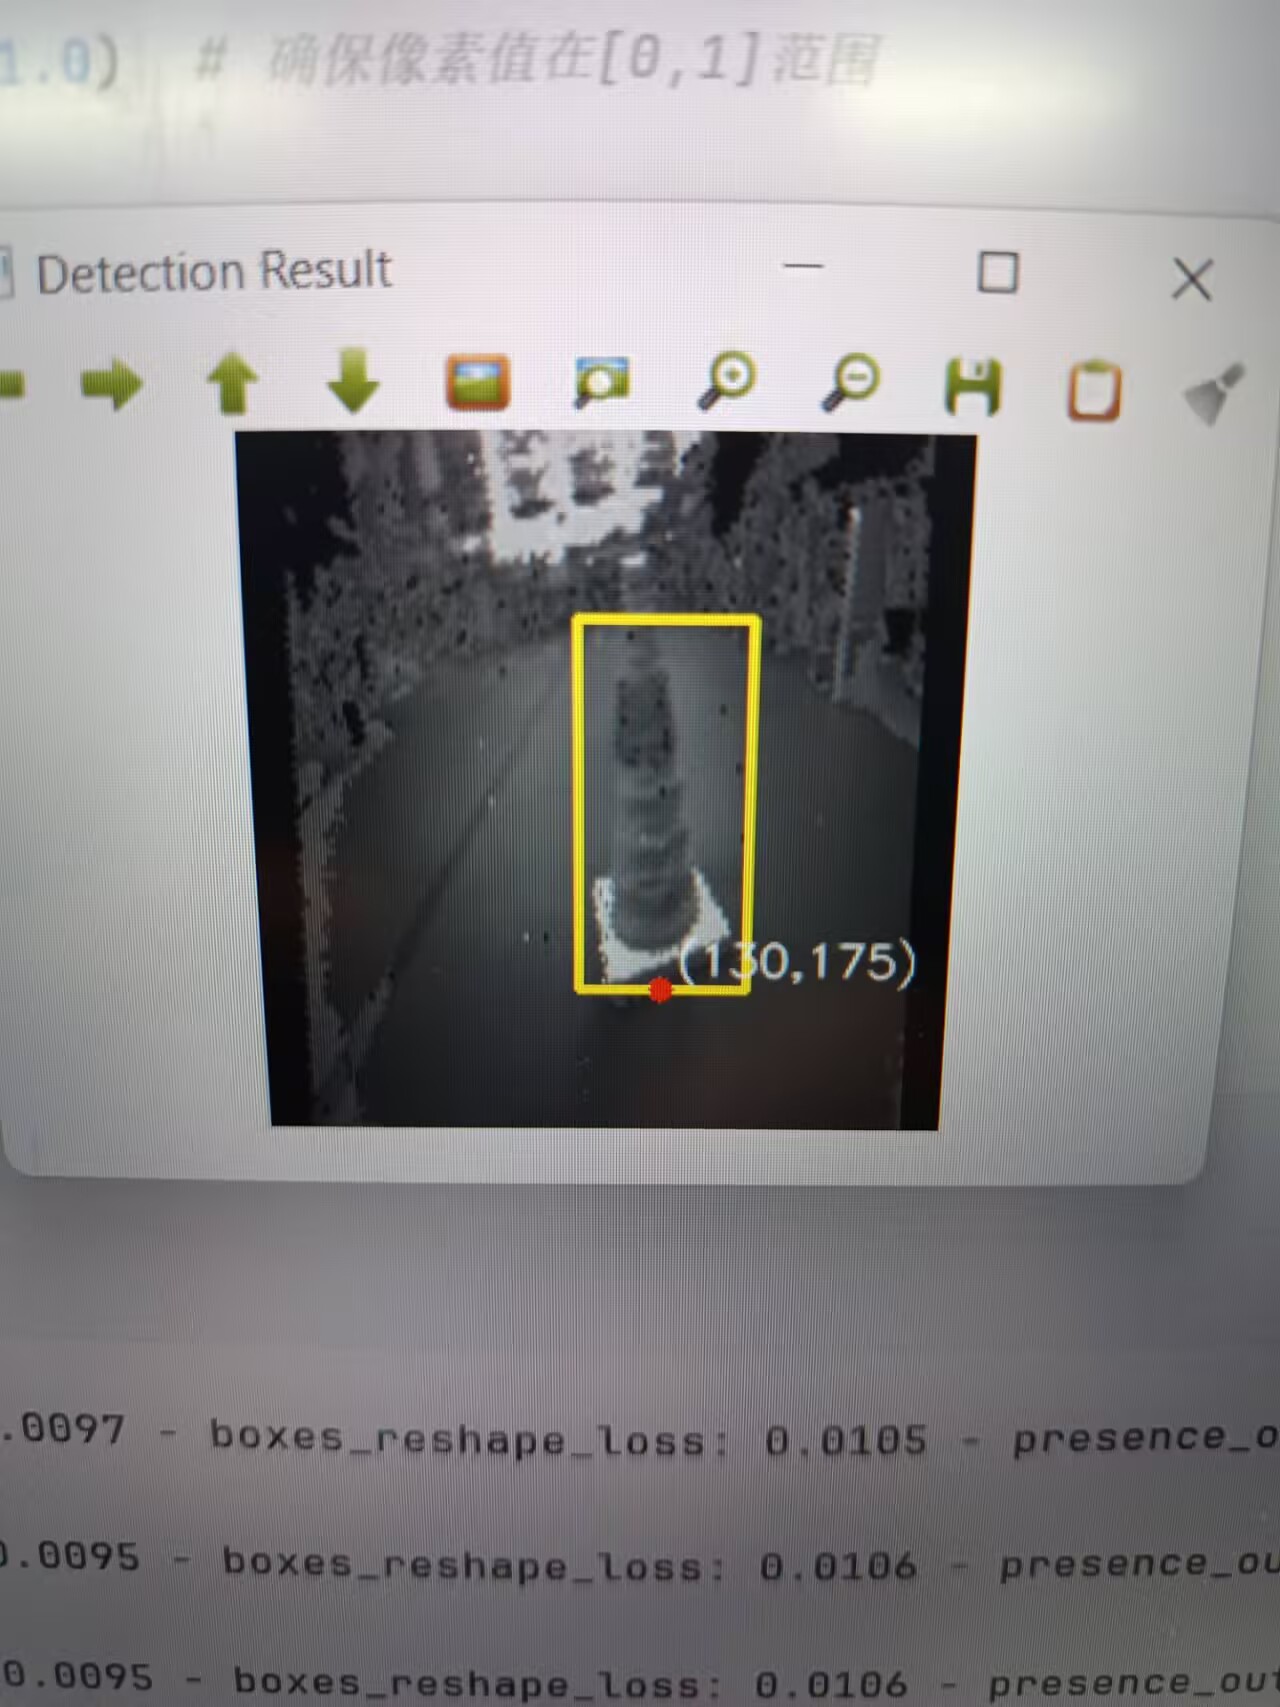
然后,我們就可以美美地把自己的數據集導入到模型里面進行訓練了
我的模型訓練結果如下:
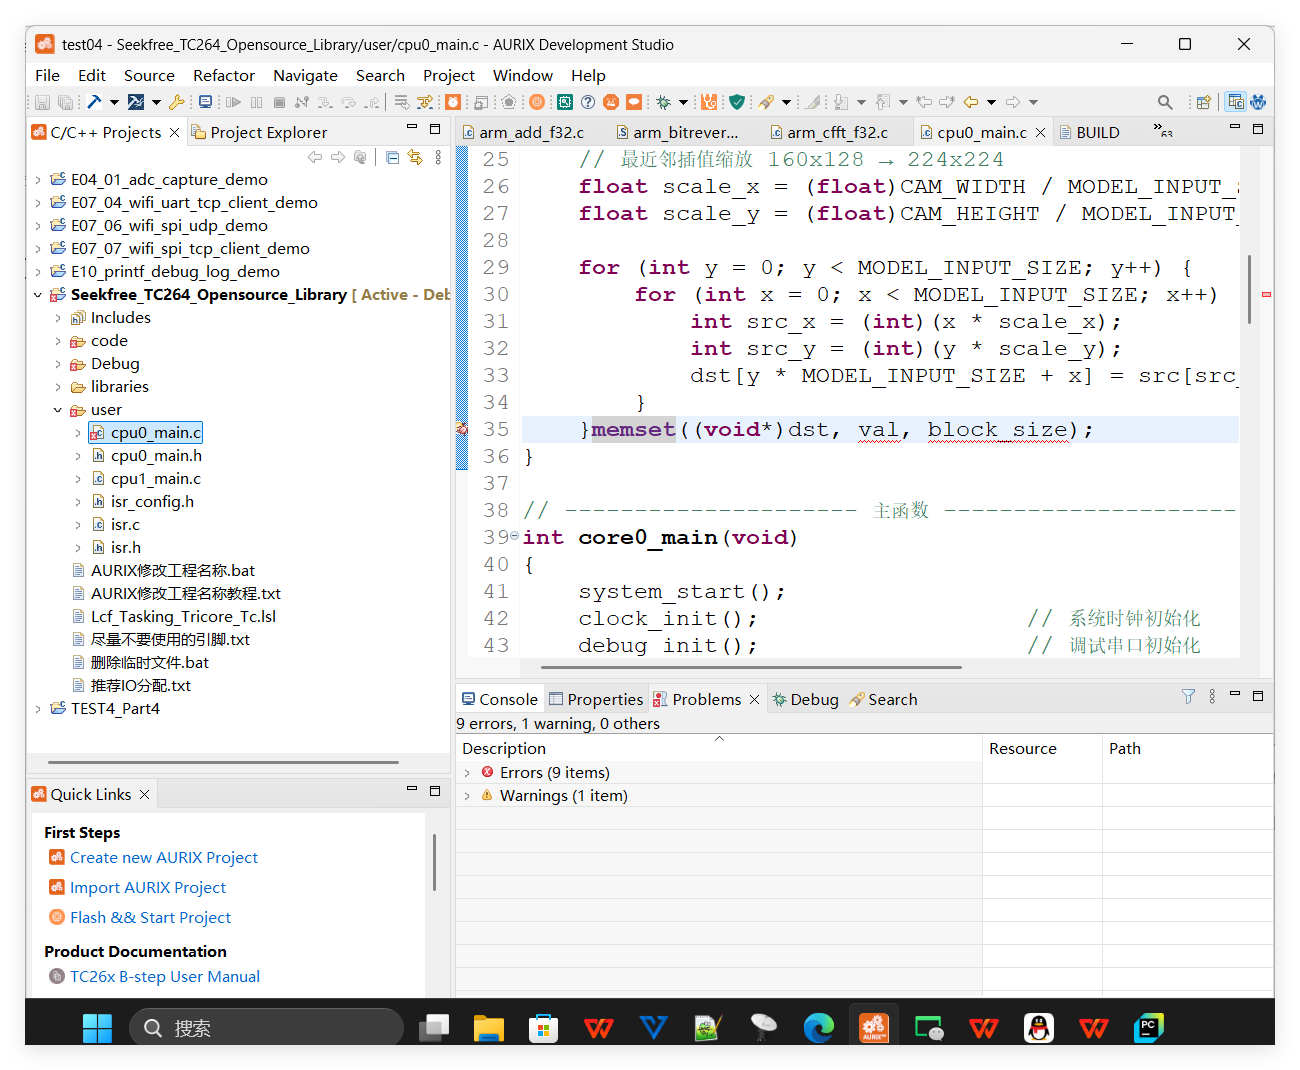
4.模型的部署
最后,按照單片機平臺的tflite_Micro的資源包配置嵌入式平臺的編譯環境,再把模型的tflite文件轉為C語言格式,一起導入工程代碼。
 ?
?
OK!博主的部署操作到這里就結束了,更多細節,還要到后面有時間了再補充。


Java/python/JavaScript/C++/C語言/GO六種最佳實現)


(Go語言版))